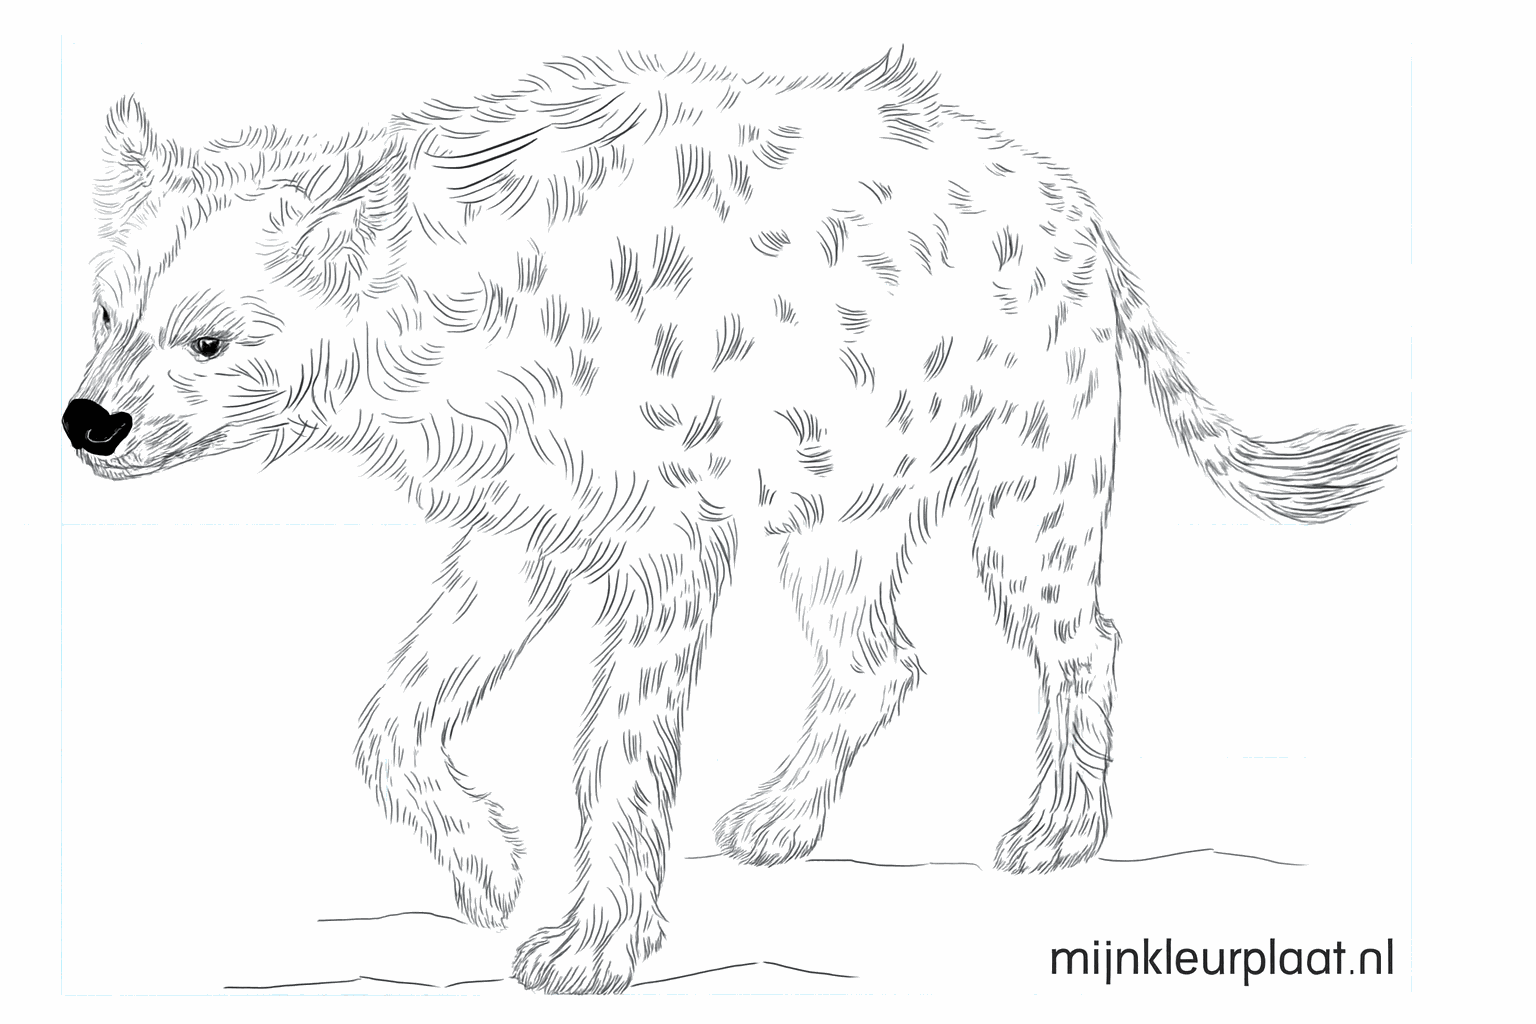
How to draw a honey badger 2?
Learn step by step how to draw a honey badger 2. Follow the 9 steps and print the tutorial.
Learn how to draw a super strong honey badger yourself! With these simple steps, you'll create the world's bravest animal in no time.
Intro
Hi little artist! Today we are going to draw a very special animal: the honey badger. He might look cute, but he is one of the bravest animals in nature. Grab your pencil and eraser, and let's get started together!
Summary
In 9 easy steps, you will learn to draw a honey badger using circles and lines. We start with basic shapes and end with a tough, furry animal.
Steps
Draw a large horizontal oval for the body and a smaller circle for the head.
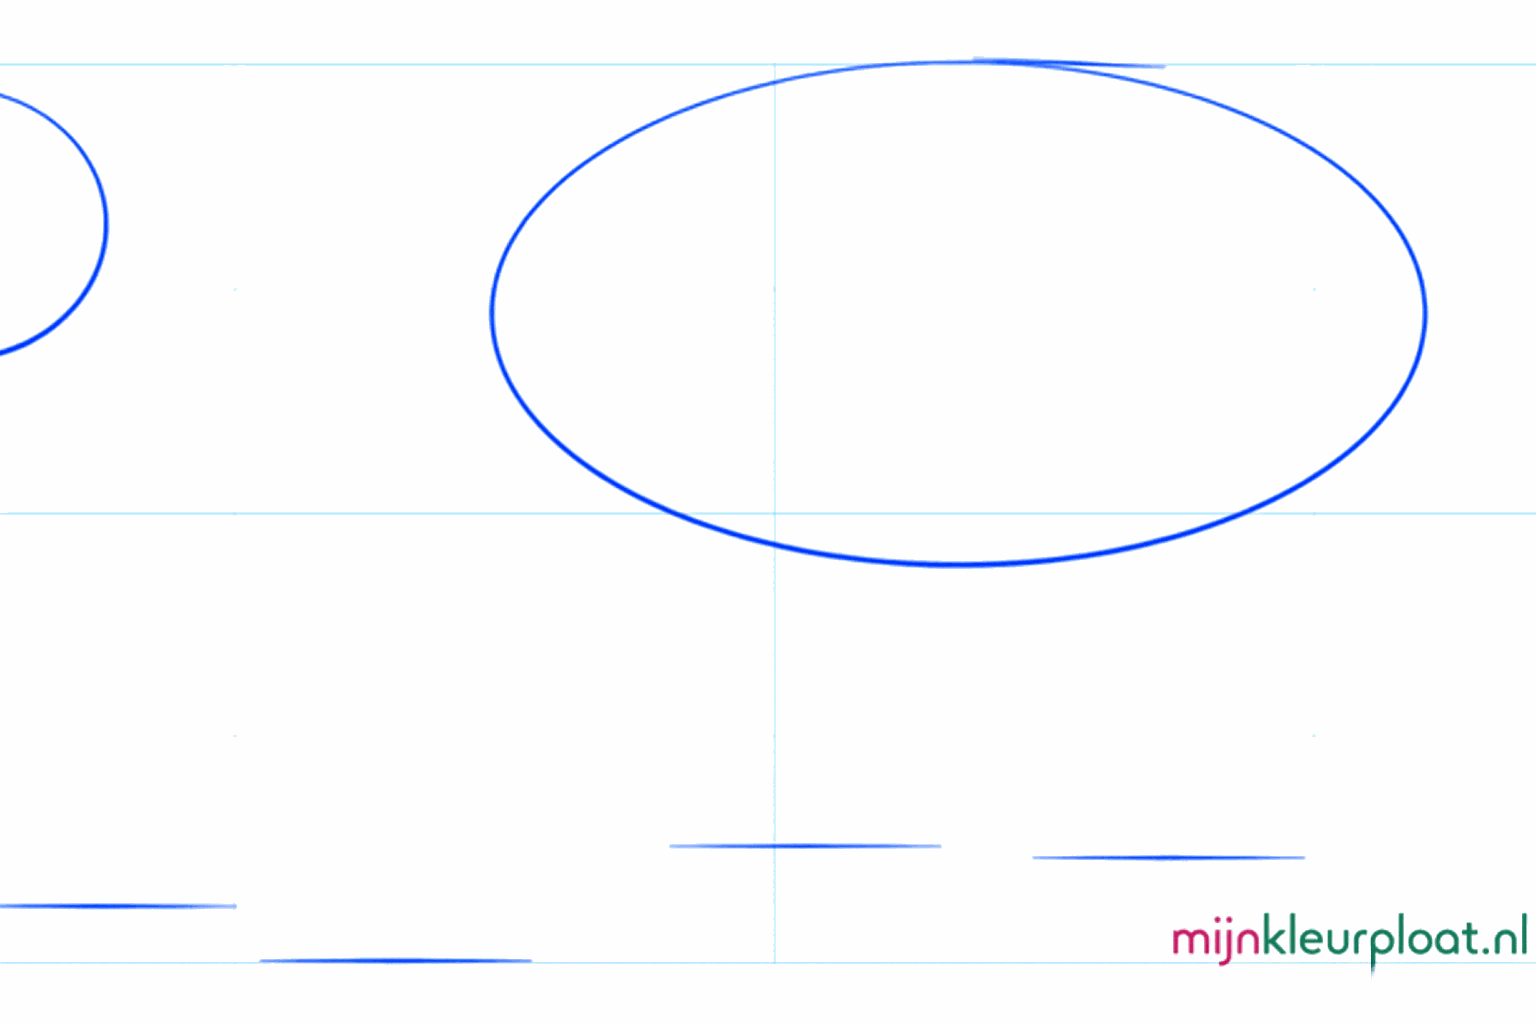
Connect the head and the body with two lines and draw a curved line for the tail.
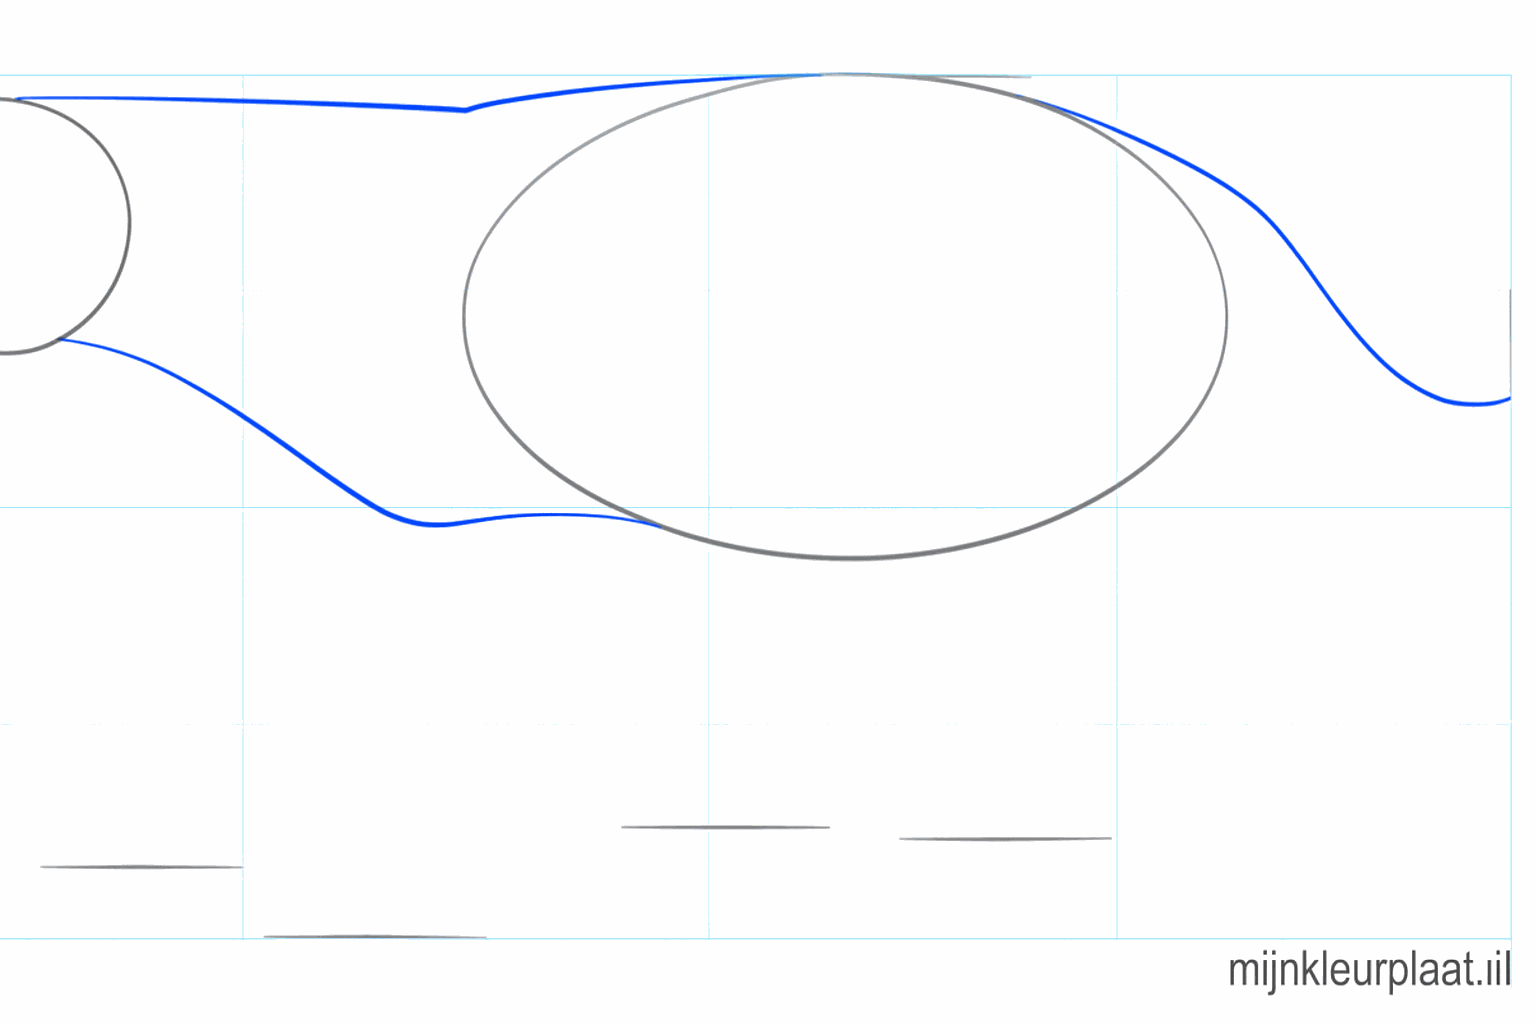
Place small guide lines on the head for the eyes and nose, and four lines under the body for the legs.
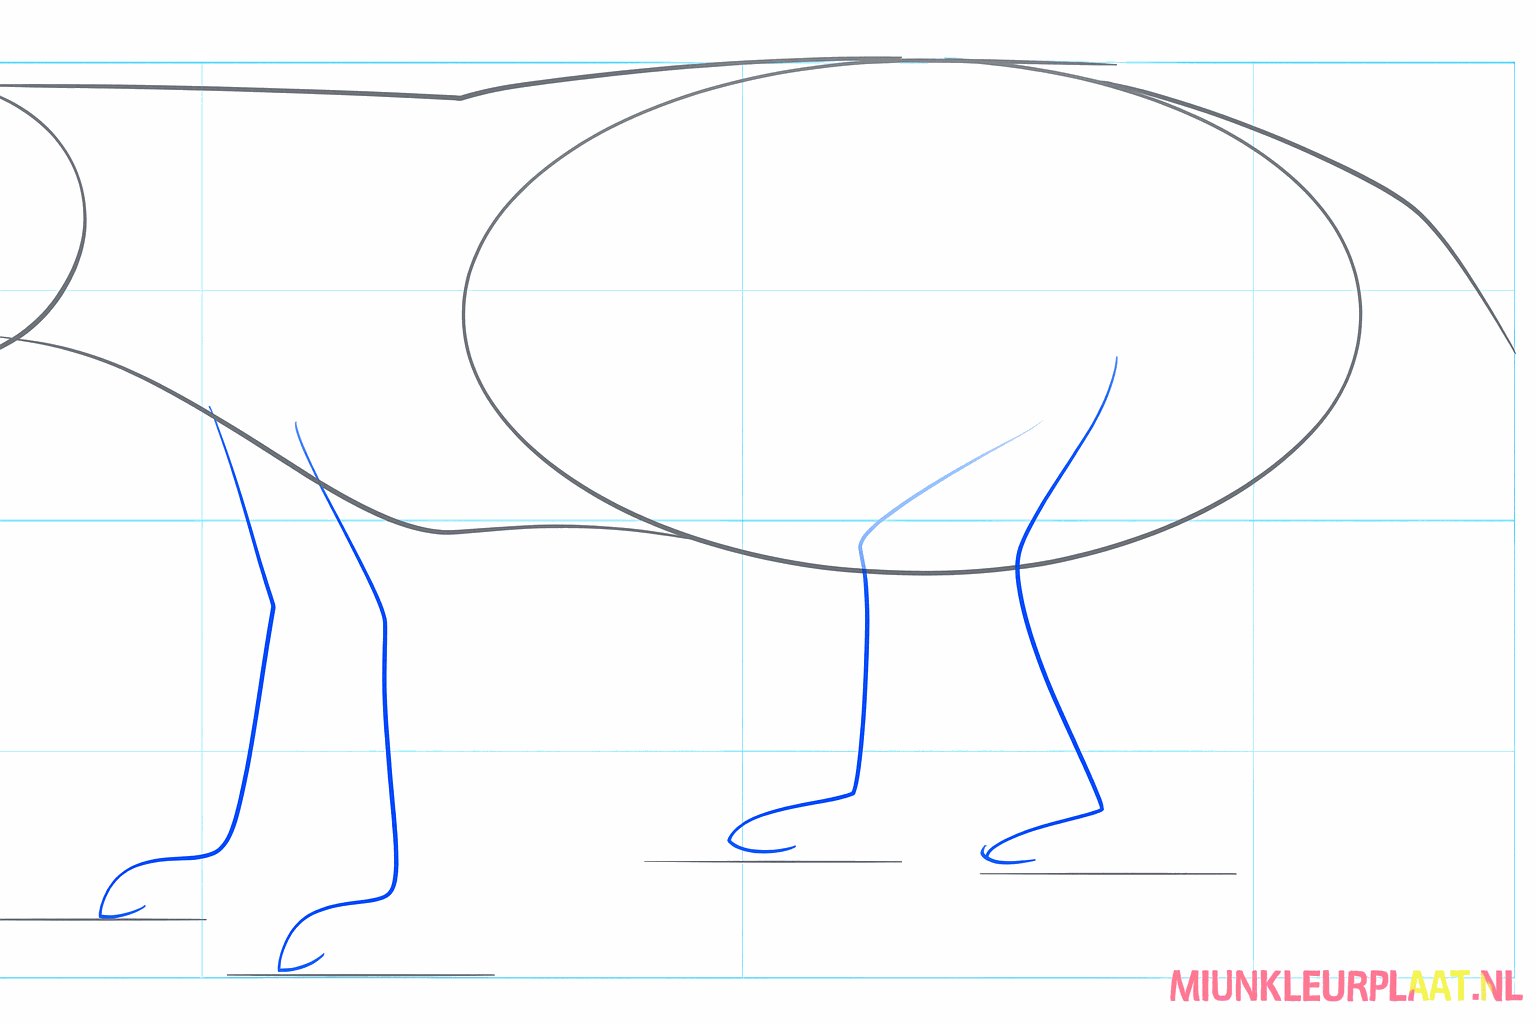
Make the legs a bit thicker and draw a small arc for the ear on top of the head.
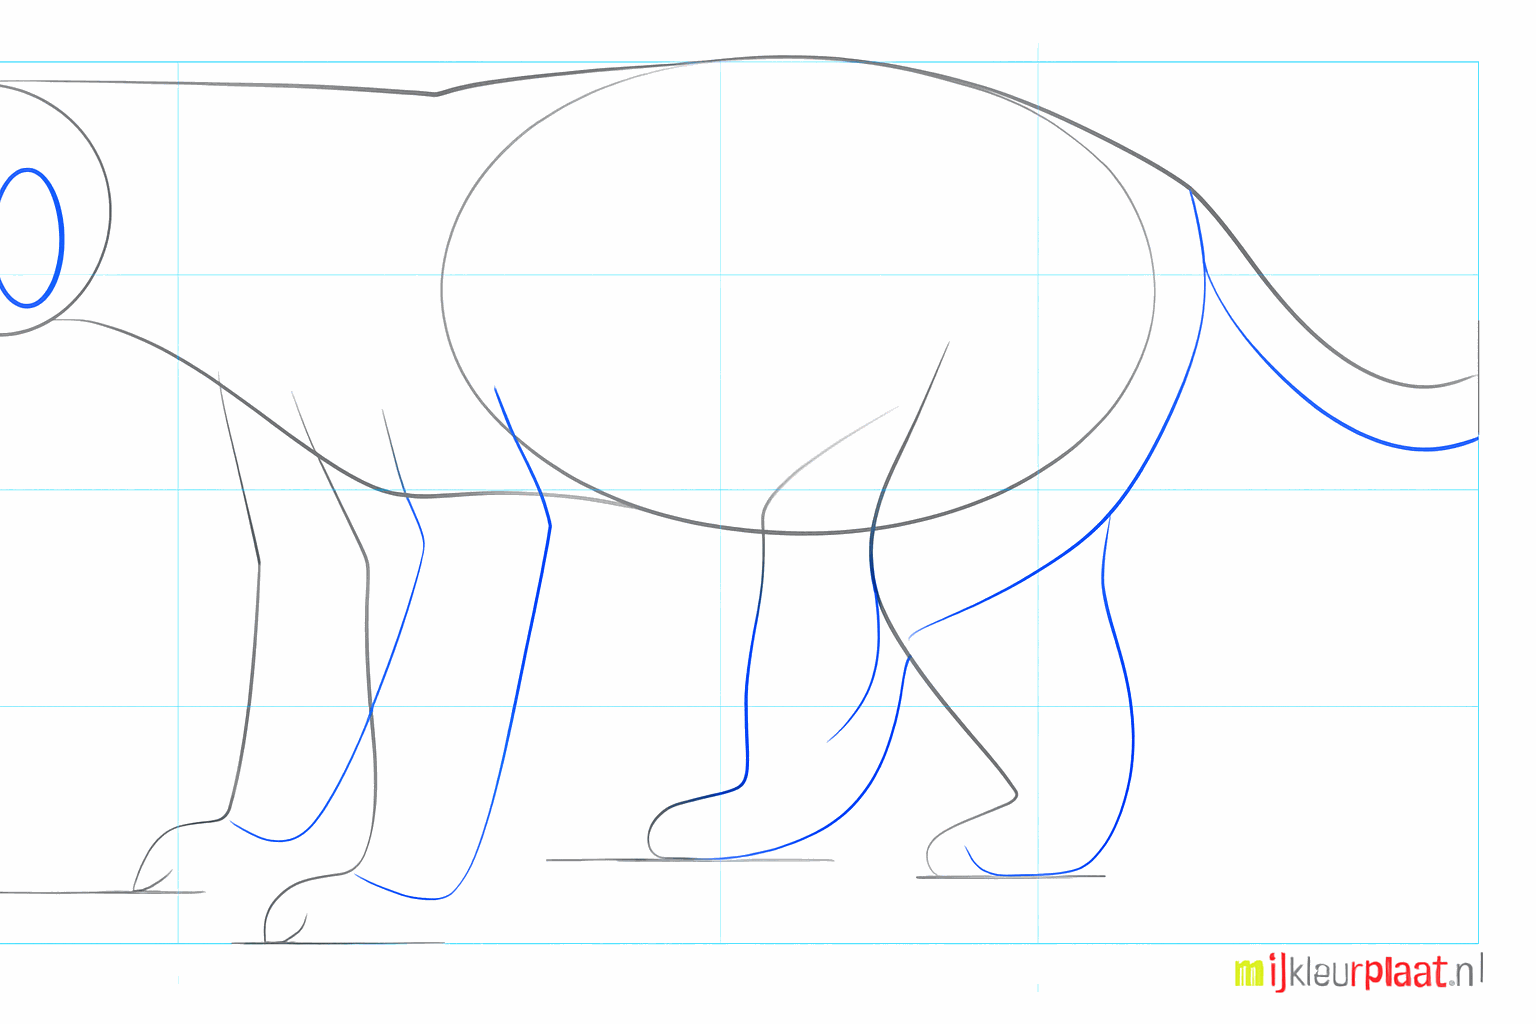
Now draw the snout and make the tail nice and thick and fluffy.
Give the honey badger an eye, a nose, and draw the line of his strong jaws.
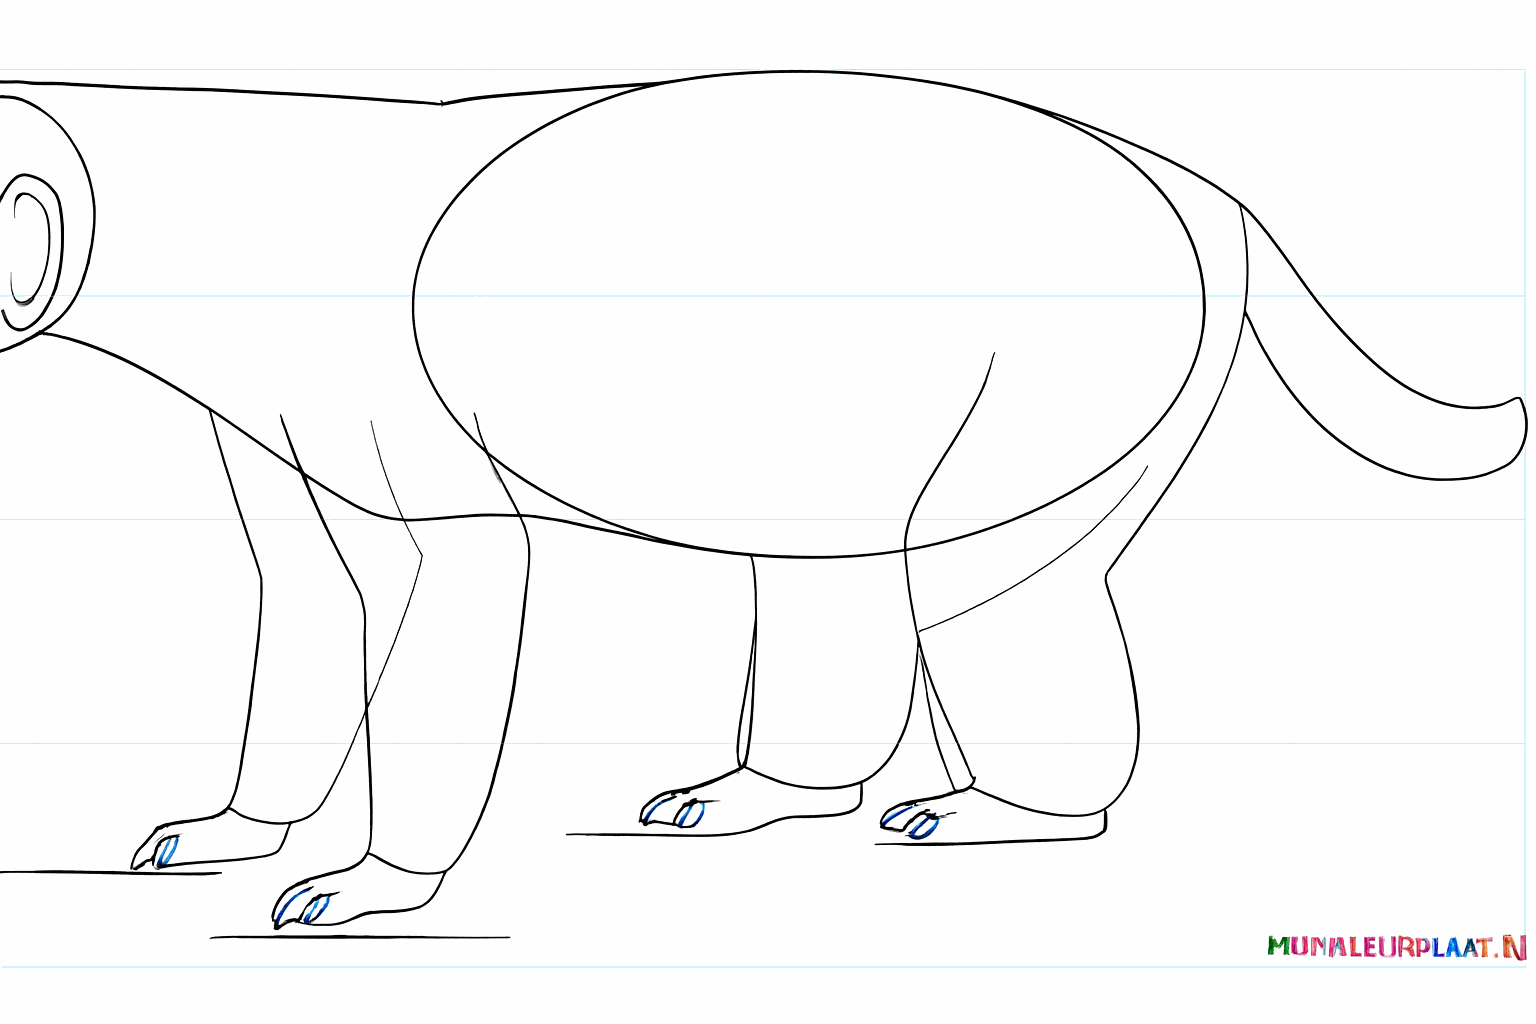
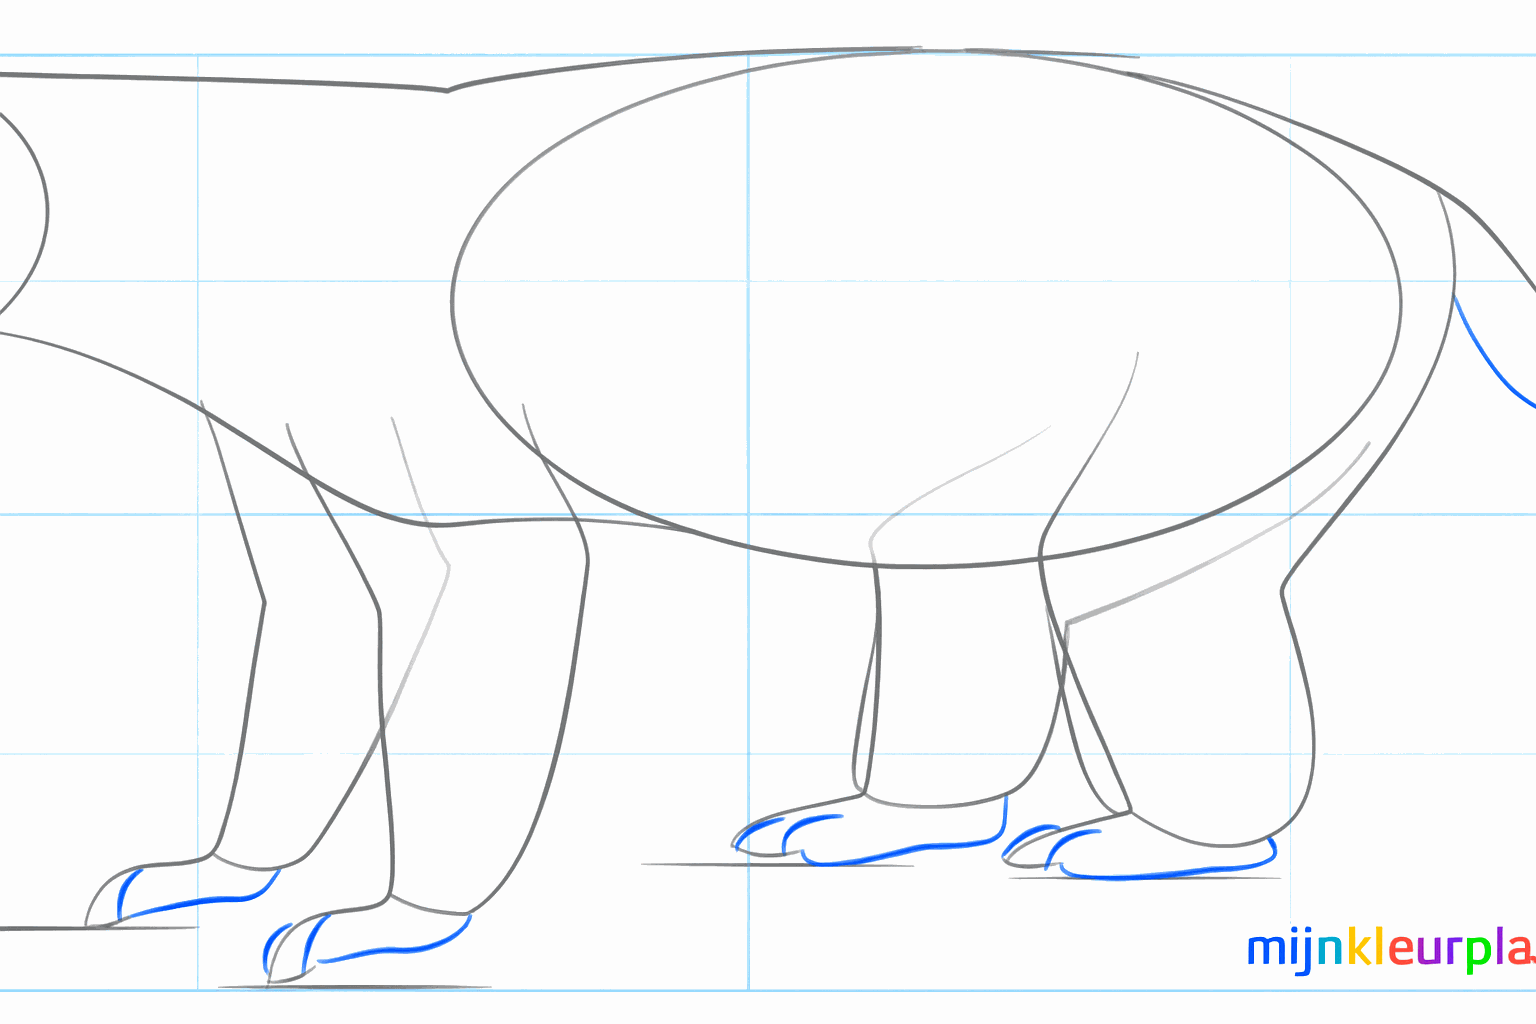
Draw sharp claws on the paws, because he is very good at digging with them.
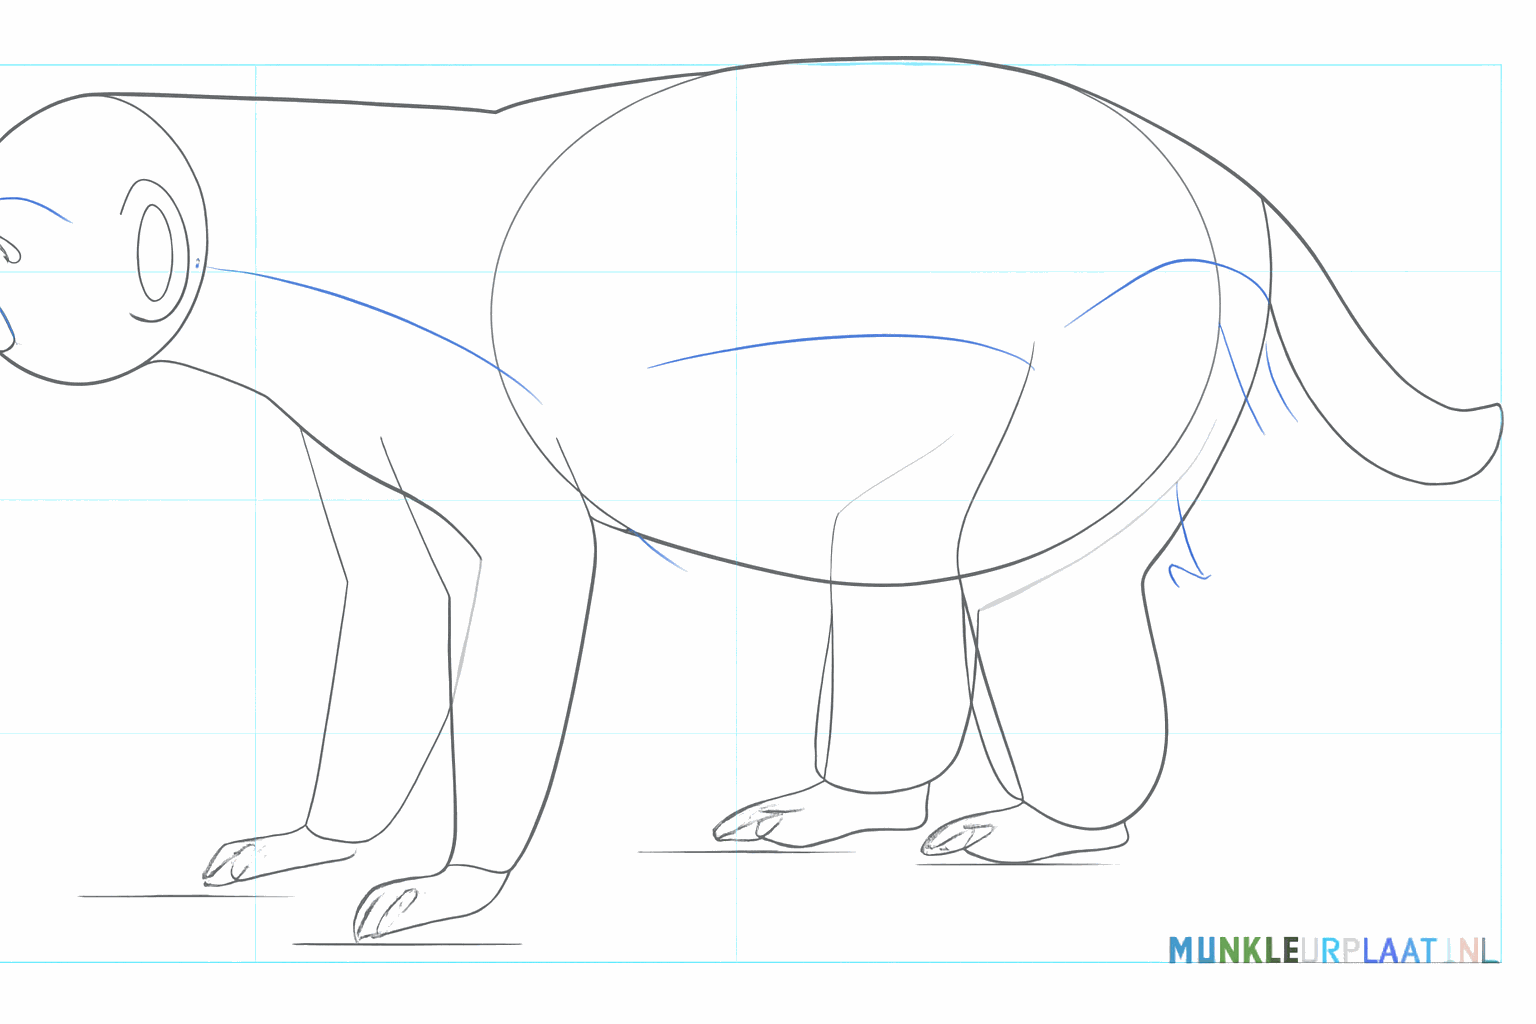
Draw a wavy line across his back to indicate where the gray fur ends.
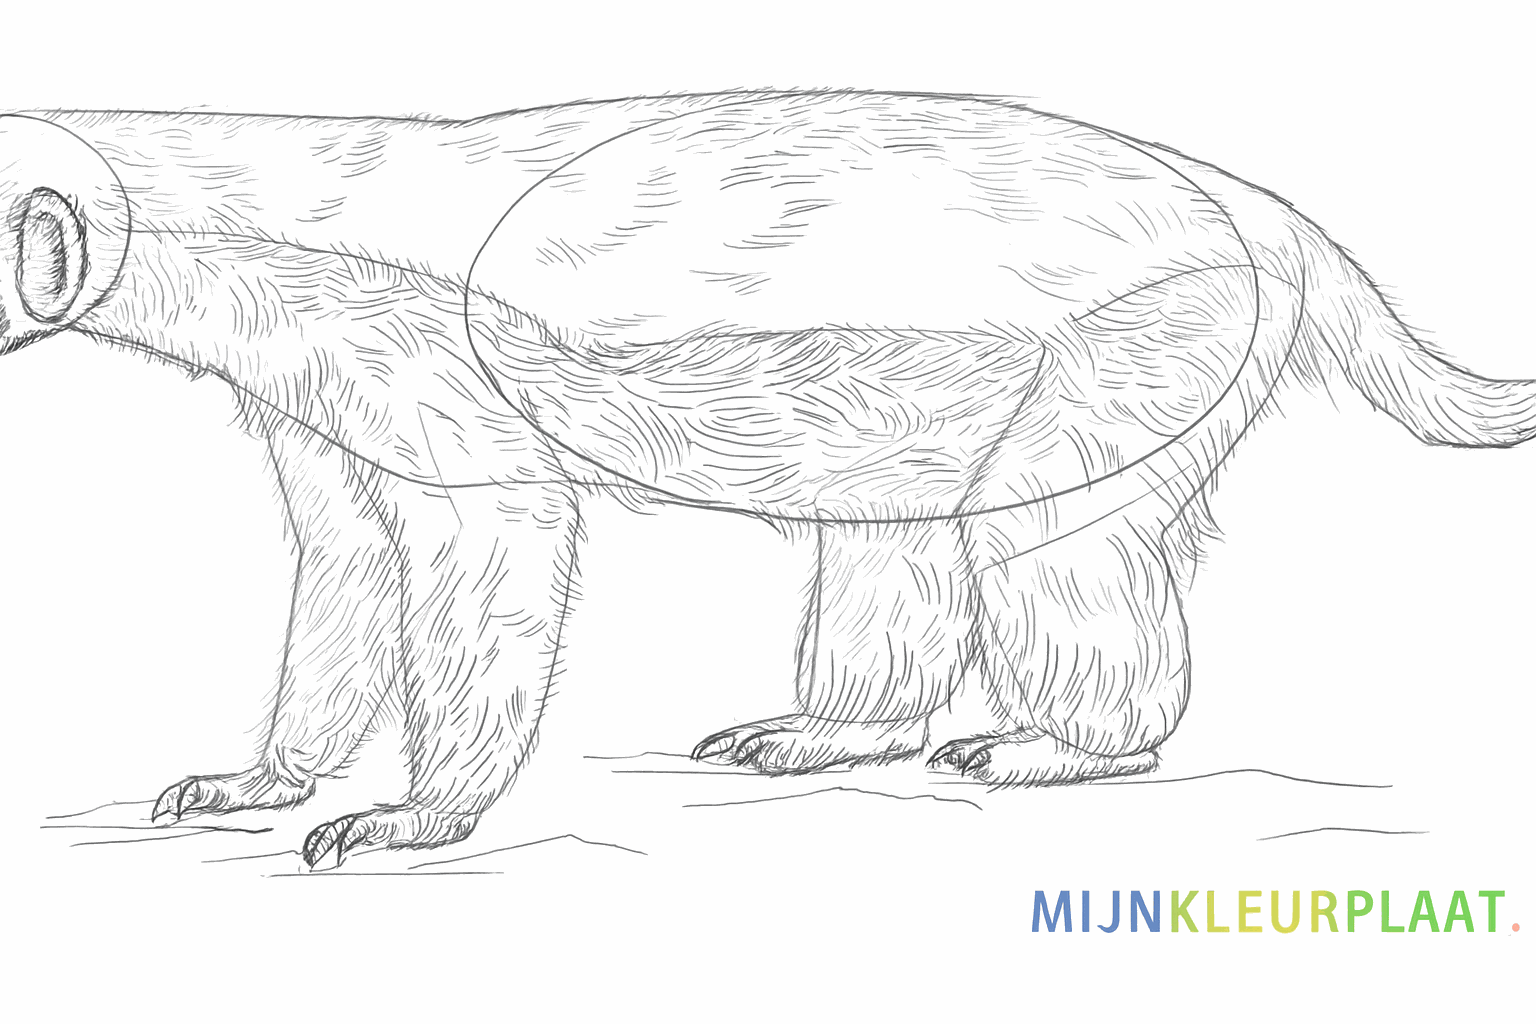
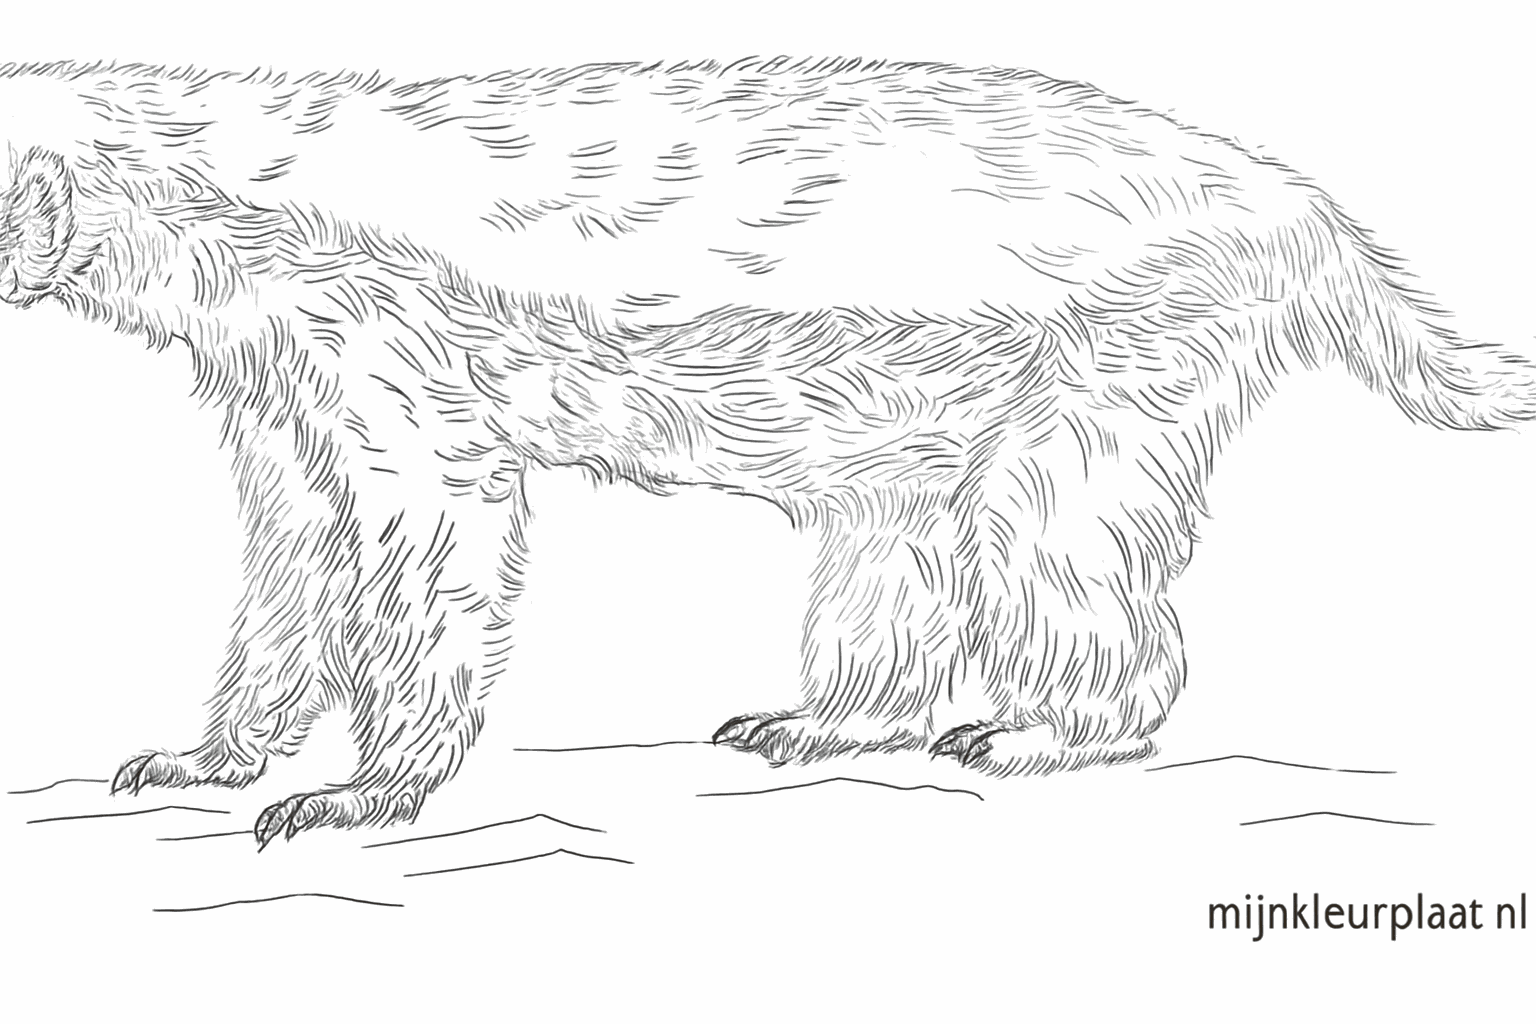
Erase the guide lines and color your honey badger beautifully with black and gray.
Frequently asked questions
What exactly is a honey badger?
What colors do I need?
Is a honey badger difficult to draw?
What if I make a mistake?
Coloring pages of honey badger 2
View all honey badger 2 coloring pagesRelated drawing lessons