How to draw a honey badger 2?
Learn step by step how to draw a honey badger 2. Follow the 9 steps and print the tutorial.
1
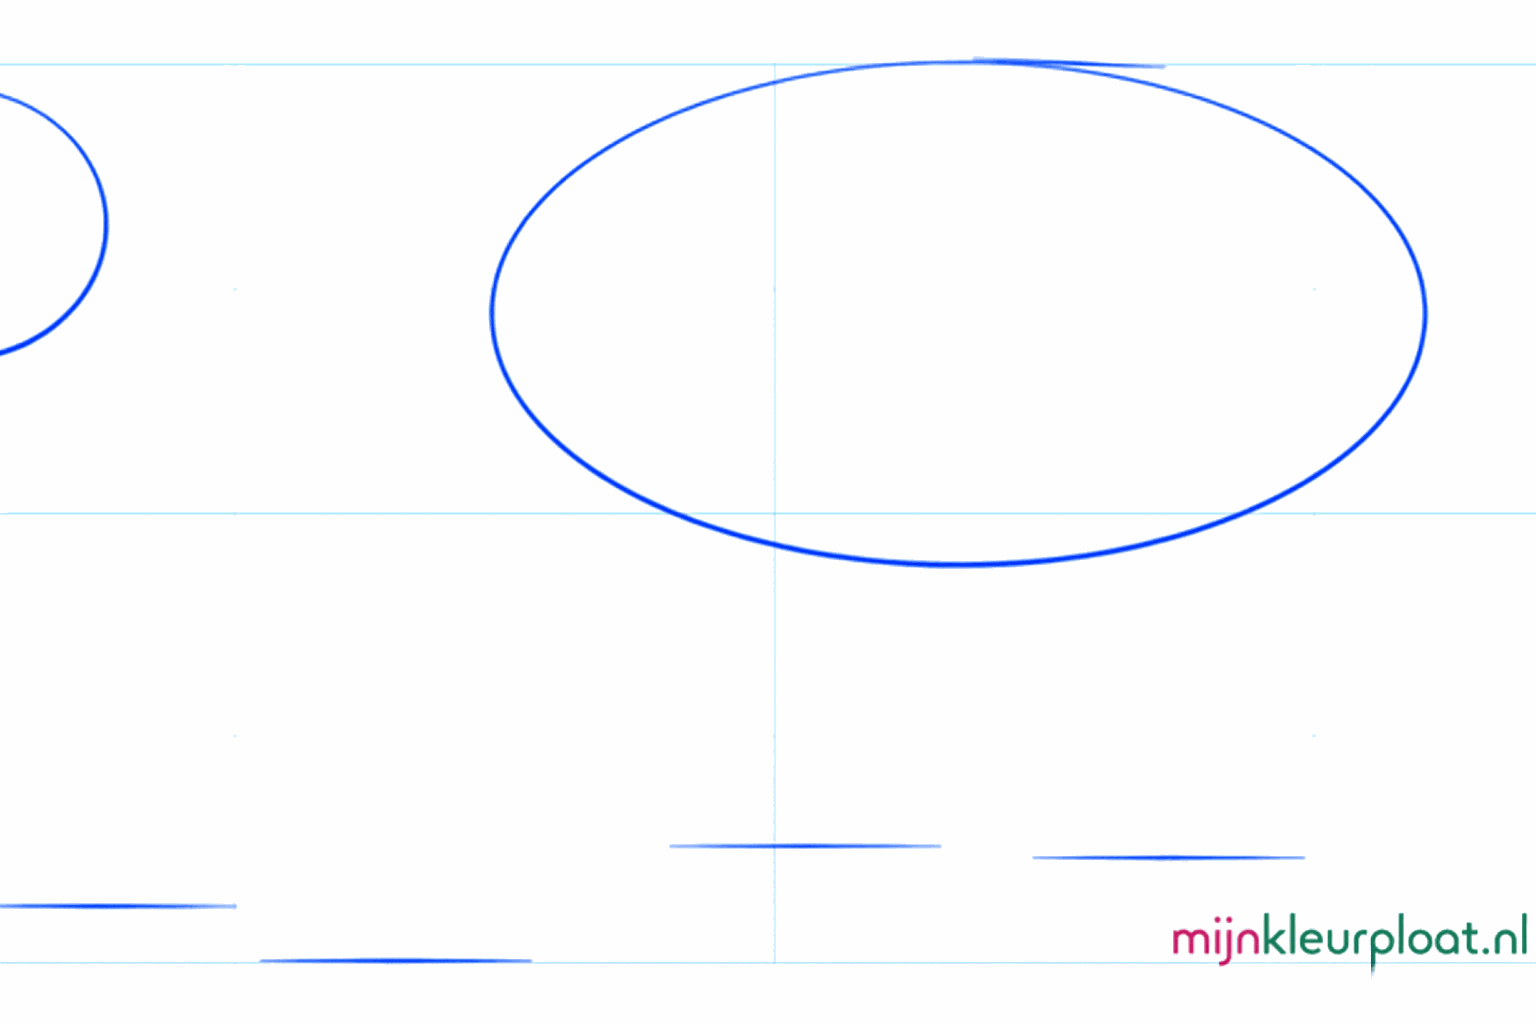
Draw a large horizontal oval for the body and a smaller circle for the head.
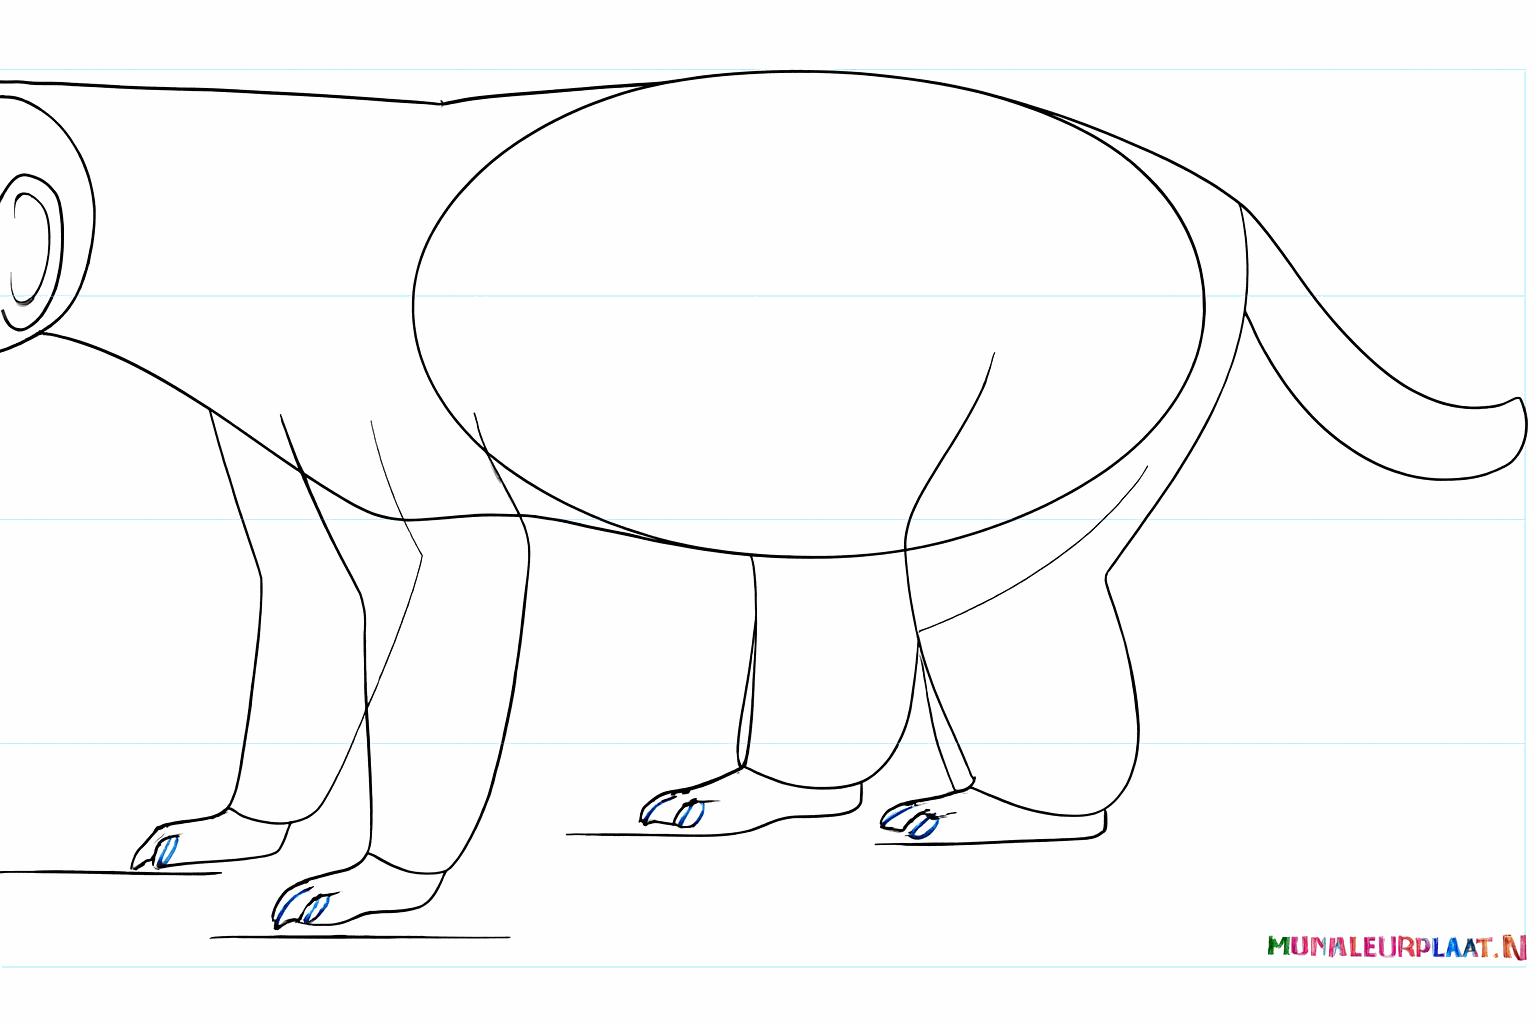
2
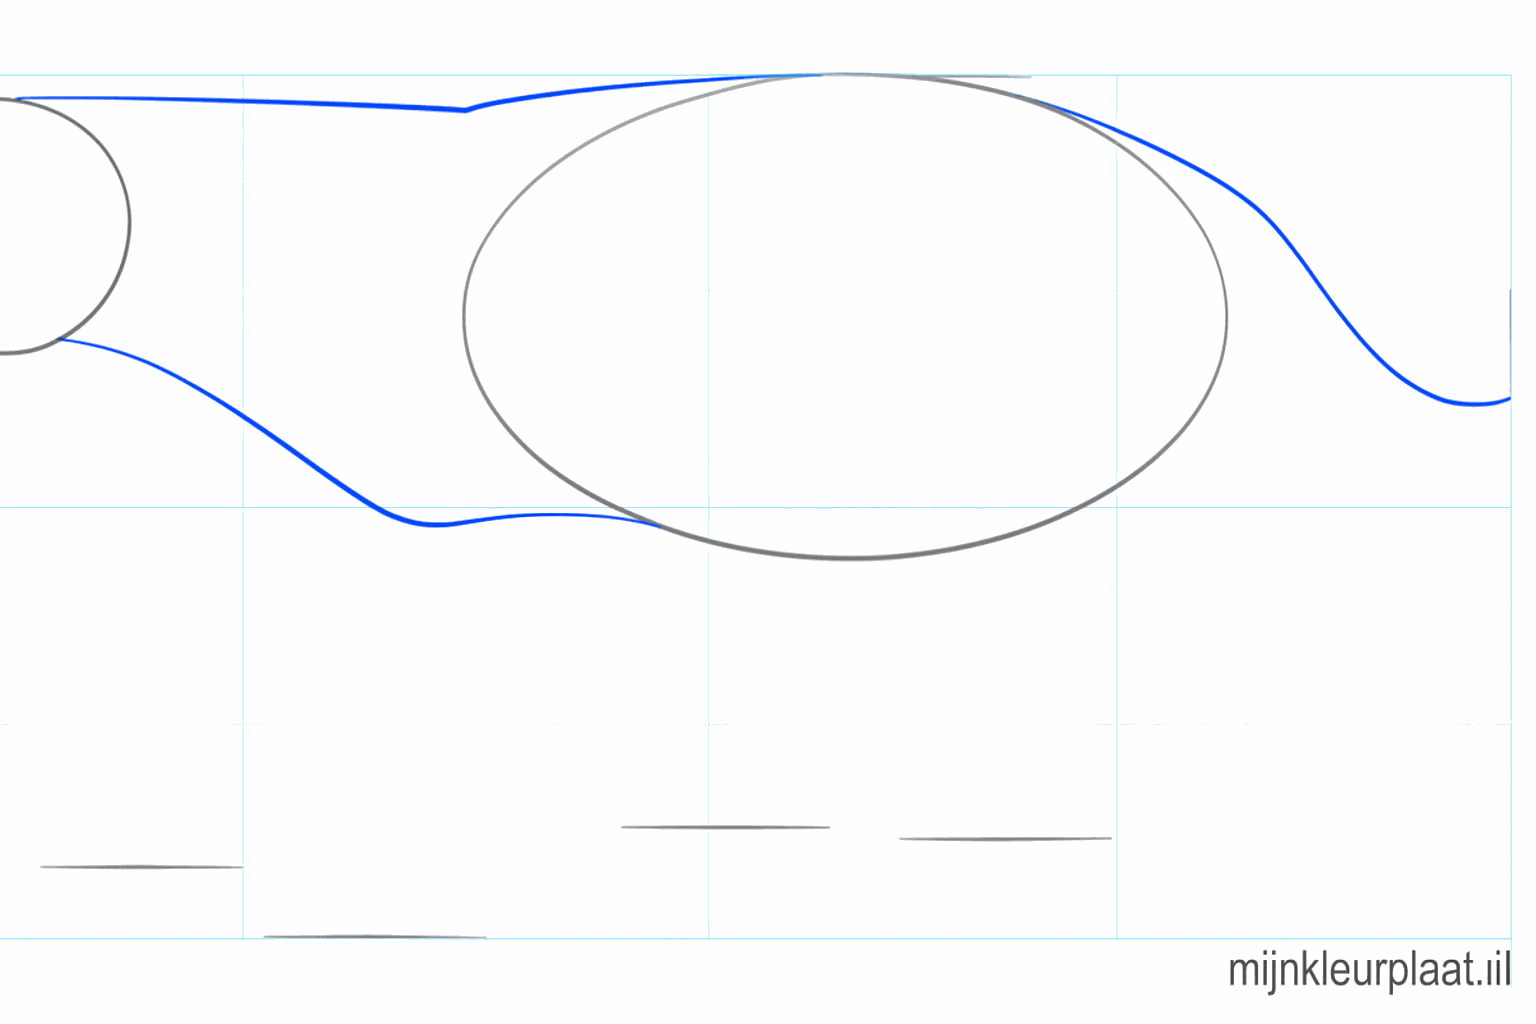
Connect the head and the body with two lines and draw a curved line for the tail.
3
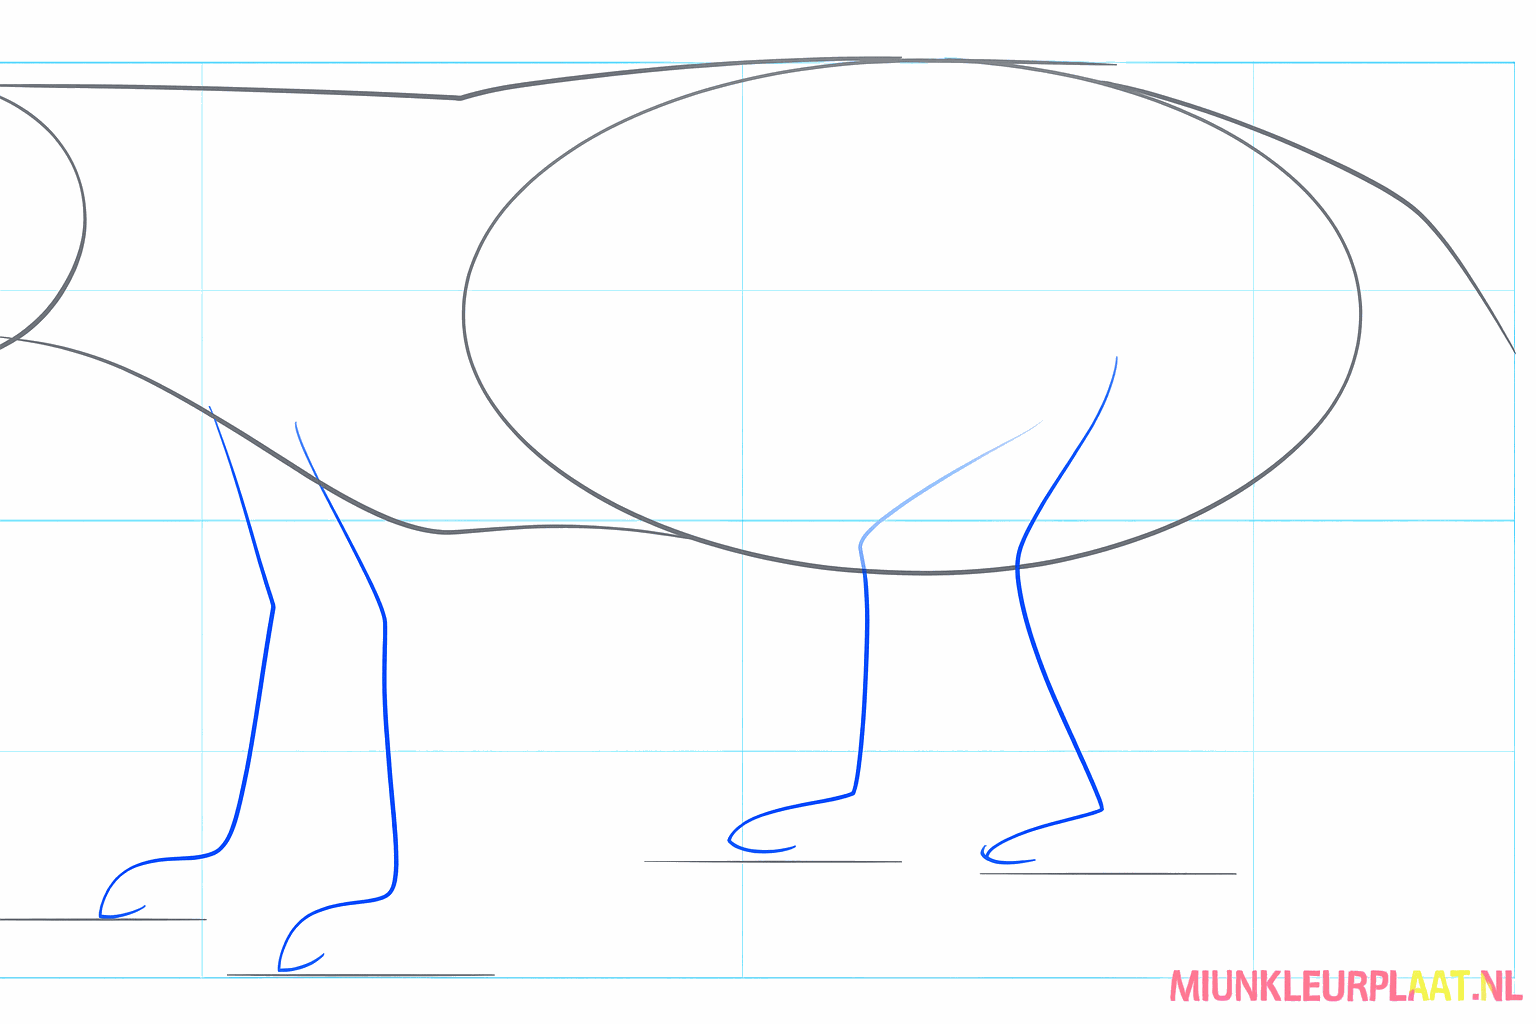
Place small guide lines on the head for the eyes and nose, and four lines under the body for the legs.
4
Make the legs a bit thicker and draw a small arc for the ear on top of the head.
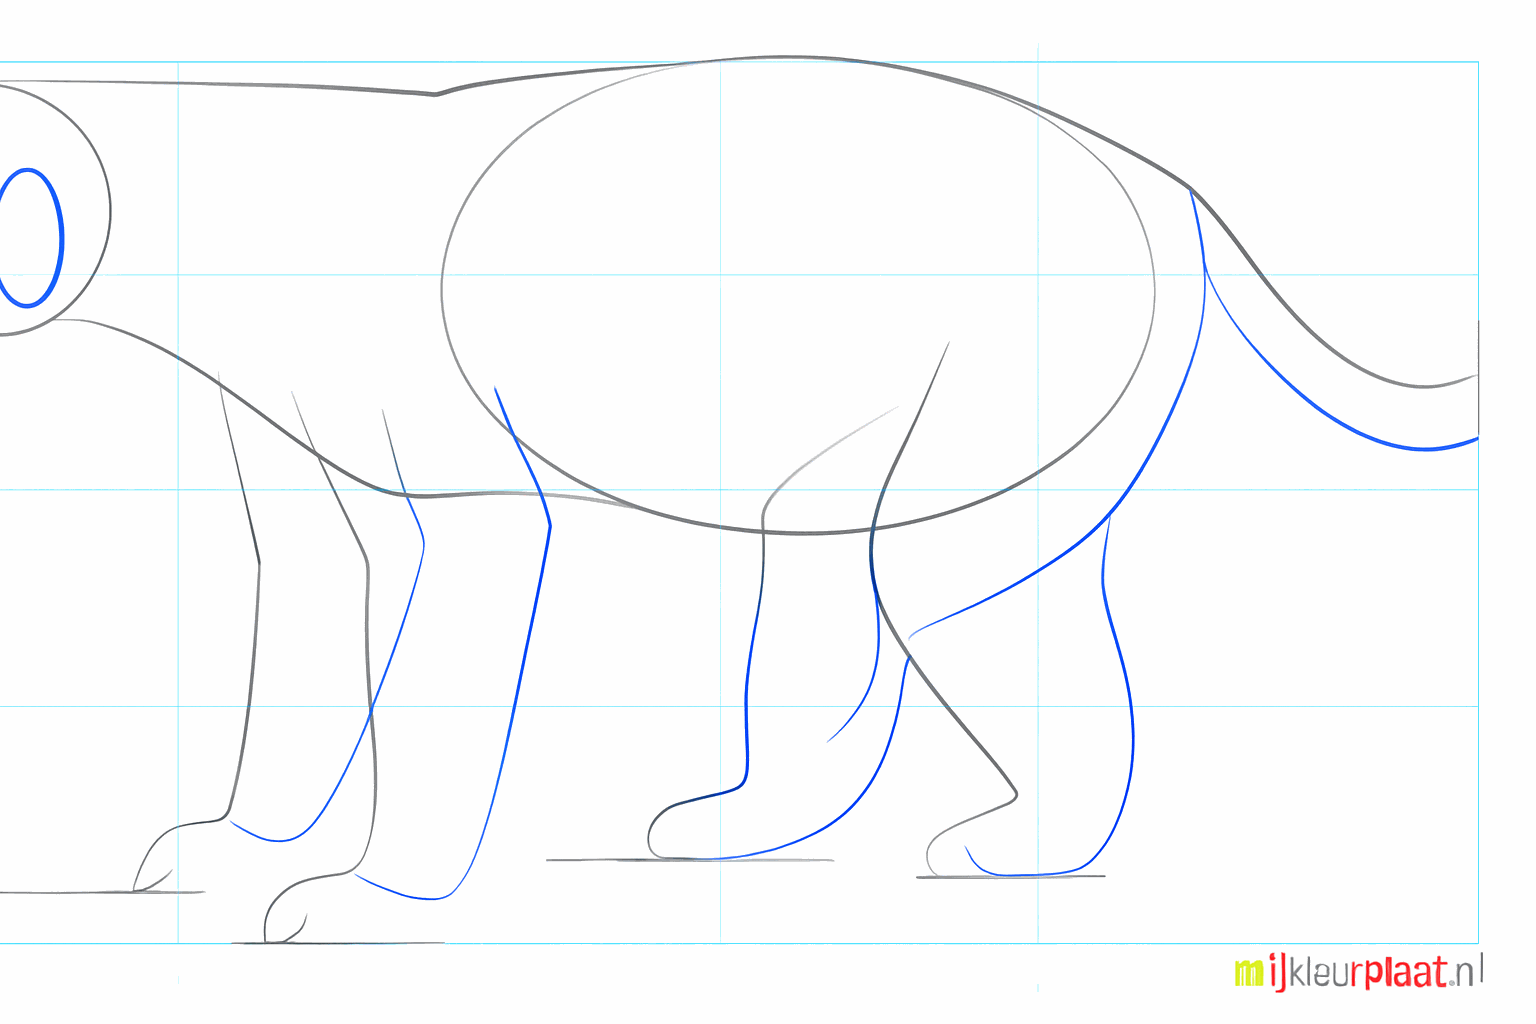
5
Now draw the snout and make the tail nice and thick and fluffy.
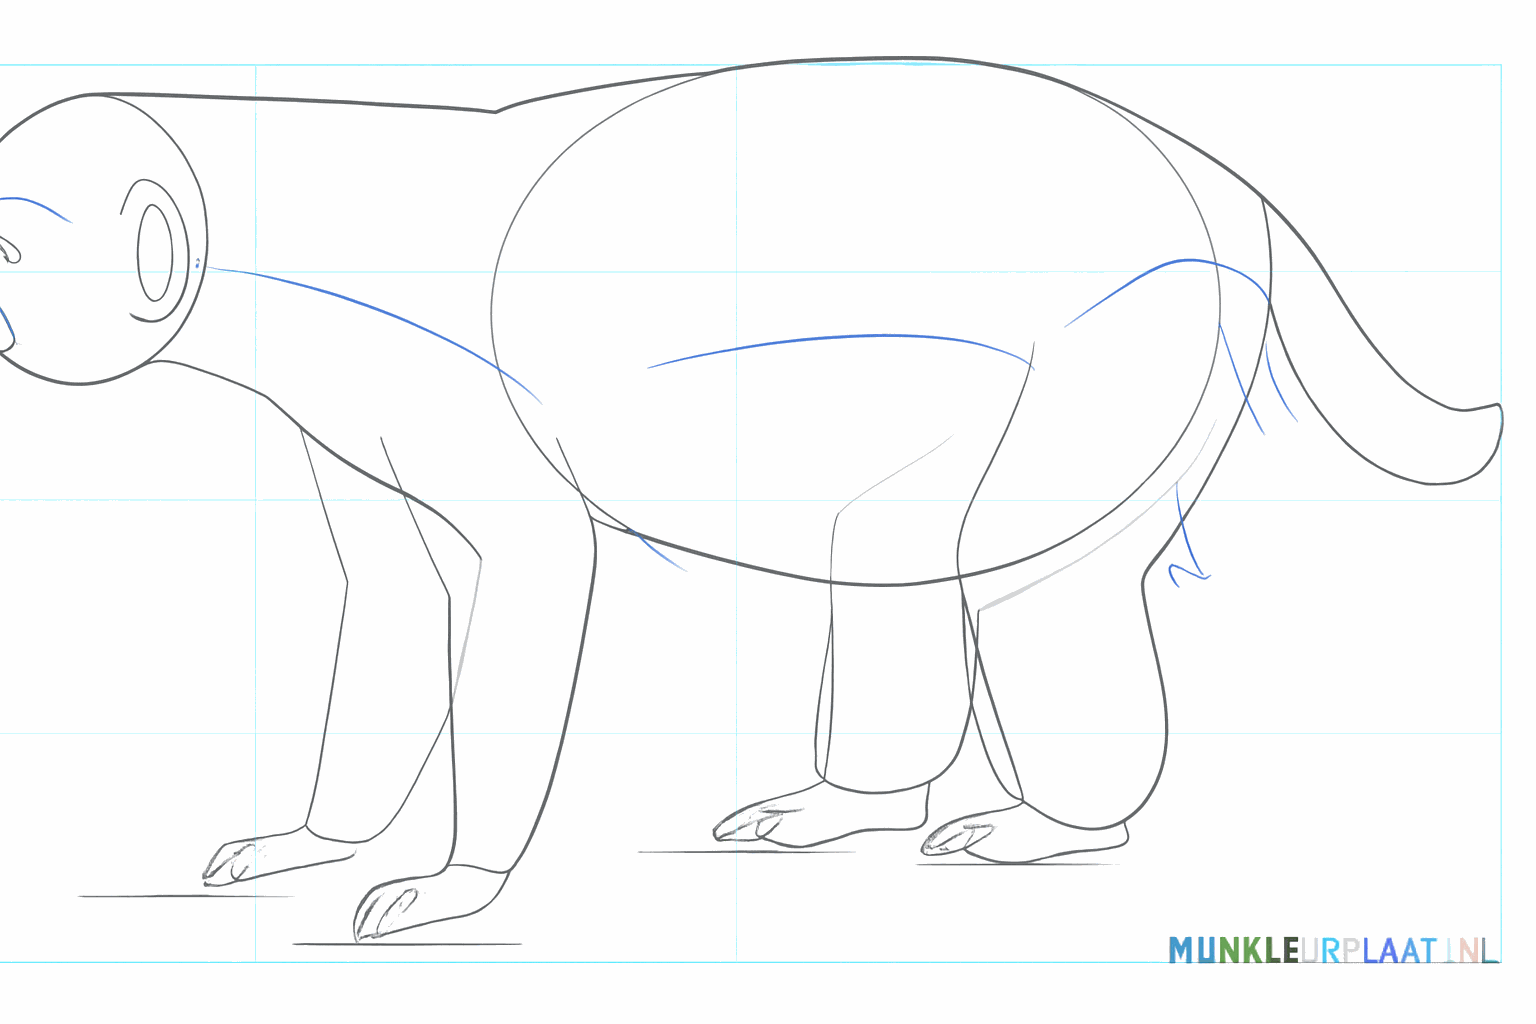
6
Give the honey badger an eye, a nose, and draw the line of his strong jaws.
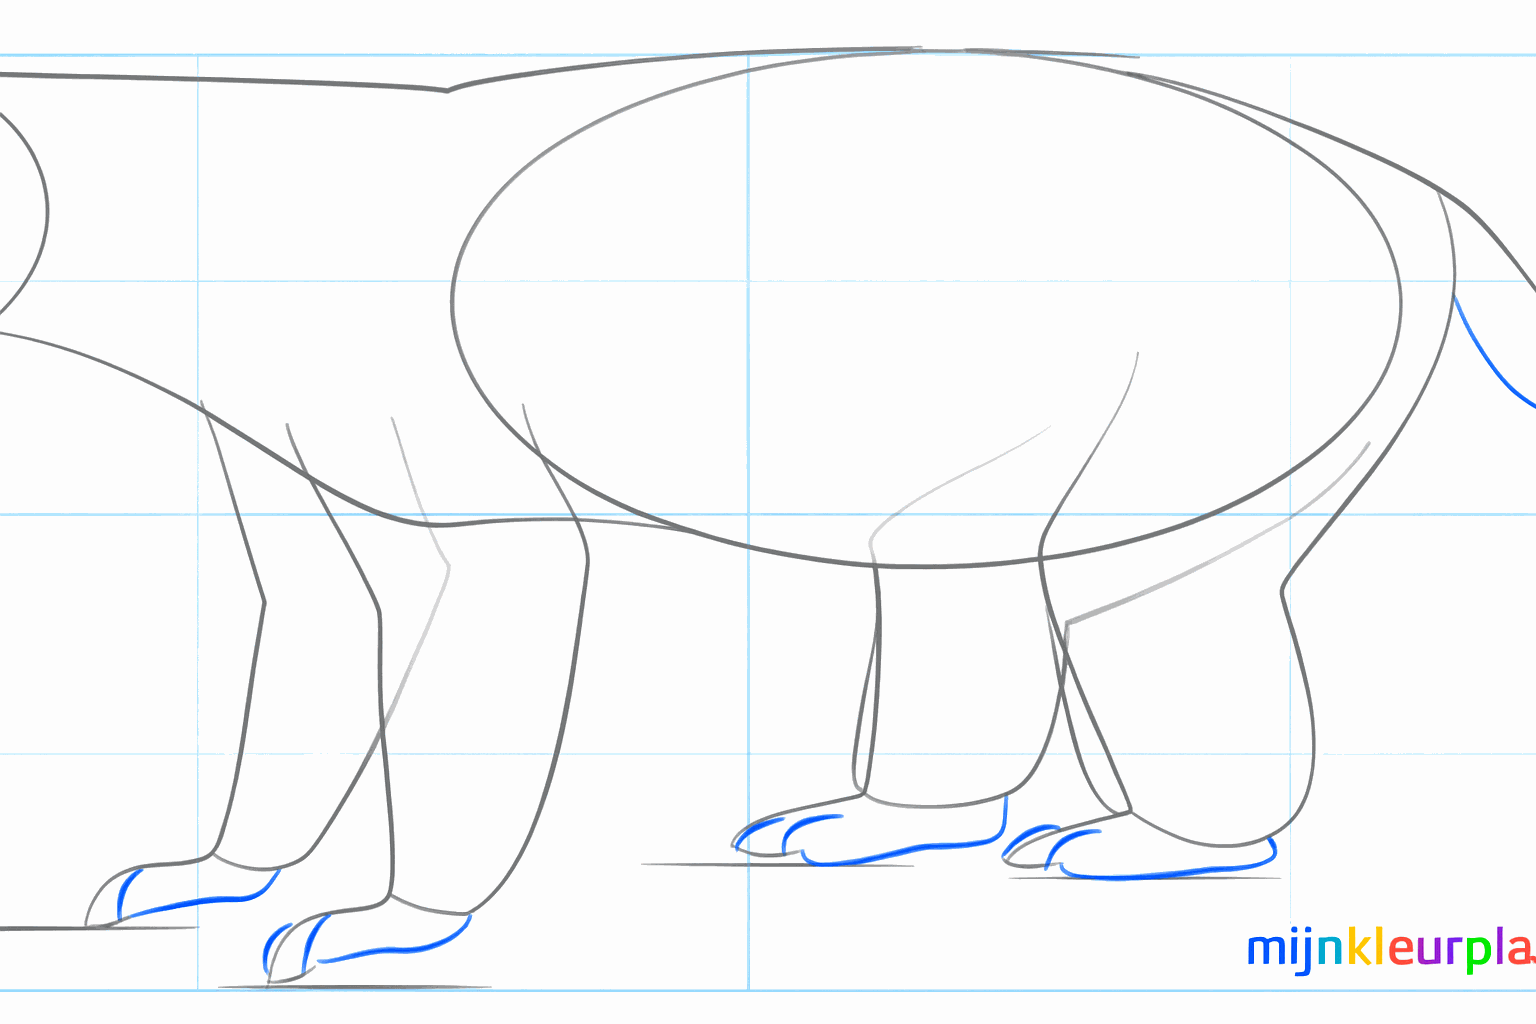
7
Draw sharp claws on the paws, because he is very good at digging with them.
8
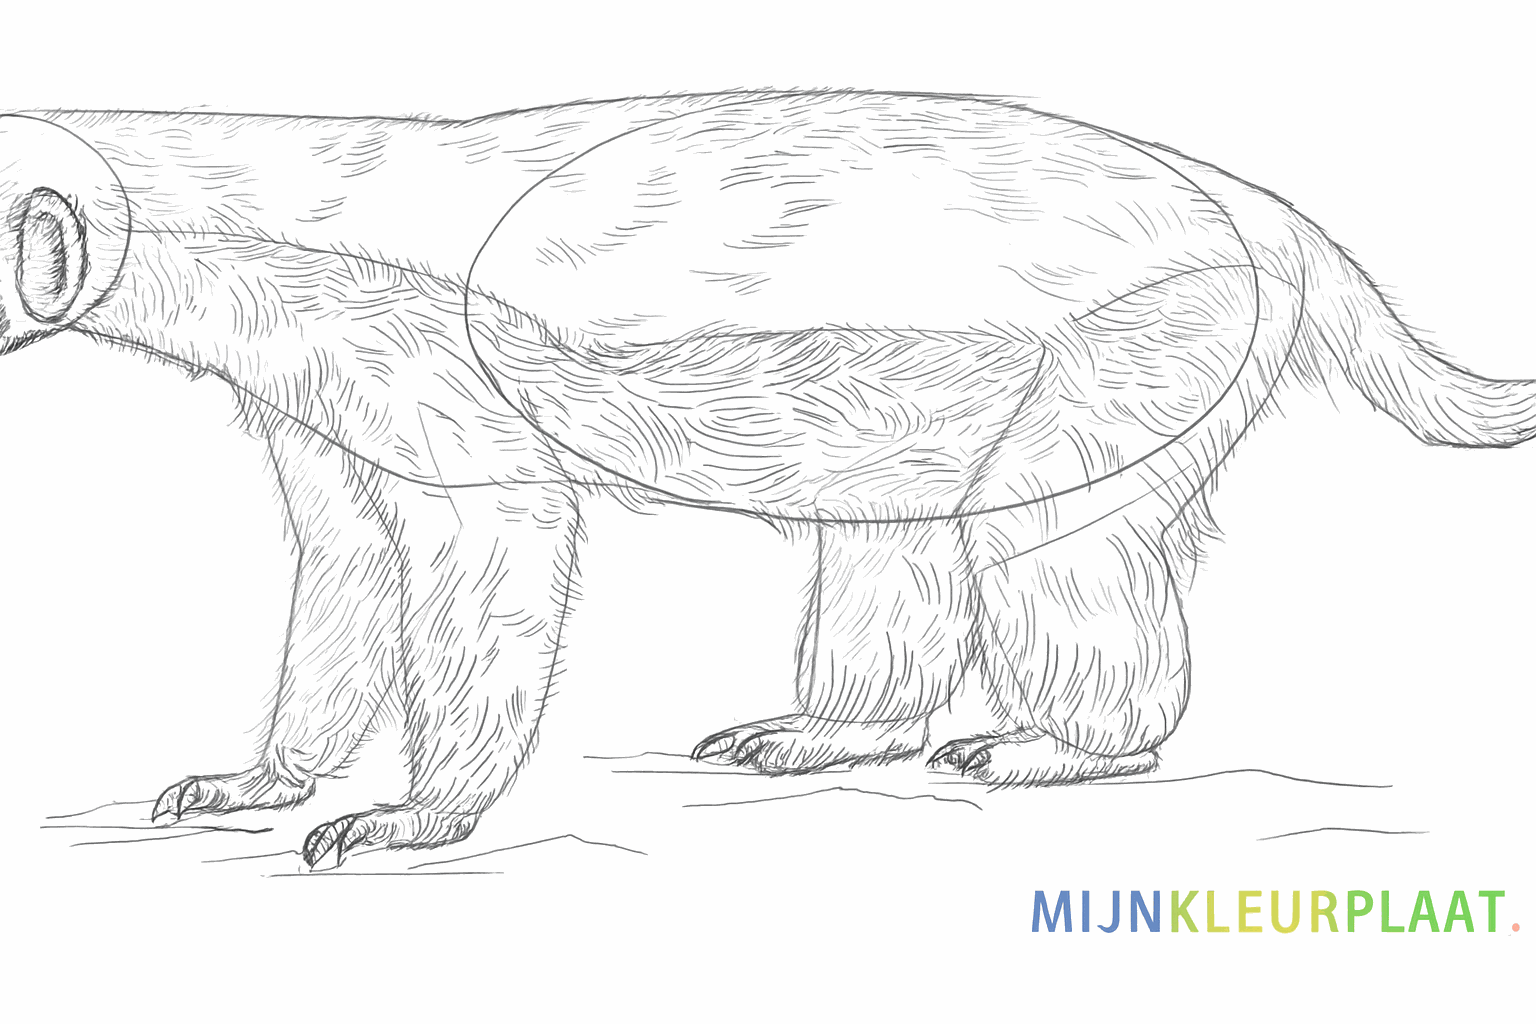
Draw a wavy line across his back to indicate where the gray fur ends.
9
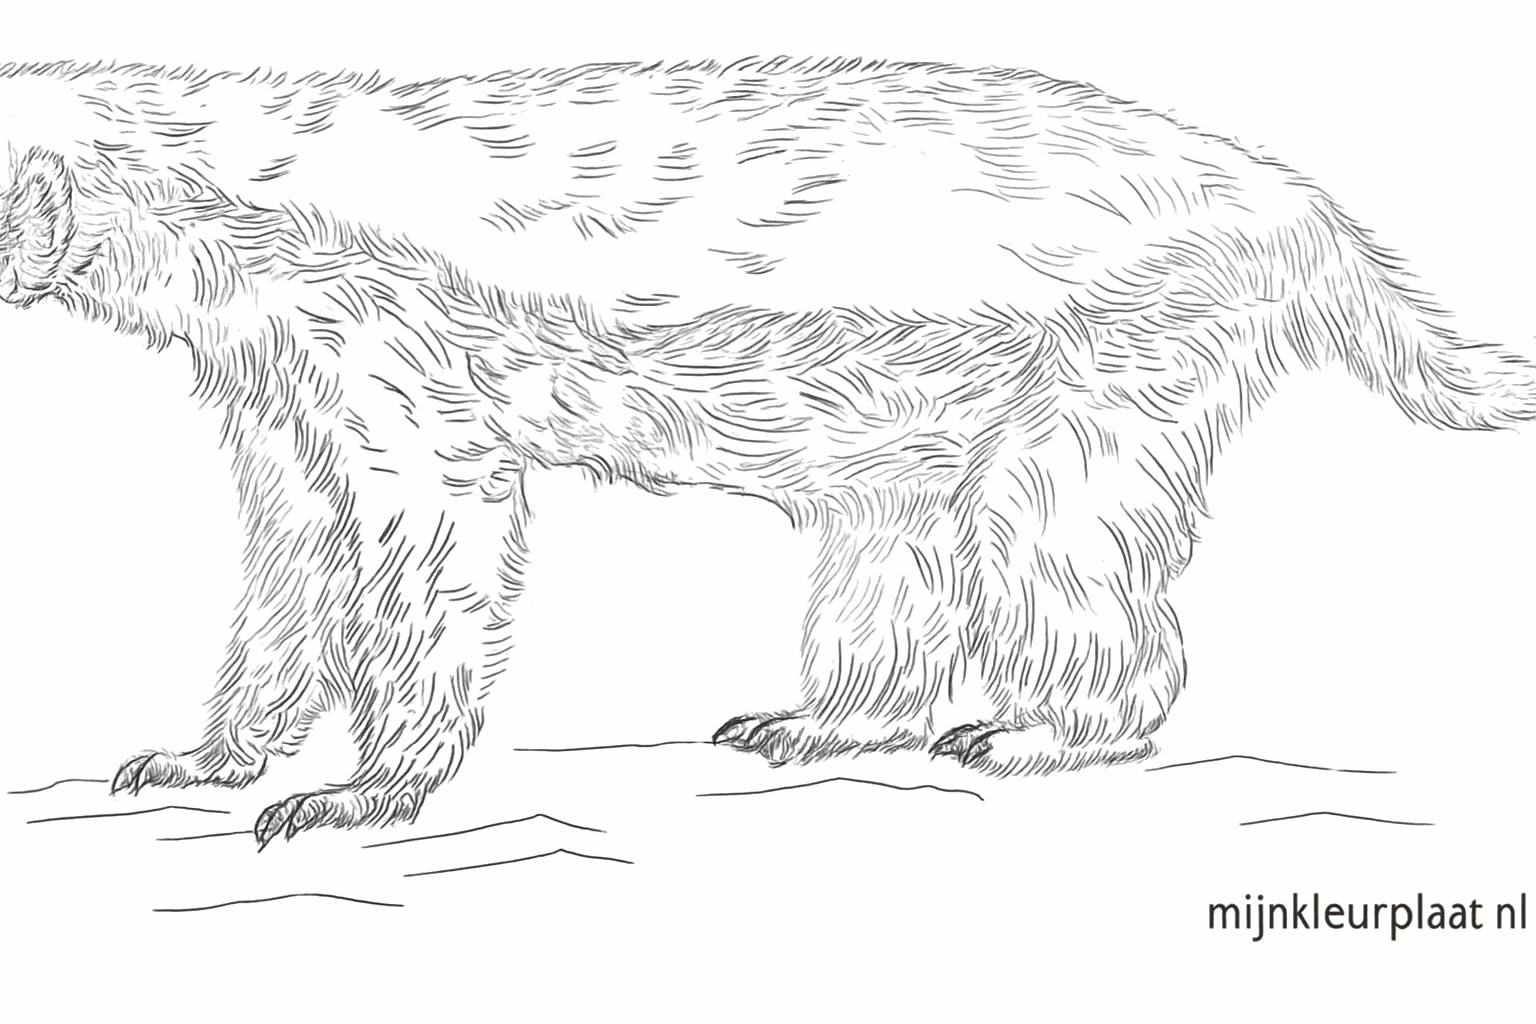
Erase the guide lines and color your honey badger beautifully with black and gray.