How to draw a woodpecker?
Learn step by step how to draw a woodpecker. Follow the 8 steps and print the tutorial.
Do you want to learn how to draw a woodpecker tapping on a tree? Follow these easy steps and create your own bird artwork!
Intro
Hi little artist! Today we are going to draw a cool woodpecker sitting against a tree trunk. Woodpeckers are super good climbers and can hammer very hard with their beaks. Grab your pencil and eraser, and let's get started together!
Summary
In this drawing lesson, you will learn to draw a woodpecker on a tree trunk using simple circles and lines. We build the bird step by step into a beautiful final result.
Steps
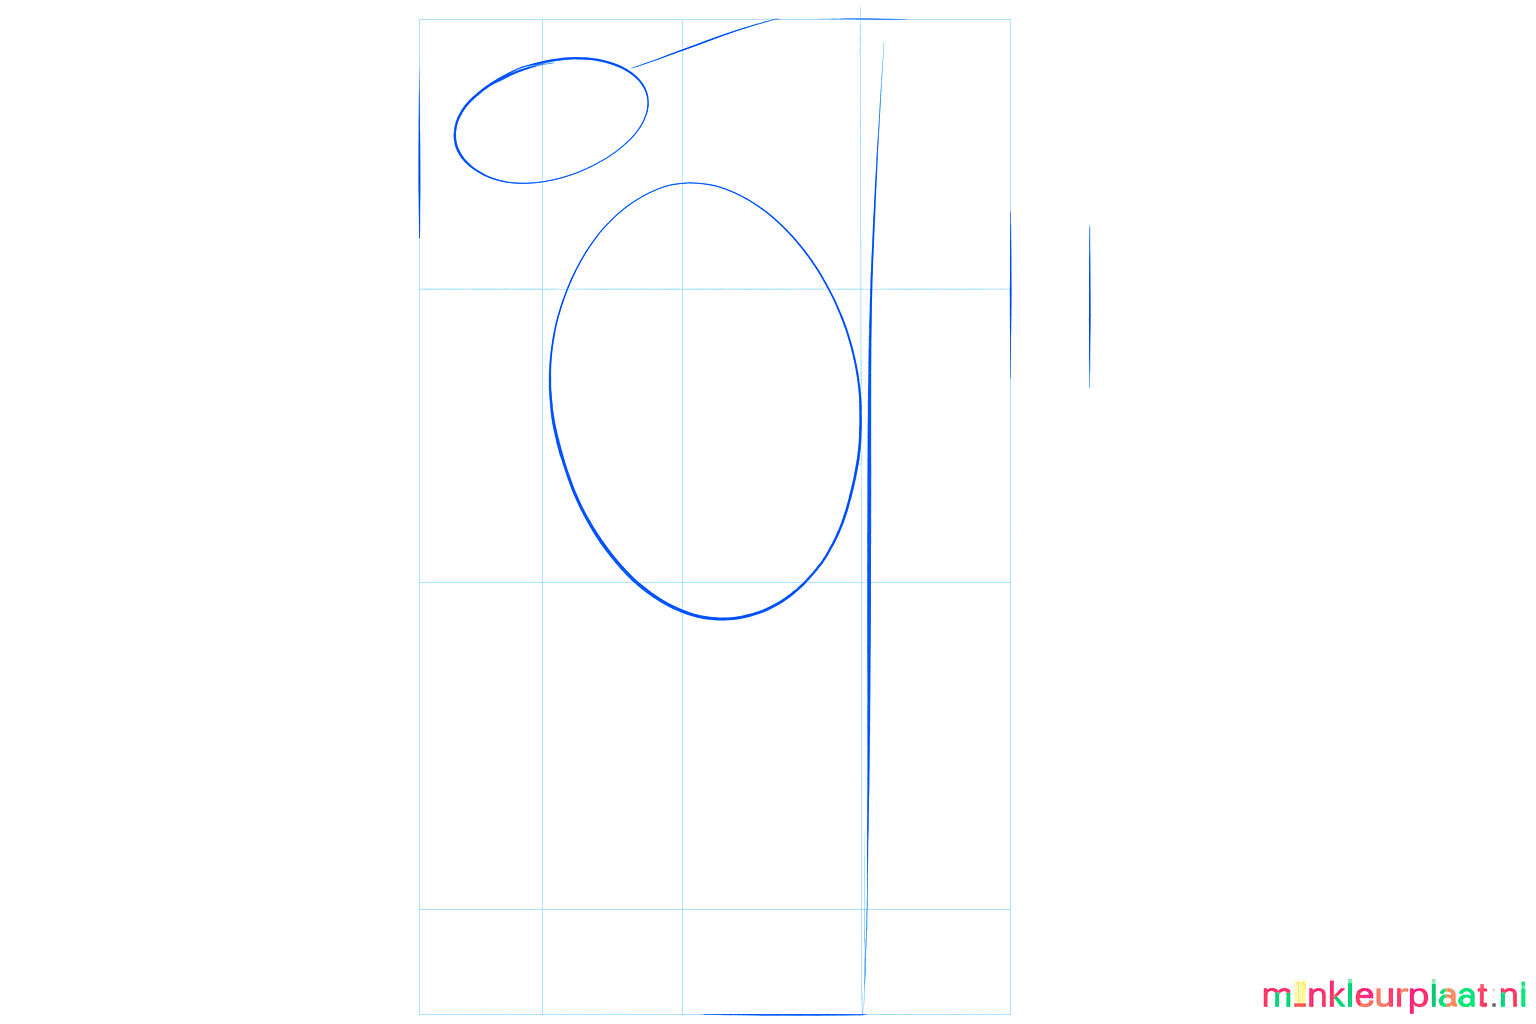
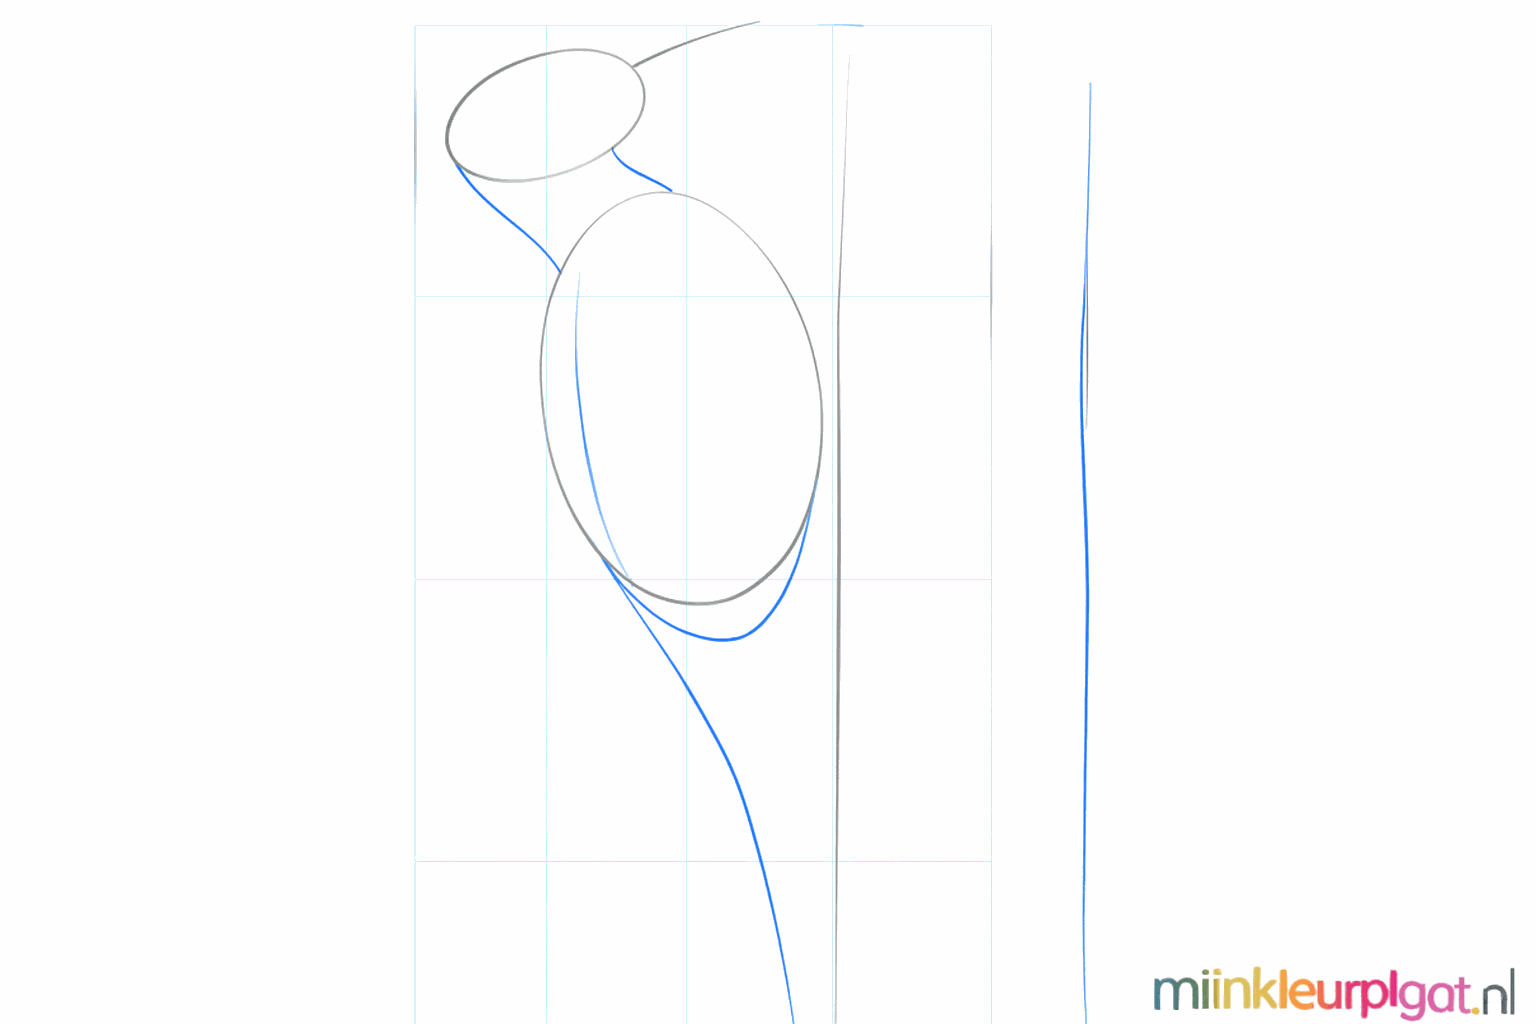
Draw a small circle for the head and a larger oval for the body, with a straight line for the tree.
Connect the head to the body with two short lines for the neck and sketch a guide line for the tail.
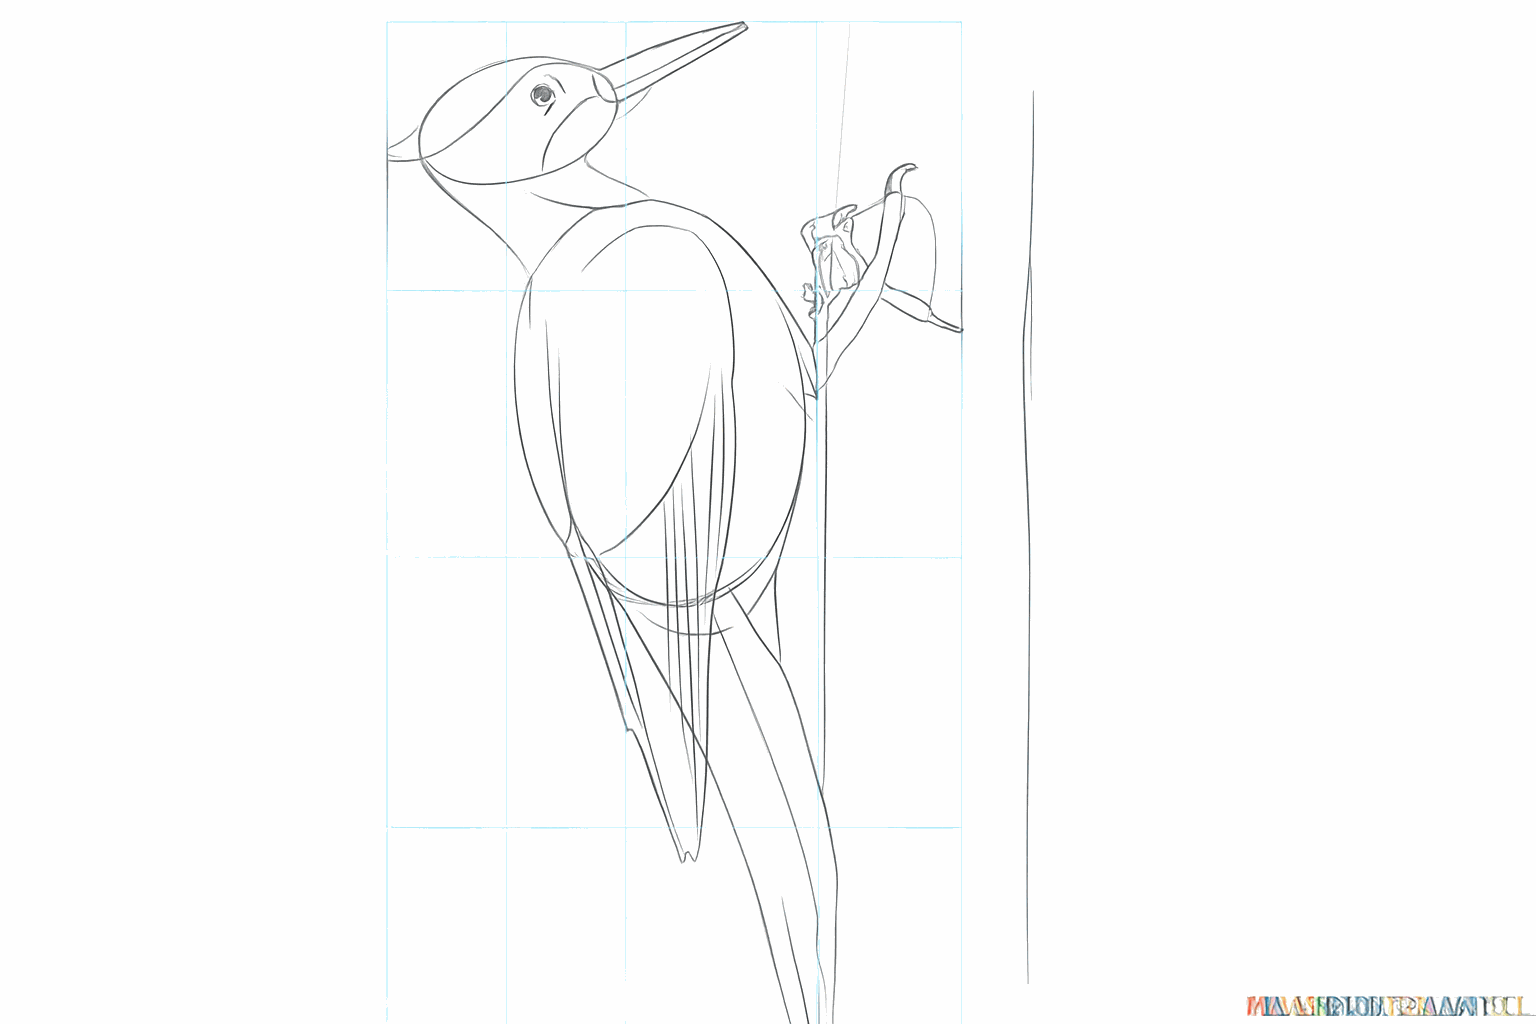
Draw a triangular shape for the beak and place small marks where the wings and legs should go.
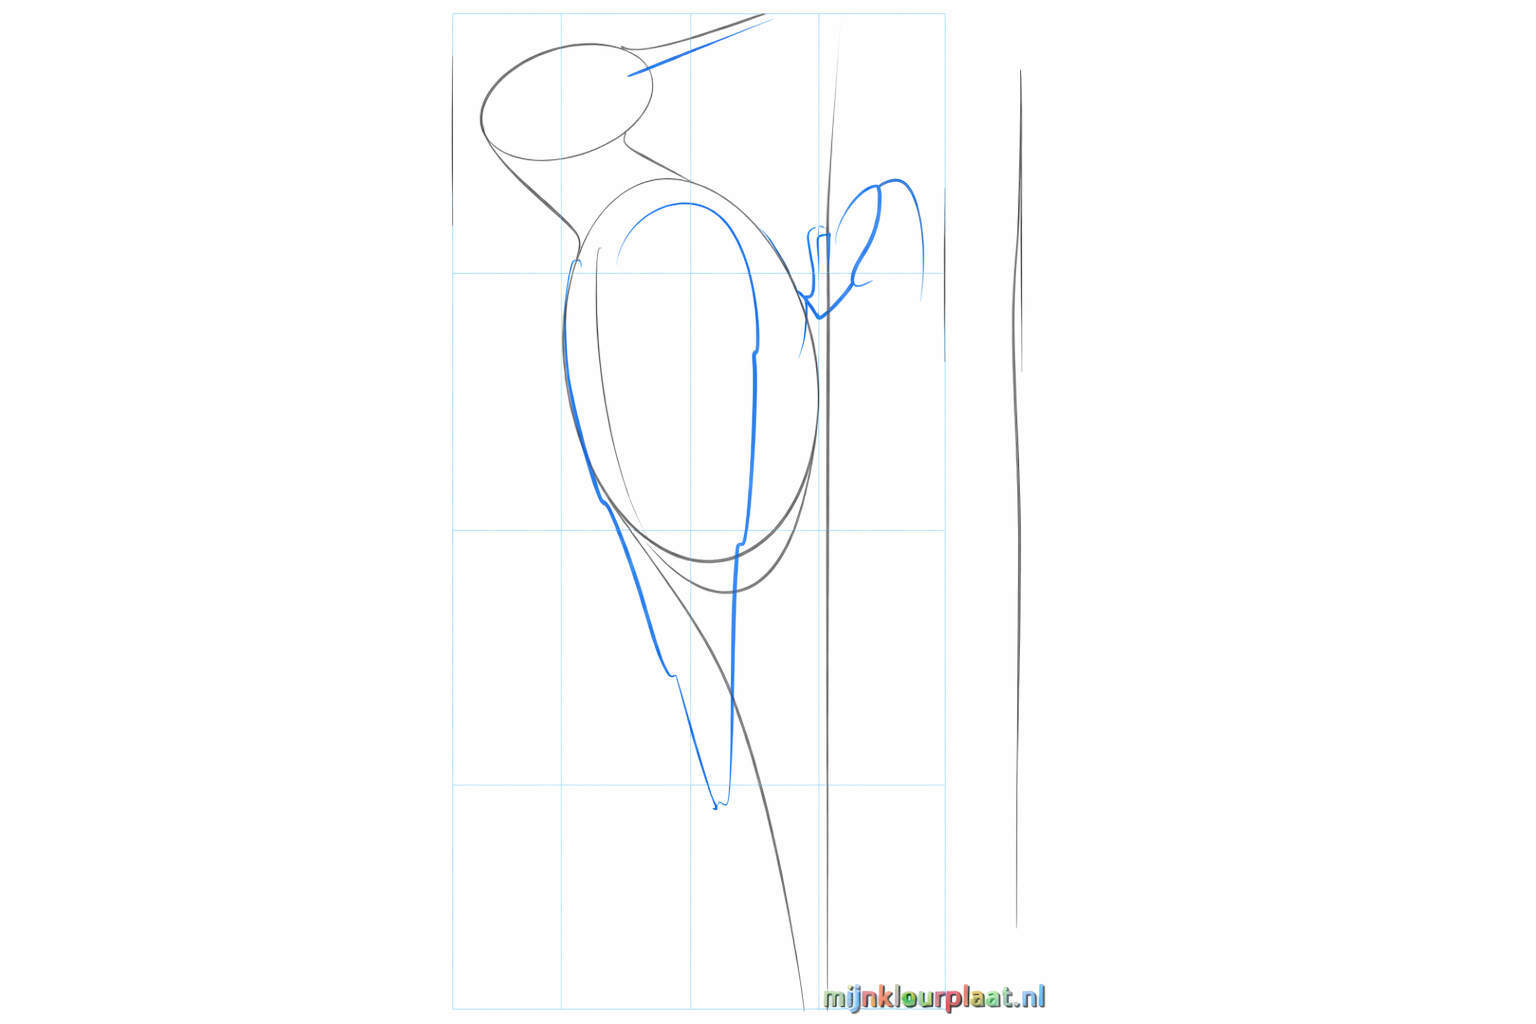
Make the beak sturdier and give the wing on the back a nice round shape.
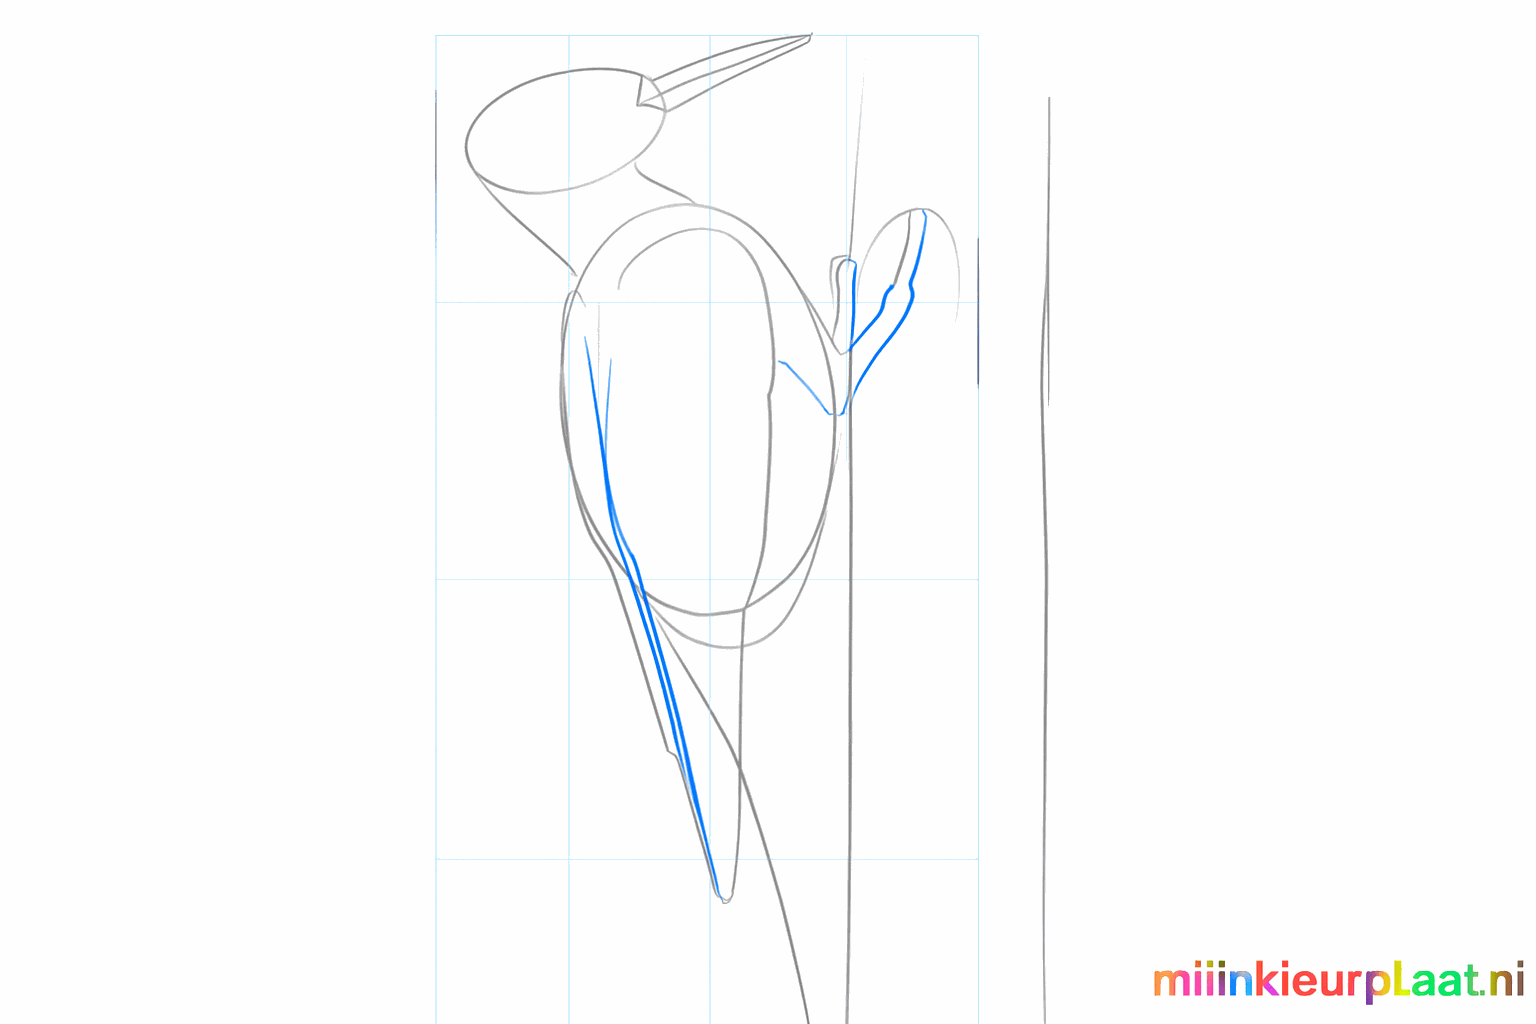
Draw a small round eye in the head and give the tail a pointed shape at the bottom.
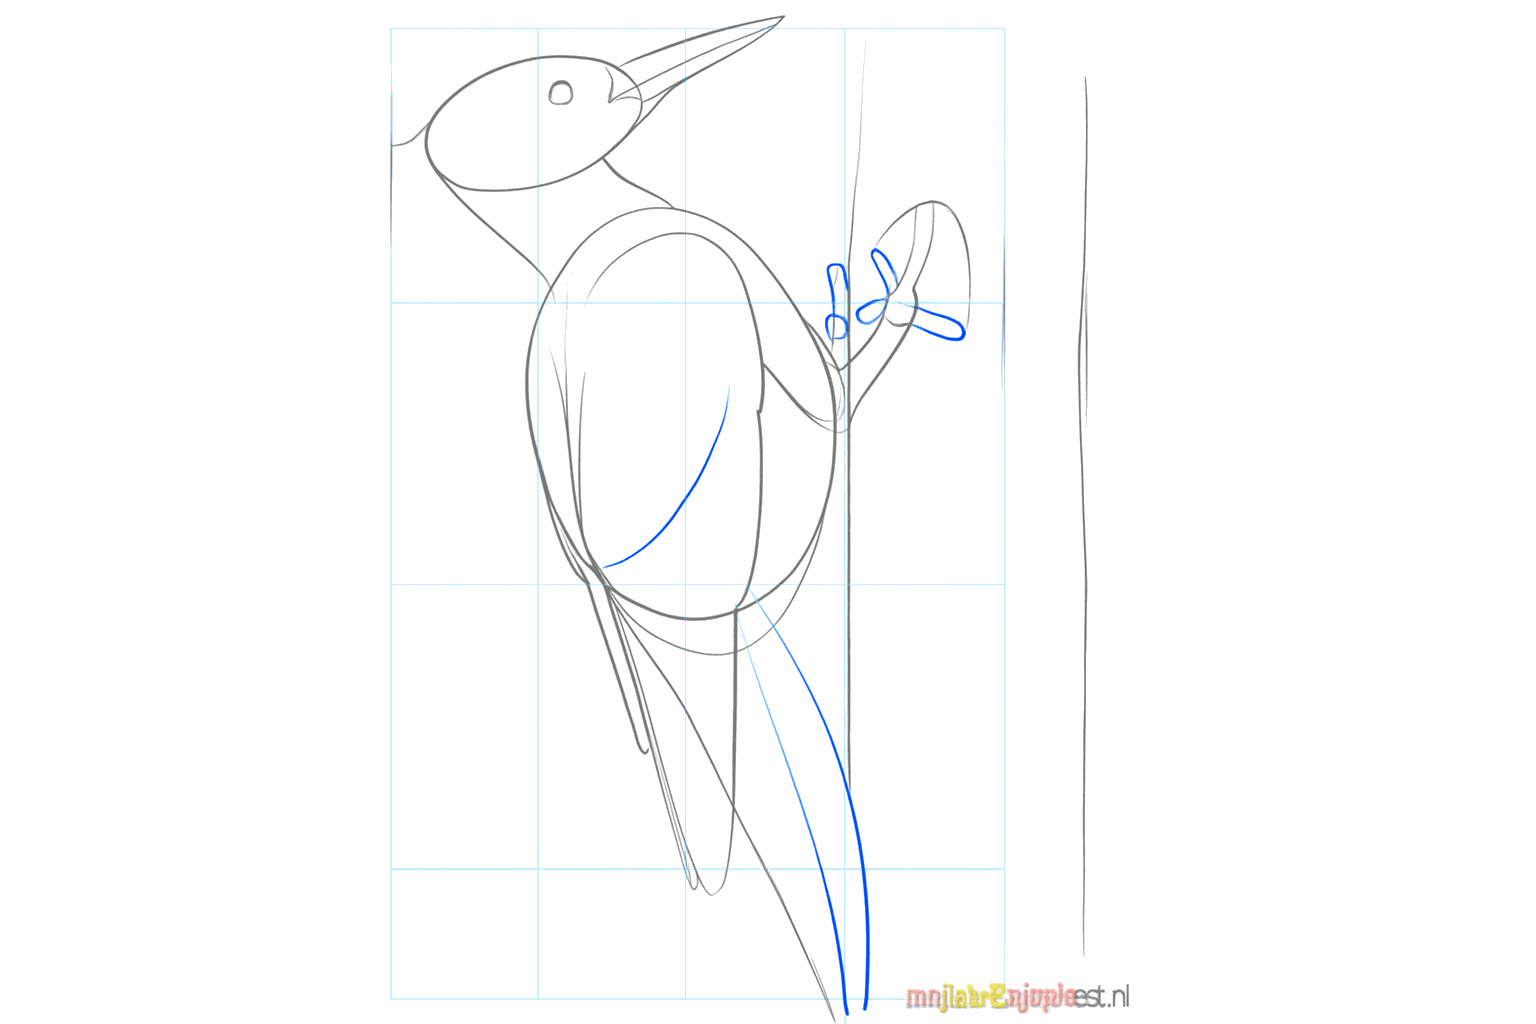
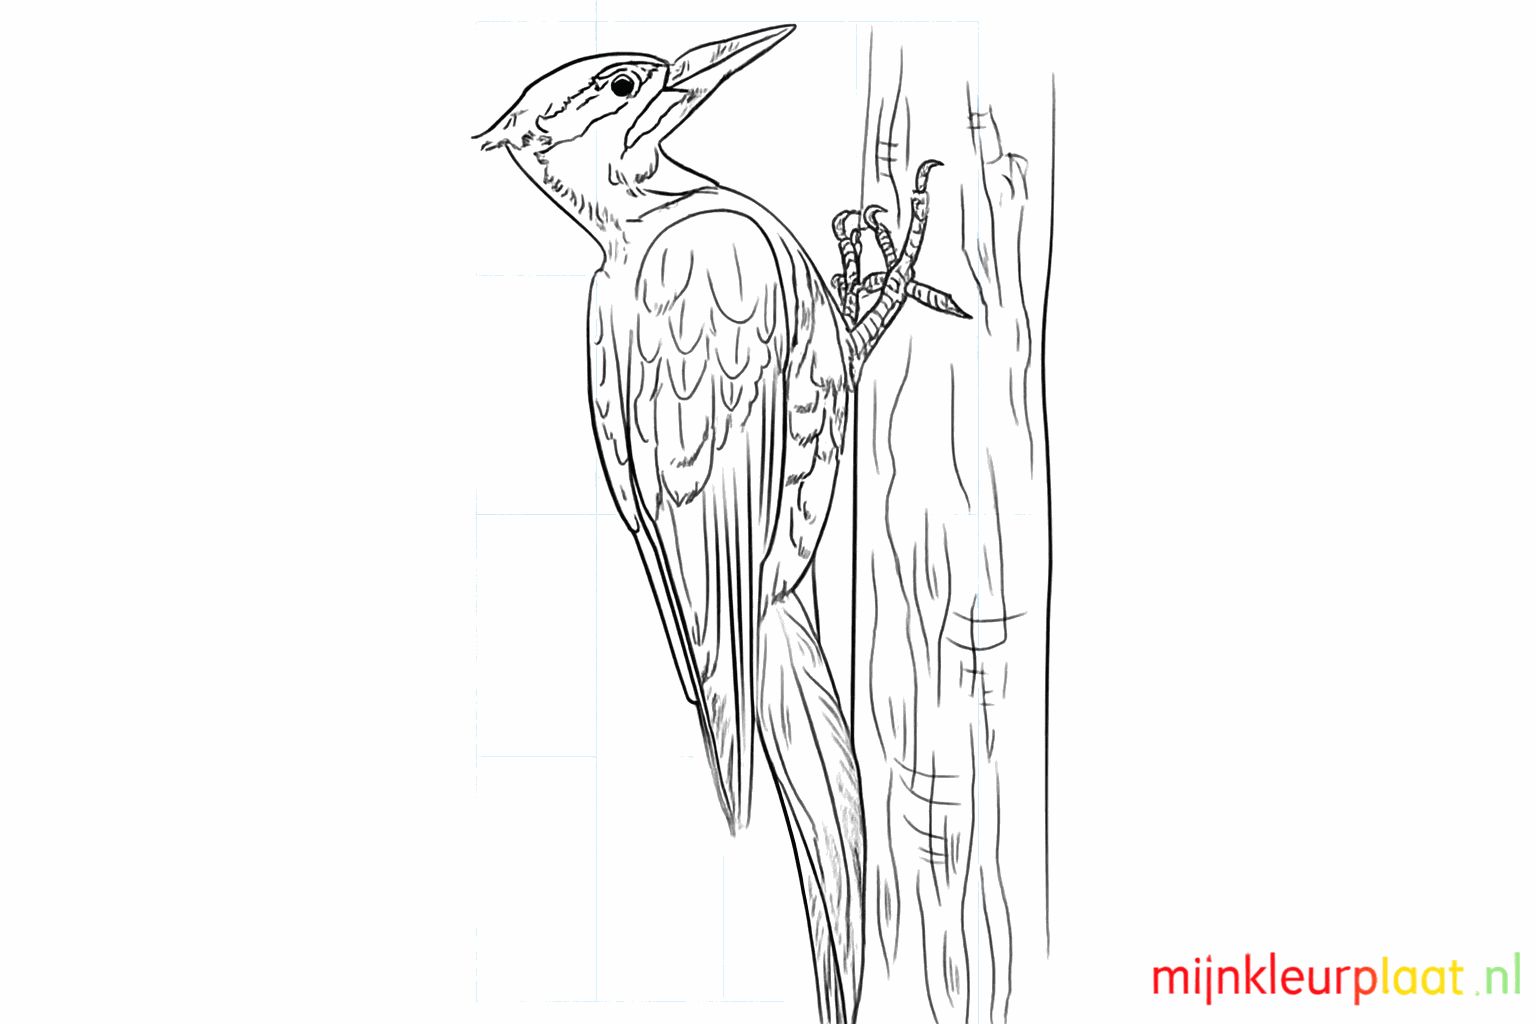
Draw the legs with small claws so the woodpecker can hold onto the tree trunk properly.
Add small lines in the wings for the feathers and draw some ridges on the tree trunk.
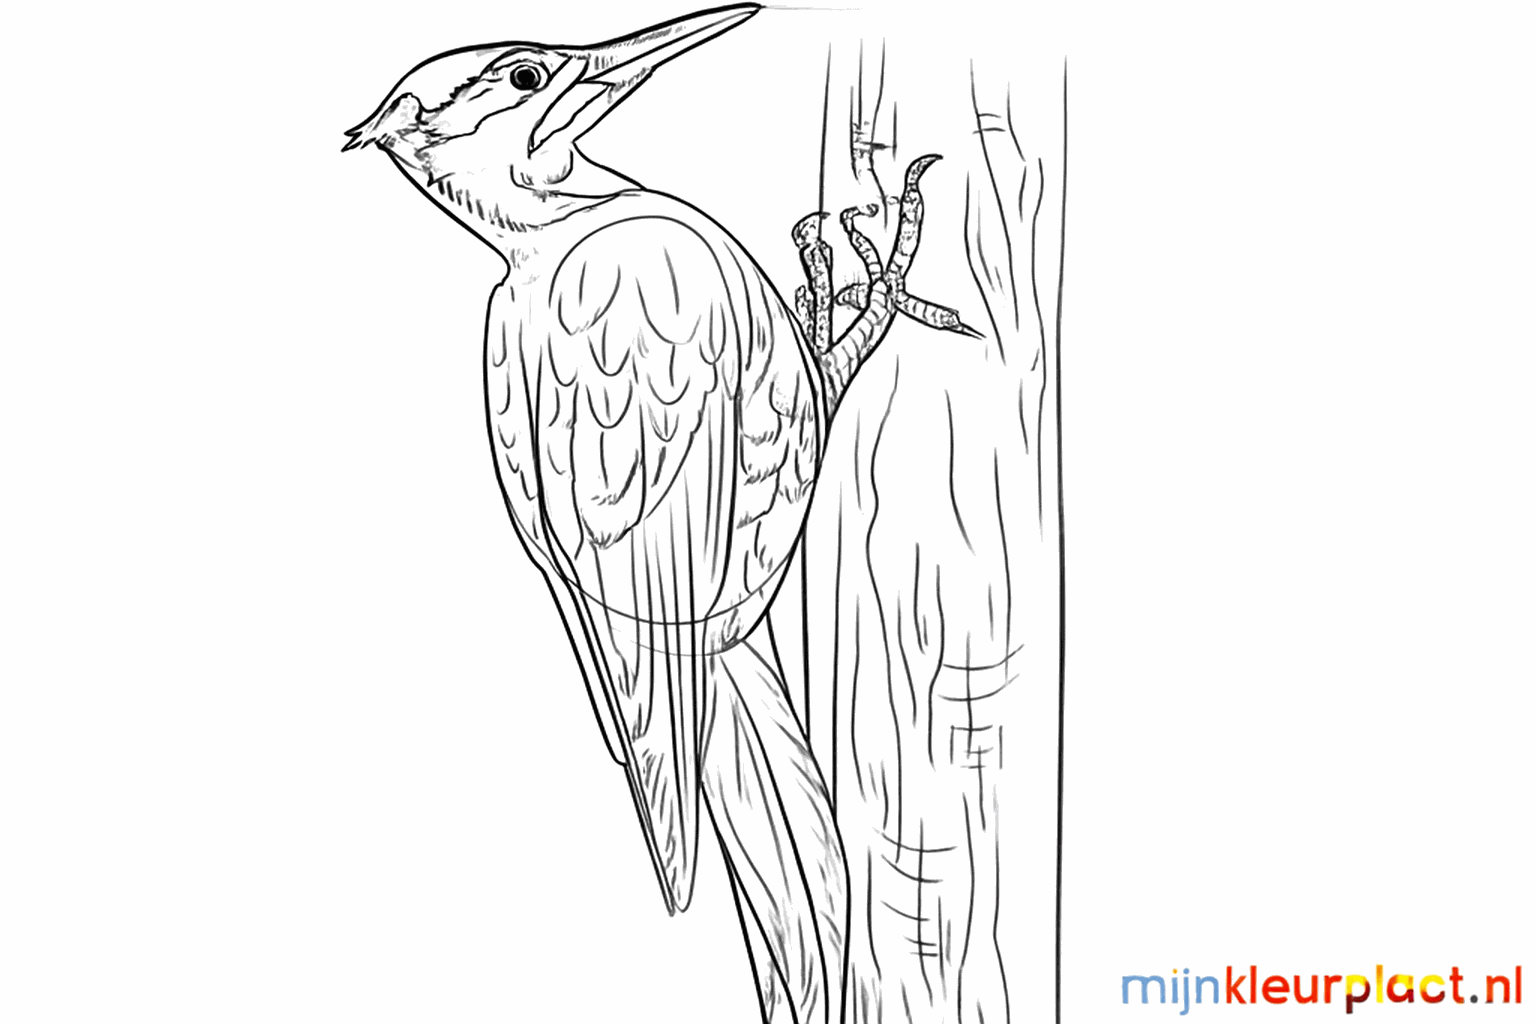
Make the outer lines darker and carefully erase all the guide lines you no longer need.
Frequently asked questions
What colors does a woodpecker have?
Why does a woodpecker peck on a tree?
Is this drawing lesson difficult?
Do I need a special pen?
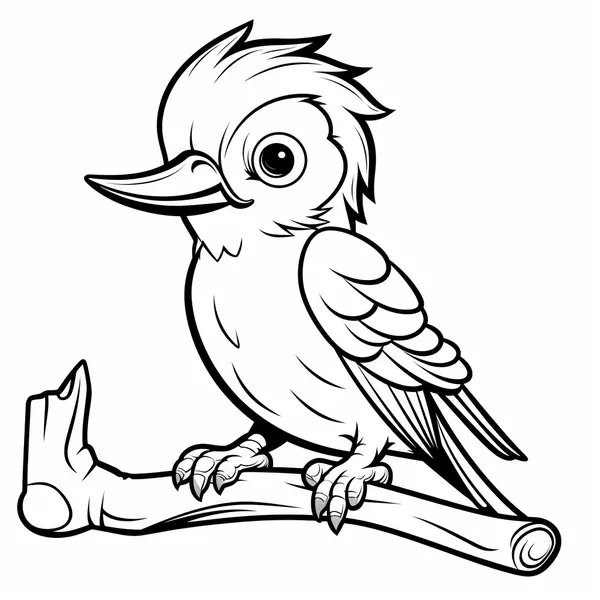
Coloring pages of woodpecker
View all woodpecker coloring pages

Related drawing lessons