How to draw a turkey?
Learn step by step how to draw a turkey. Follow the 8 steps and print the tutorial.
Learn how to draw a beautiful turkey yourself using simple shapes. Grab your pencil and follow this fun drawing lesson for kids!
Intro
Hi little artist! Today we are going to draw a big, proud turkey together. It might look tricky, but with circles and ovals, you can do it too. Are you joining in?
Summary
In this drawing lesson, you will learn to draw a turkey by starting with simple shapes like ovals. In eight steps, you will turn a few lines into a real bird with feathers and legs.
Steps
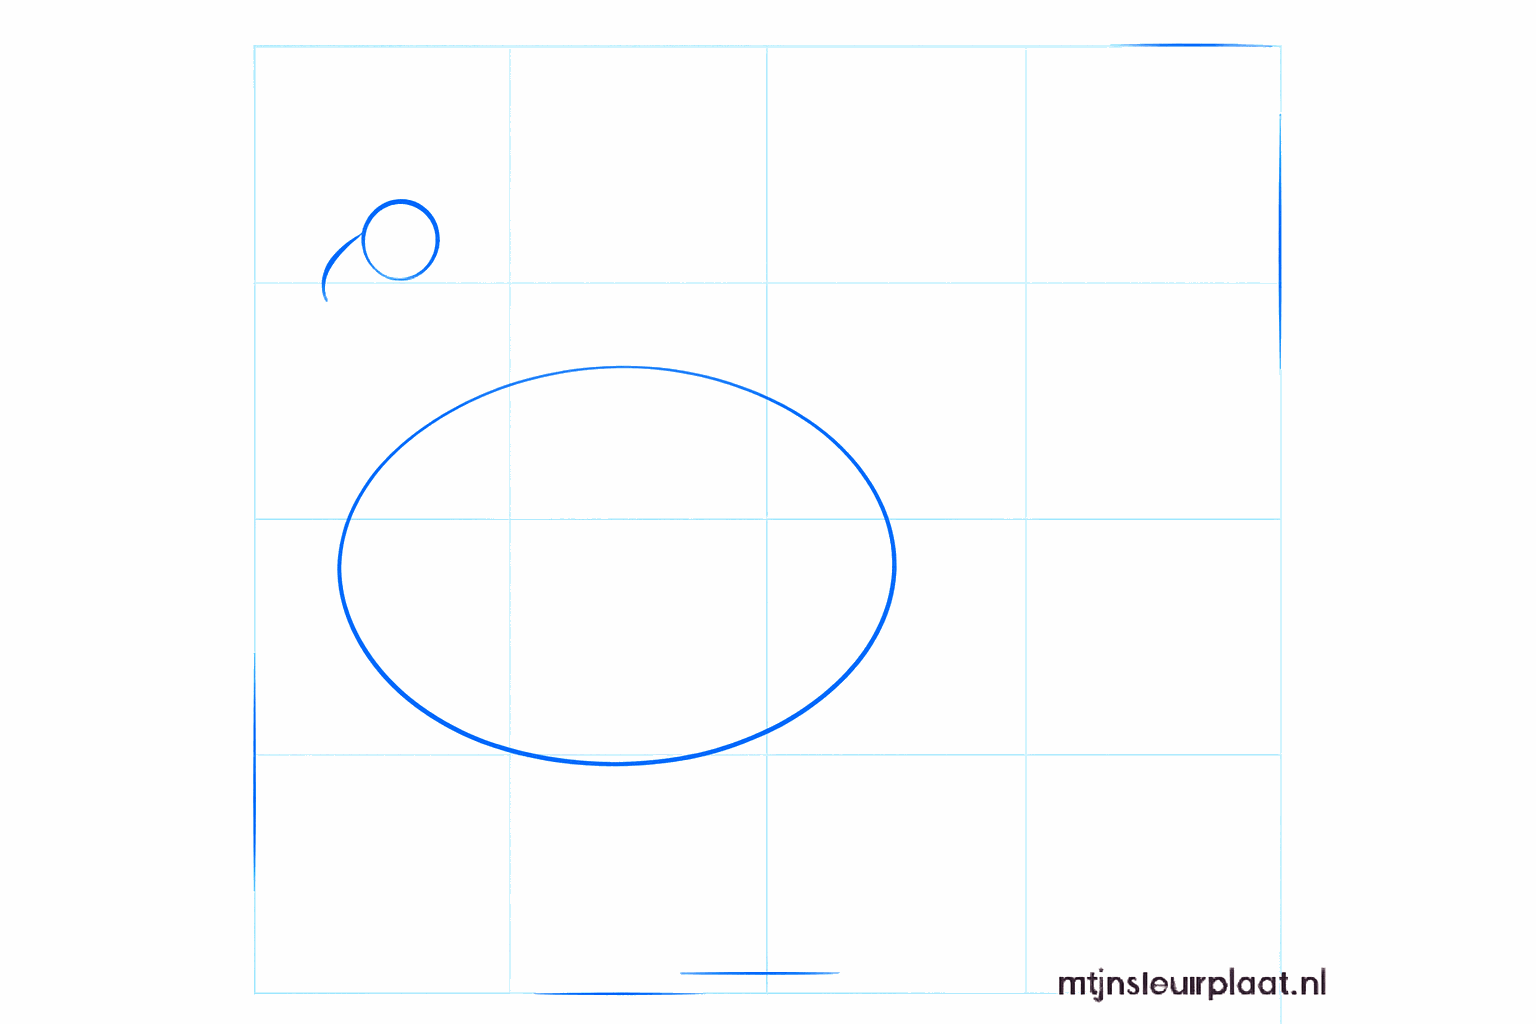
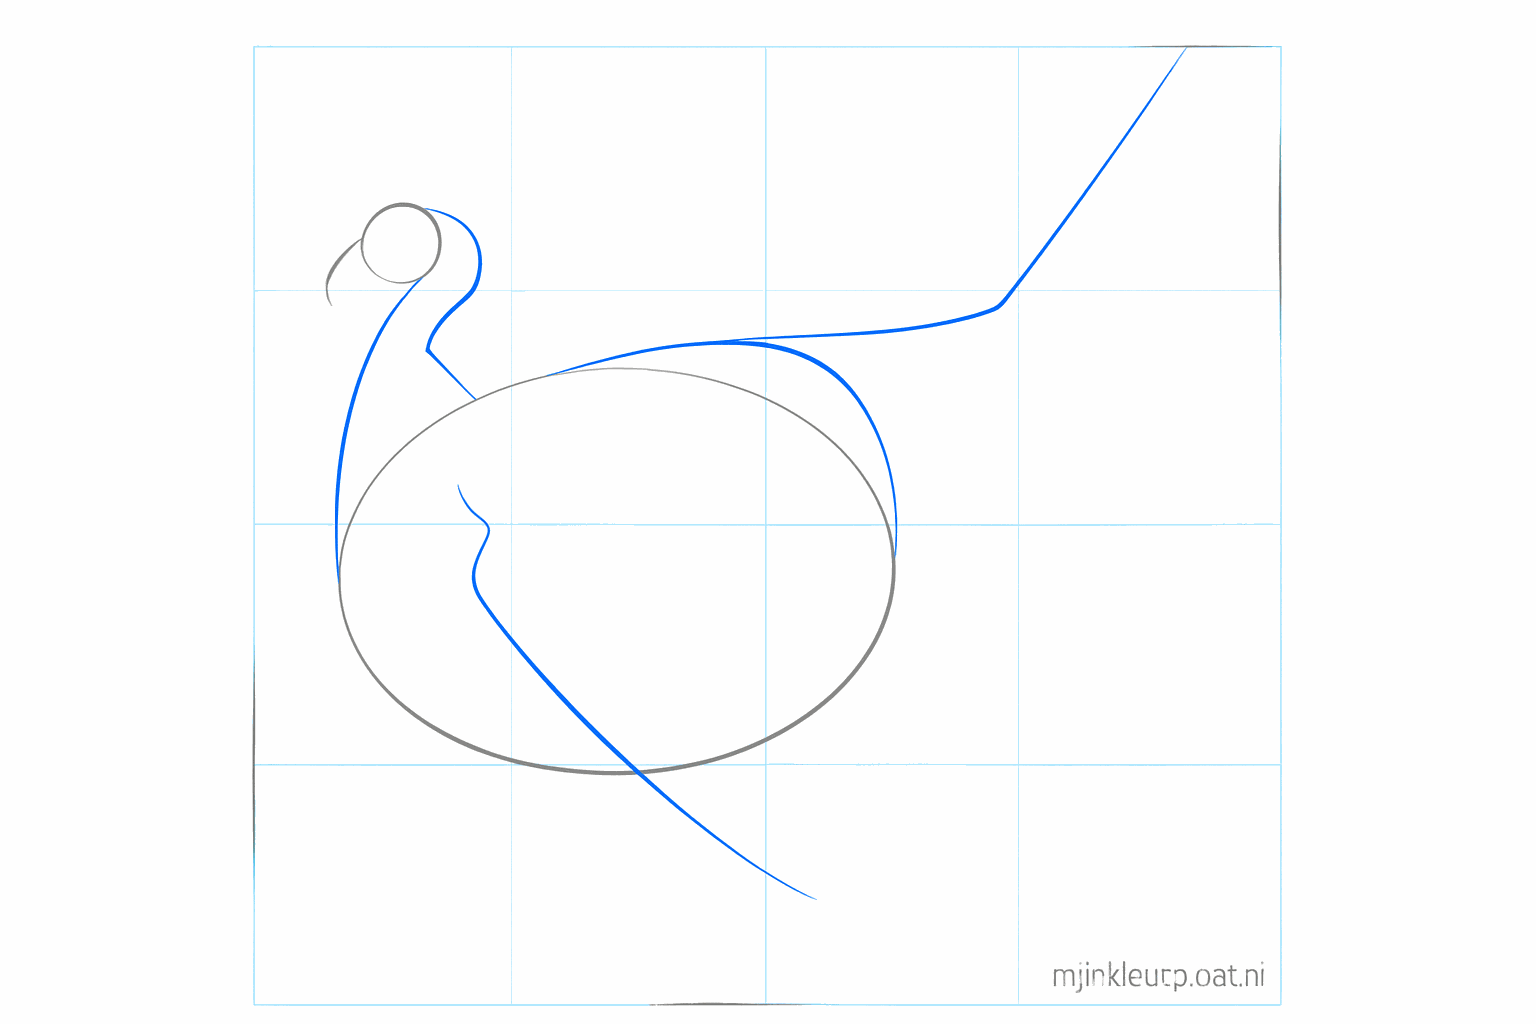
Draw a small circle for the head and a large horizontal oval underneath for the body.
Connect the head and the body with two curved lines for the neck and draw a guide line for the beak.
Draw a large arc behind the body for the tail feathers and a small arc on the side for the wing.
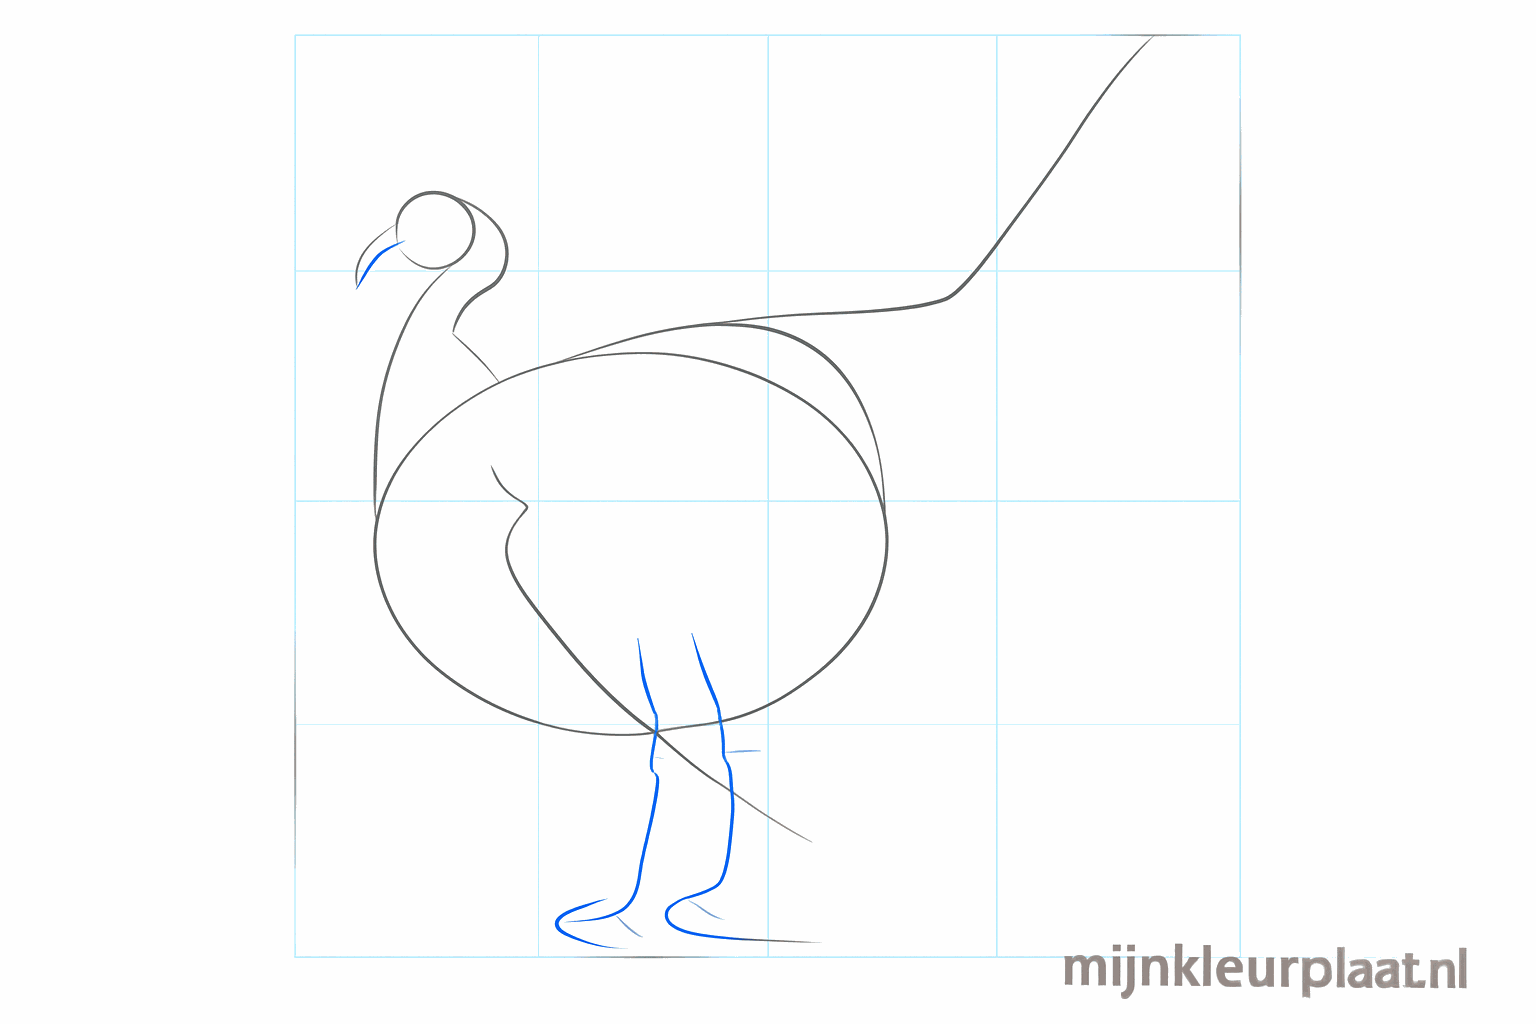
Place straight lines under the body for the legs and draw a small triangle for the beak.

Make the legs thicker and draw the first shapes of the large feathers in the tail.
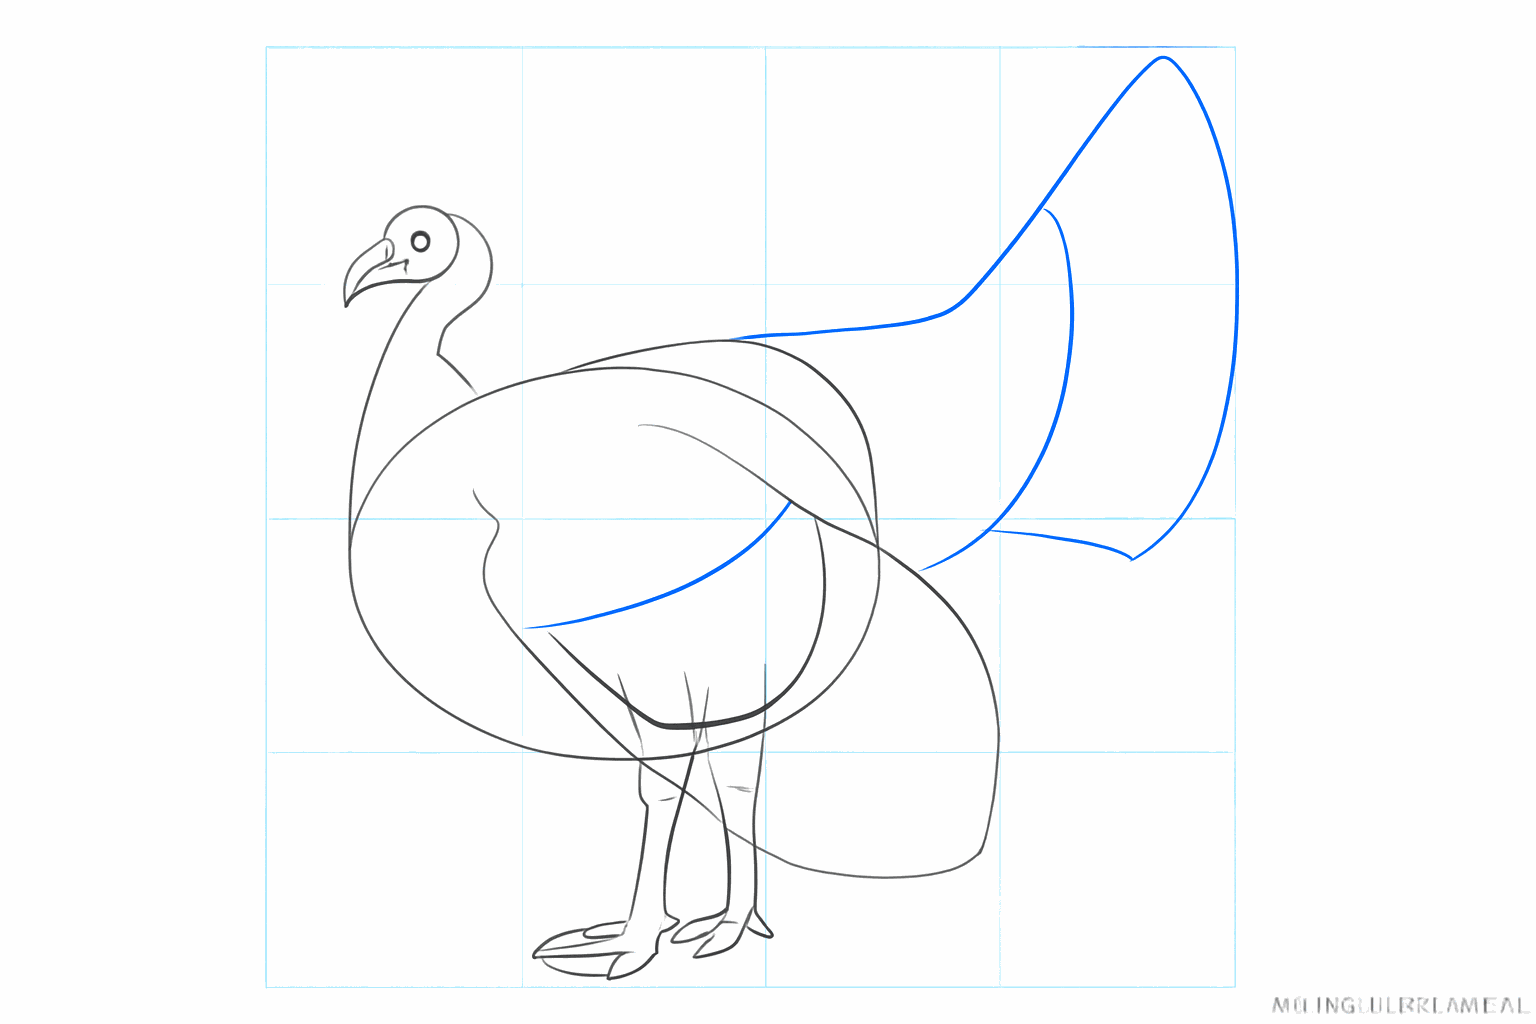
Draw an eye, the toes on the legs, and the wobbly snood under the beak.
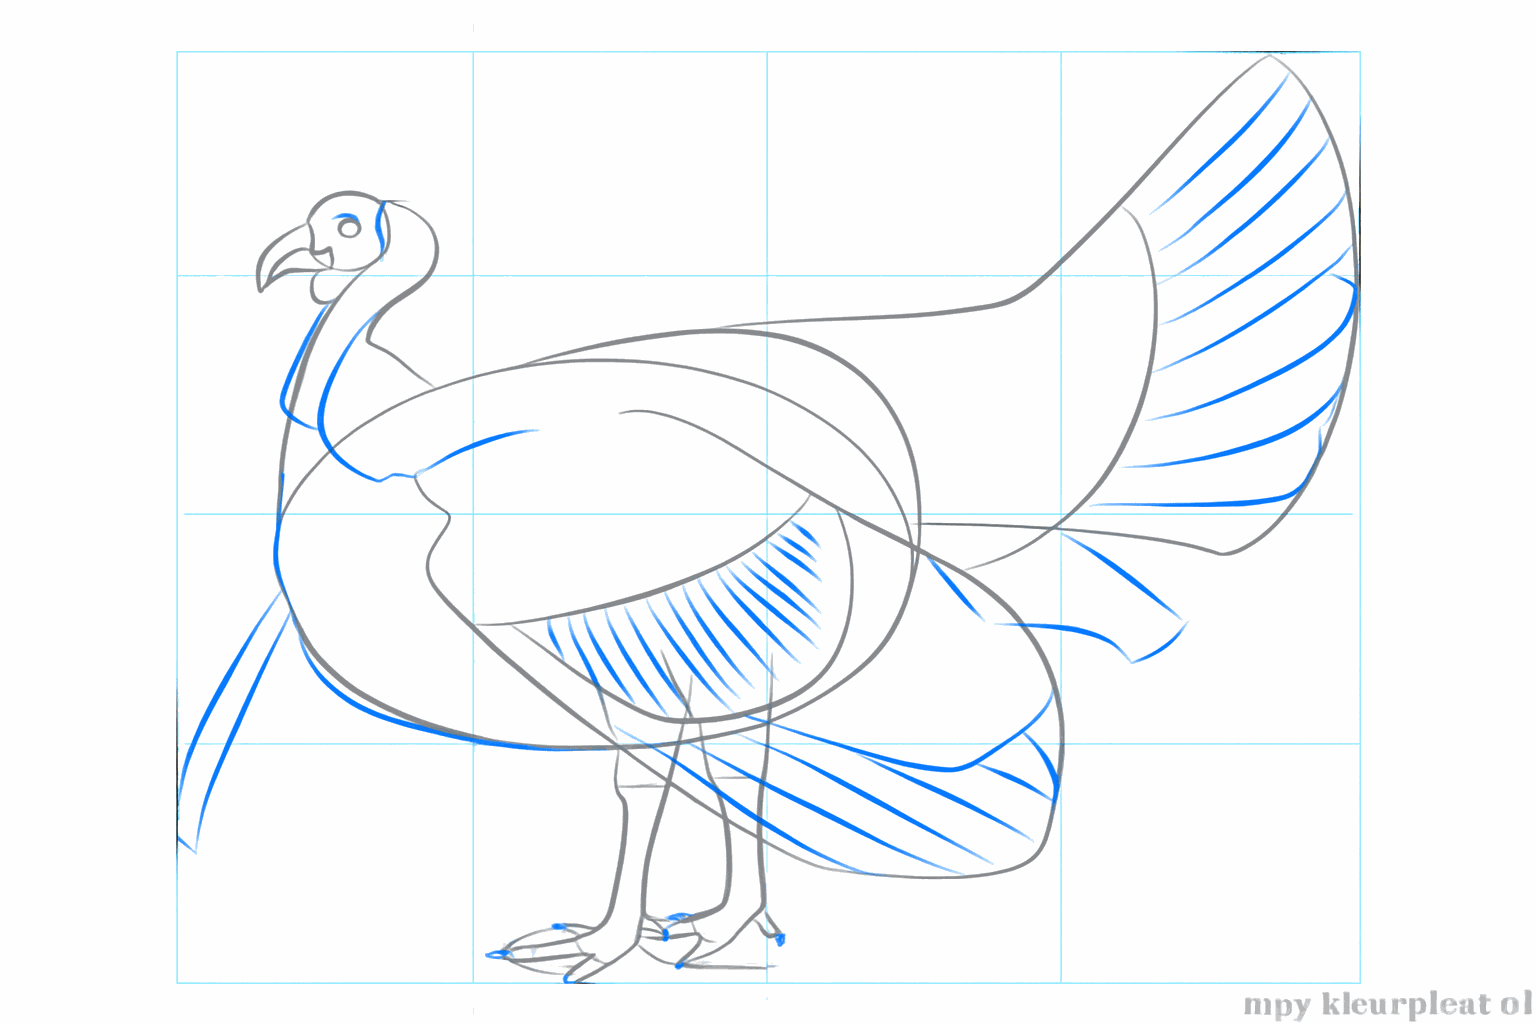
Give the feathers in the tail and the wing more detail with extra arcs and lines.

Make the outlines thicker, add small feathers, and carefully erase the guide lines.
Frequently asked questions
What shapes do I need for the turkey?
How do I draw the large tail?
What is that red flap near the beak?
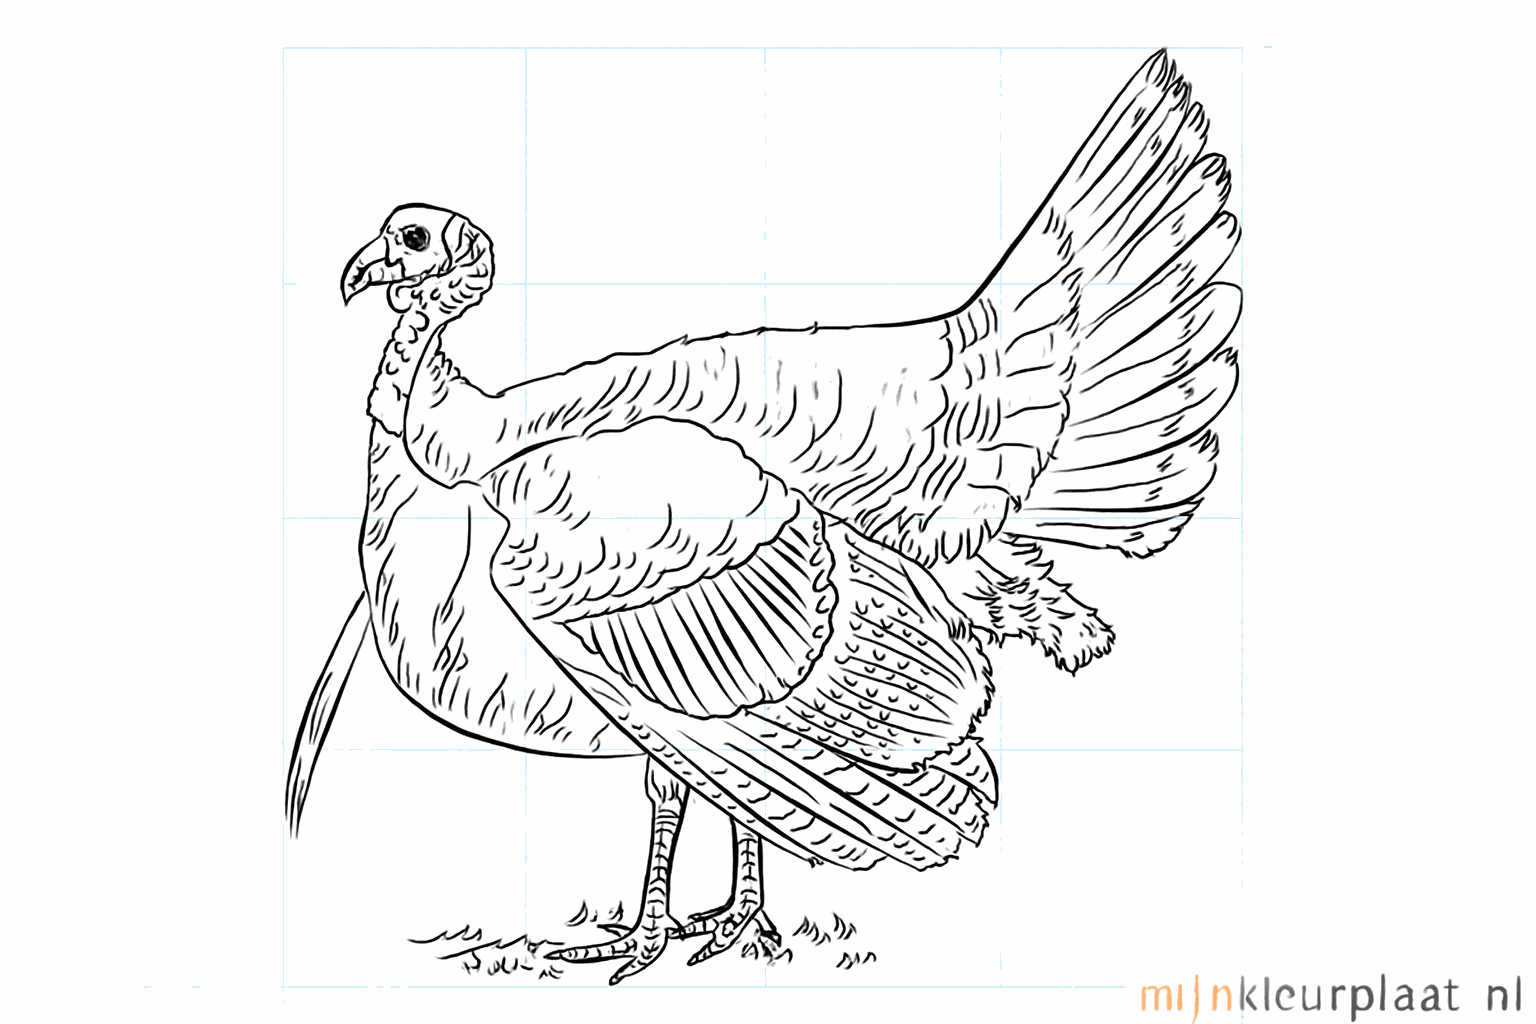
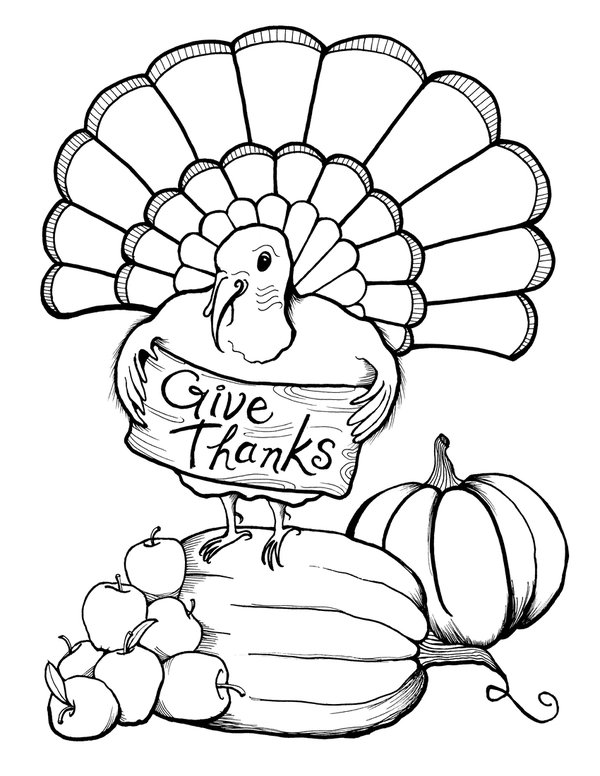
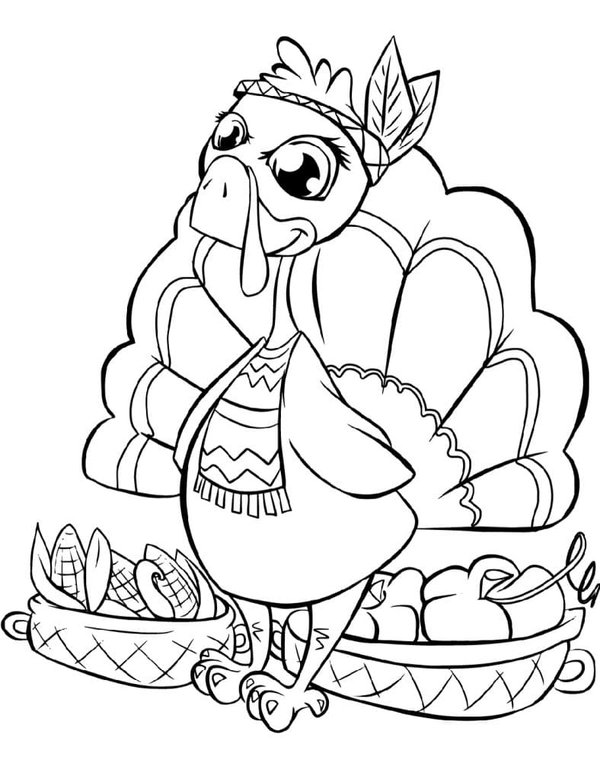
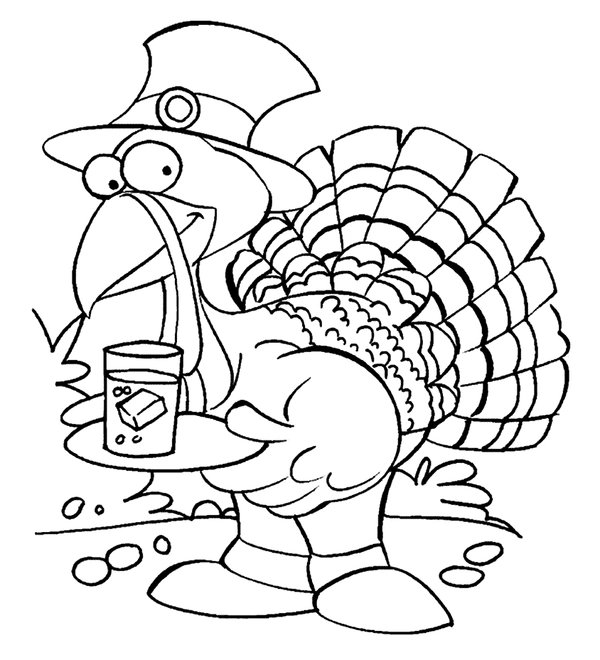
Can I also color the turkey?
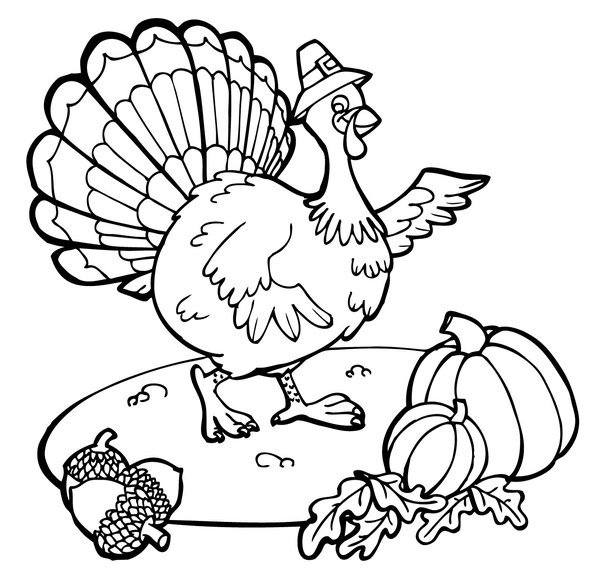
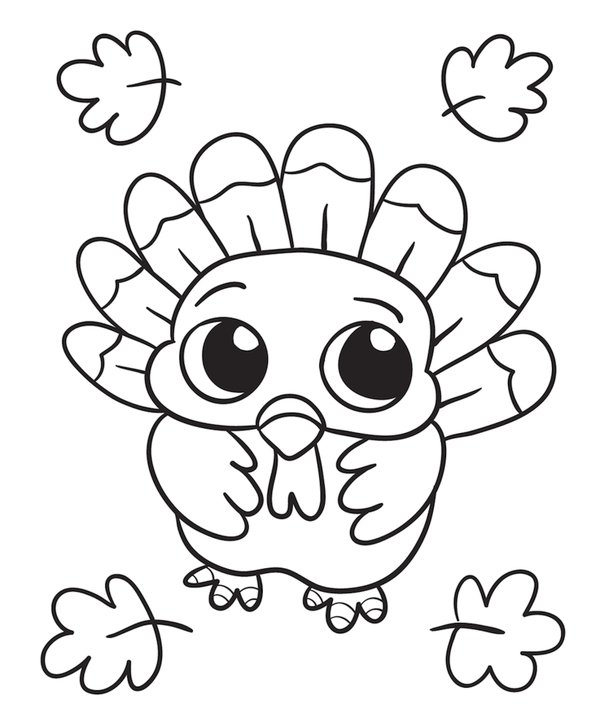
Coloring pages of turkey
View all turkey coloring pages


Related drawing lessons