How to draw a snow leopard 2?
Learn step by step how to draw a snow leopard 2. Follow the 8 steps and print the tutorial.
1
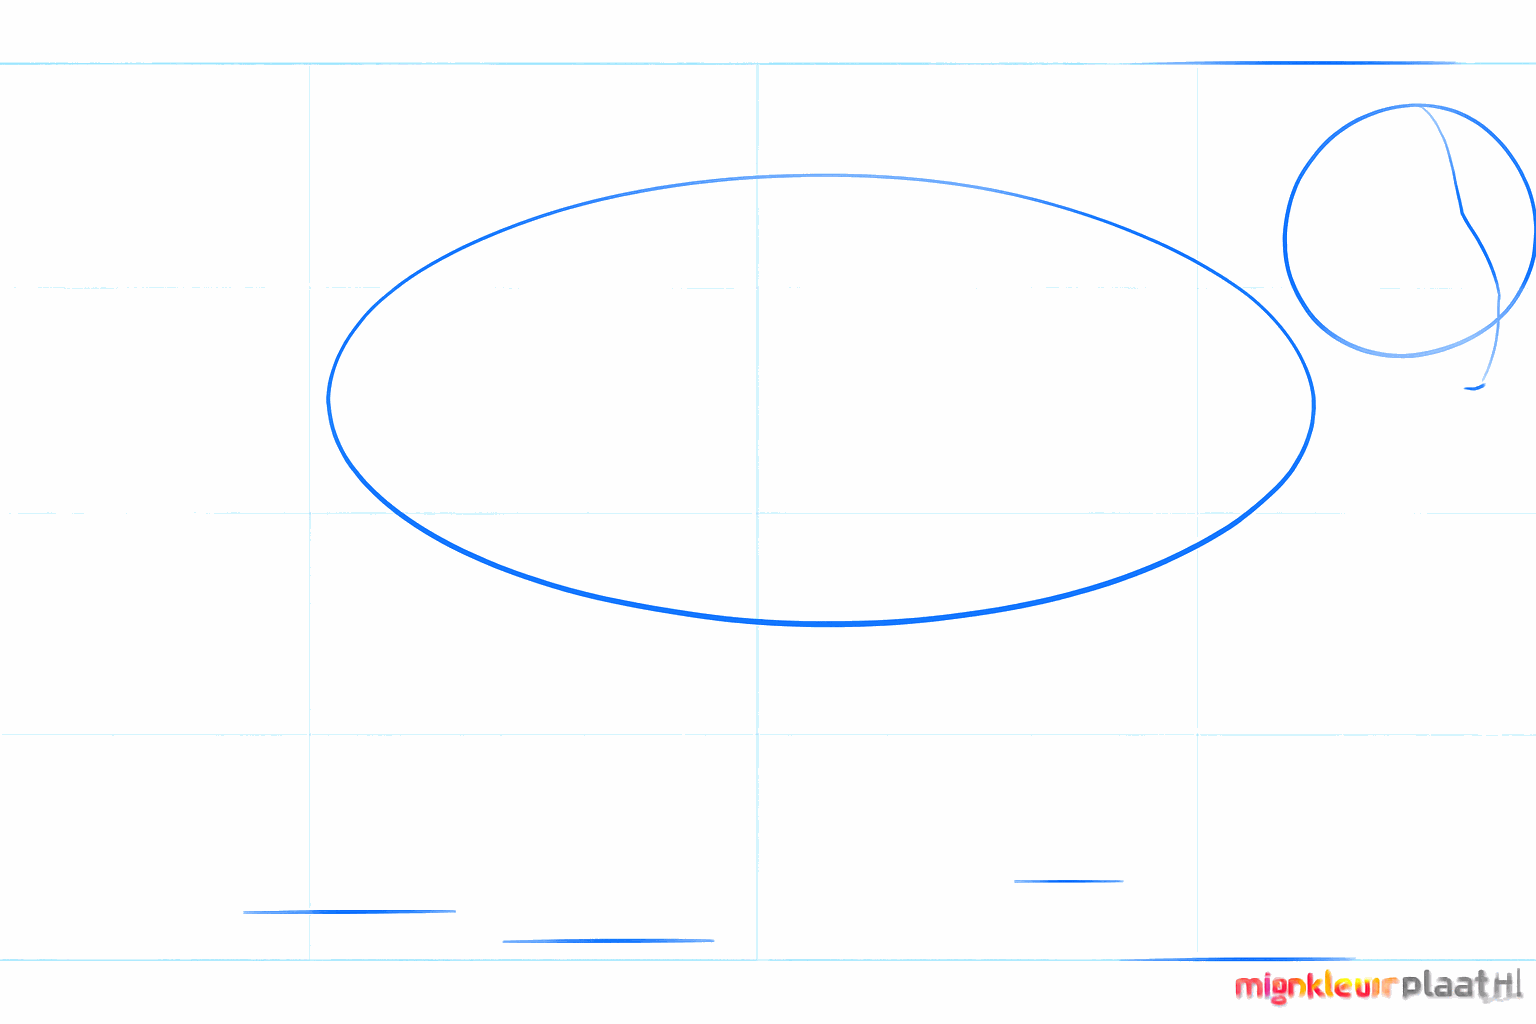
Draw a small circle for the head and a larger oval for the body of the snow leopard.
2
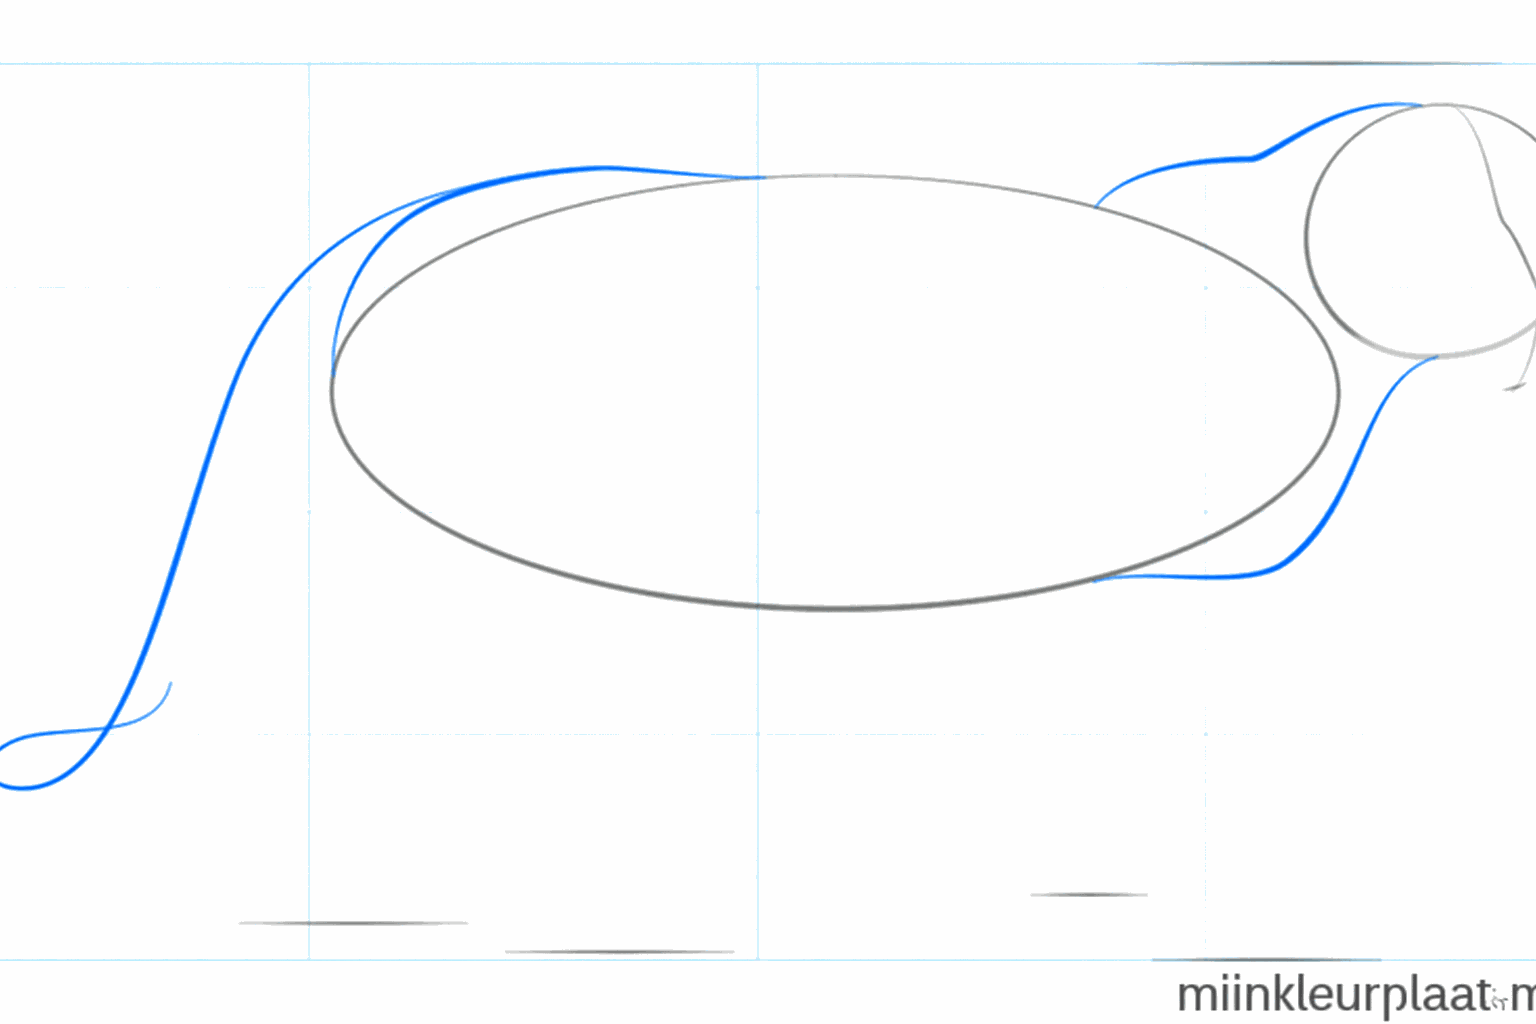
Connect the head and the body with two lines for the neck and draw a long, wavy line for the tail.
3
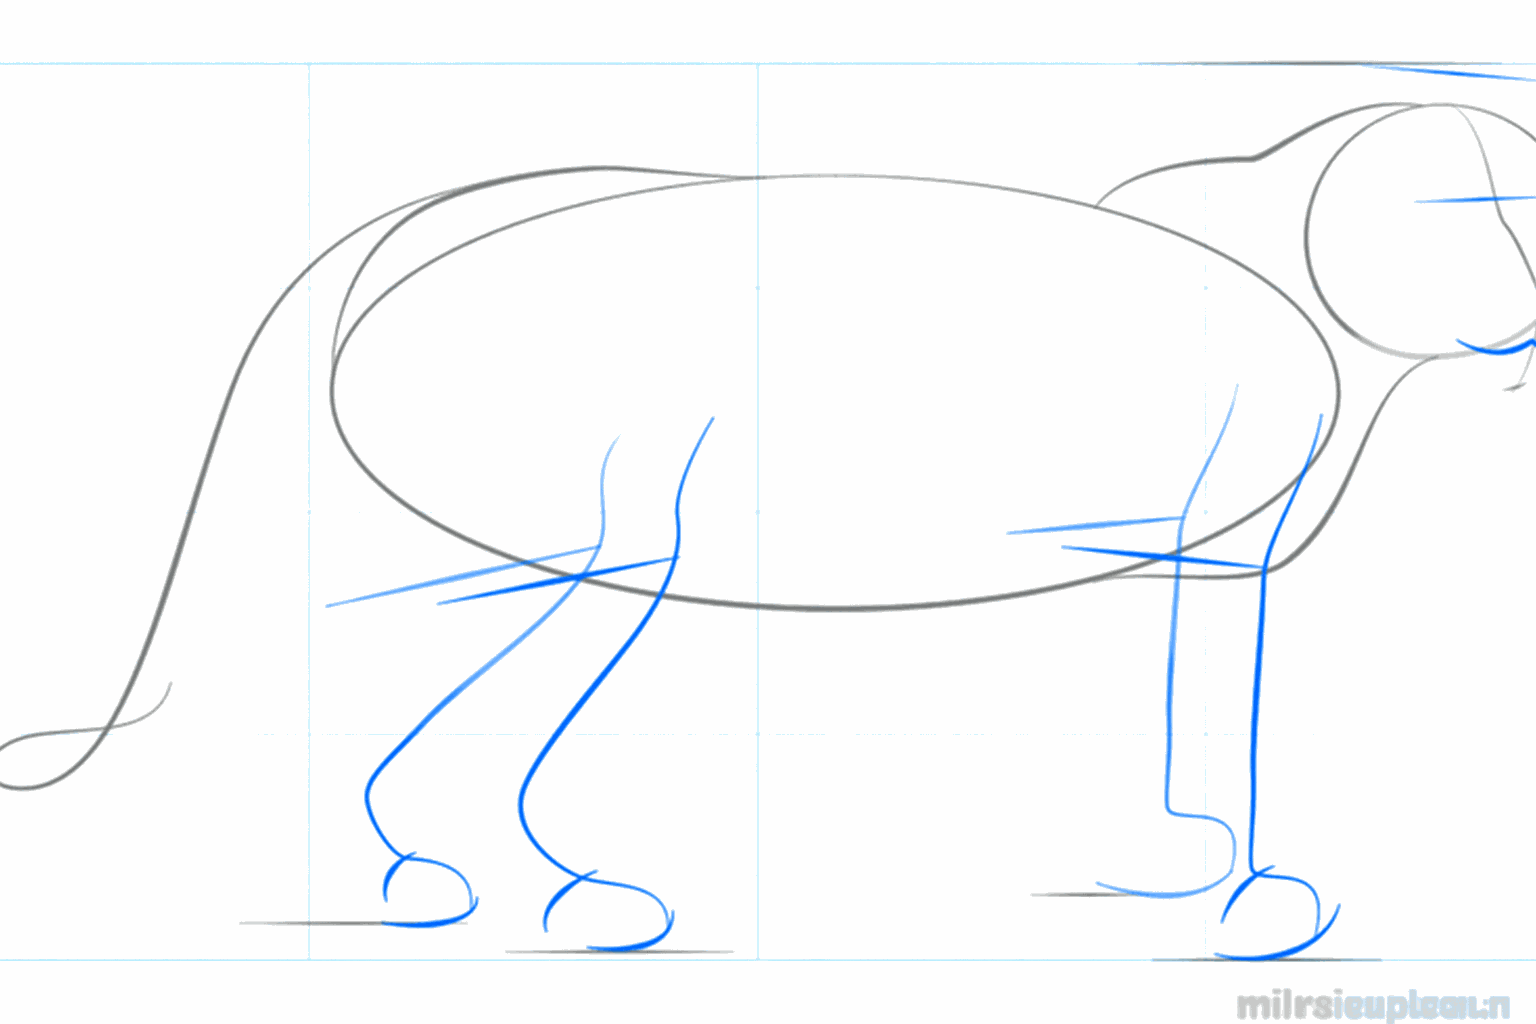
Now draw guide lines for the legs and put small dashes in the face for the eyes and ears.
4
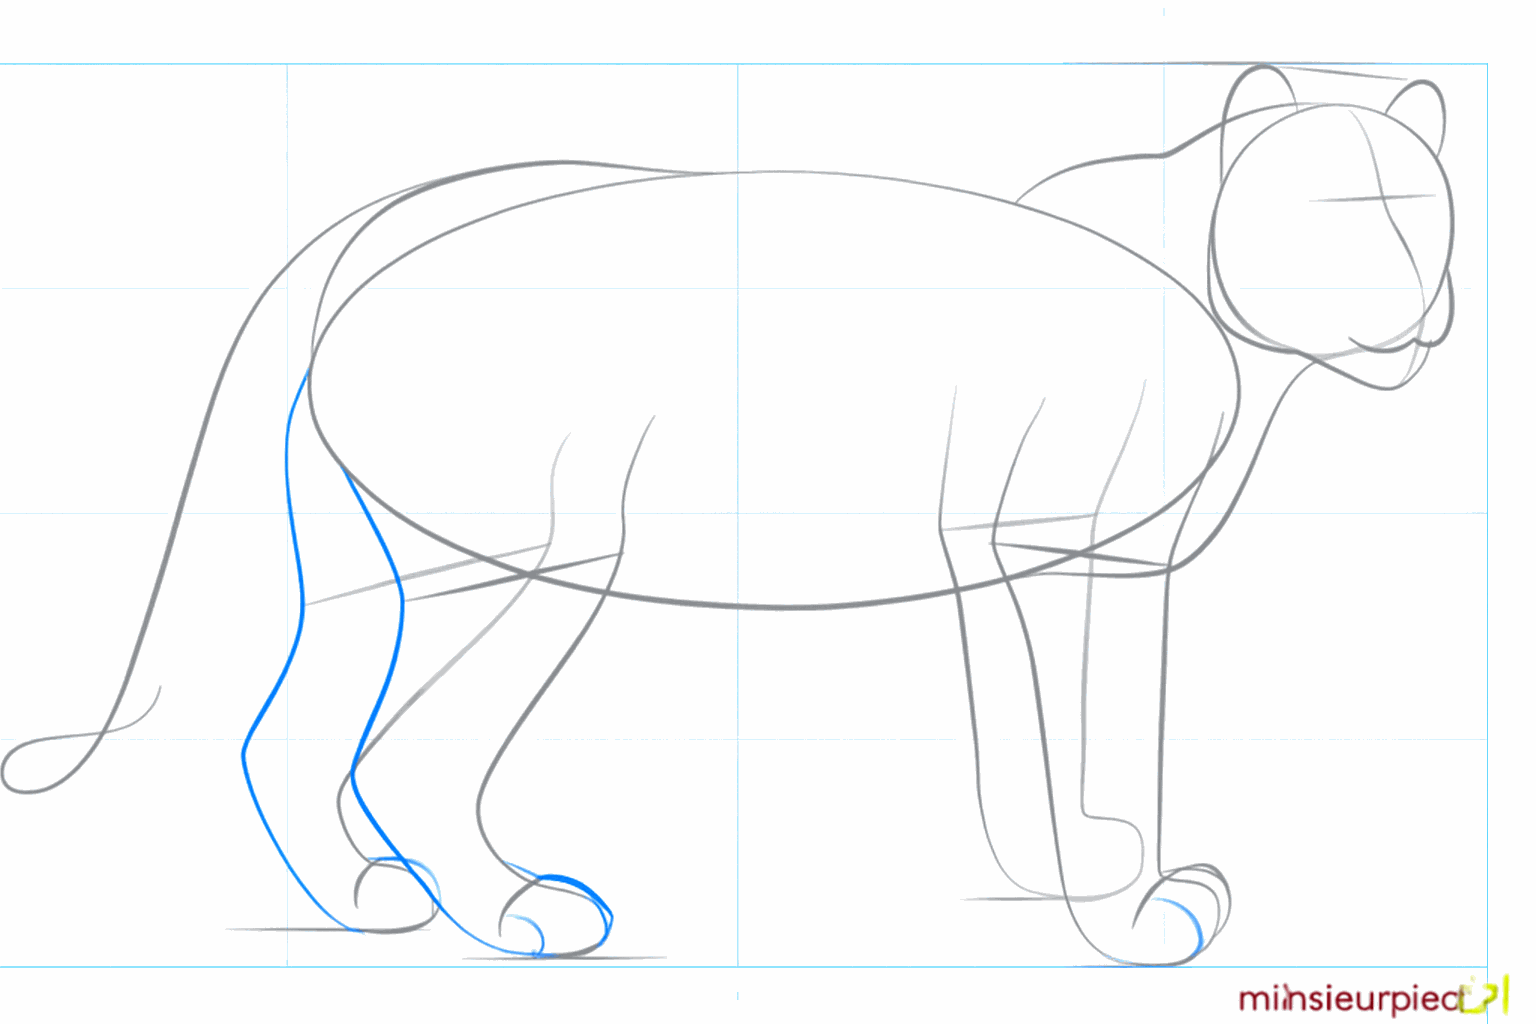
Make the legs thicker by drawing shapes around the lines and sketch the snout of the leopard.
5
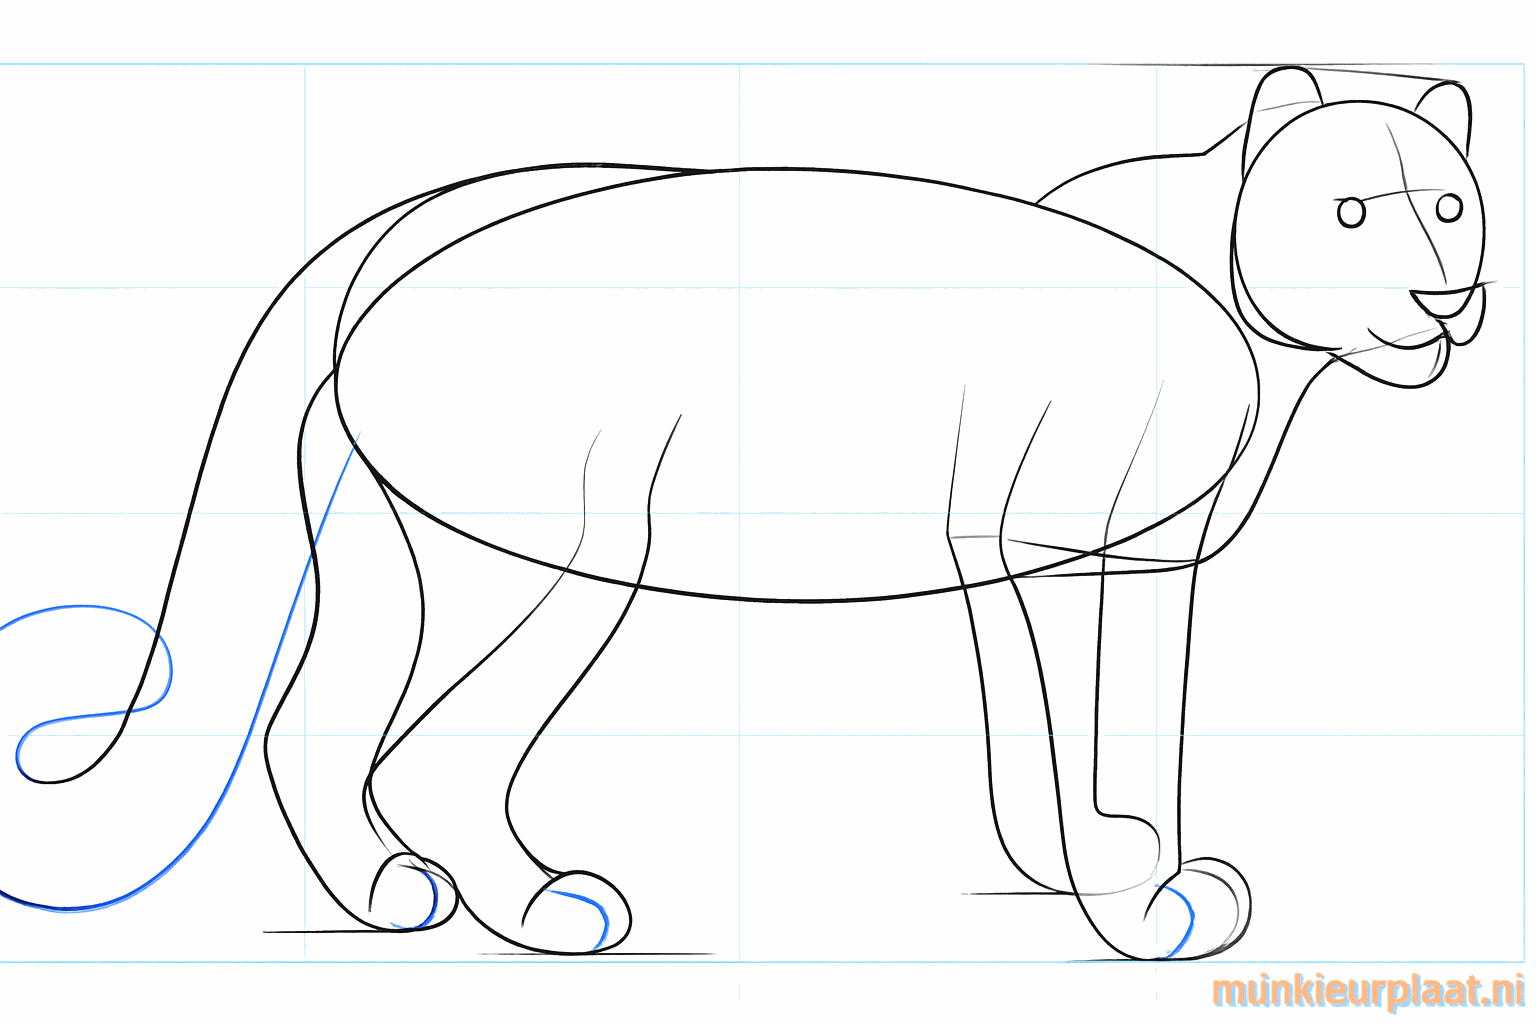
Give the snow leopard round ears on top of its head and draw large, soft feet at the bottom of the legs.
6
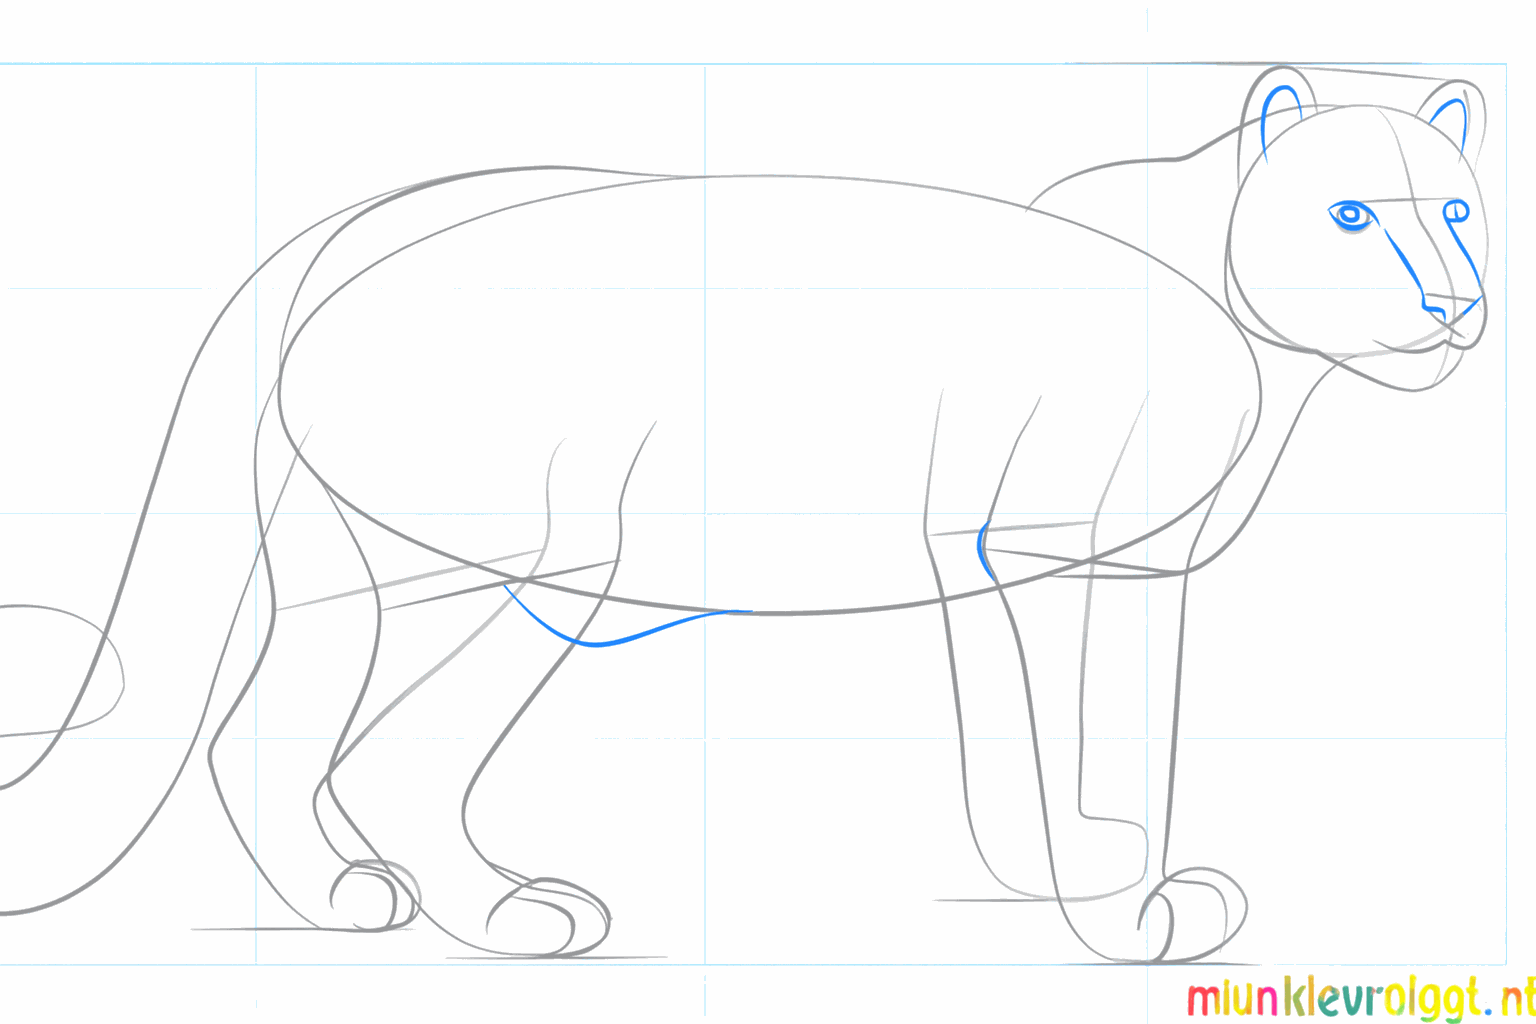
Draw the eyes, the nose, and make the tail nice and thick with a furry edge.
7
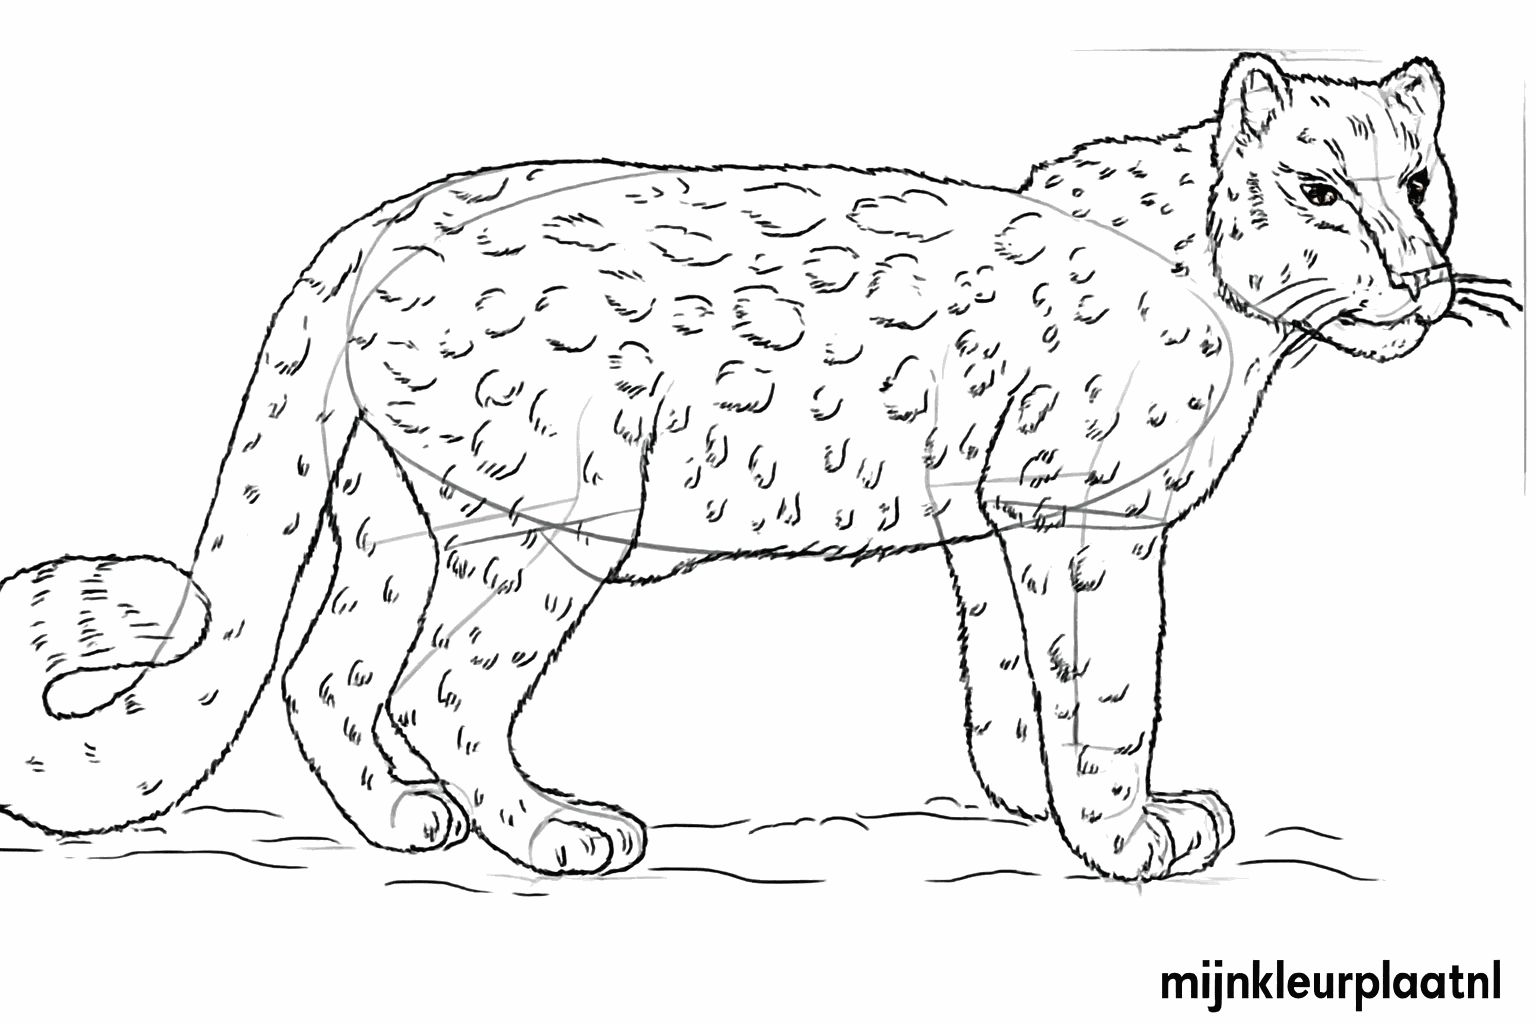
Add small details like the toes and start drawing the famous spots on the fur.
8
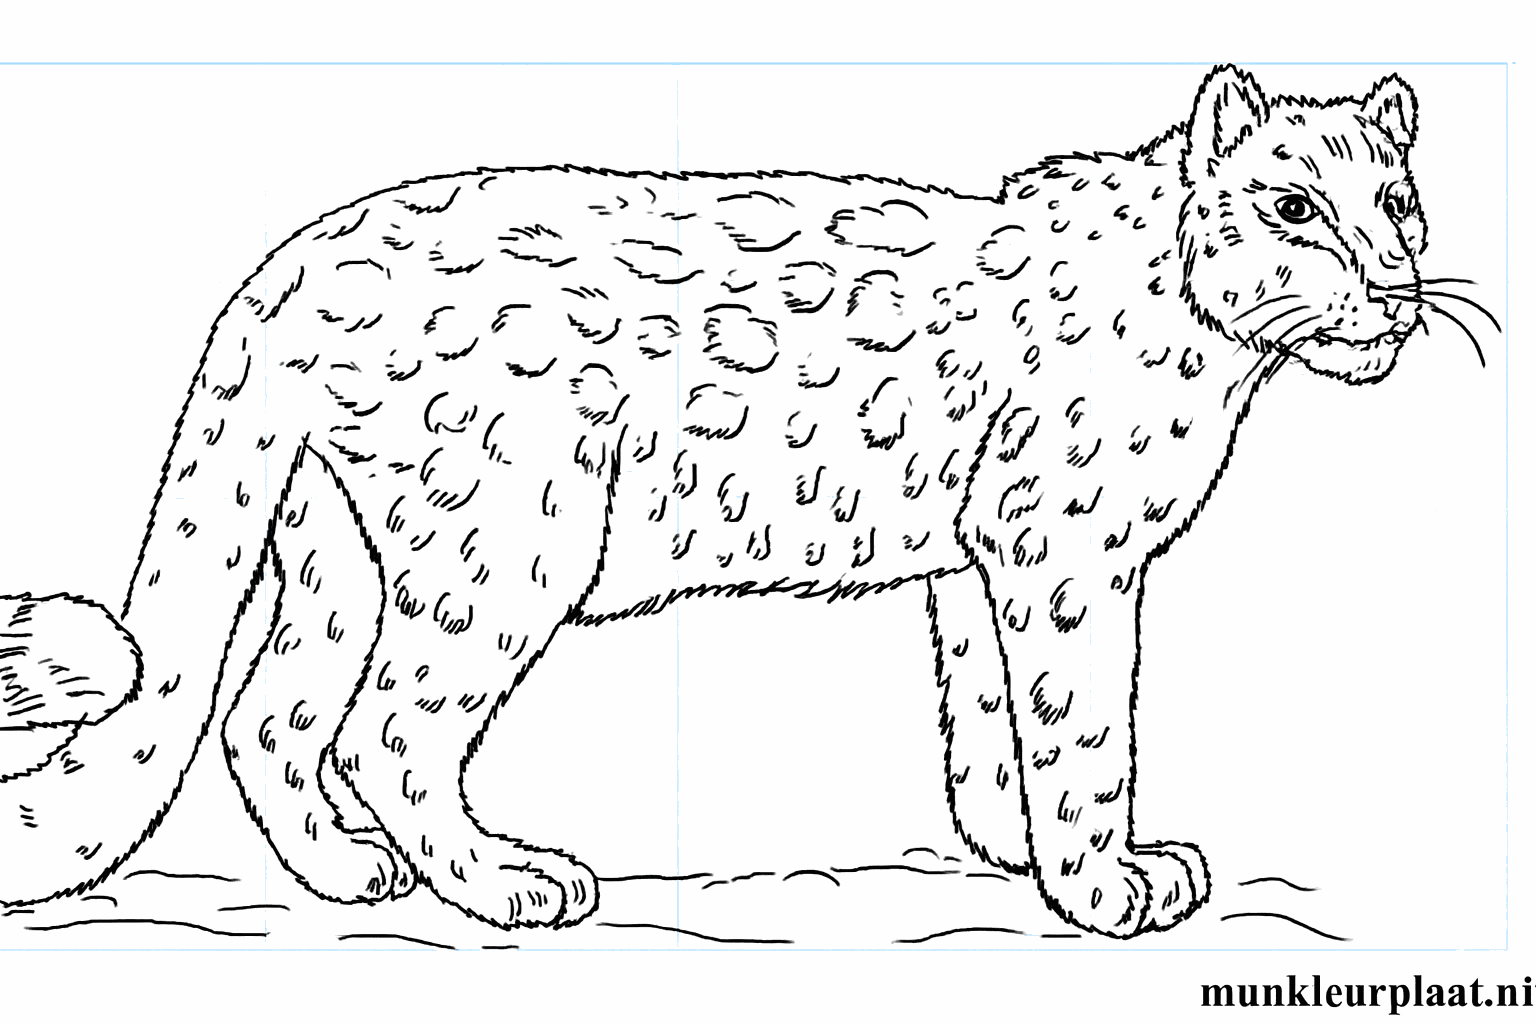
Erase the guide lines and trace the outer lines extra dark for a beautiful end result.