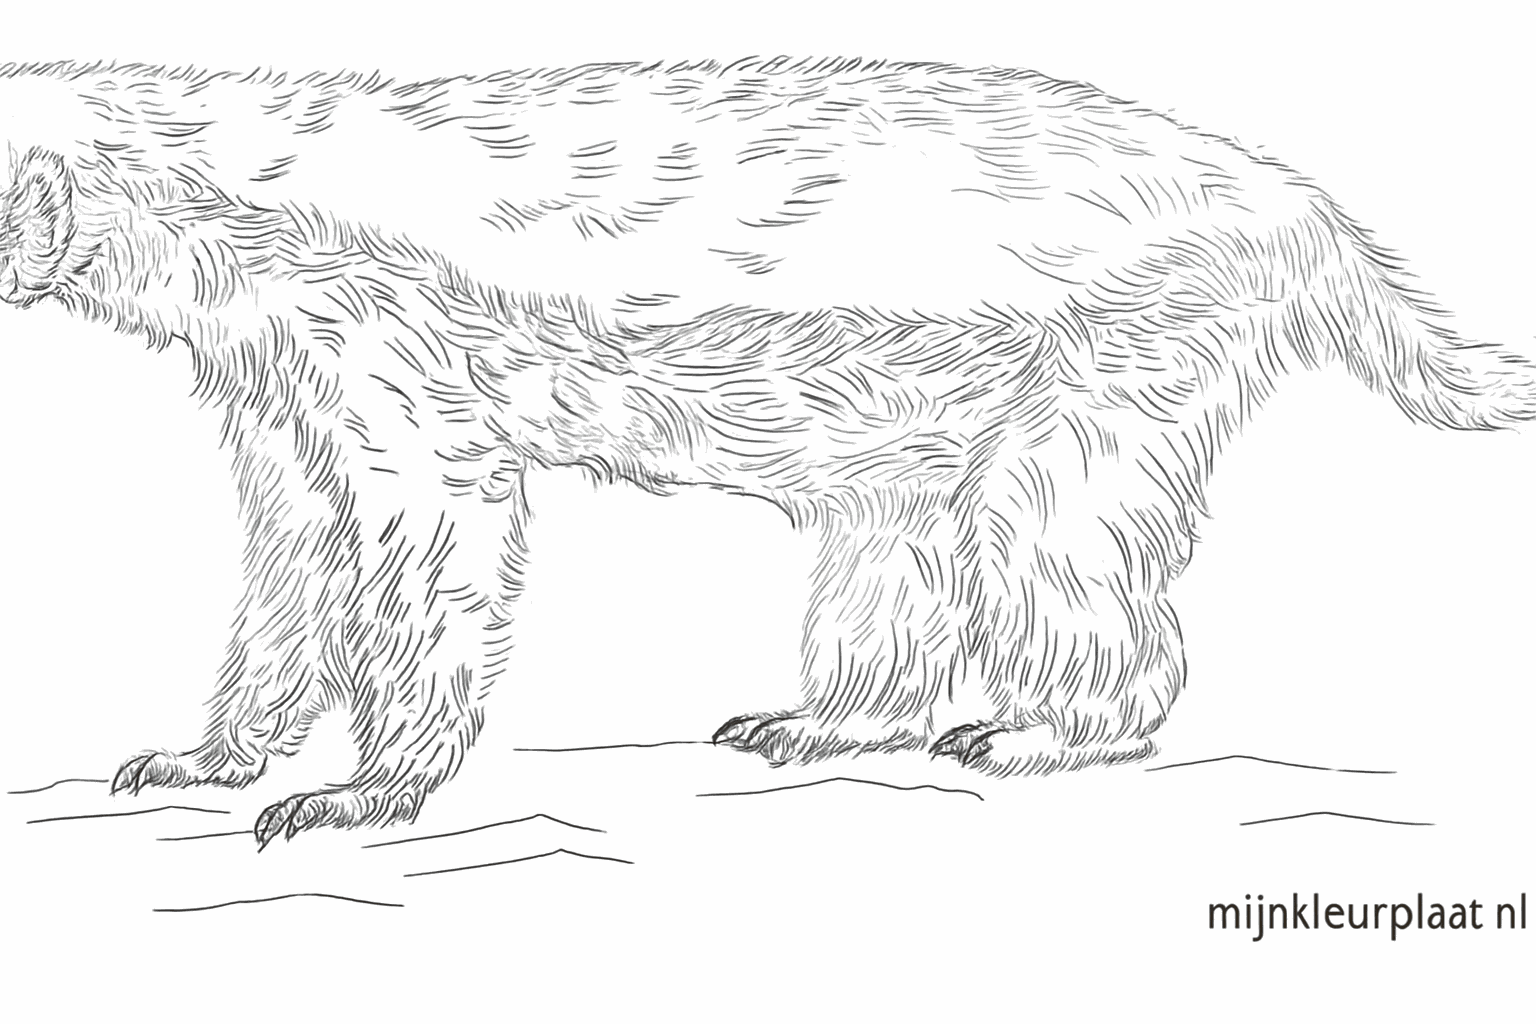
How to draw a sloth?
Learn step by step how to draw a sloth. Follow the 8 steps and print the tutorial.
Learn how to draw a super cute sloth hanging comfortably from a branch! Follow our simple steps and create your own happy animal friend.
Intro
Hi little artist! Today we are going to draw an animal that is never in a hurry: the sloth. Grab your pencil and eraser, because we are going to work step-by-step. Look closely at the shapes and join in the fun!
Summary
In this drawing lesson, you will learn how to draw a sloth on a tree branch using simple circles and lines. After 8 steps, you will have a beautiful result that you can color in yourself.
Steps
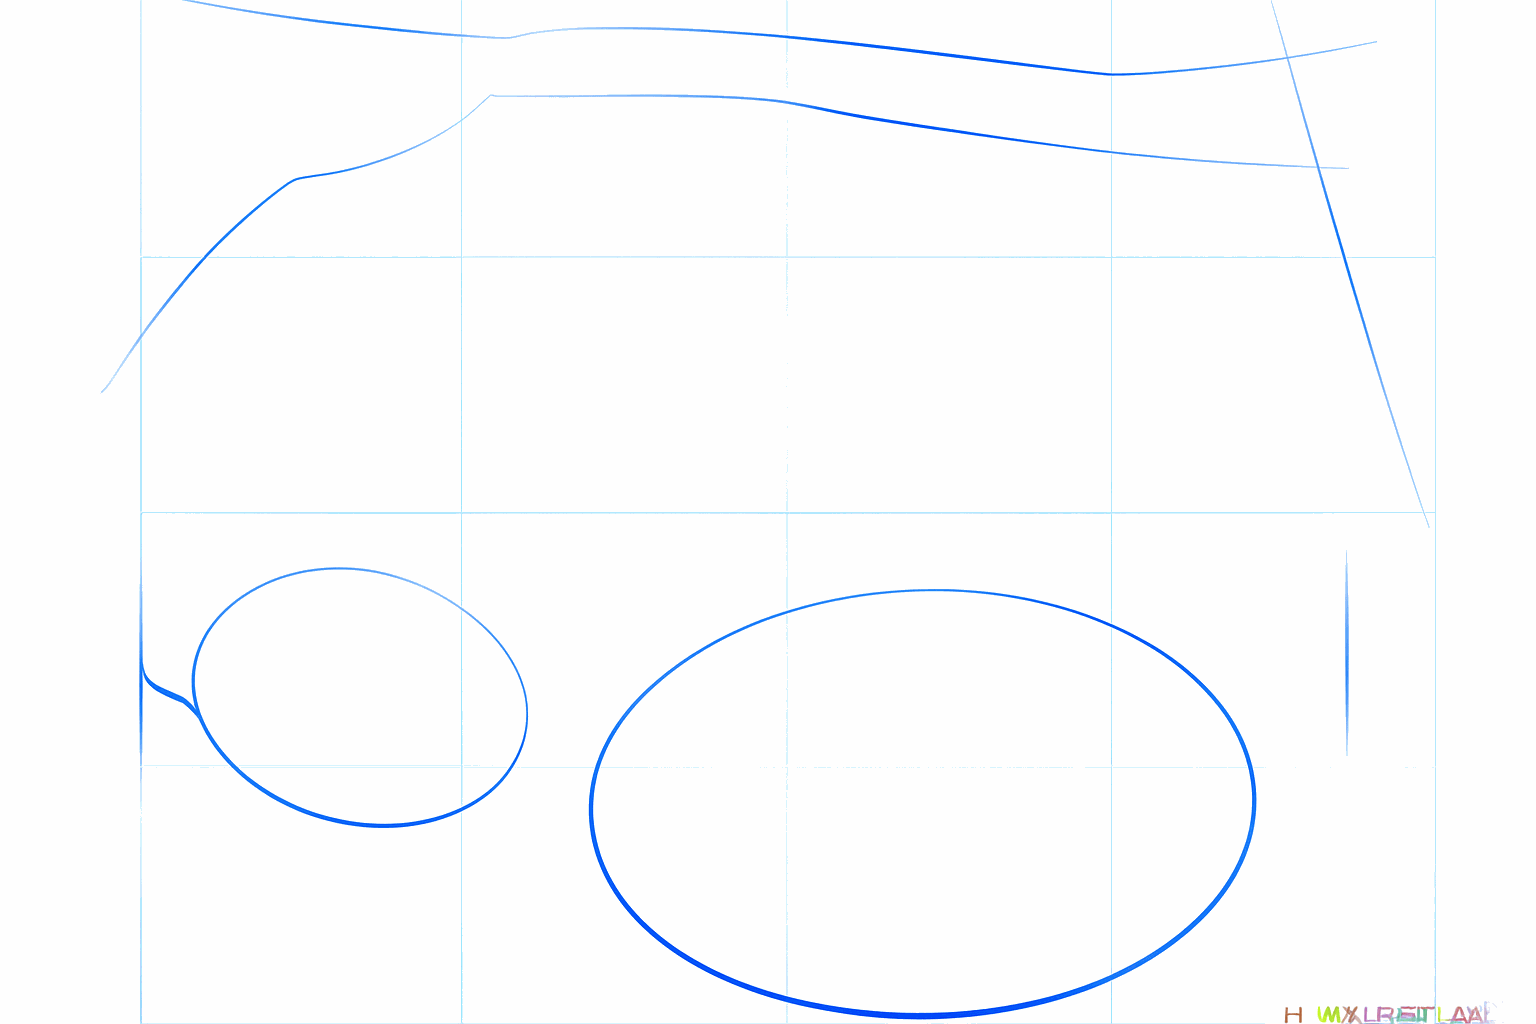
Begin with a large horizontal oval for the body and a smaller round circle for the head. Also draw a long diagonal line where the branch will be.
Connect the head and the body with two short lines for the neck. Now make the thin line of the branch thicker by drawing a second line underneath it.
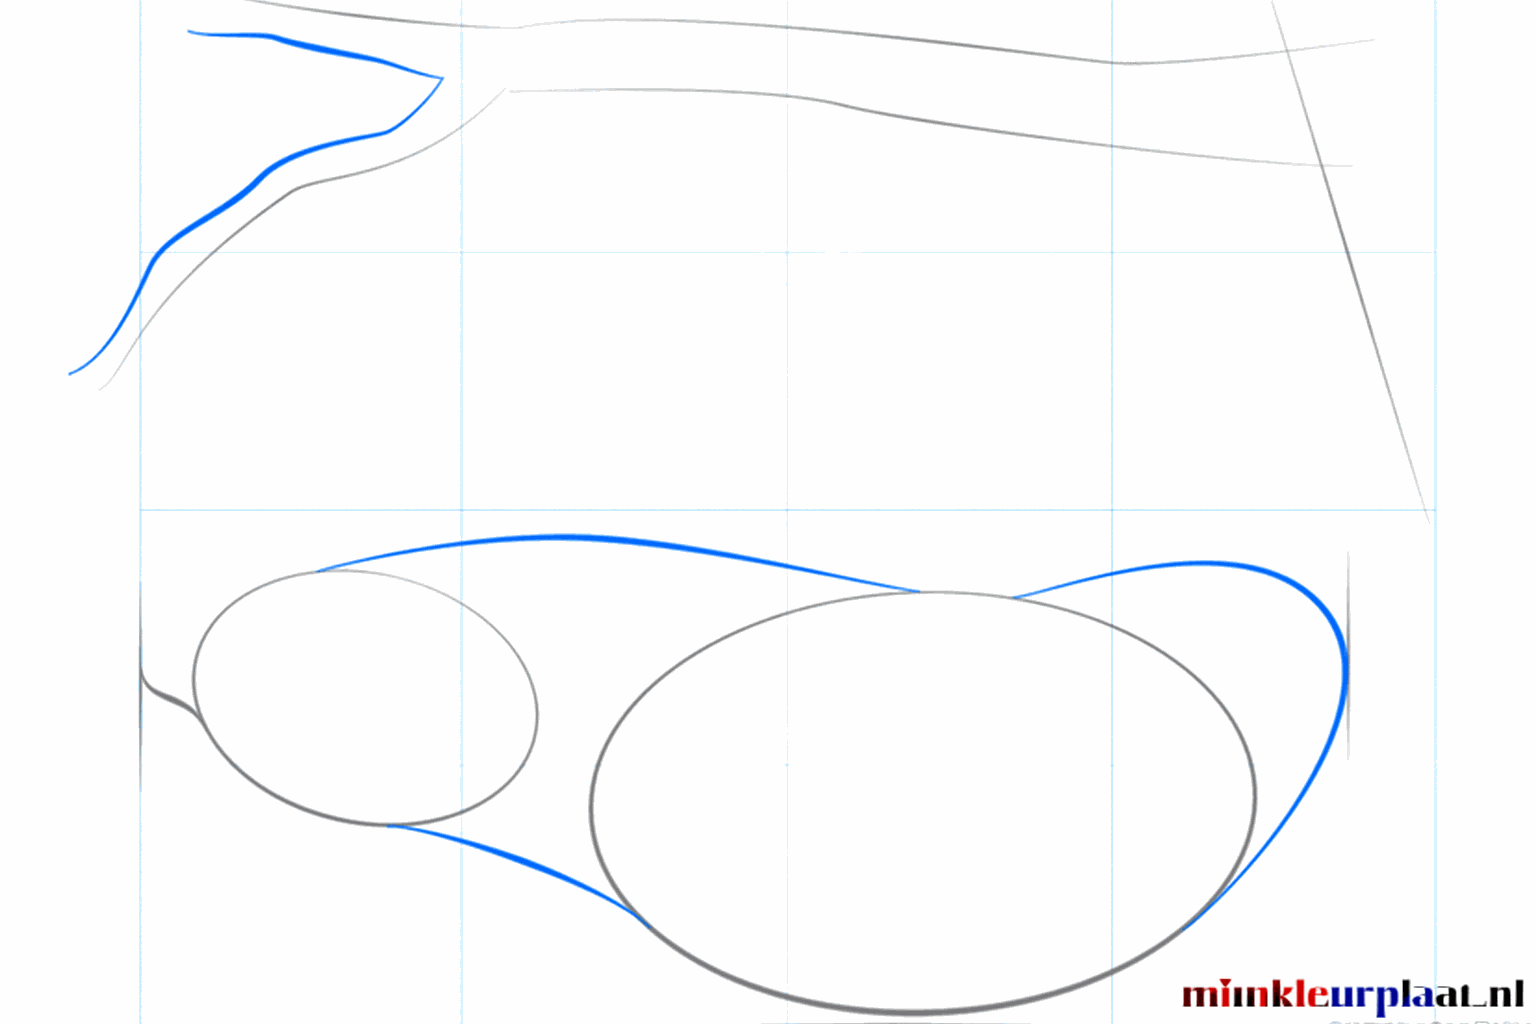
Draw four guide lines from the body to the branch for the legs. Make a small circle at the bottom of the head for the sloth's snout.
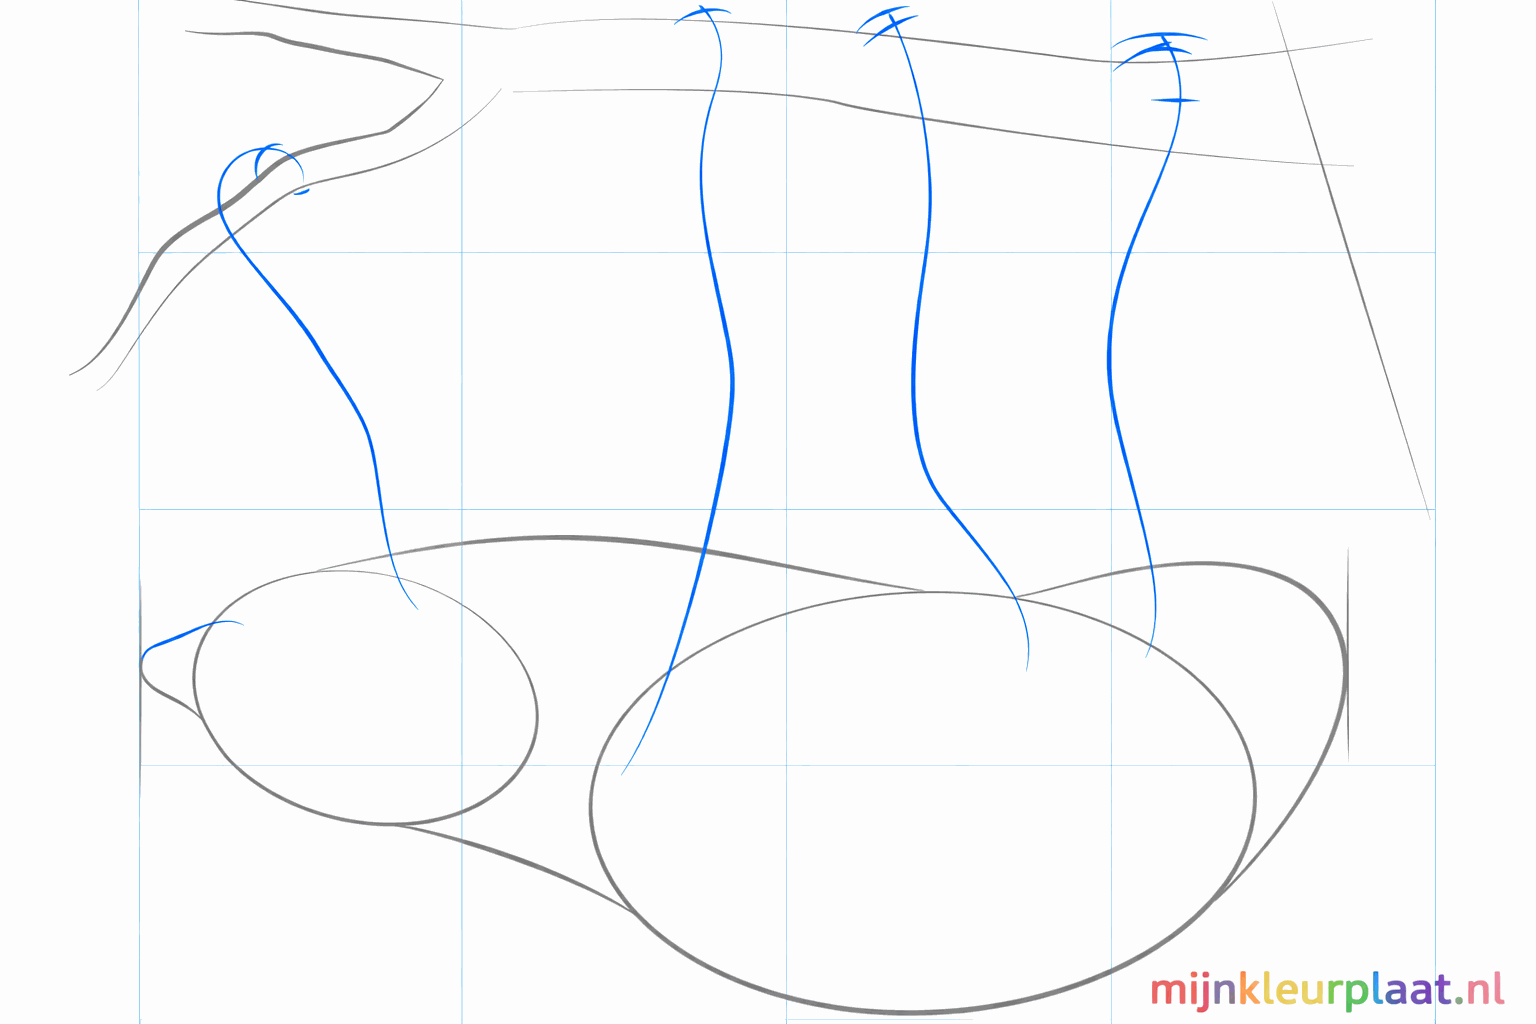
Now make the legs thicker by drawing lines around the guide lines. Also draw a small line for the mouth at the bottom of the snout.
At the end of each leg, draw three long, curved claws gripping the branch. Place a small dot for the eye.
Give the sloth a little nose in the middle of the snout. Also draw the characteristic patches around the sloth's eyes.
Now draw small jagged lines everywhere along the edges to make the fur look nice and hairy. Add some dashes on the tree branch for the bark.
Carefully erase the first guide lines and trace the outer lines one more time to make them dark. Your sloth is now ready to be colored in!
Frequently asked questions
What supplies do I need for this drawing lesson?
What if my circles aren't perfectly round?
How do I draw the sloth's hair?
Can I also give the branch leaves?
Coloring pages of sloth
View all sloth coloring pages


Related drawing lessons