How to draw a sea otter?
Learn step by step how to draw a sea otter. Follow the 8 steps and print the tutorial.
1

Draw a small circle for the head and a larger horizontal oval for the body.
2
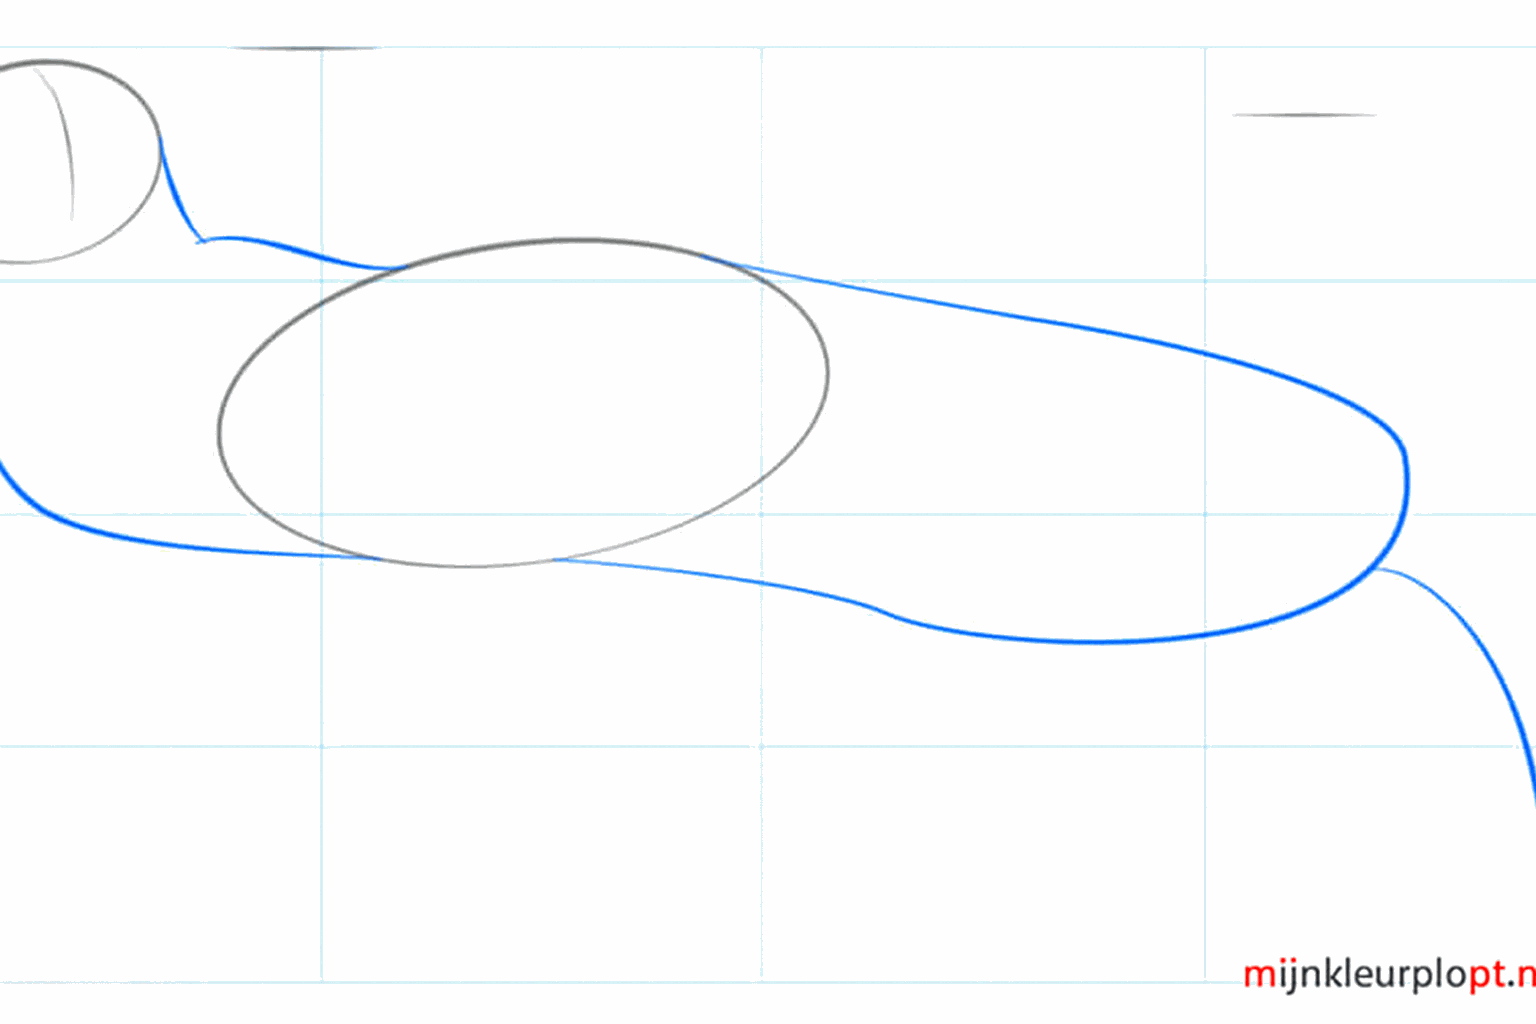
Connect the head and the body with two curved lines for the neck and draw a long pointed tail.
3
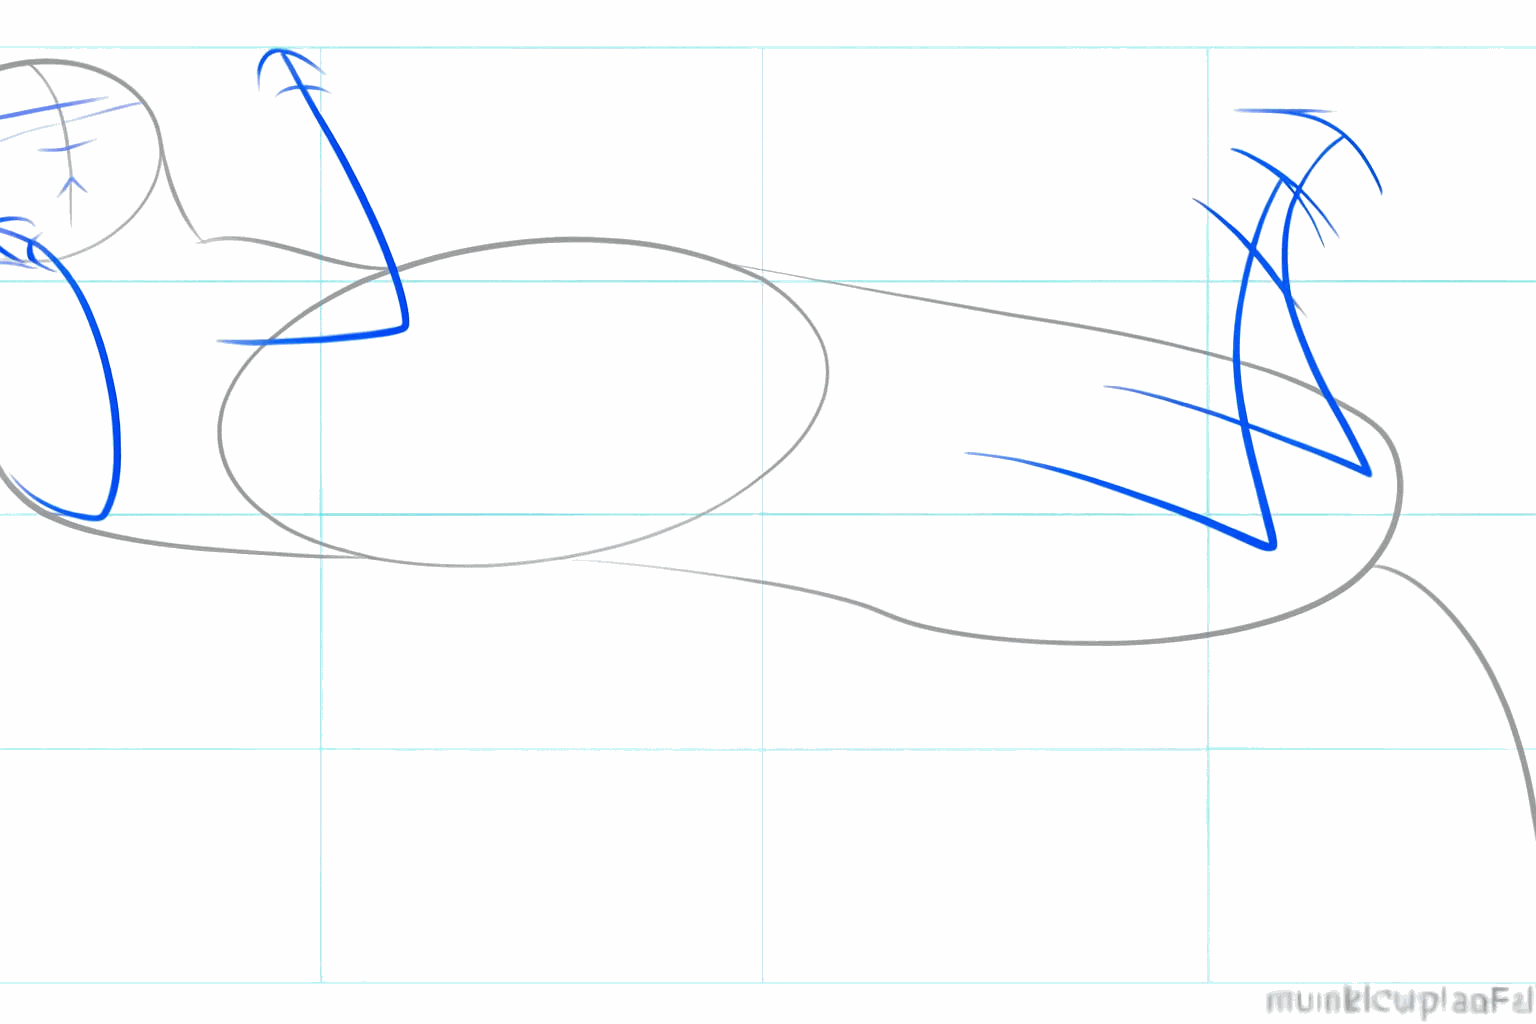
Place small guide lines where the front and back paws will be located later.
4
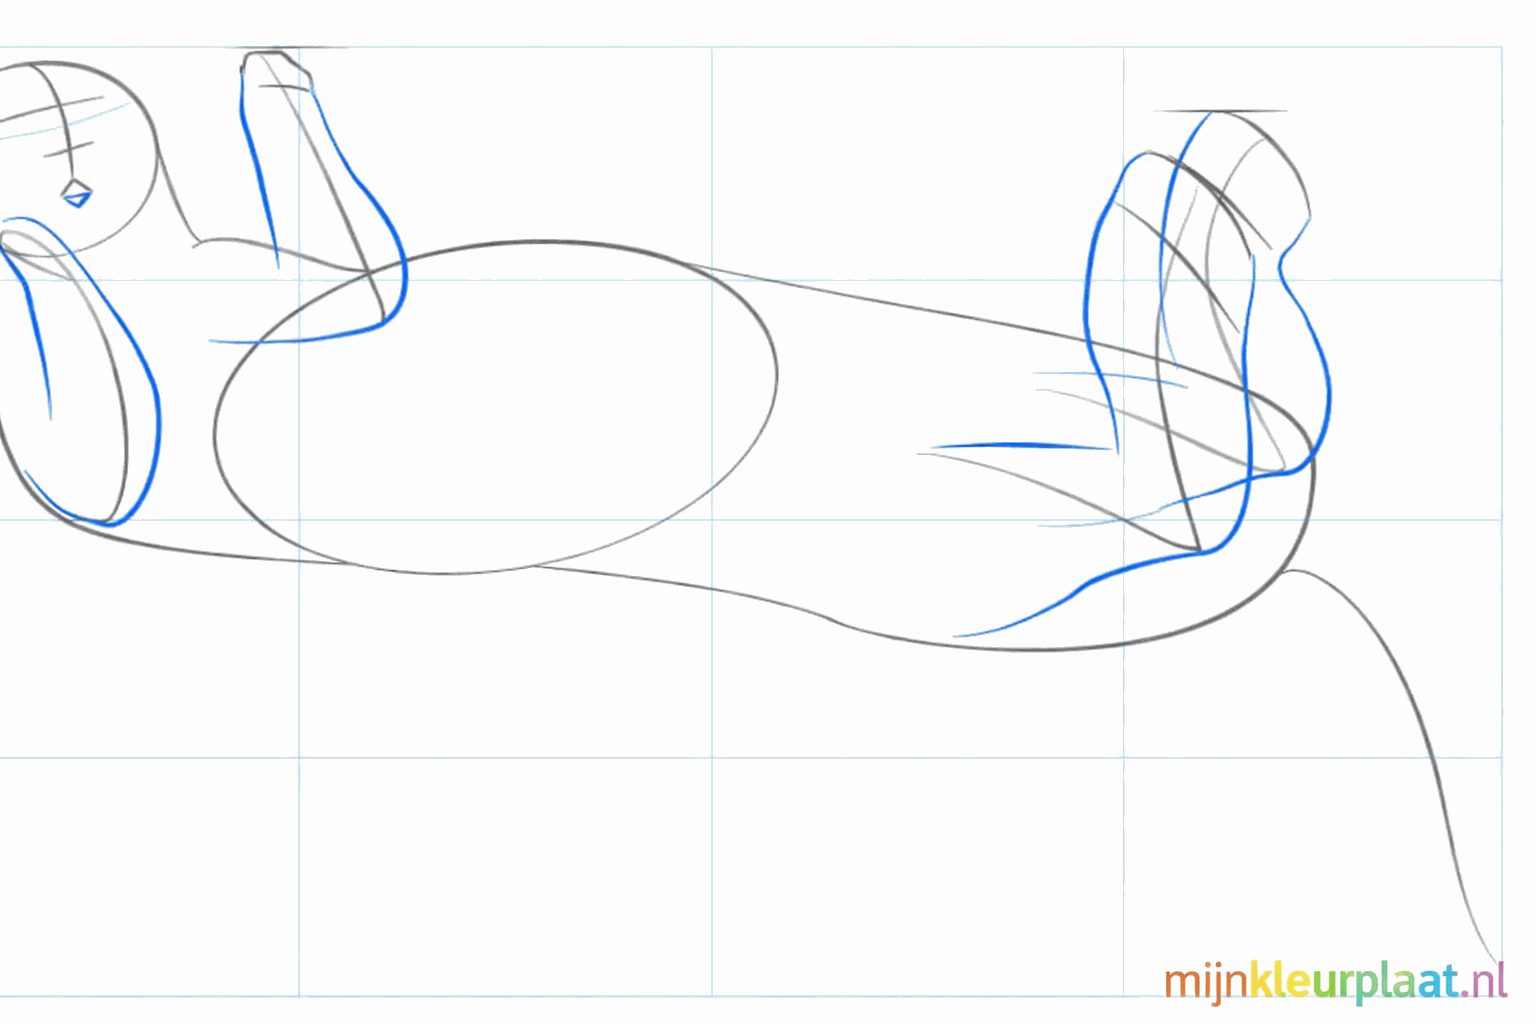
Now draw the round shapes of the front paws and the slightly larger back paws.
5
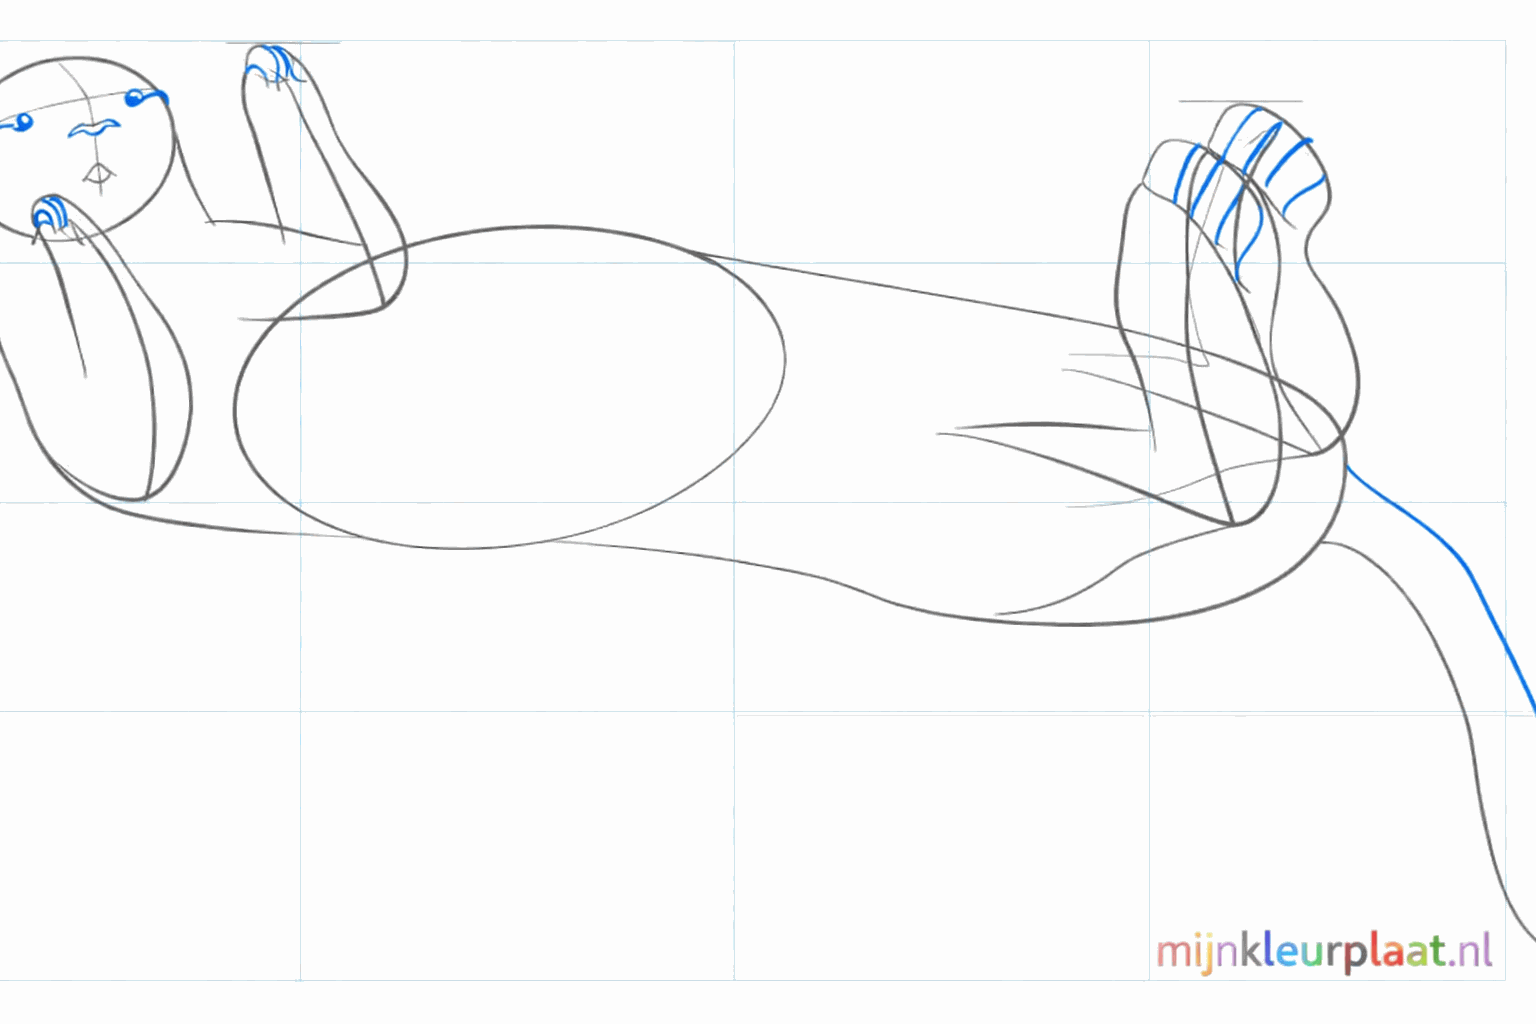
Finish the snout by drawing a small nose and give the otter two small ears.
6
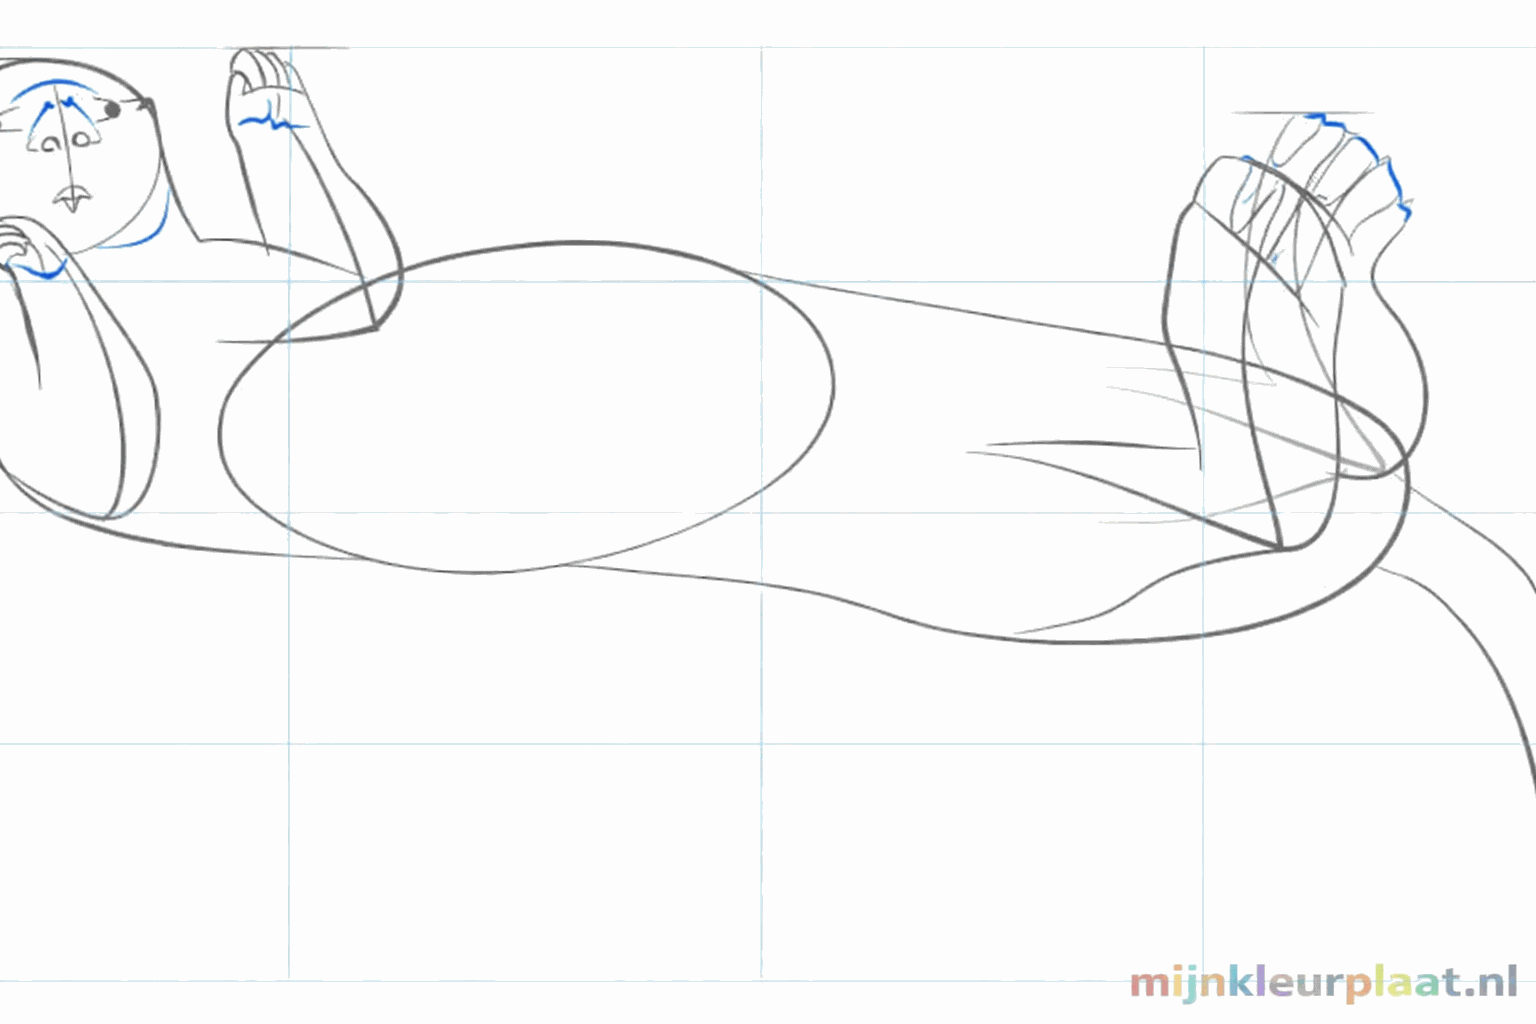
Draw the eyes as small black dots and give the paws little toes.
7
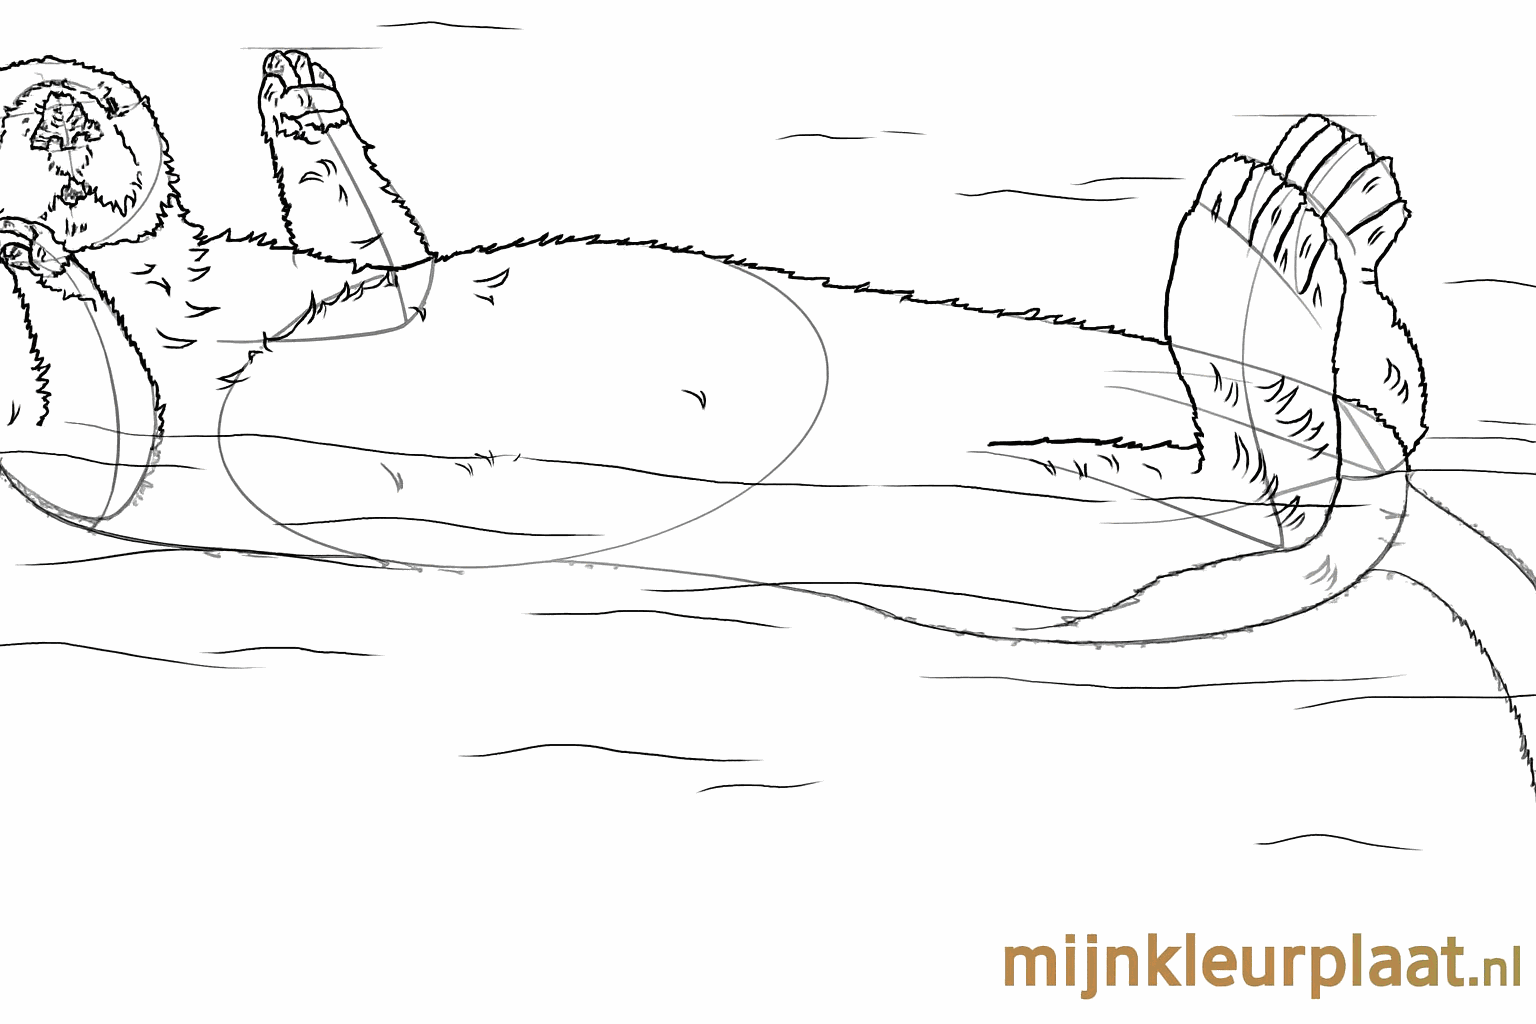
Now draw the fur with short, hairy strokes over the entire body of the otter.
8
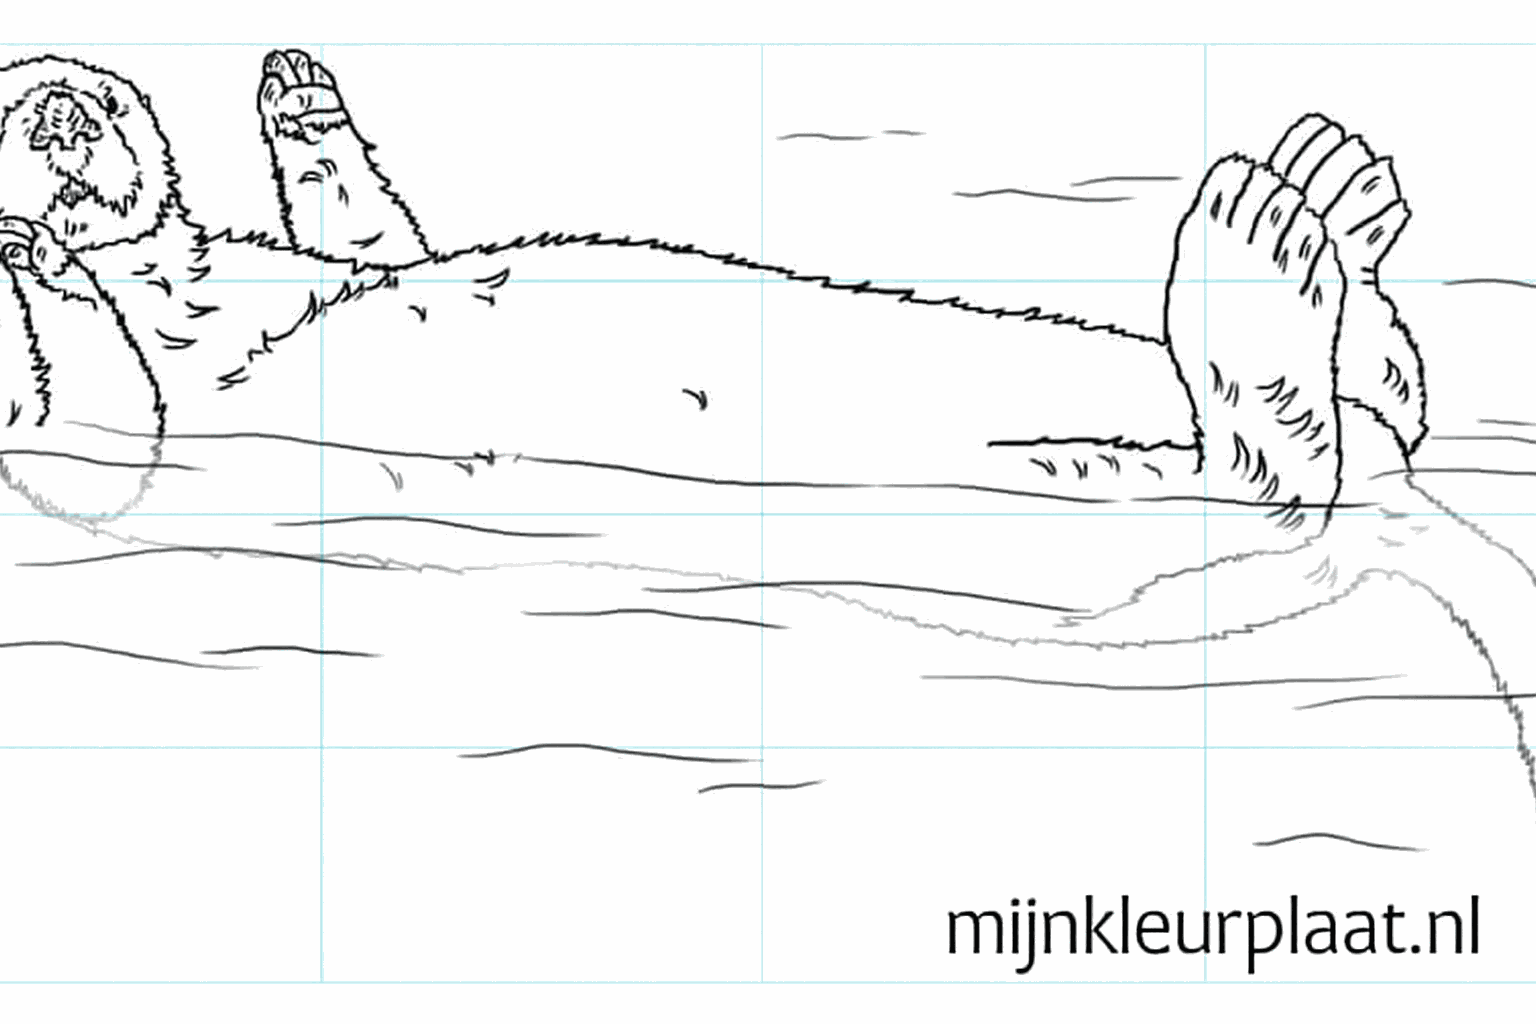
Erase the guide lines and draw wavy lines around the otter for the water.