How to draw a rooster?
Learn step by step how to draw a rooster. Follow the 9 steps and print the tutorial.
Learn how to draw a proud rooster with this easy step-by-step explanation. Perfect for young artists who love farm animals!
Intro
Did you know that the rooster is the king of the farm? With his beautiful comb and large tail, he is wonderful to see. Grab your pencil and paper, because we are going to draw this cheerful bird together. Will you join in?
Summary
In this drawing lesson, you will learn to draw a rooster using simple shapes like circles and ovals. We start with the basics and gradually add more details like the feathers and the comb.
Steps
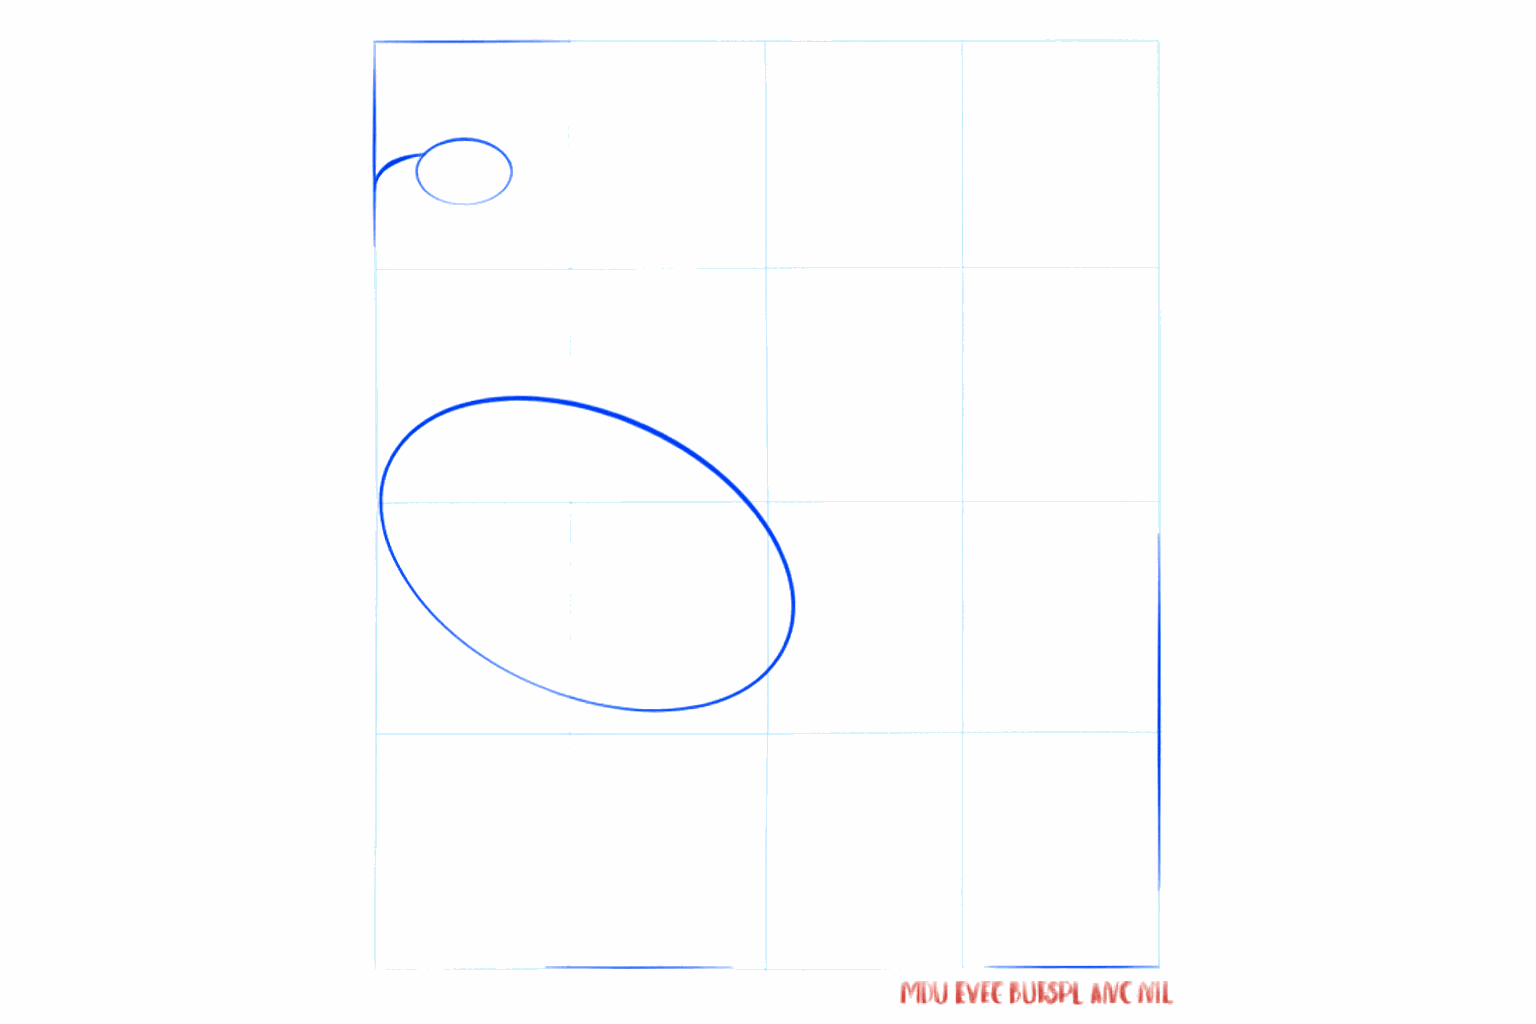
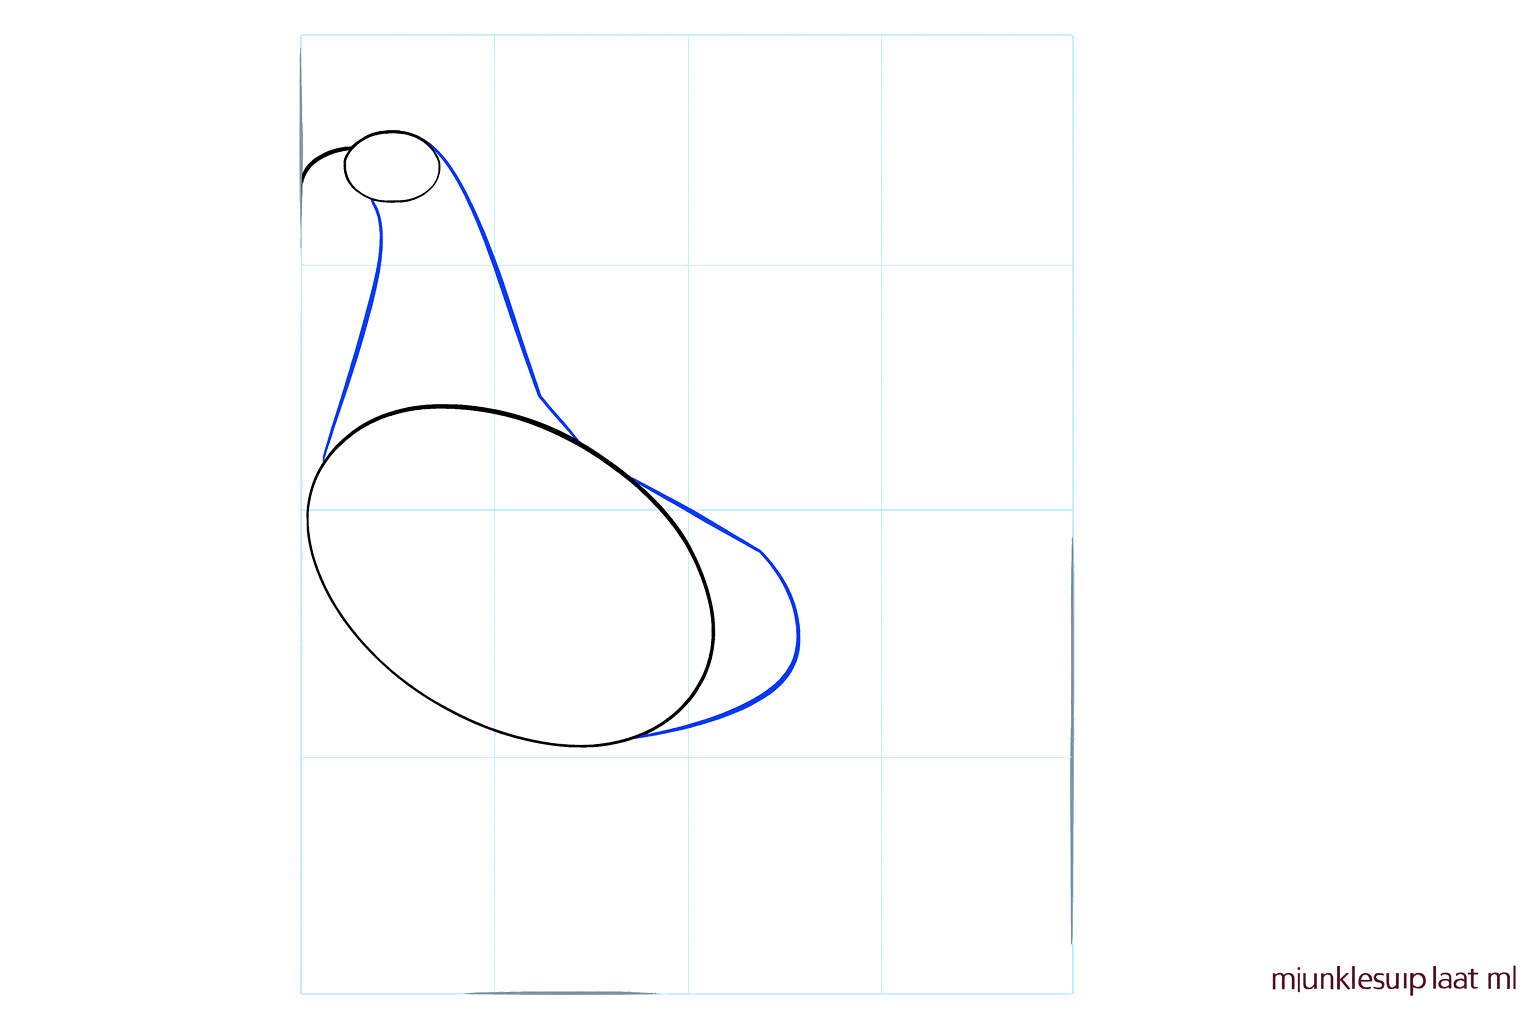
Draw a small circle for the head and a large oval underneath for the rooster's body.
Connect the head and the body with two slightly curved lines to create a sturdy neck.
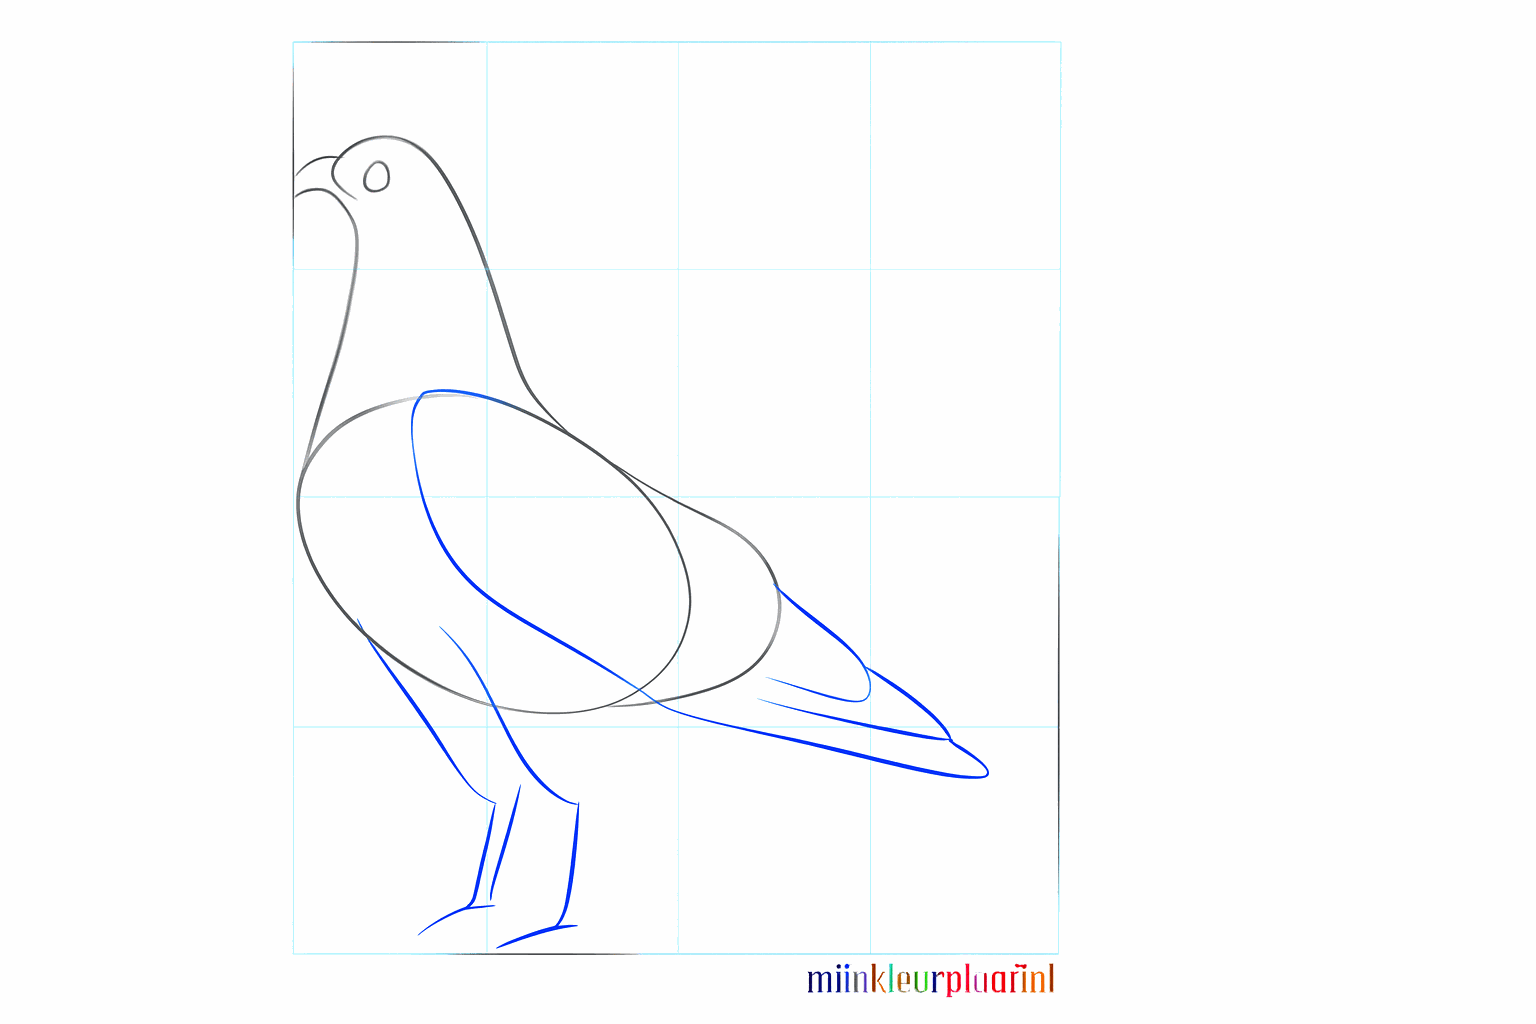
Draw a sharp beak on the head and place two lines under the body for the legs.
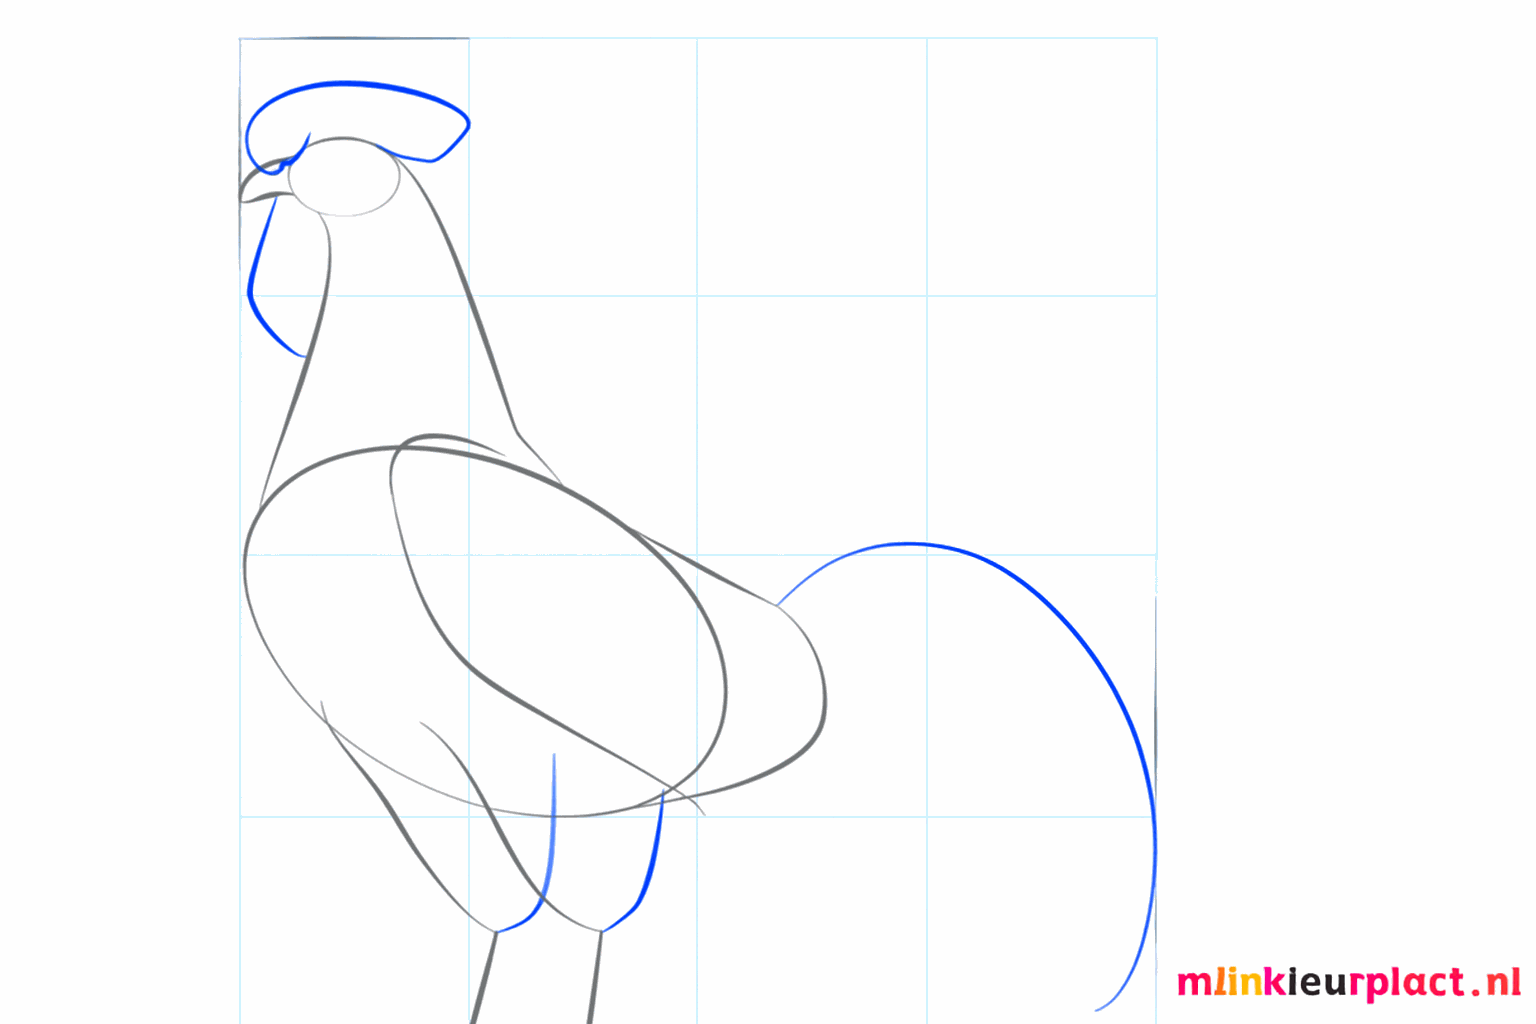
Make a cheerful comb on top of the head and draw a large arc for the tail.
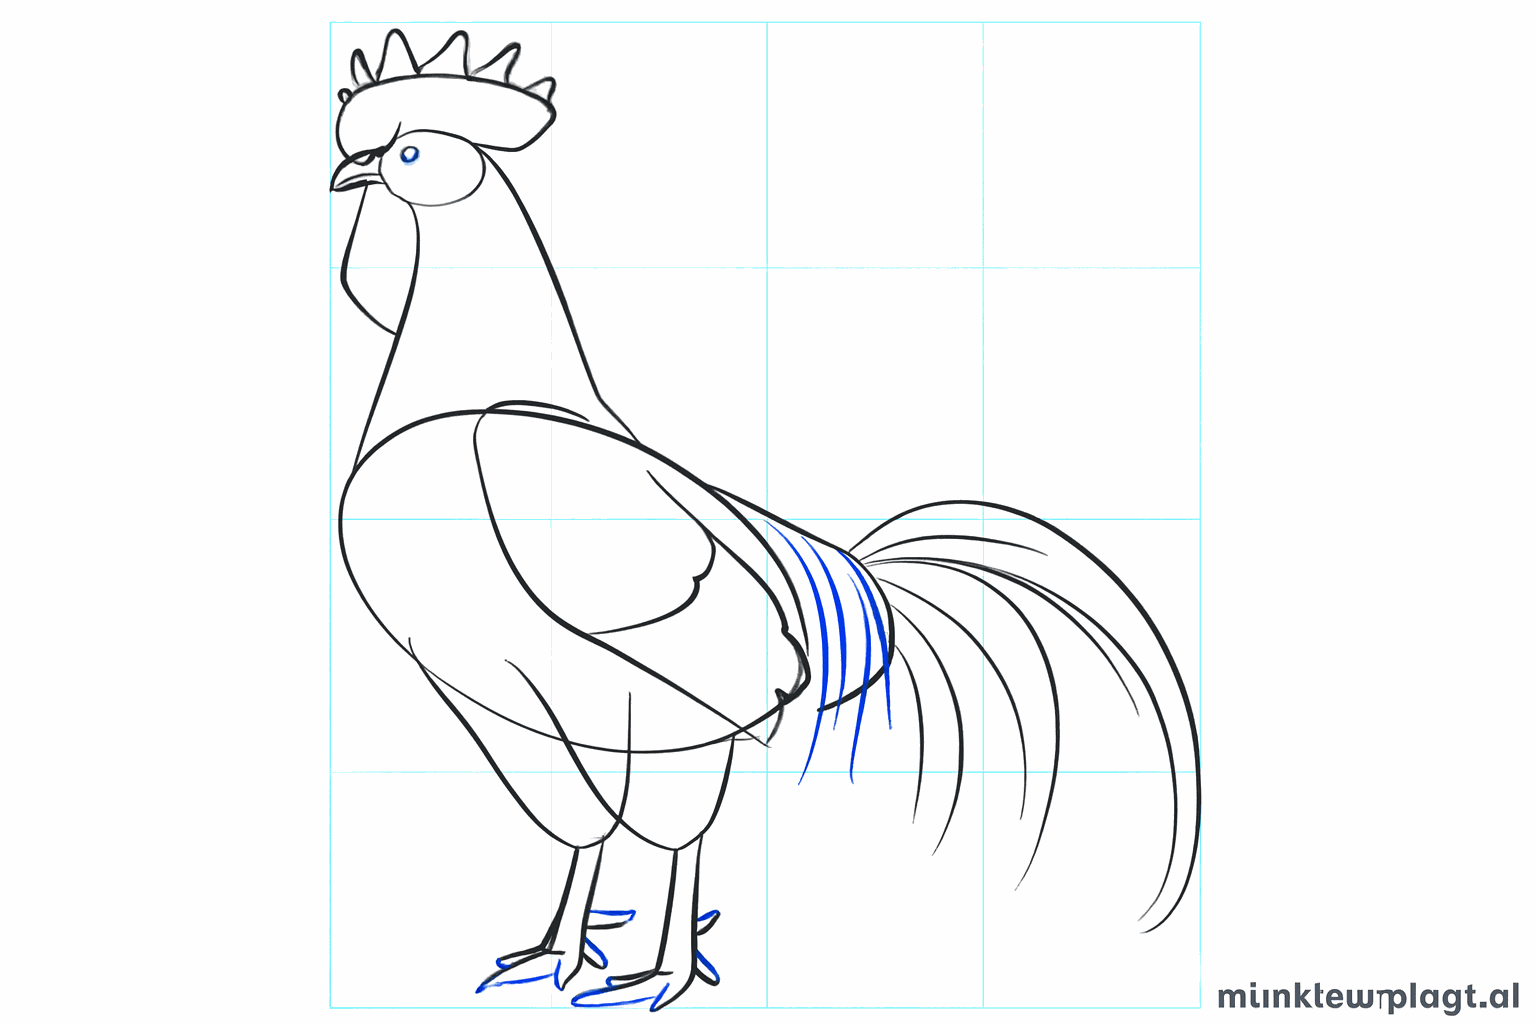
Give the comb small curves and draw a large oval in the middle of the body for the wing.
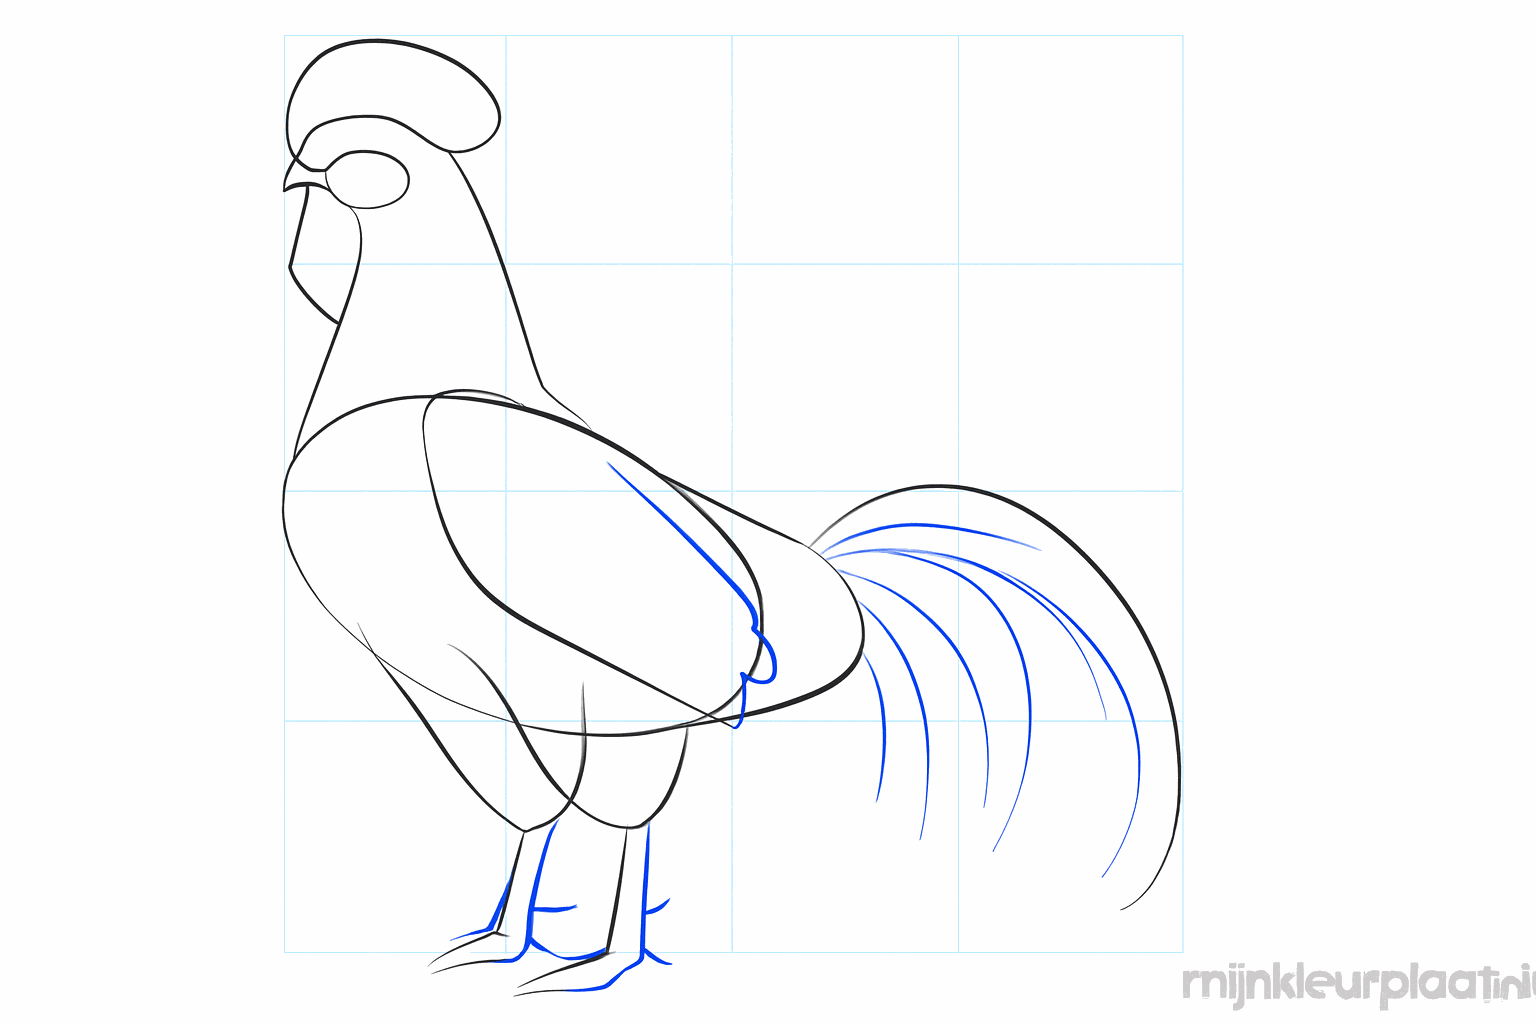
Make the legs thicker and add long, wavy feathers to the tail.
Create the toes on the legs and draw small strokes on the wing for the feathers.
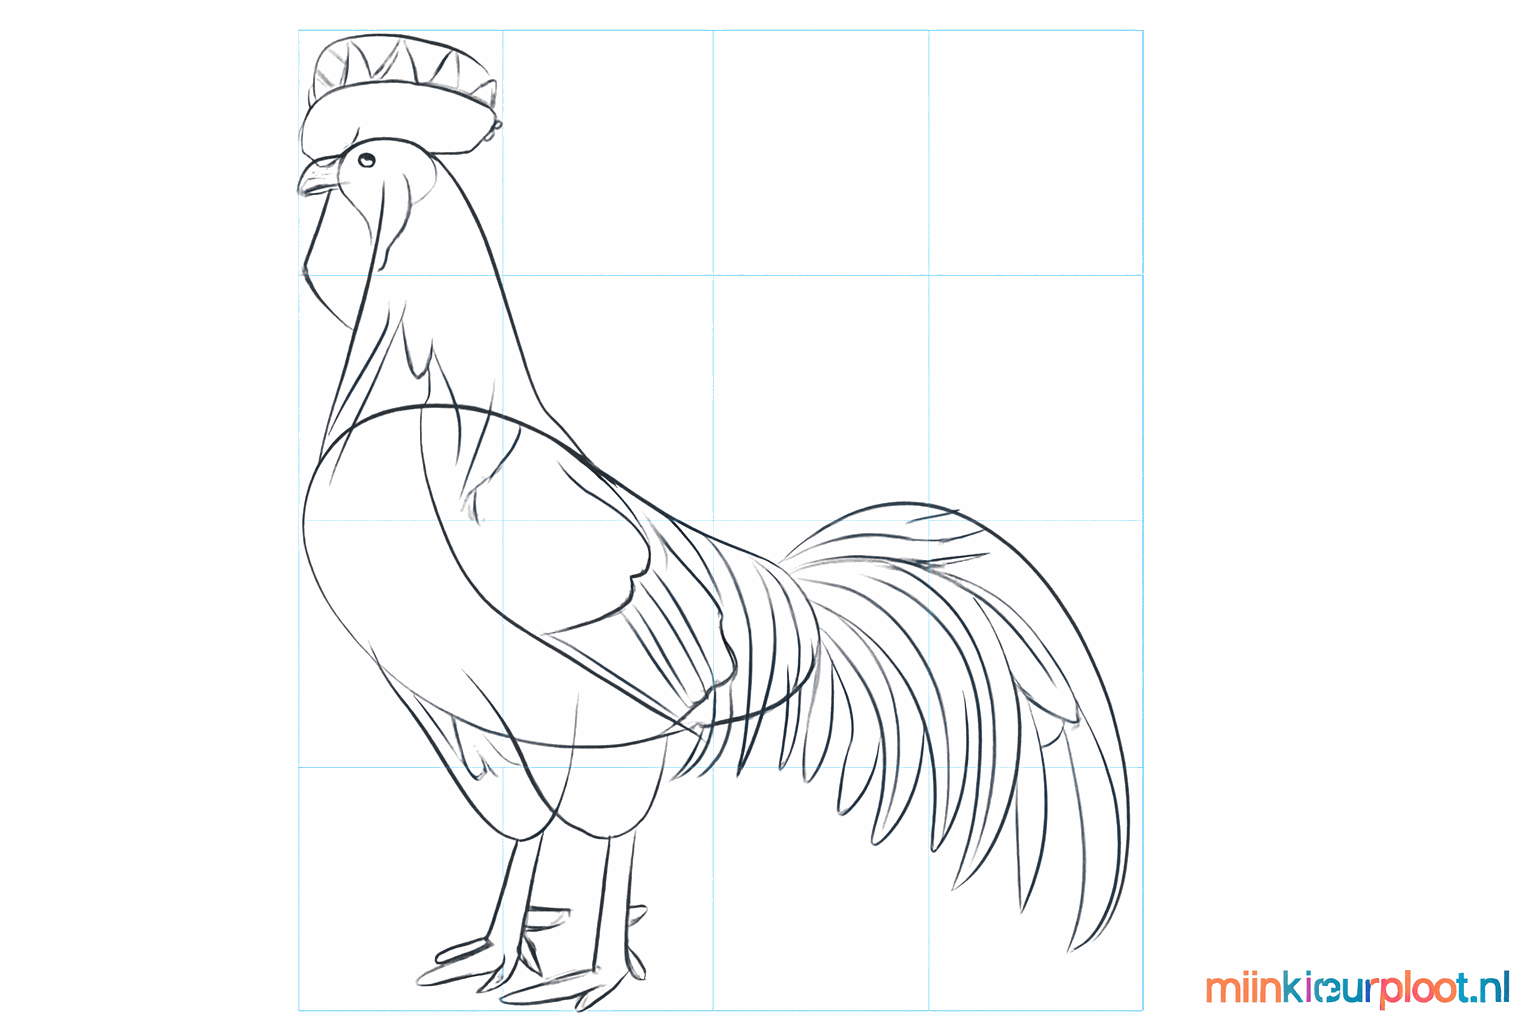
Draw an eye in the head and add some extra details all over the body.
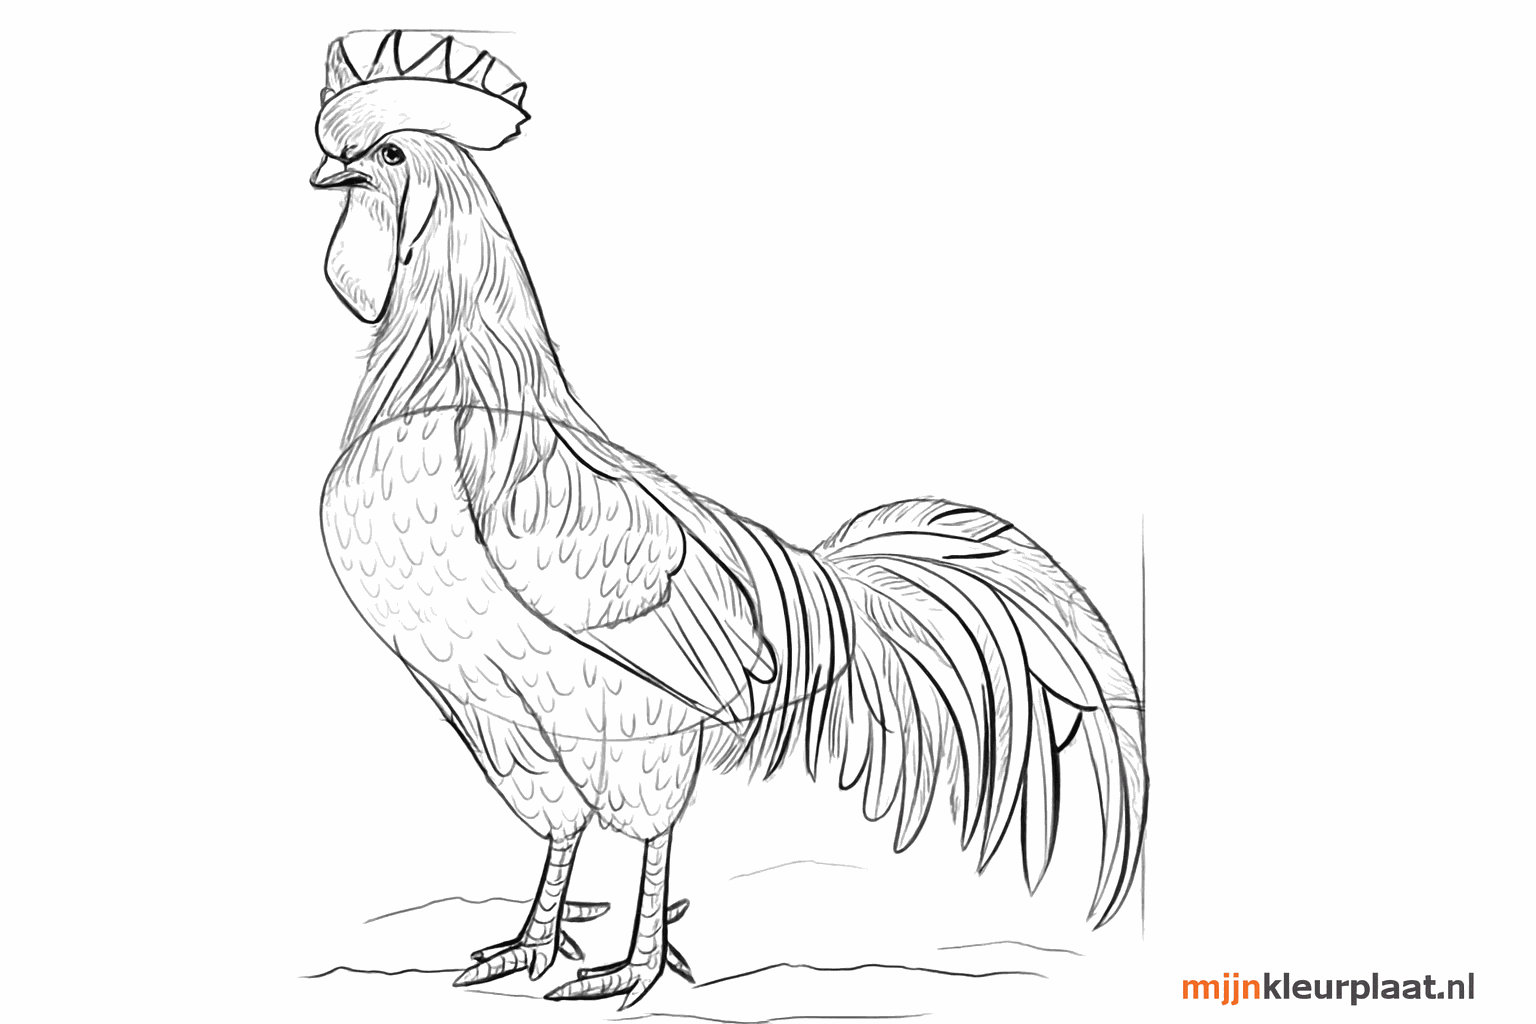
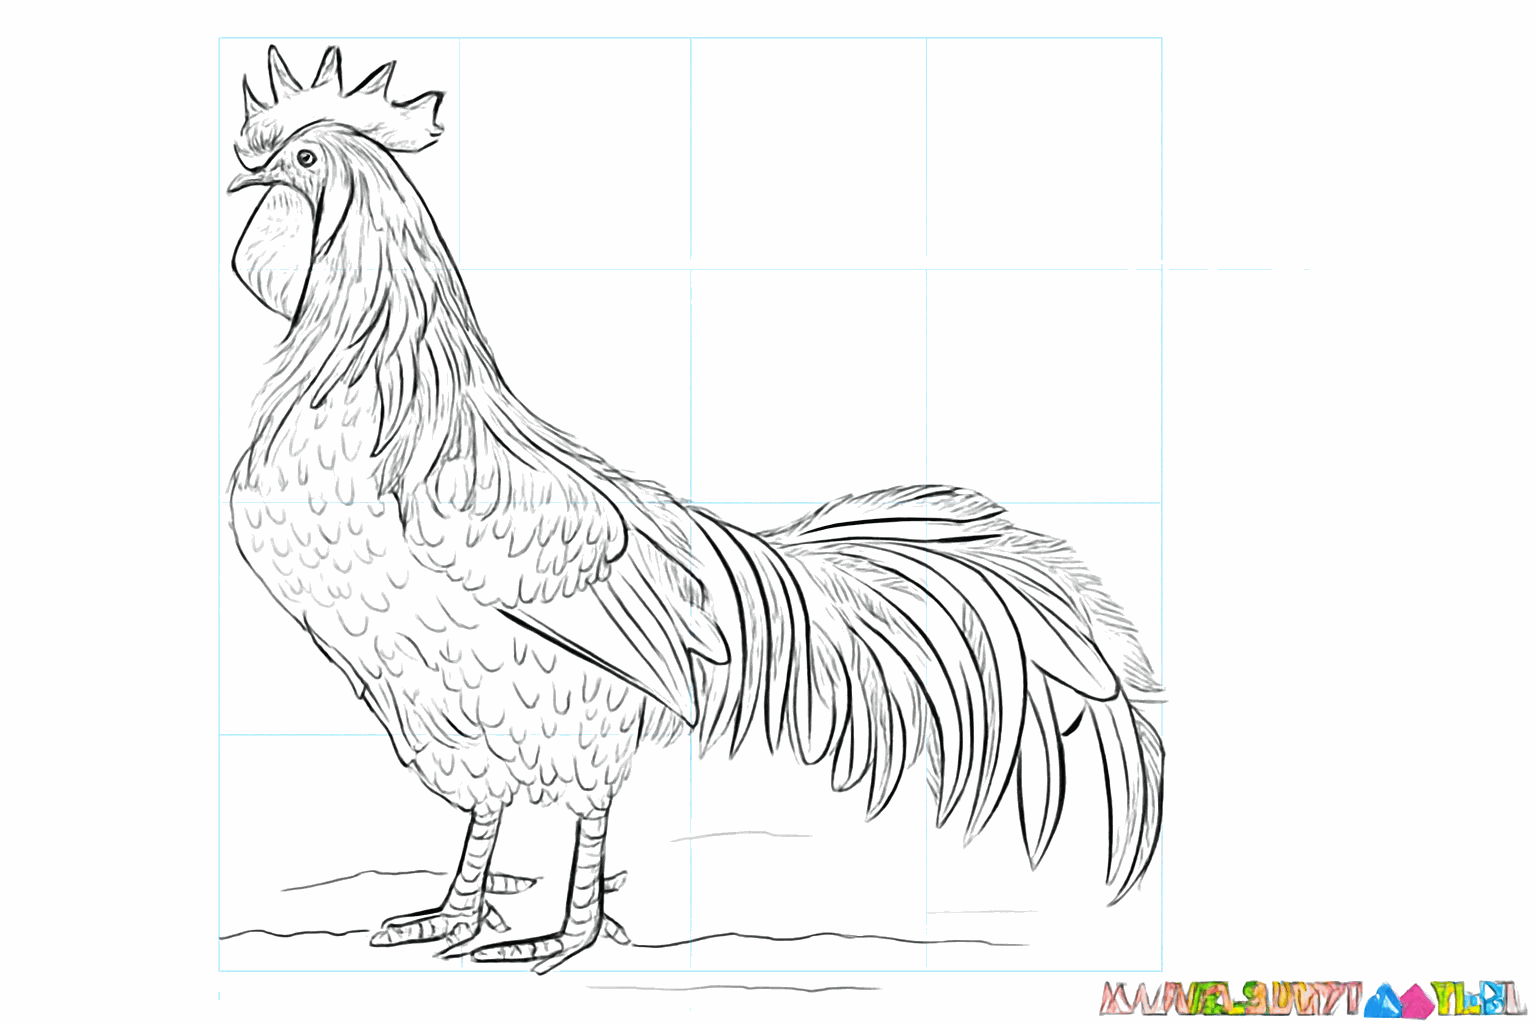
Erase the guide lines and trace the outer lines extra thick for a beautiful result.
Frequently asked questions
What colors does a rooster have?
Is drawing a rooster difficult?
What is the most important part of a rooster?
Should I use an eraser?
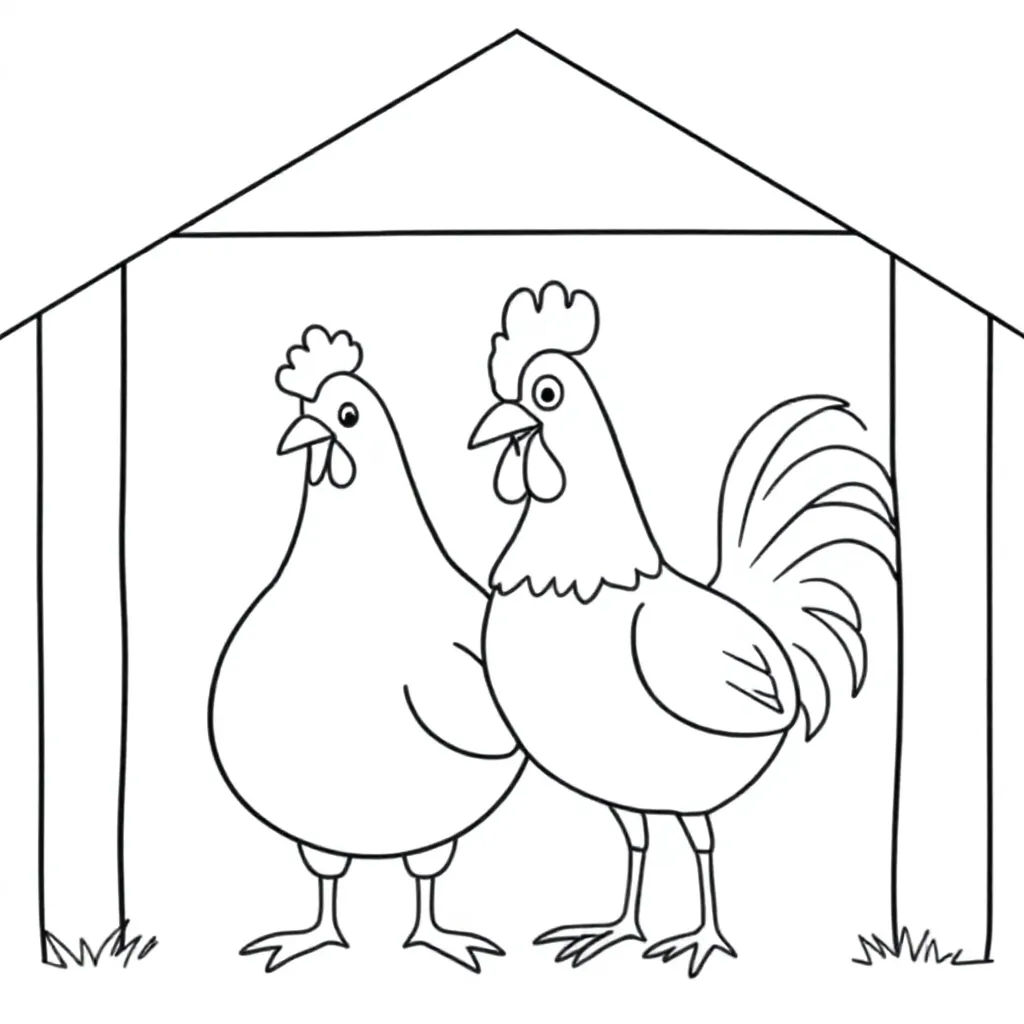
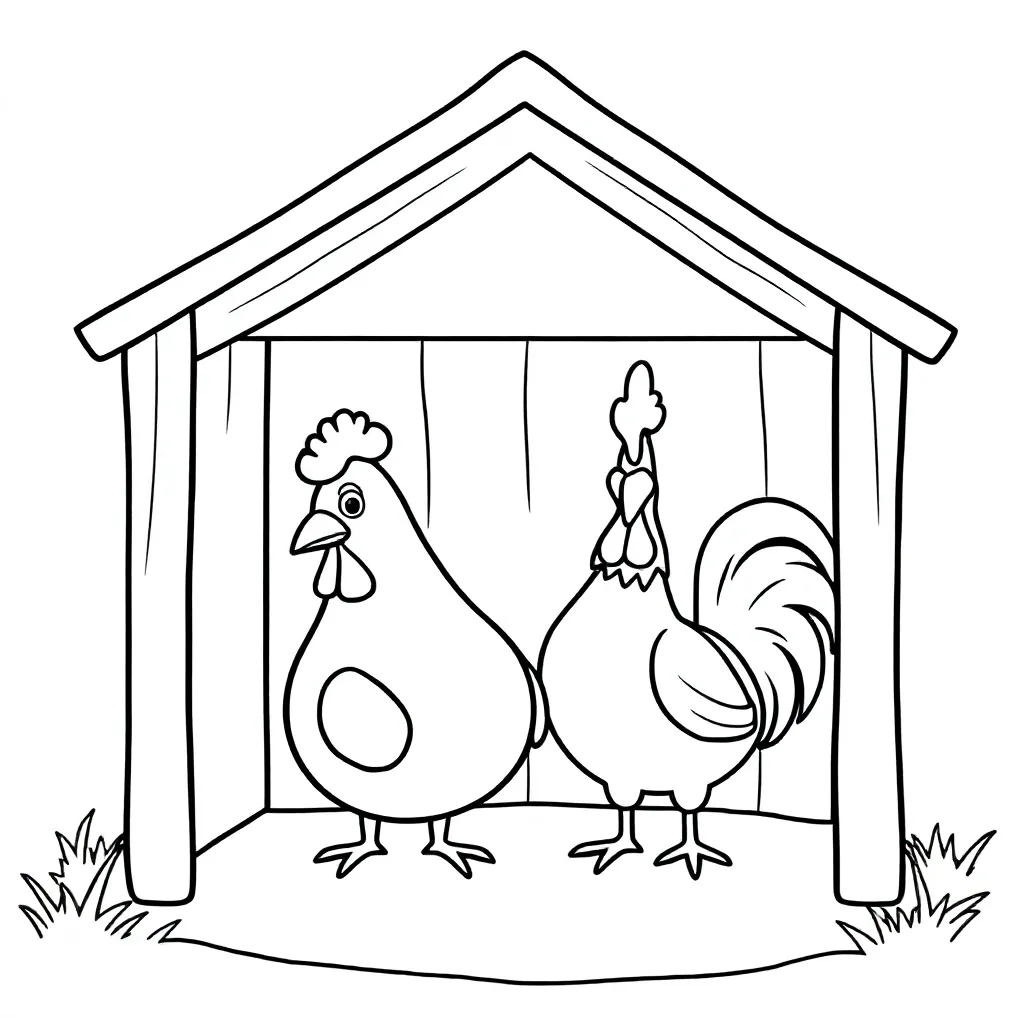
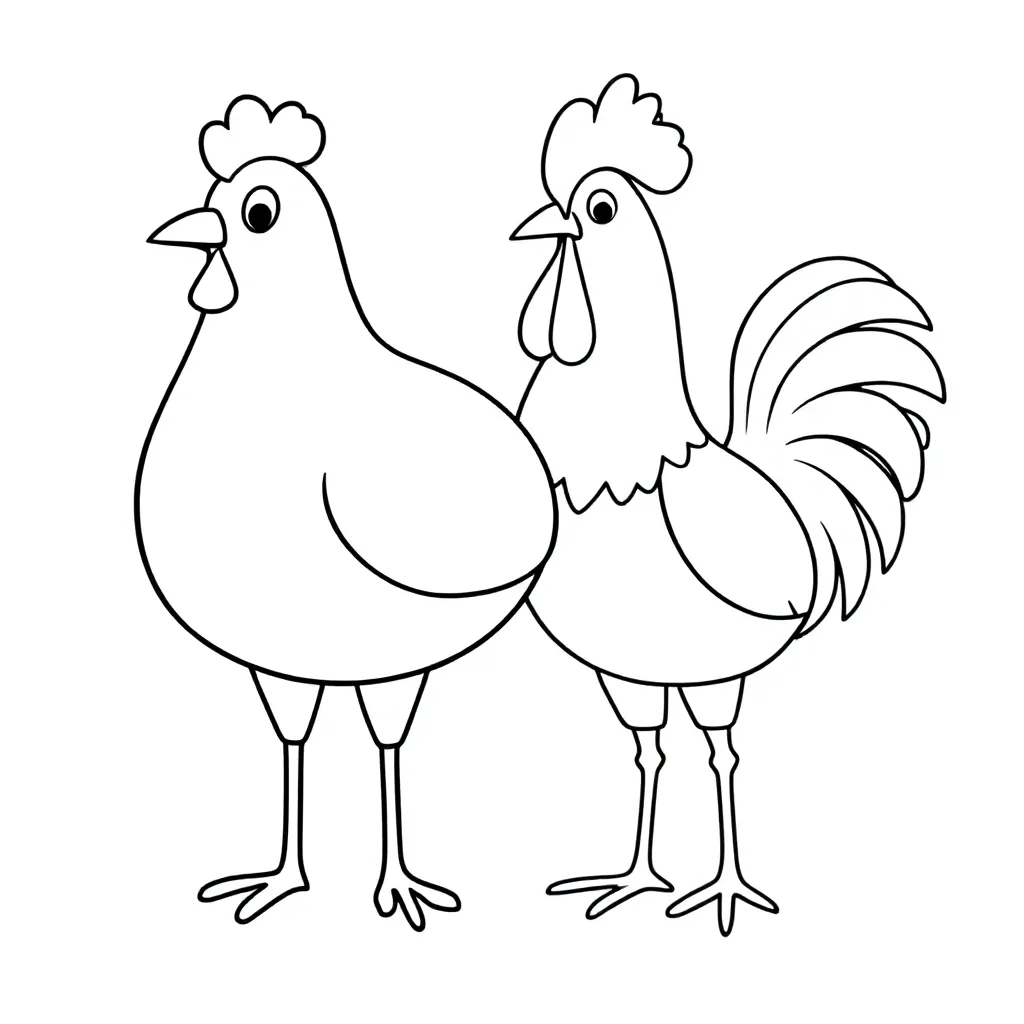
Coloring pages of rooster
View all rooster coloring pages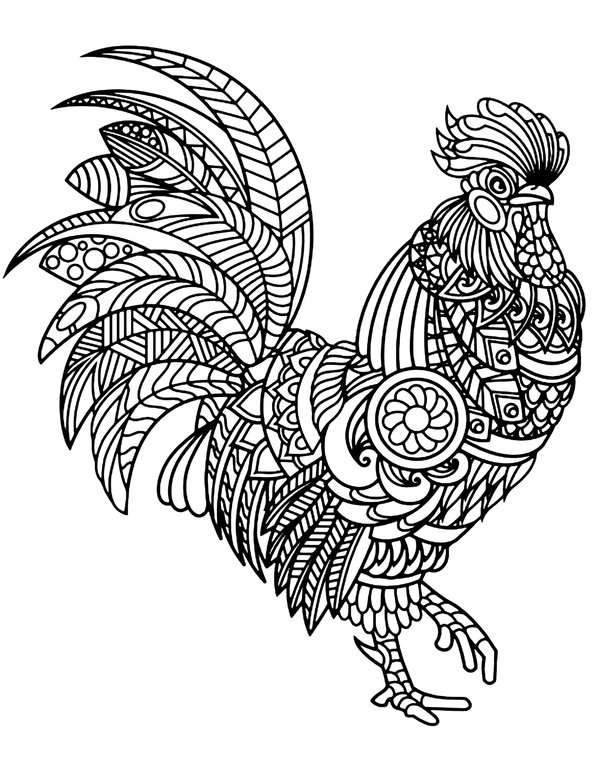


Related drawing lessons