How to draw a pug dog 2?
Learn step by step how to draw a pug dog 2. Follow the 8 steps and print the tutorial.
1
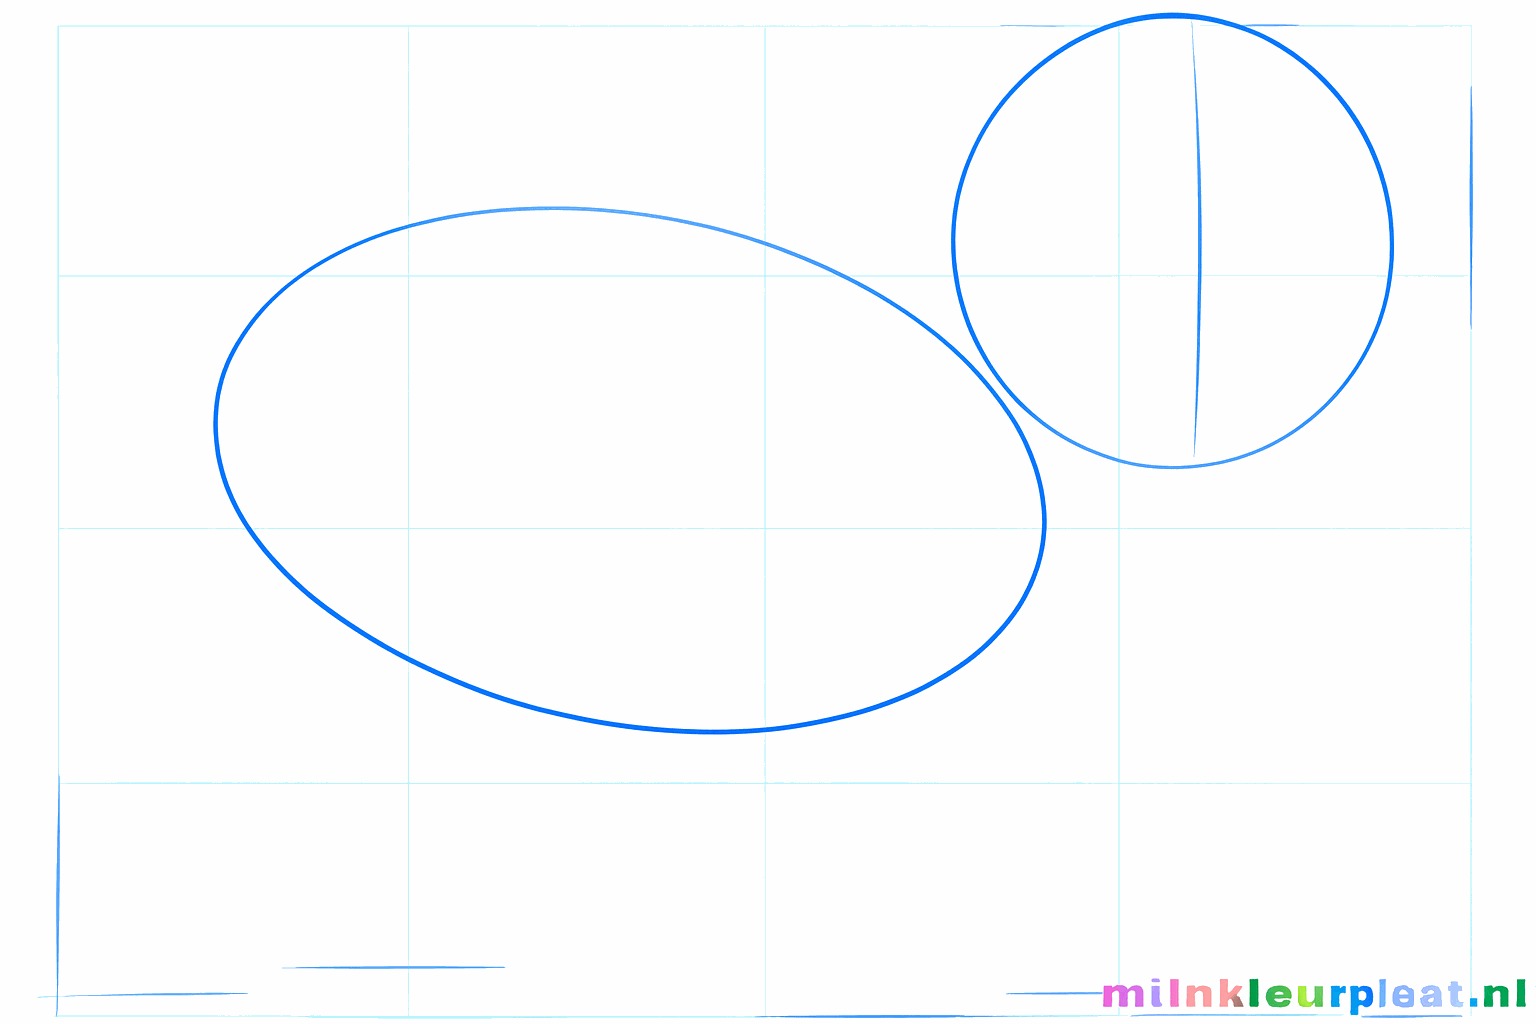
Draw a large oval for the body and a smaller circle above it for the head.
2
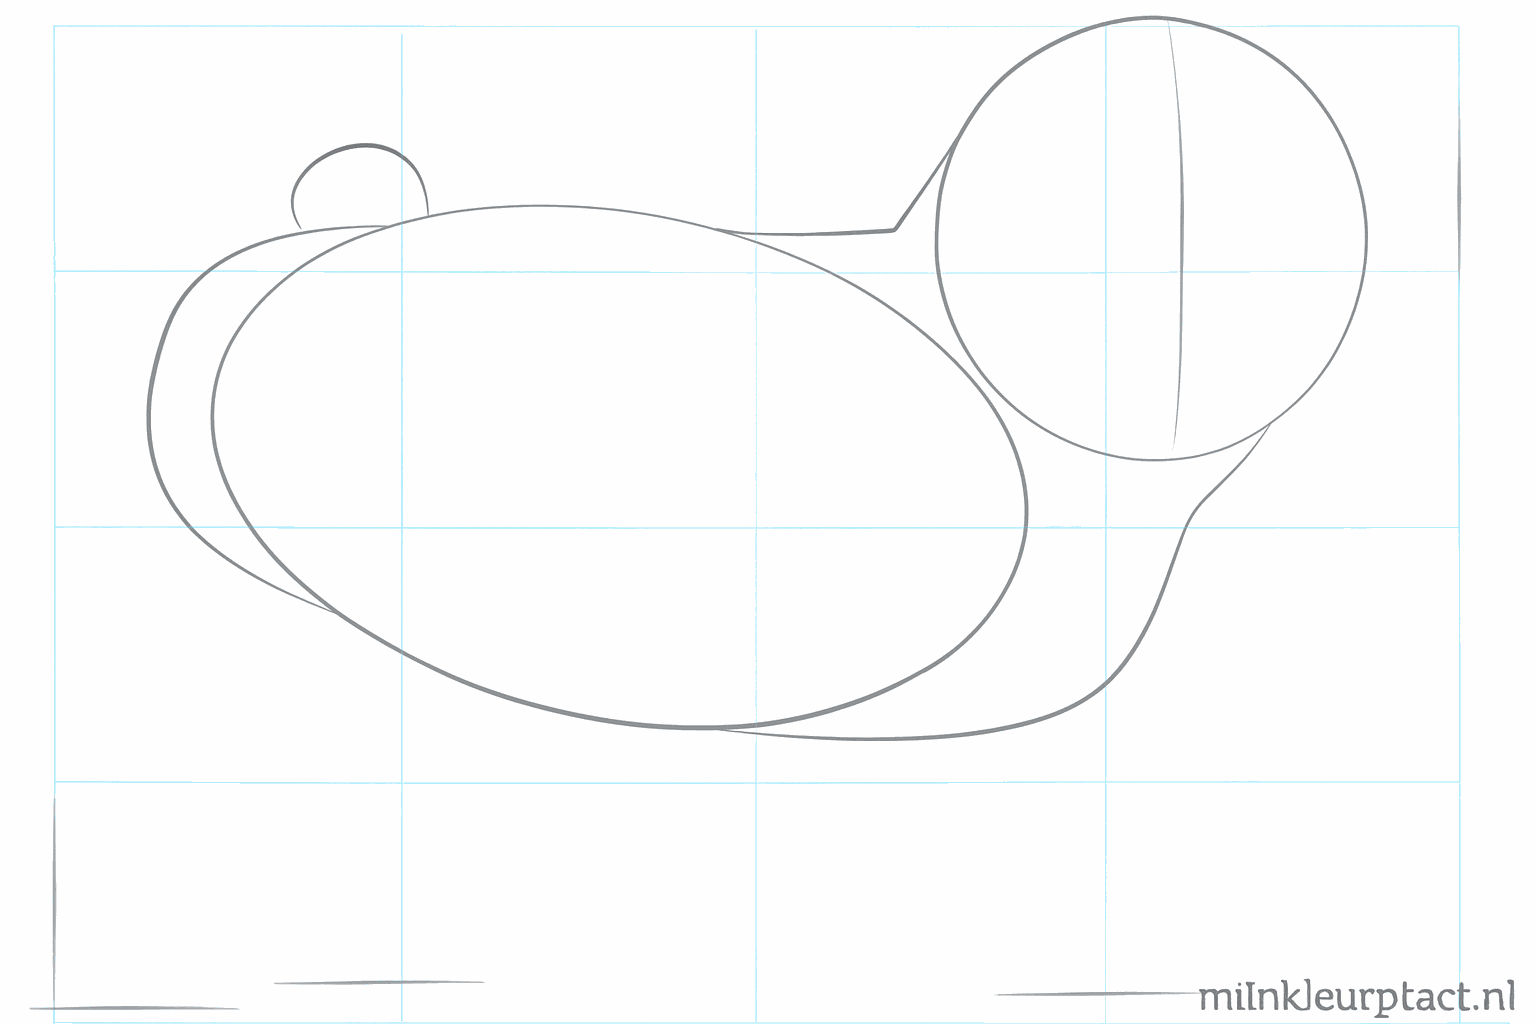
Connect the head and body with two lines for the neck and sketch a curved line for the tail.
3
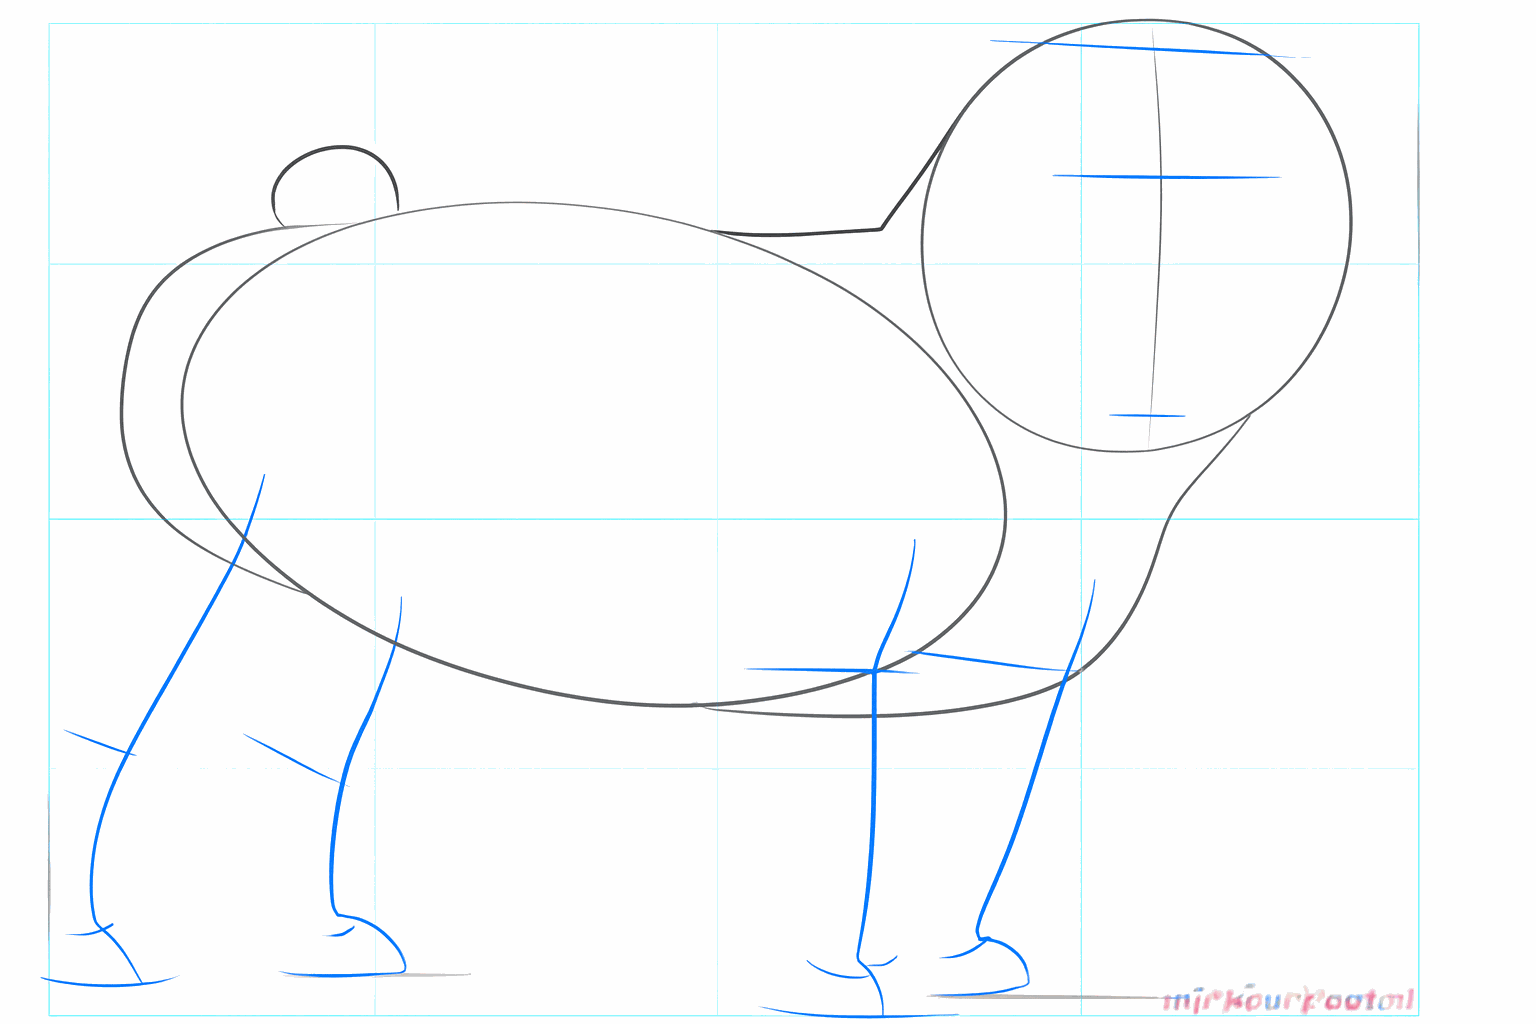
Place guide lines on the face for the eyes and snout, and draw small dashes where the legs should go.
4
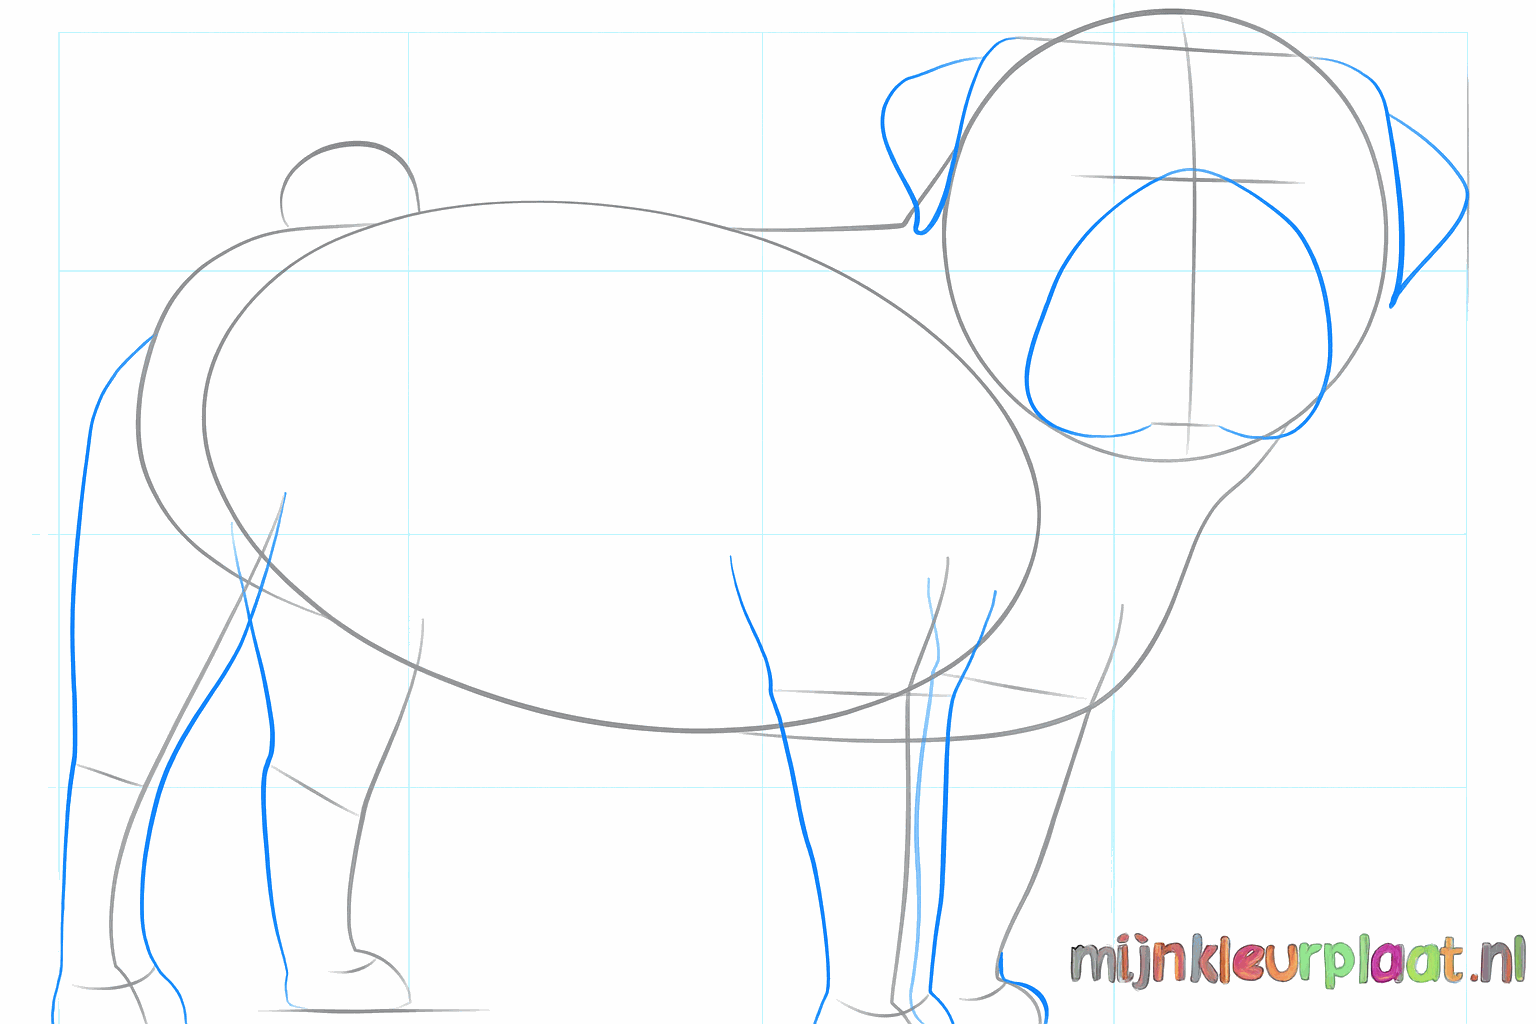
Now draw the thick legs under the body and add two triangular floppy ears to the head.
5
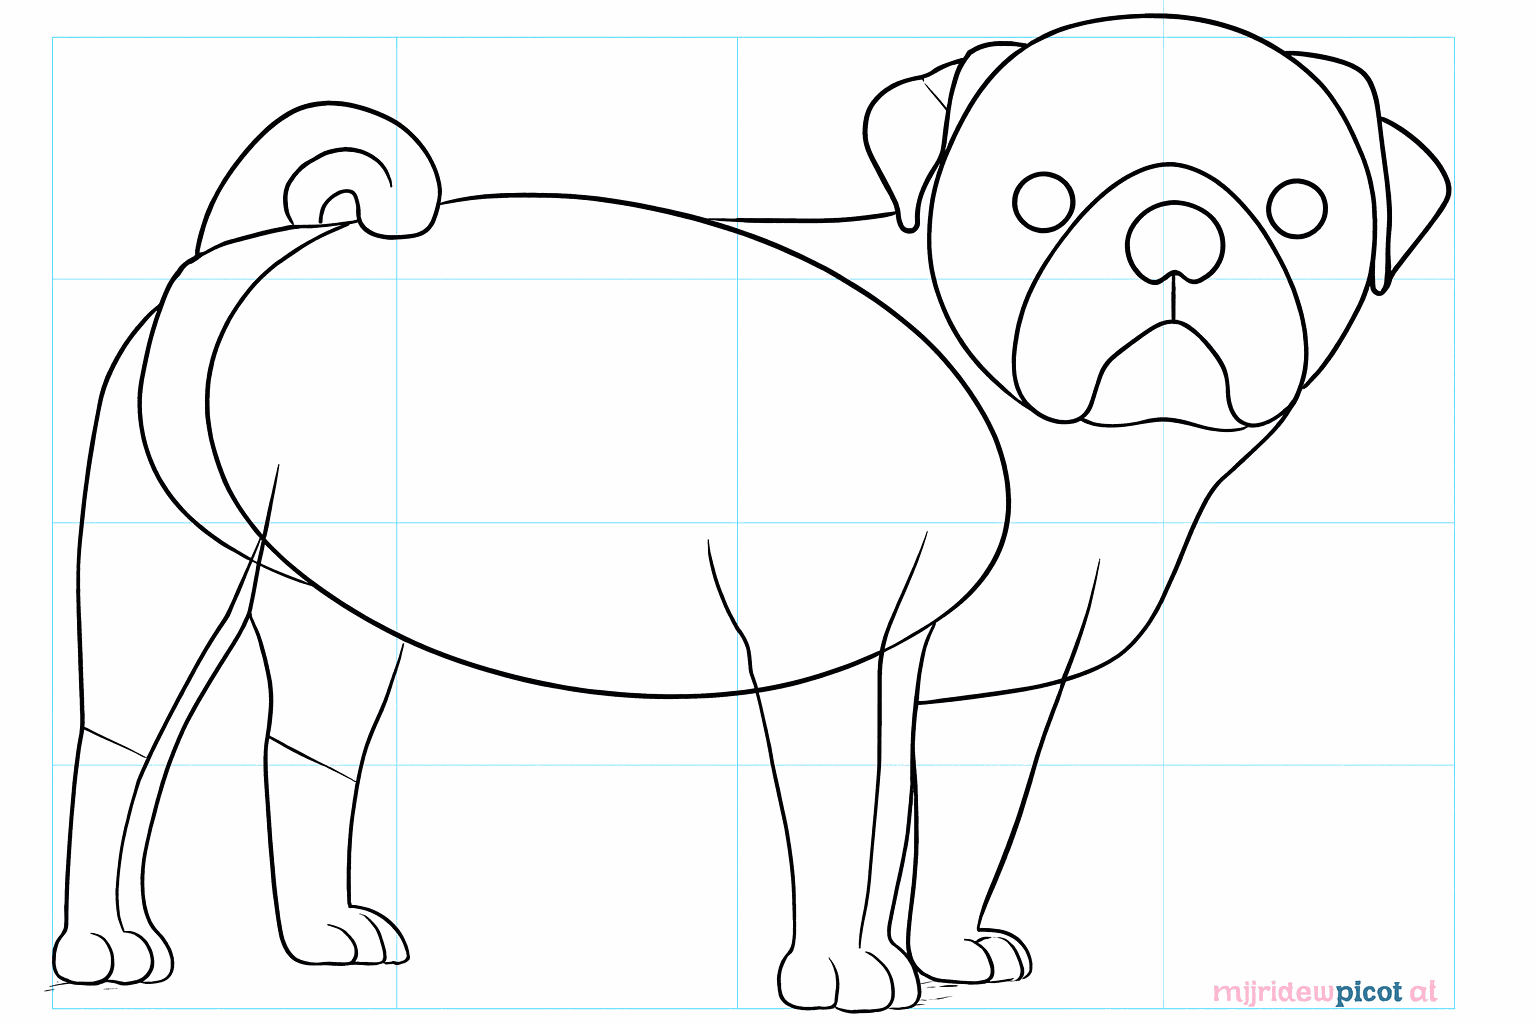
Finish the feet with small toes and draw a round nose in the center of the face.
6
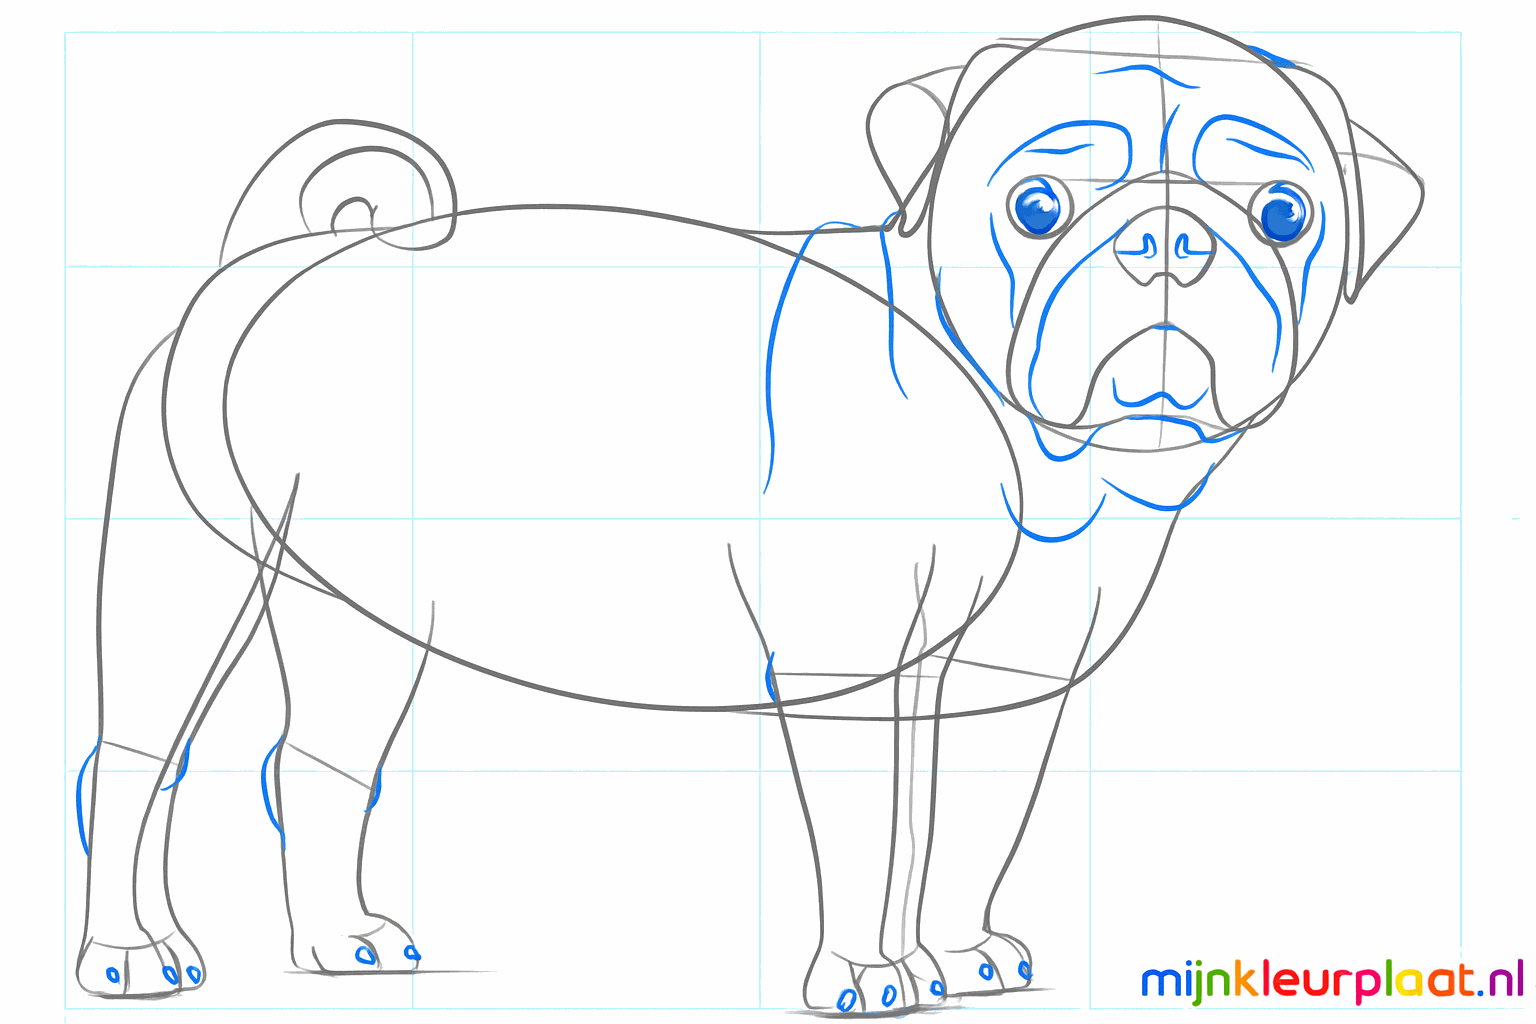
Draw two large, round eyes and complete the curl in the tail.
7
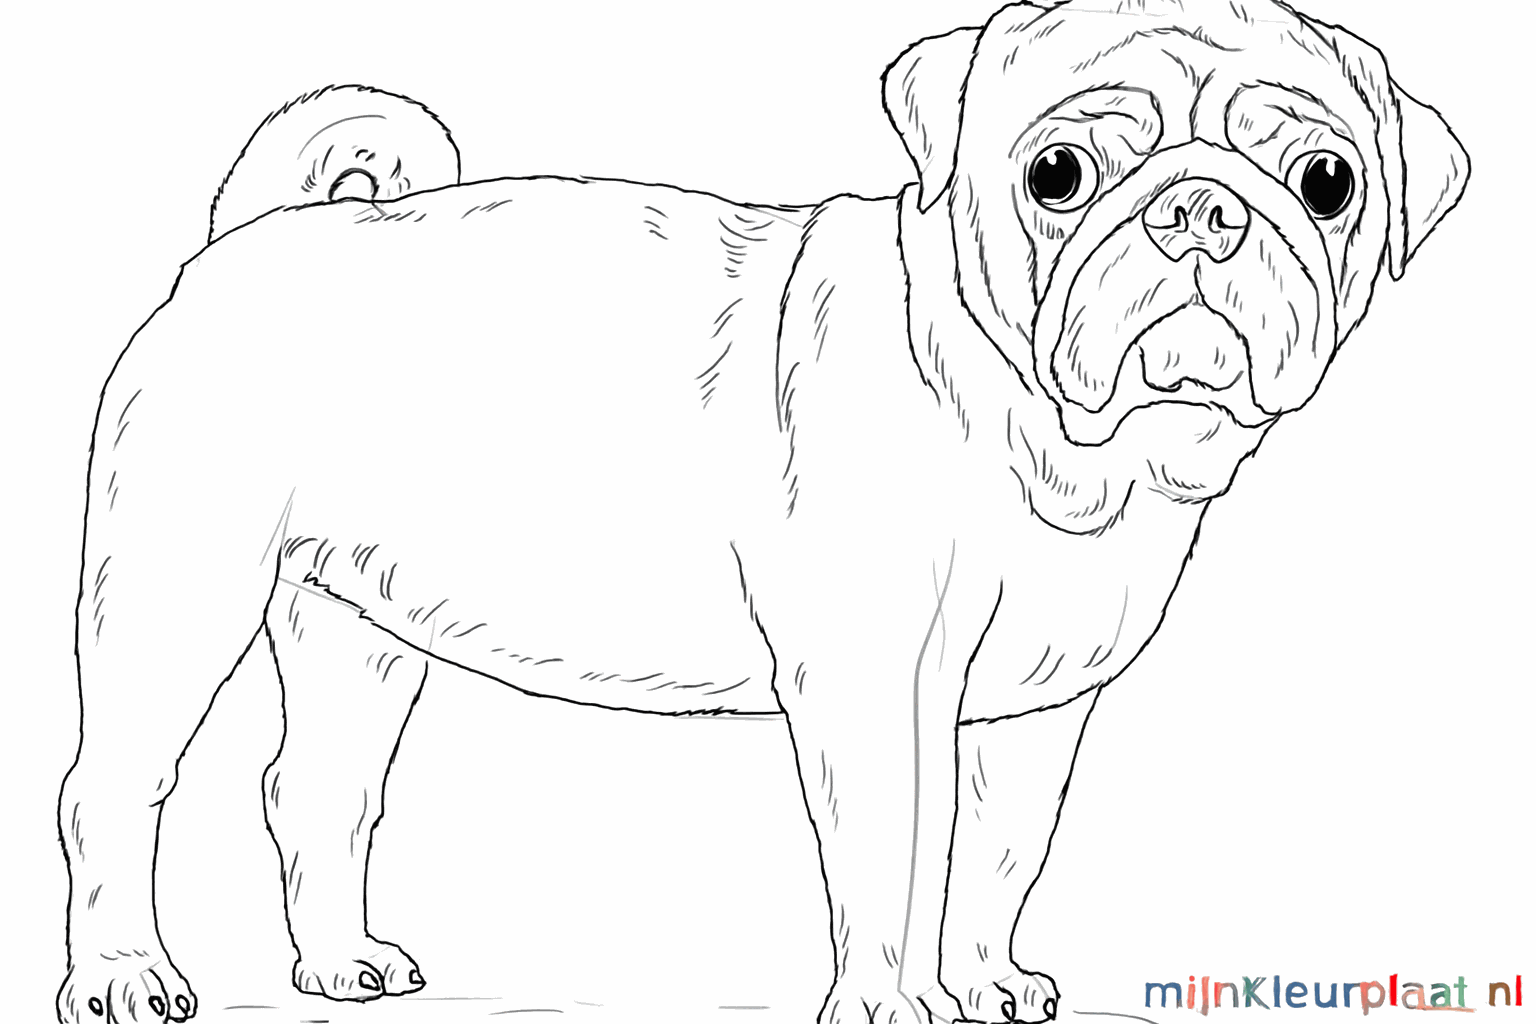
Give the pug small nails and draw the characteristic wrinkles above the nose and near the mouth.
8
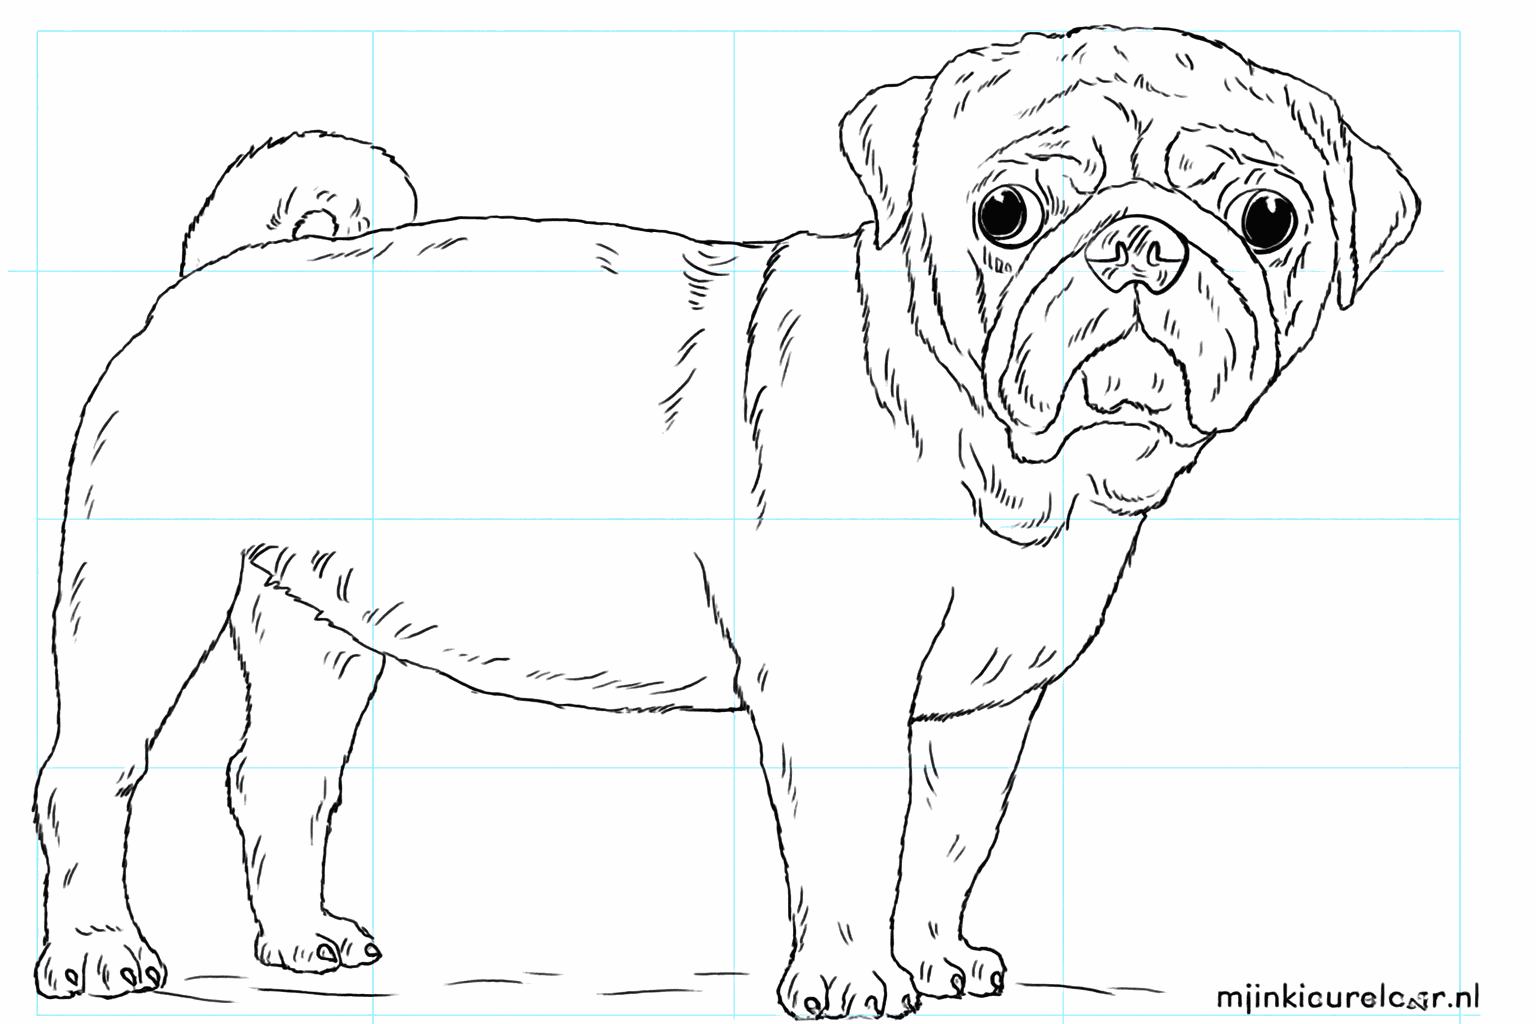
Make the outlines thicker, erase the guide lines, and draw a line for the ground he is standing on.