How to draw a porcupine?
Learn step by step how to draw a porcupine. Follow the 8 steps and print the tutorial.
1
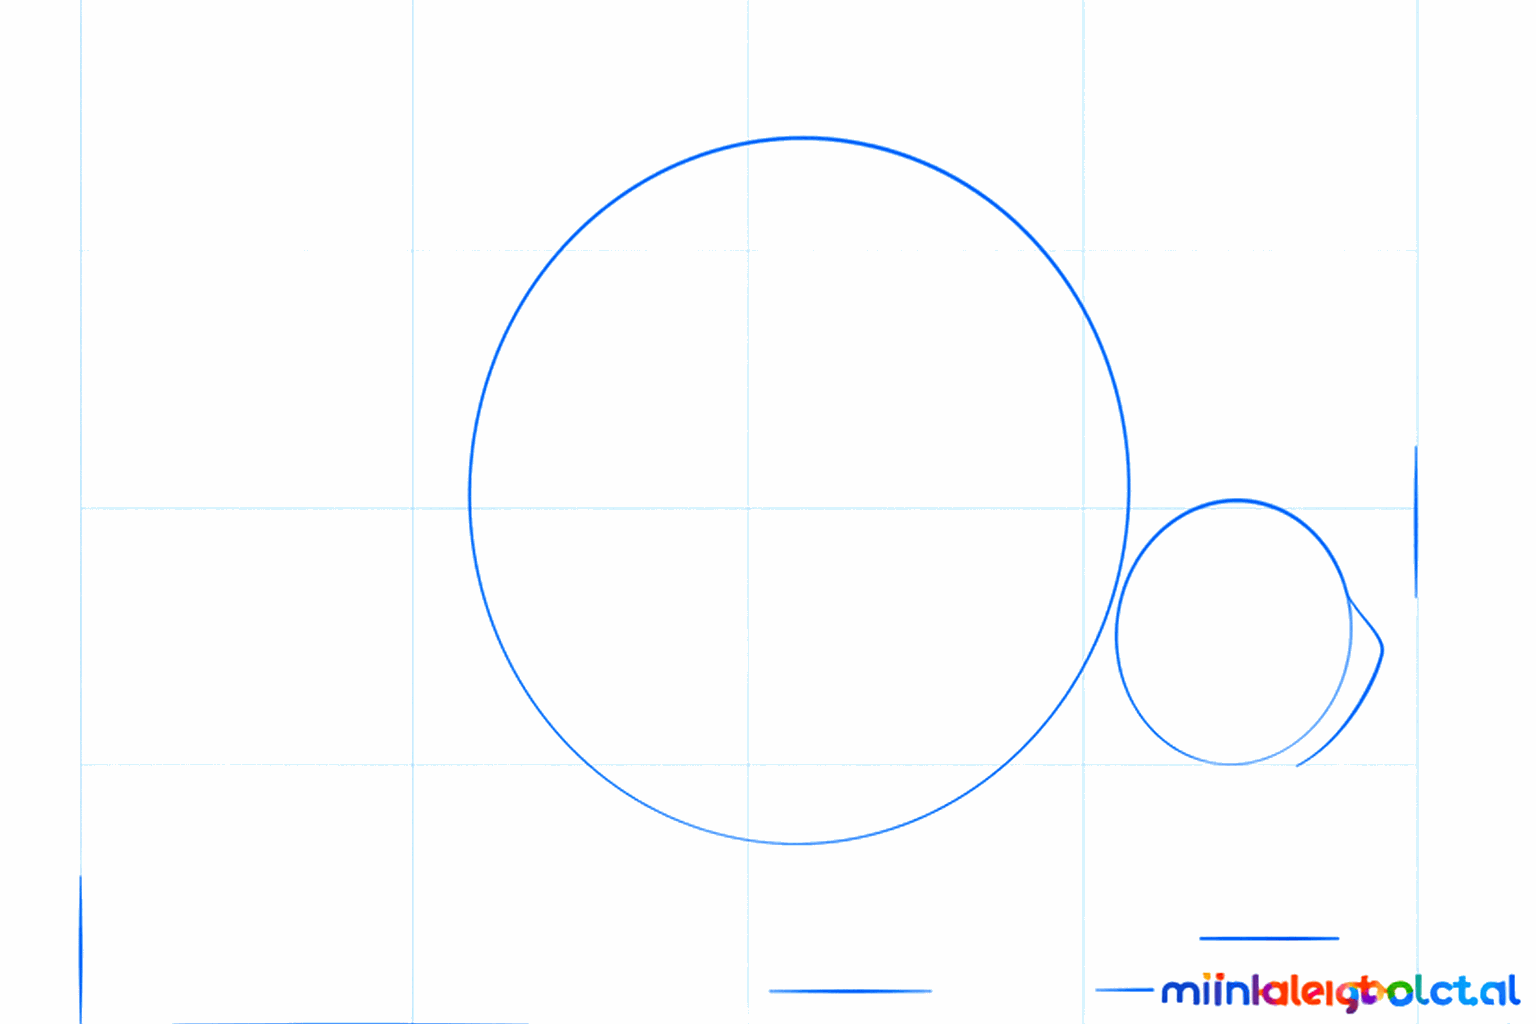
Draw a large horizontal oval for the body and a smaller circle for the head.
2
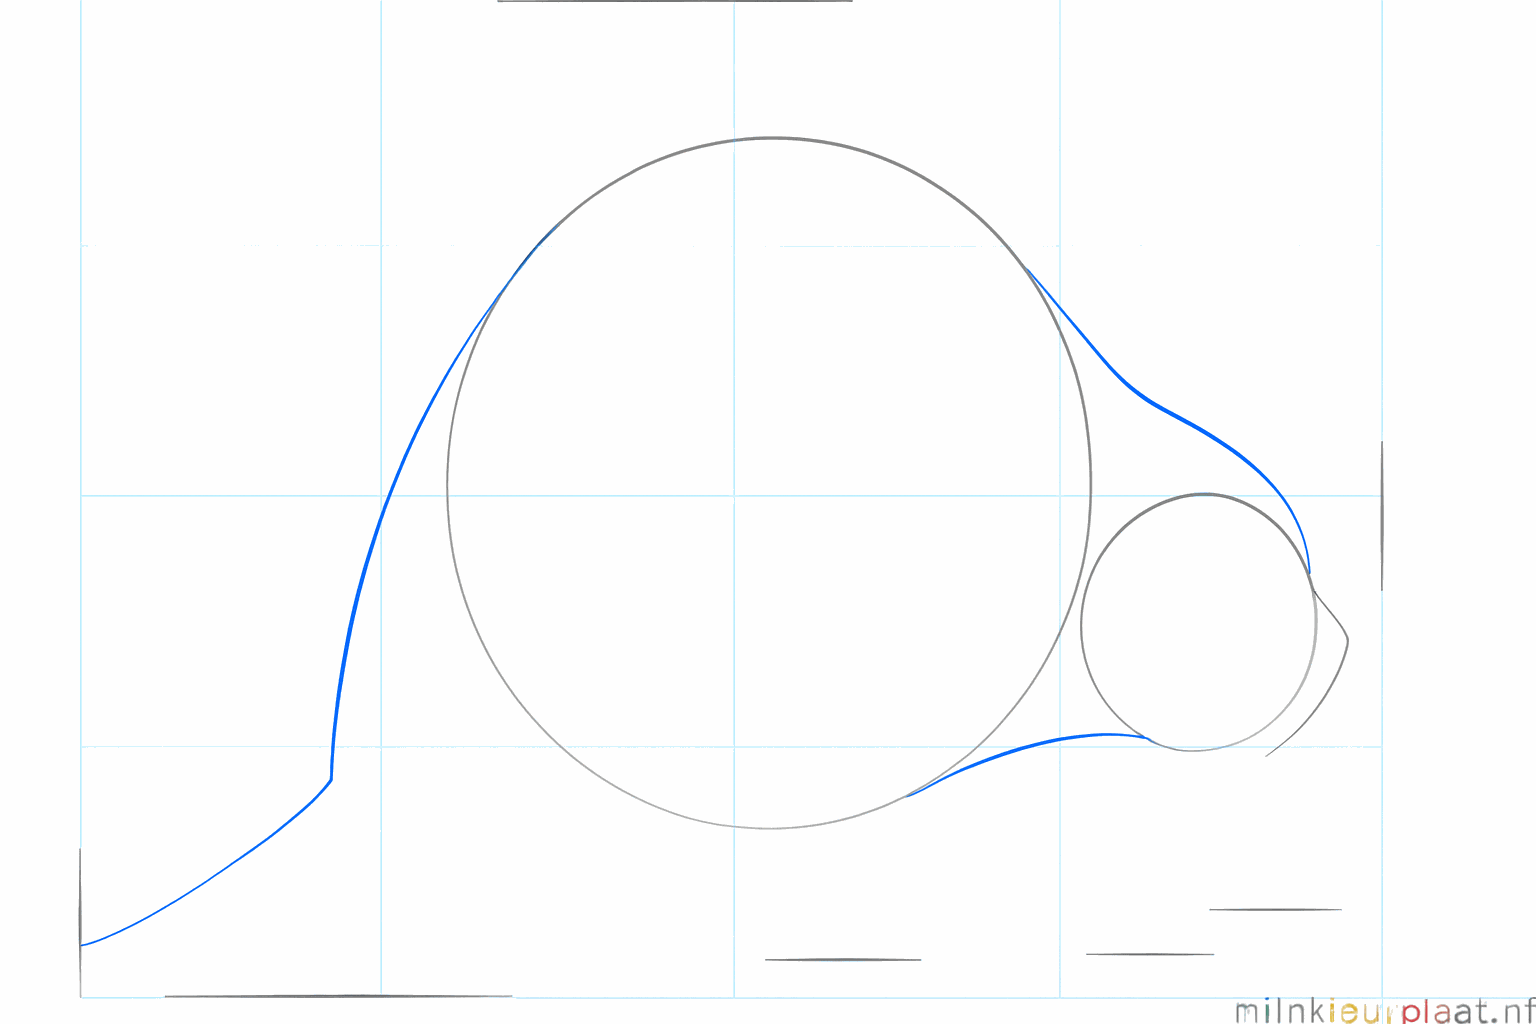
Connect the head and the body with two curved lines for the neck and draw a small arch for the tail.
3
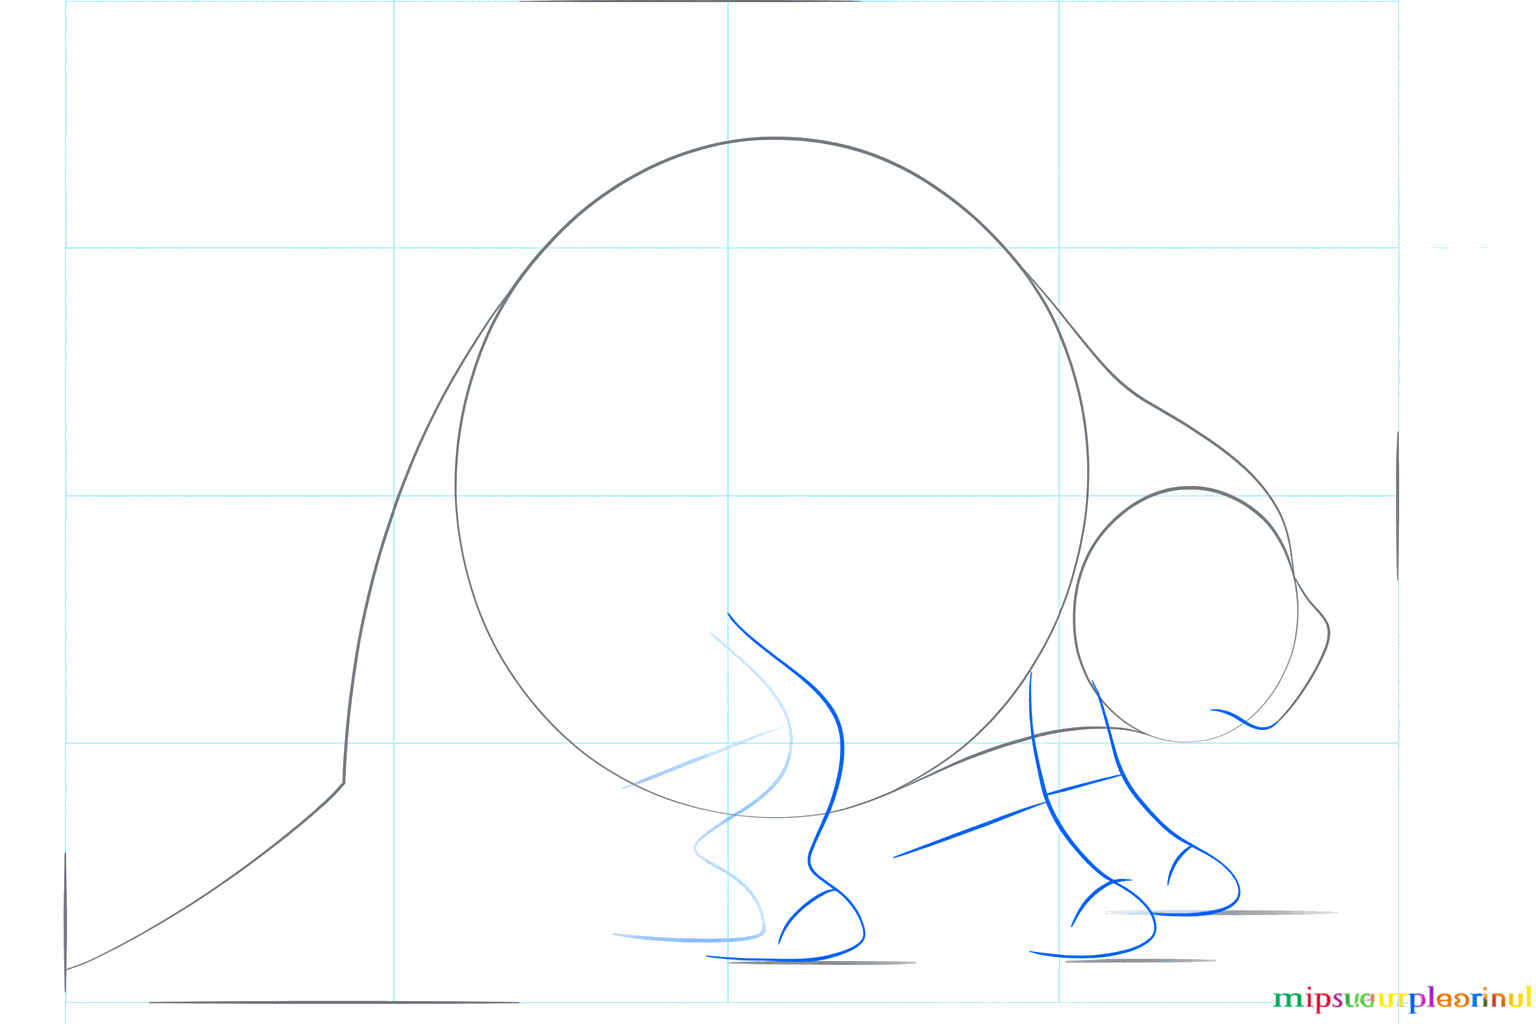
Draw short lines under the body where the legs should go and a line for the snout.
4
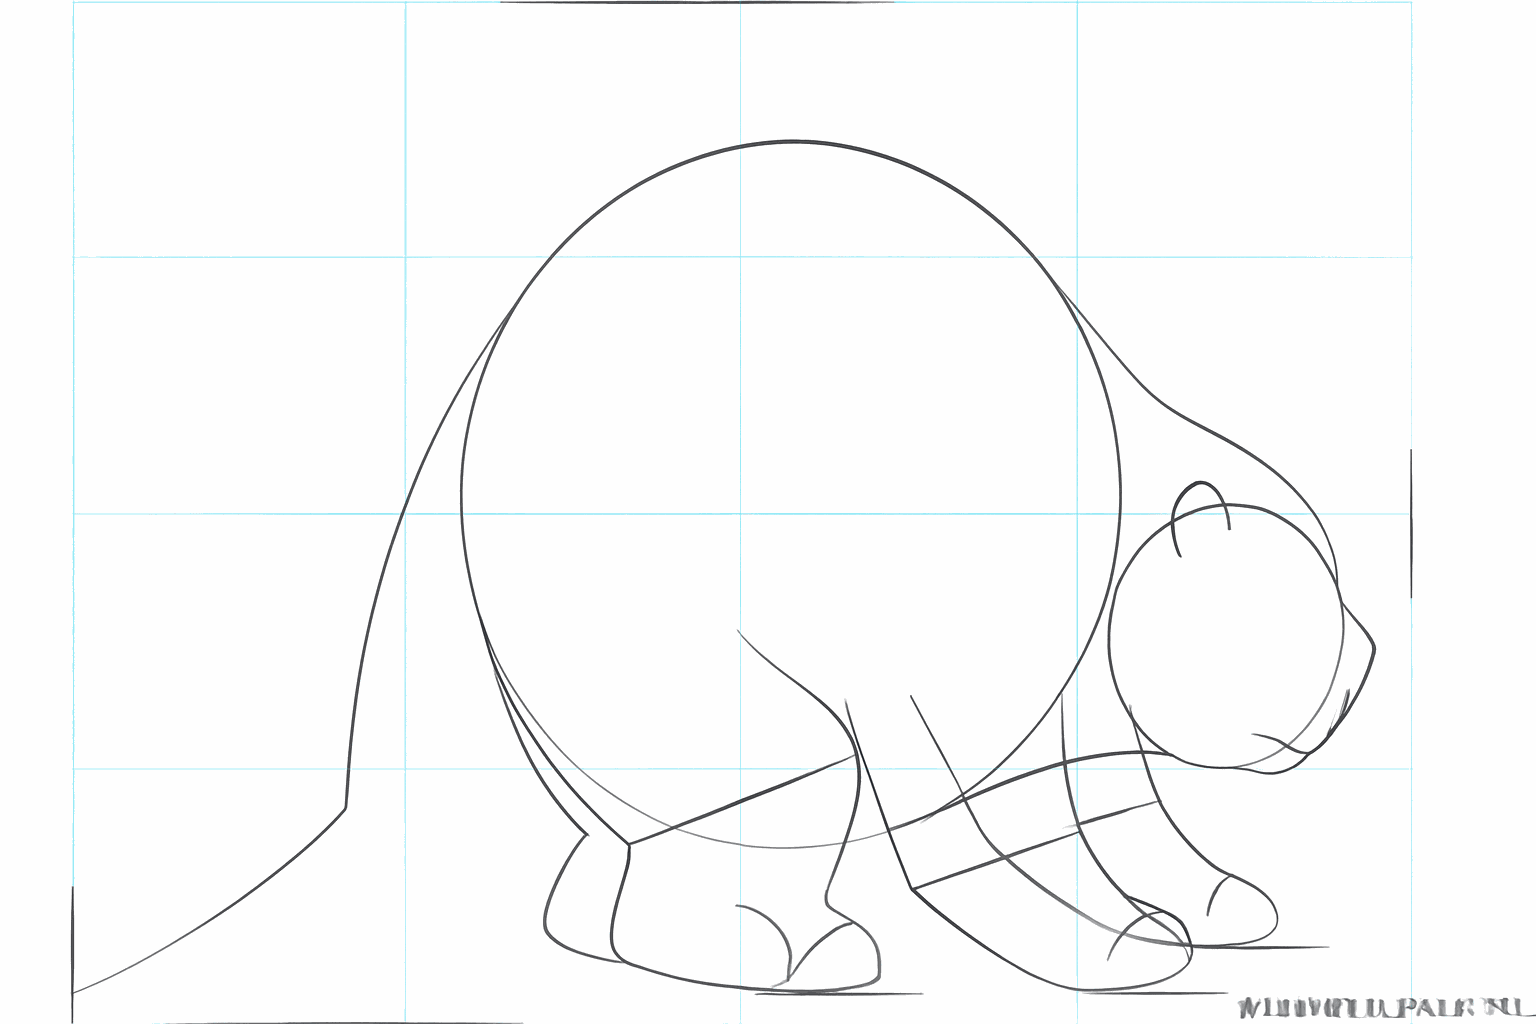
Now make the legs thicker and draw a pointed shape for the porcupine's nose.
5
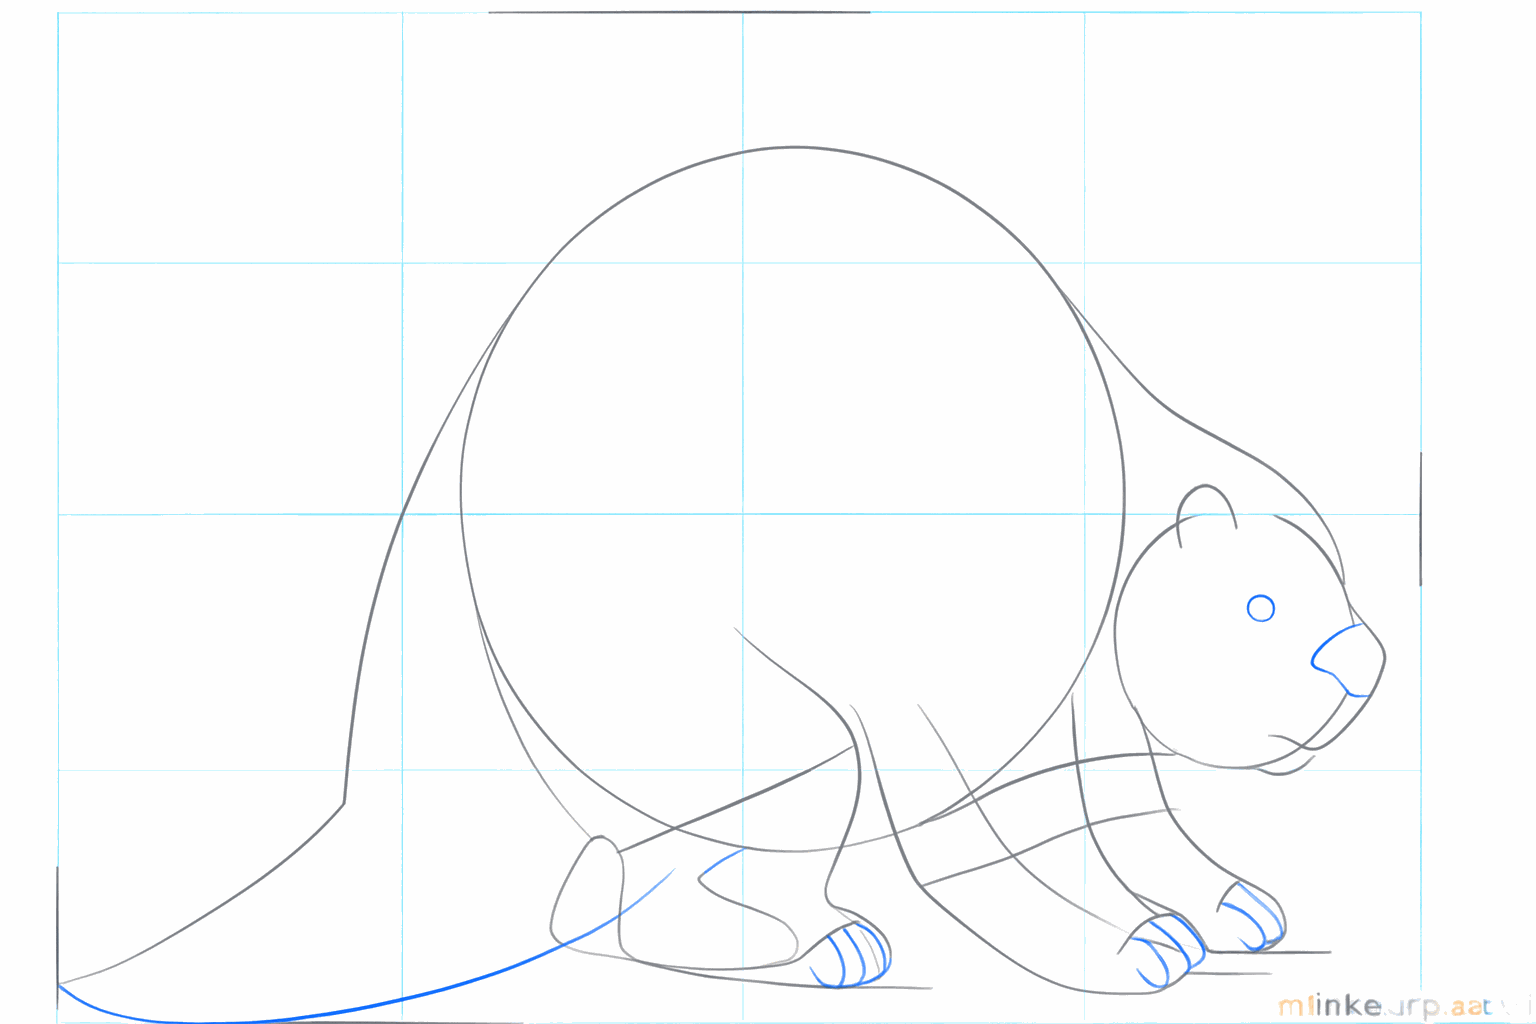
Draw a small round eye, a little nose, and give the tail more shape.
6
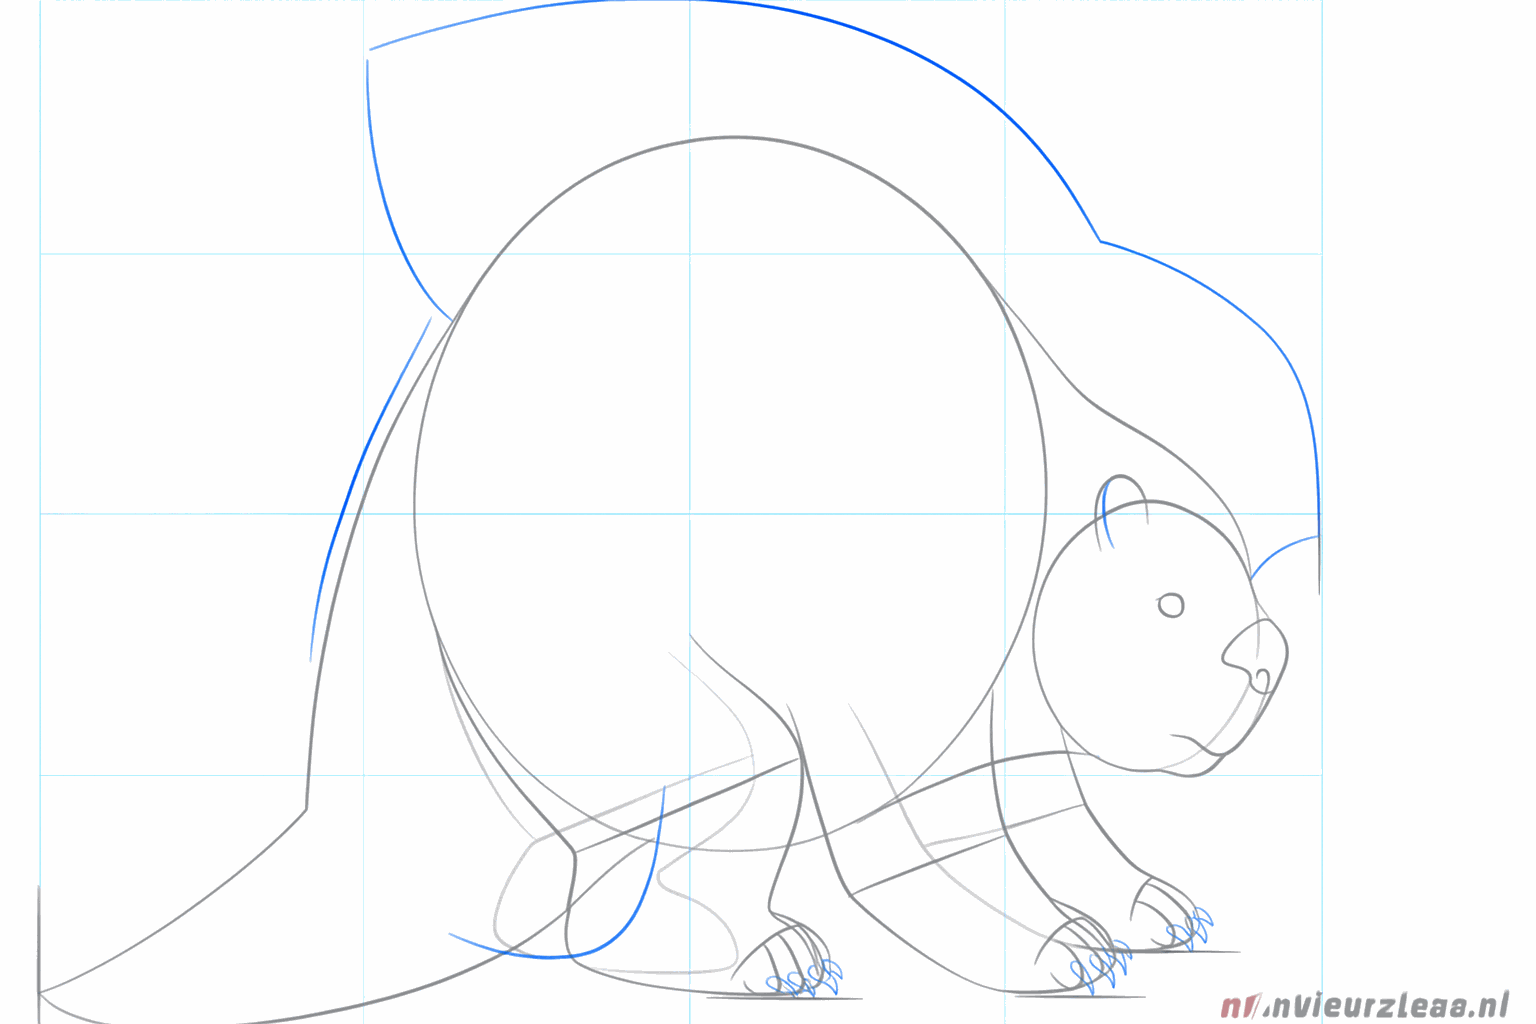
Give the legs small toes and start drawing the first quills on the back.
7
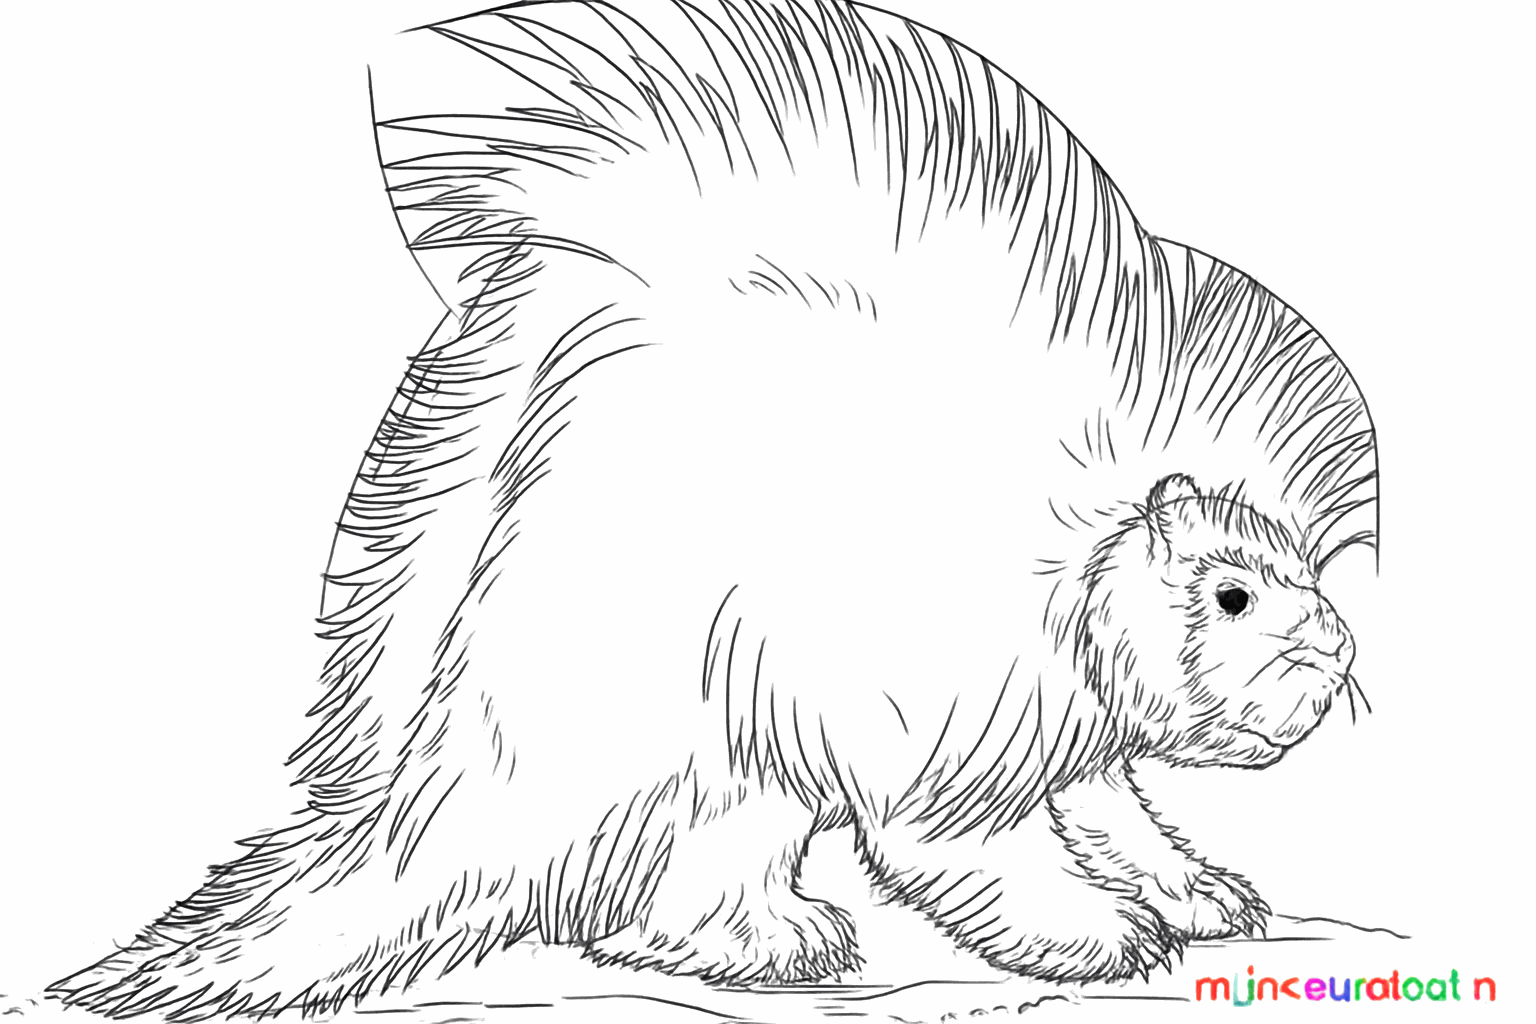
Now draw long, sharp quills all over the back and don't forget the small claws.
8
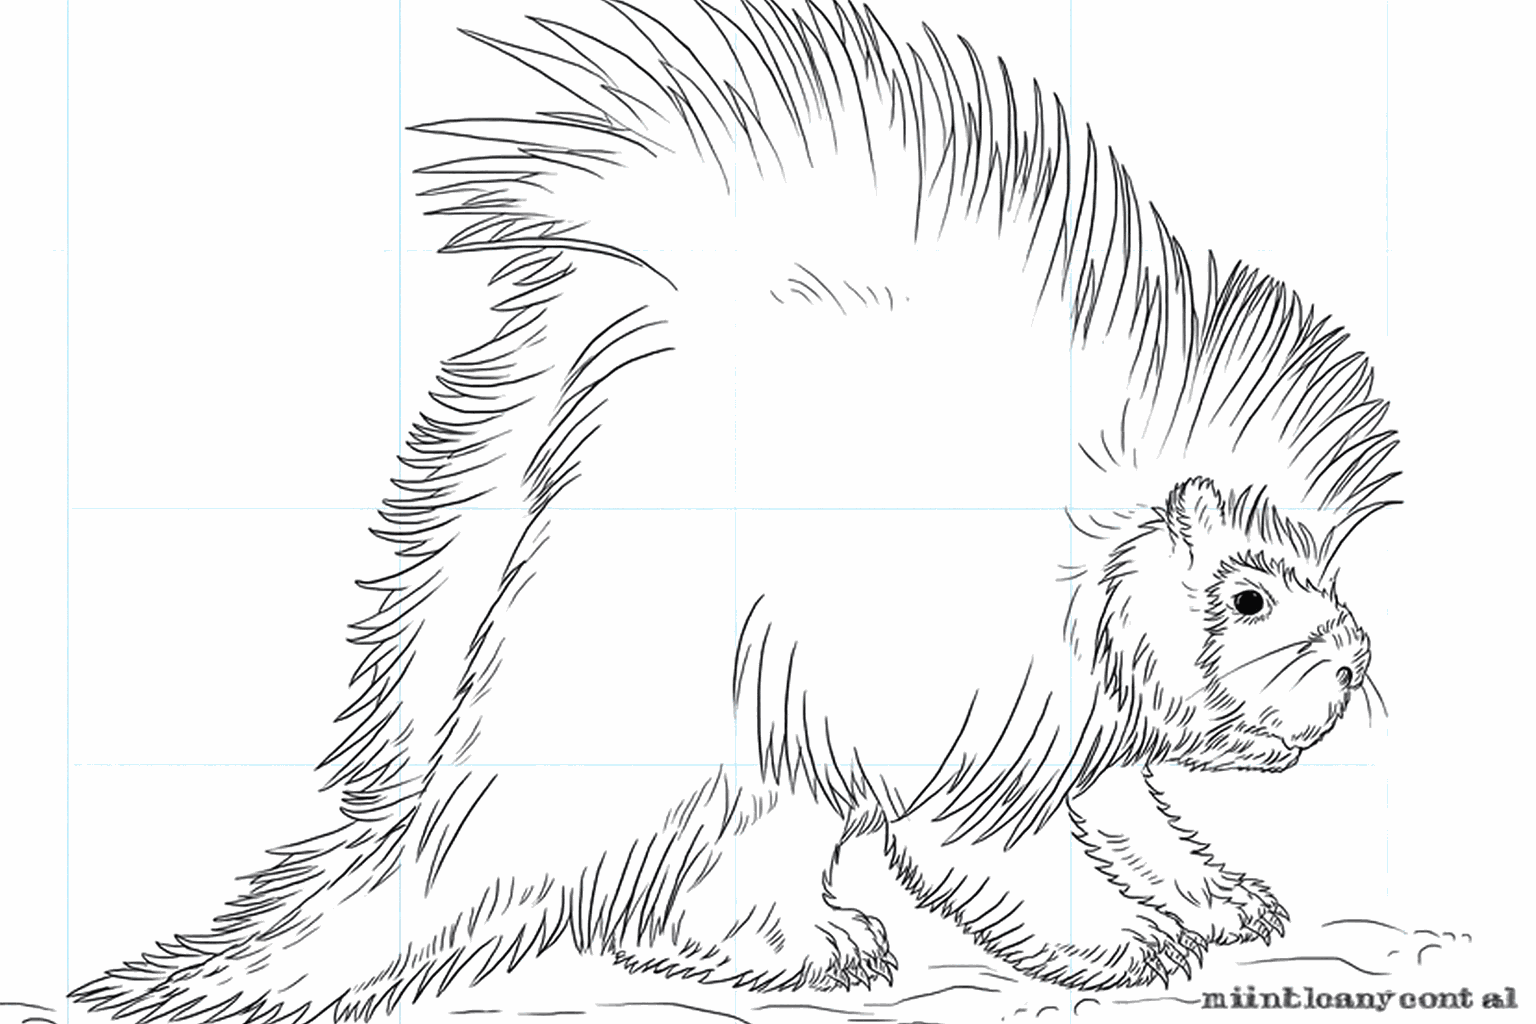
Make the lines of your drawing darker, erase the guide lines, and draw some grass under the paws.