How to draw a peacock?
Learn step by step how to draw a peacock. Follow the 9 steps and print the tutorial.
Learn how to draw a magnificent peacock with its long tail step-by-step. Grab your pencils and discover how easy it is to create this royal bird!
Intro
Hi little artist! Today we are going to draw a real peacock, the bird with the most beautiful feathers of all. We start very simply with a few circles and lines. Before you know it, there will be a proud peacock on your paper!
Summary
In this drawing lesson, you will learn to draw a peacock using basic shapes like ovals and circles. In nine simple steps, you will complete the head, the body, and the impressive tail.
Steps
Draw a small circle for the head, a larger oval for the body, and a diagonal line for the branch.
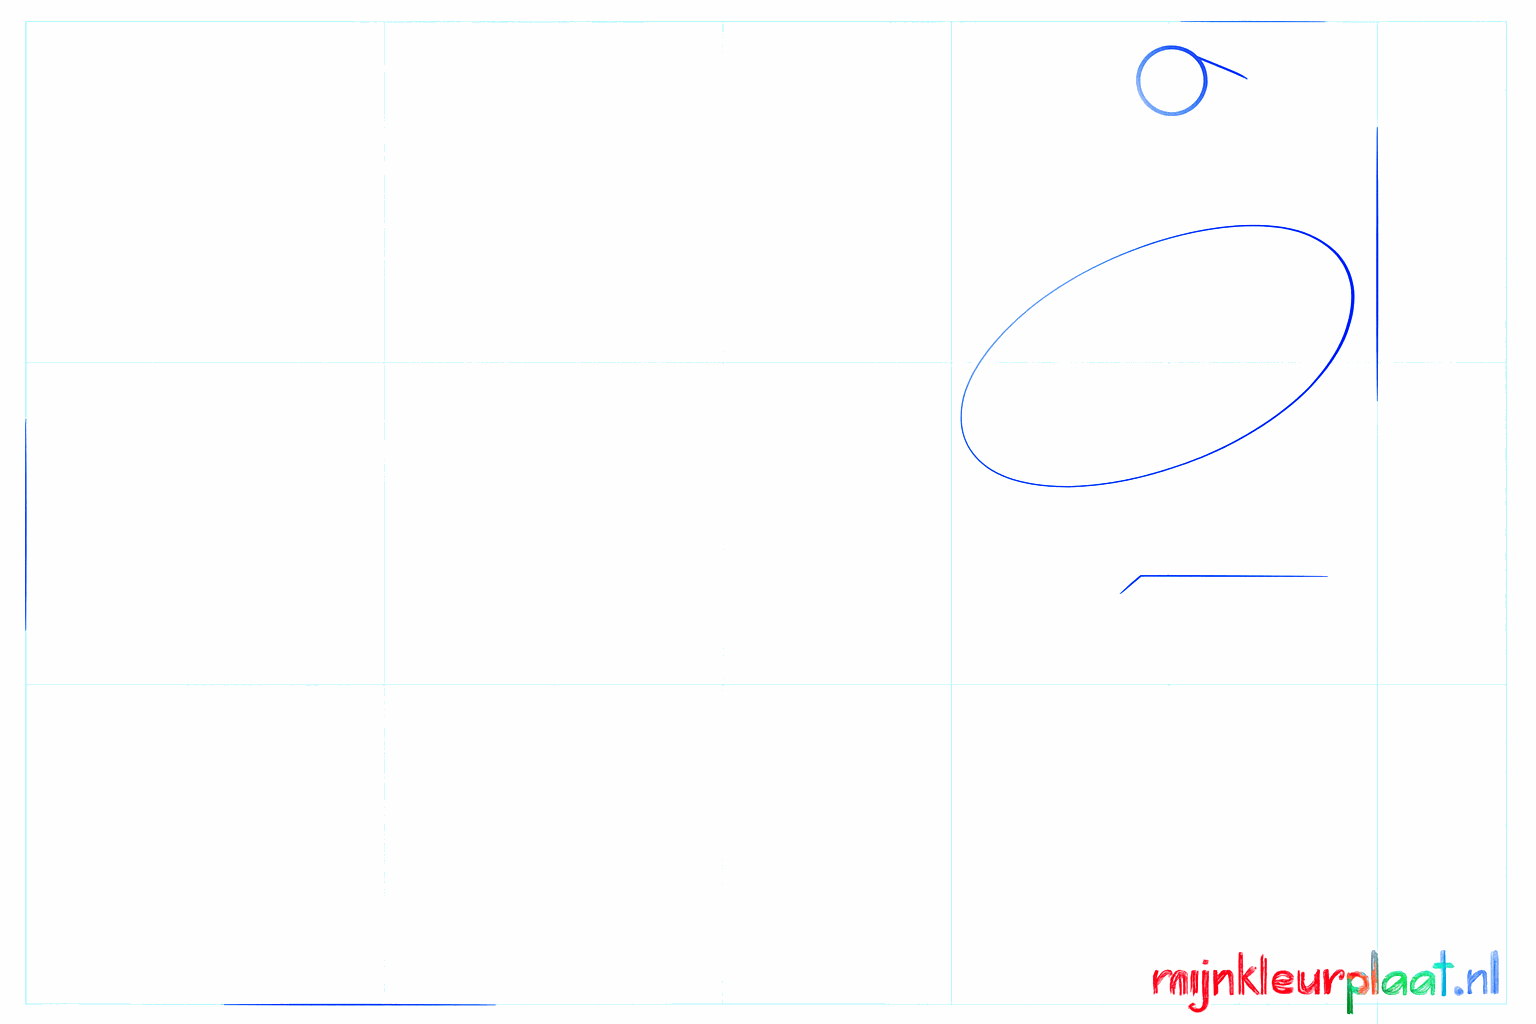
Connect the head to the body by drawing two curved lines for the neck.
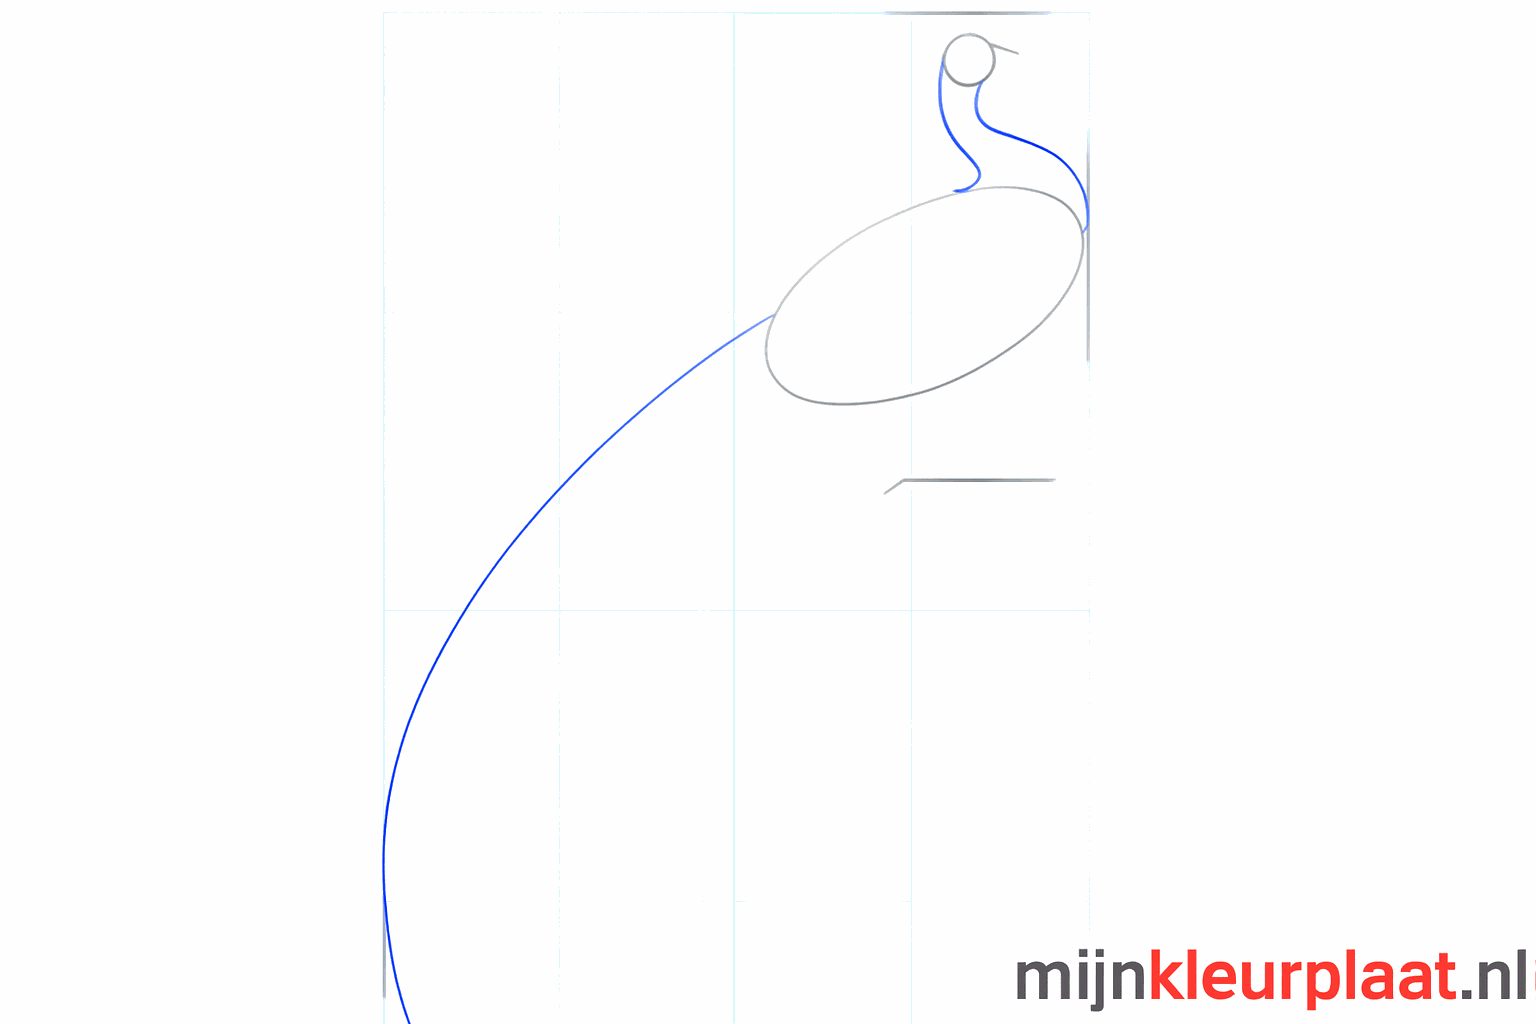
Draw a long, wavy line from the back of the body for the large tail.
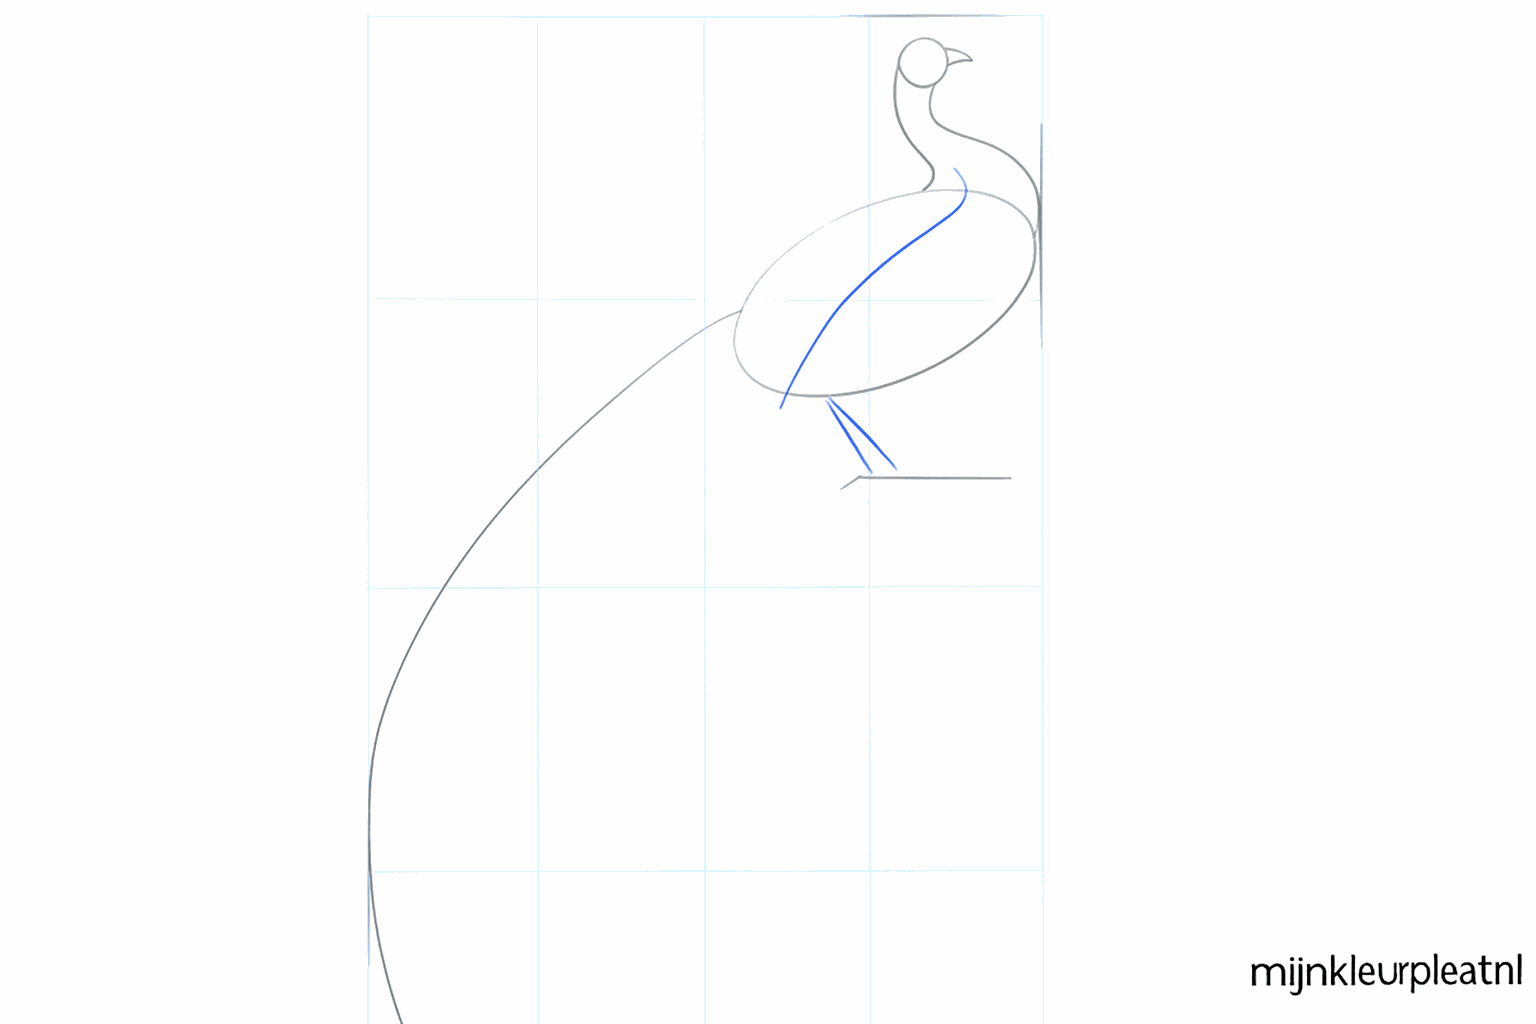
Make a small triangle for the beak and draw straight lines for the legs under the body.
Draw a curved shape on the body for the wing and give the legs more shape.
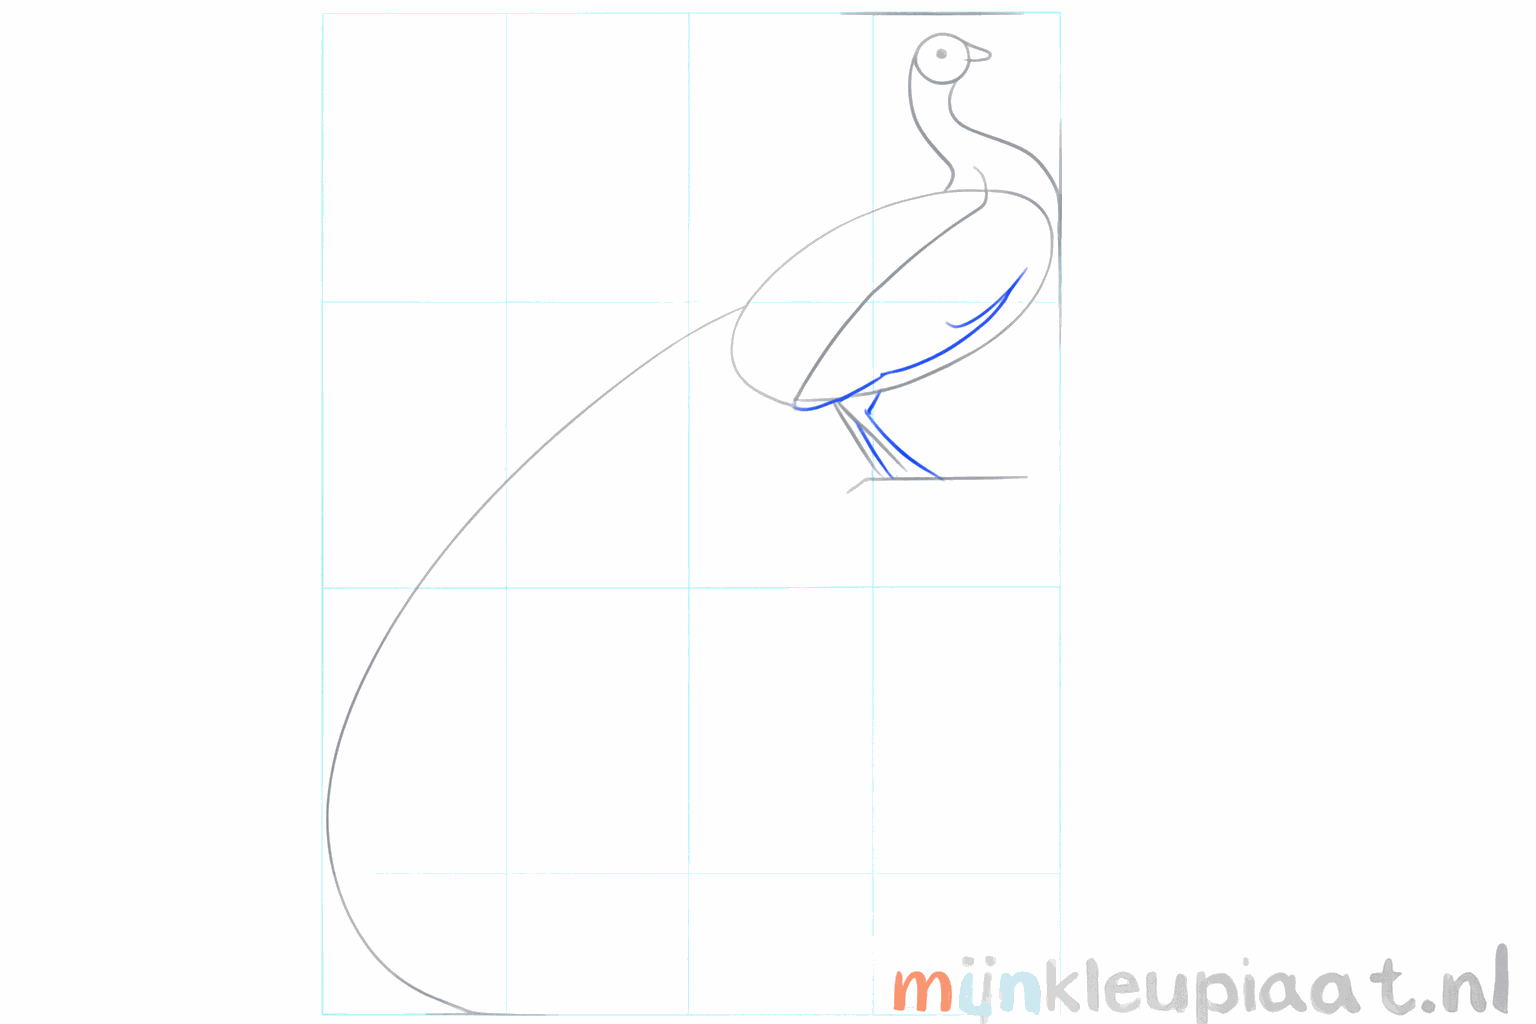
Draw a small eye in the head and finish the legs with small toes.
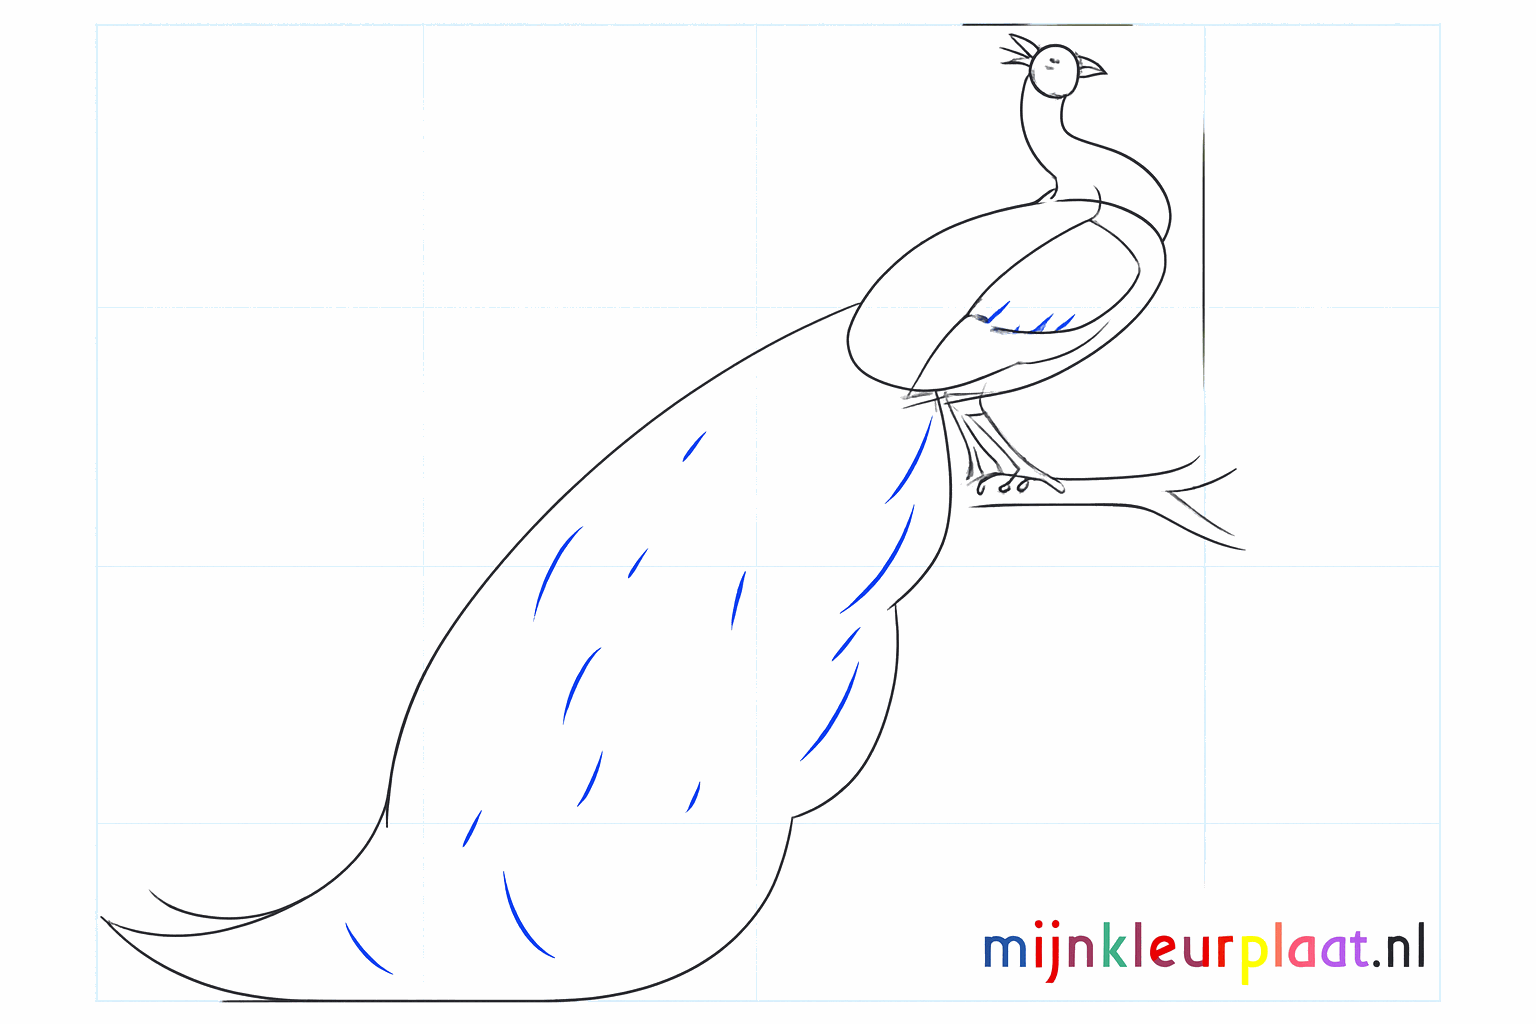
Place a crown of three lines on the head and draw the thickness of the branch.
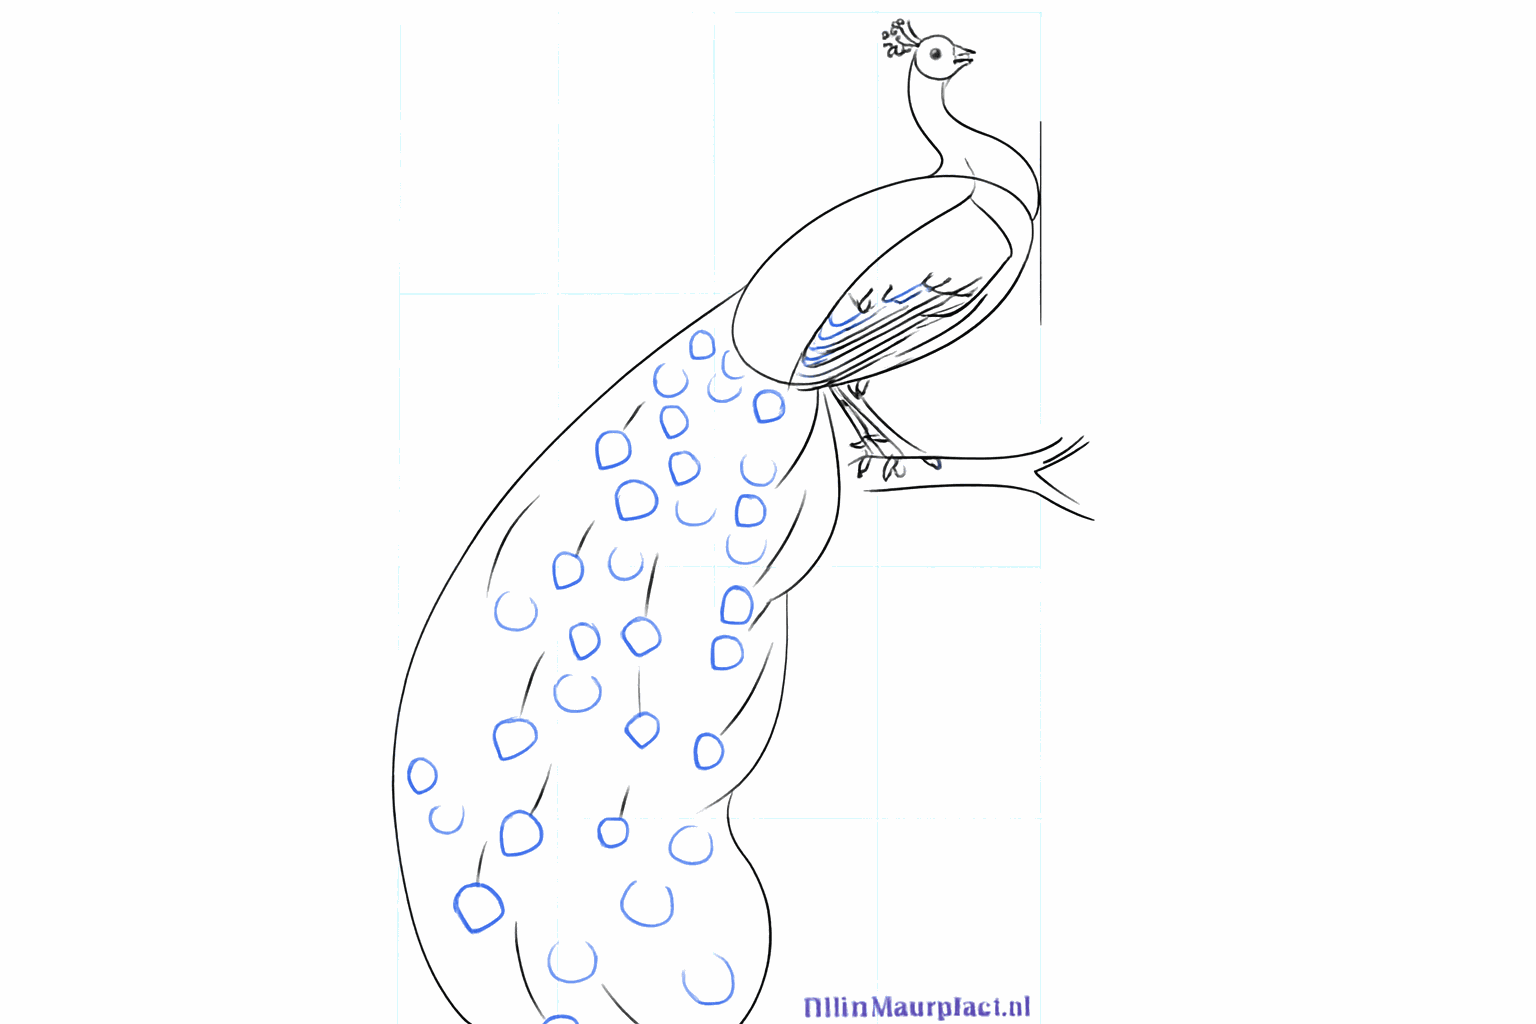
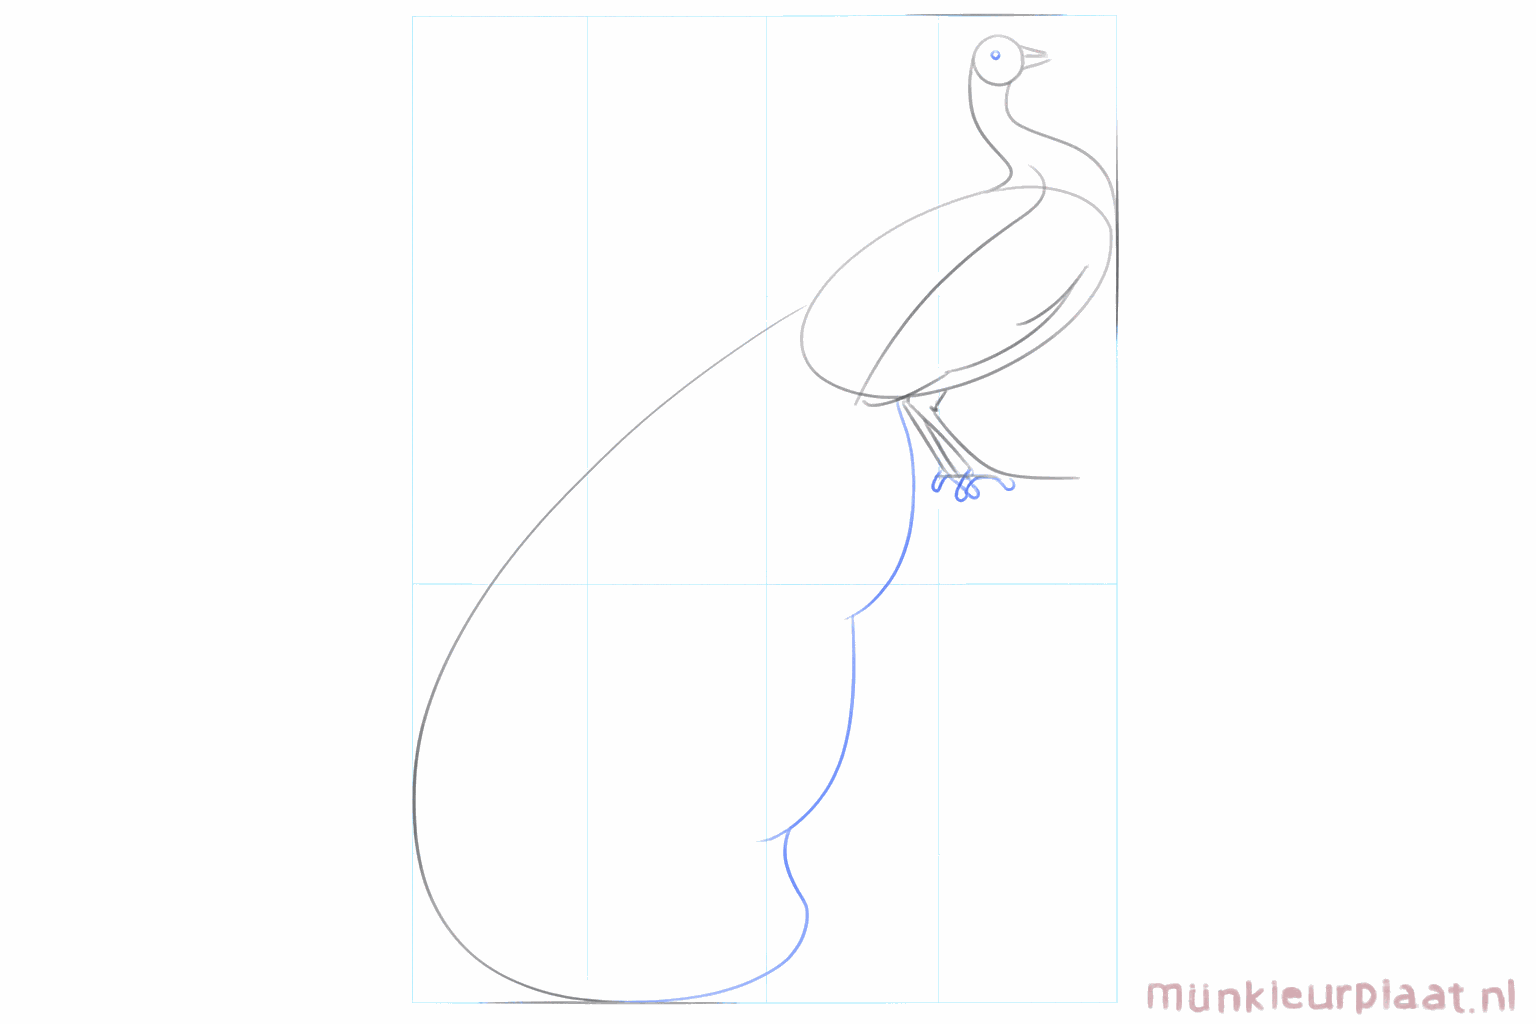
Now draw the large feathers in the tail with long sections and small circles inside them.
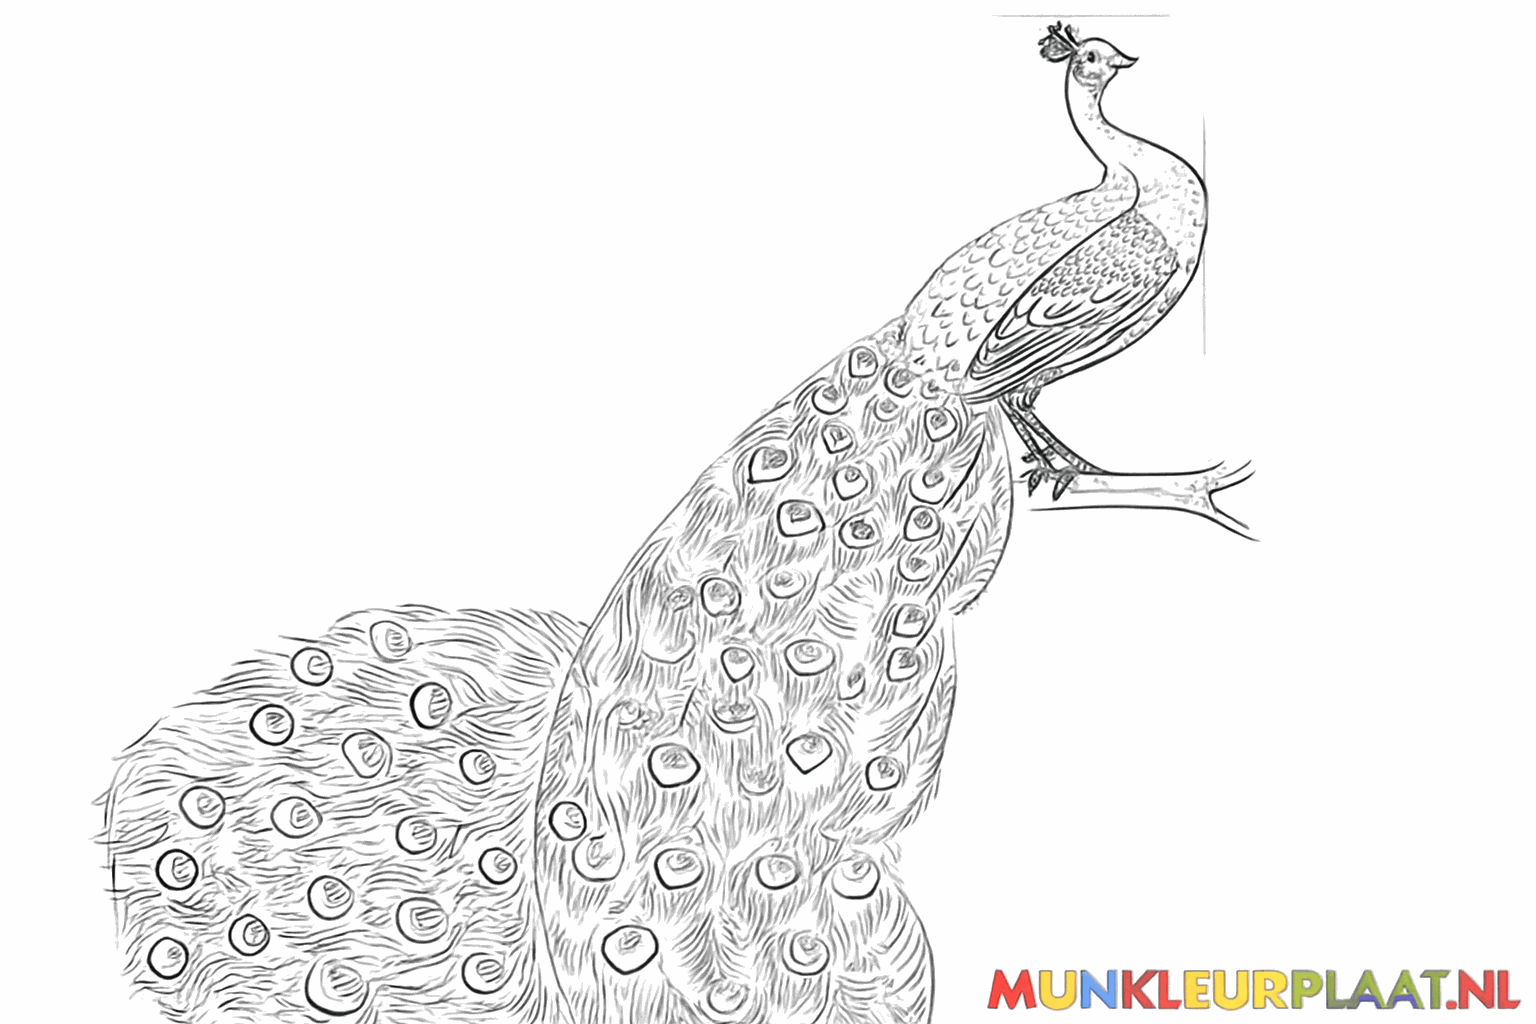
Erase the guide lines and color your peacock with your most beautiful markers or pencils.
Frequently asked questions
Which colors should I use for the peacock?
How do I draw the eyes on the tail?
What kind of pencil do I need?
Is drawing a peacock difficult?
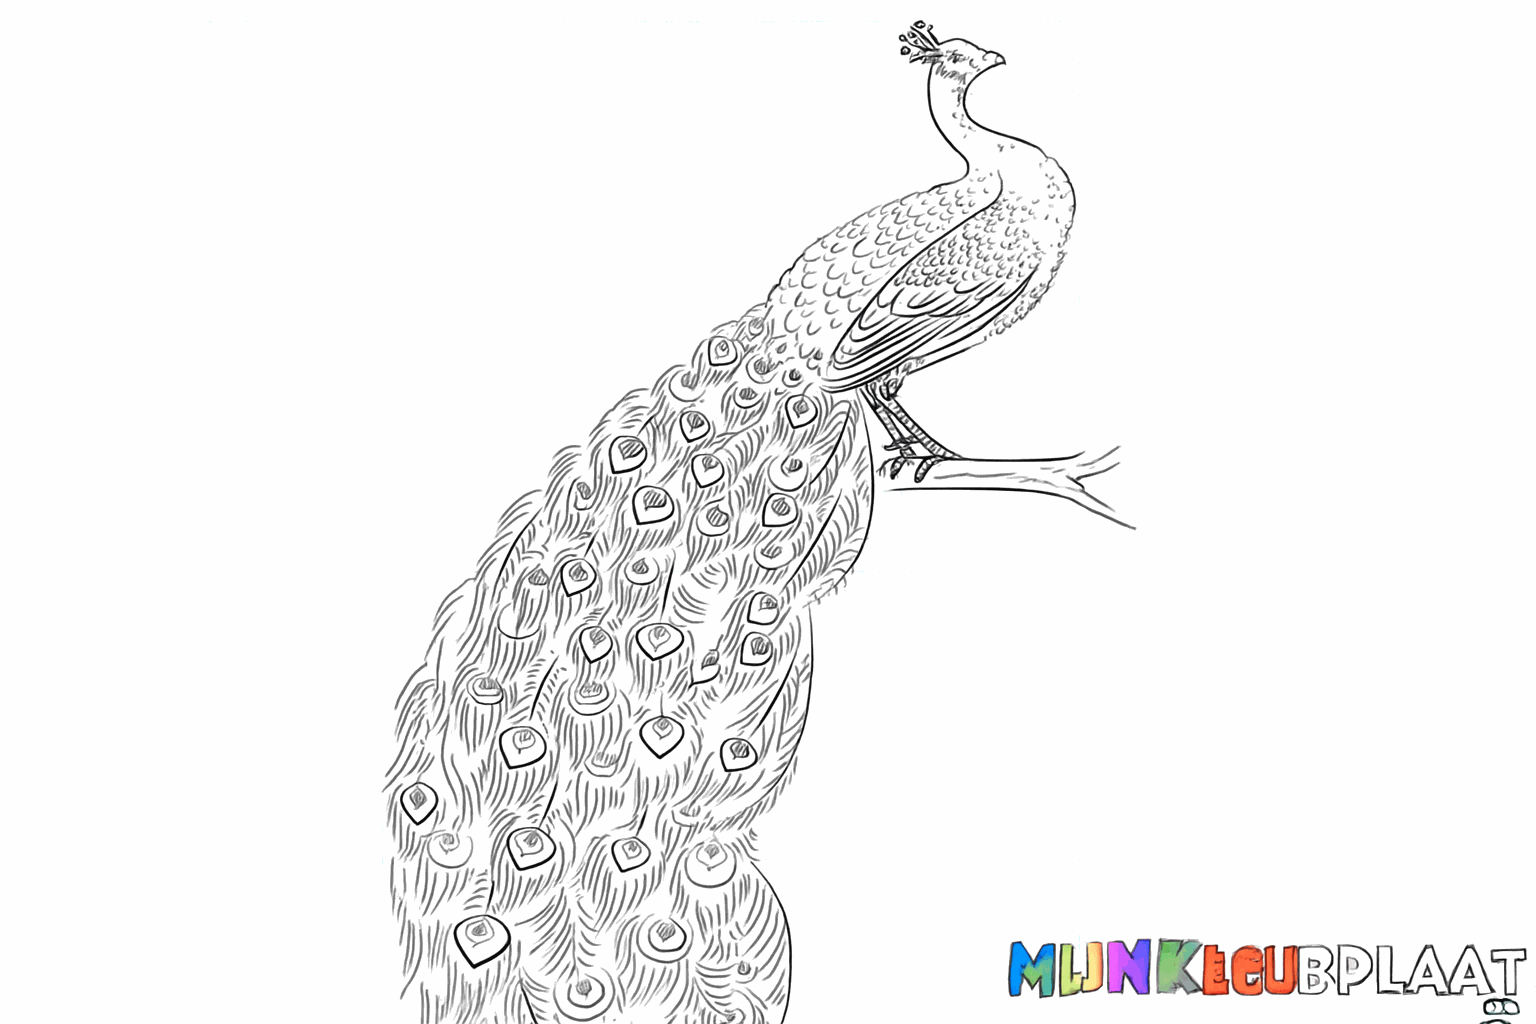
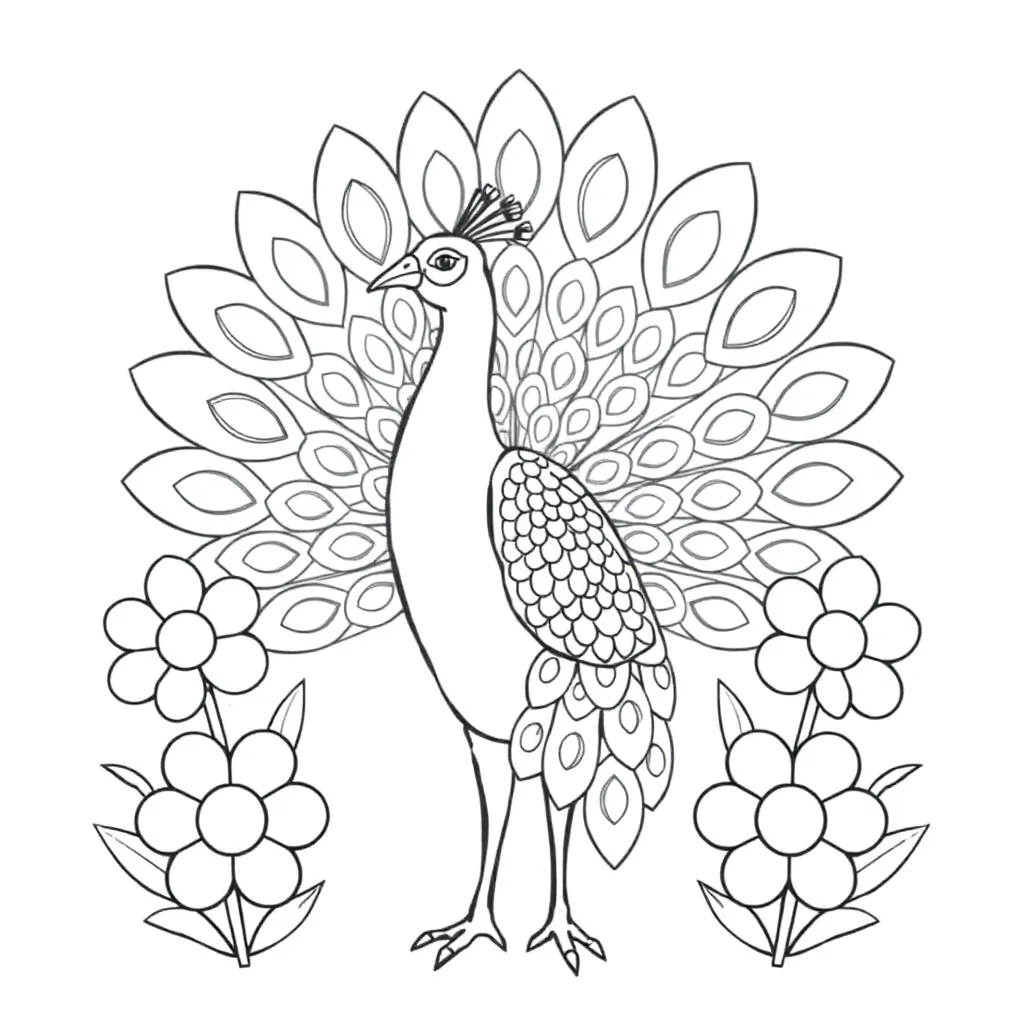
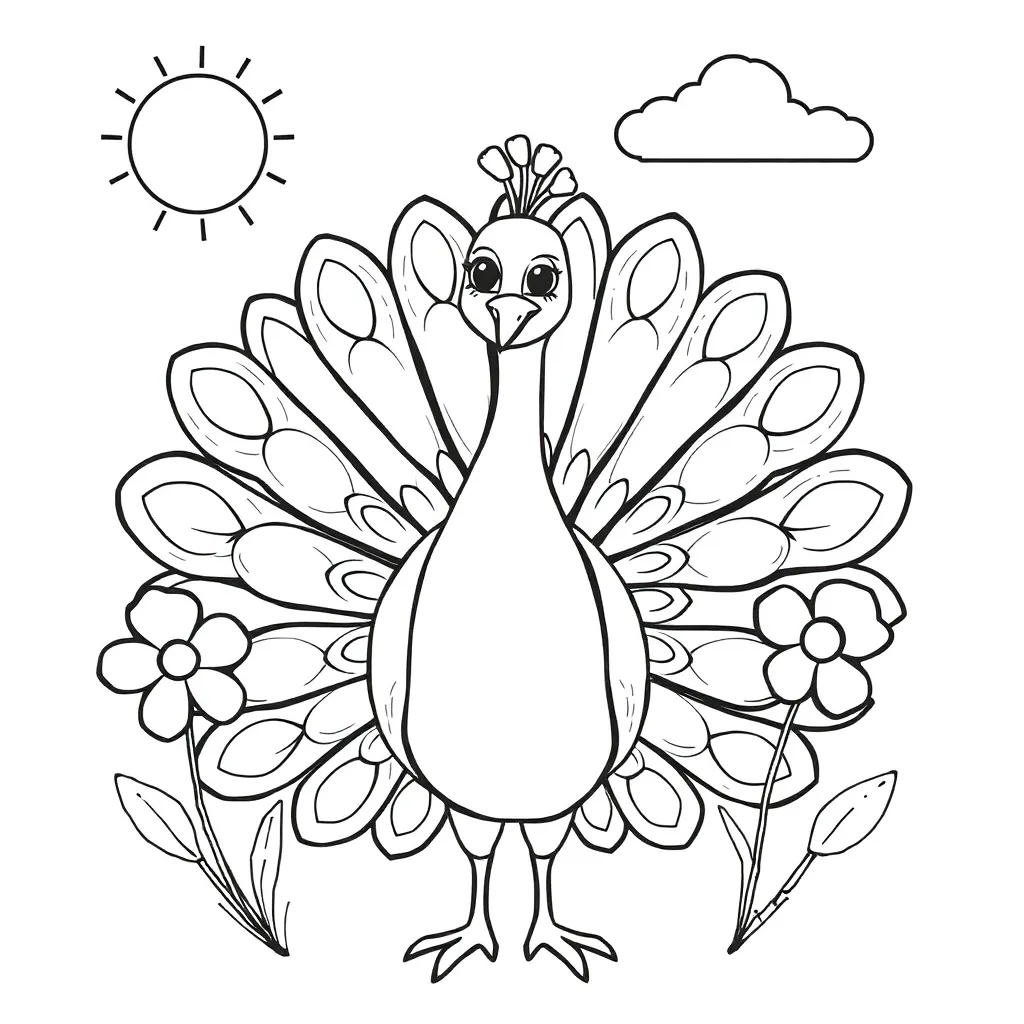
Coloring pages of peacock
View all peacock coloring pages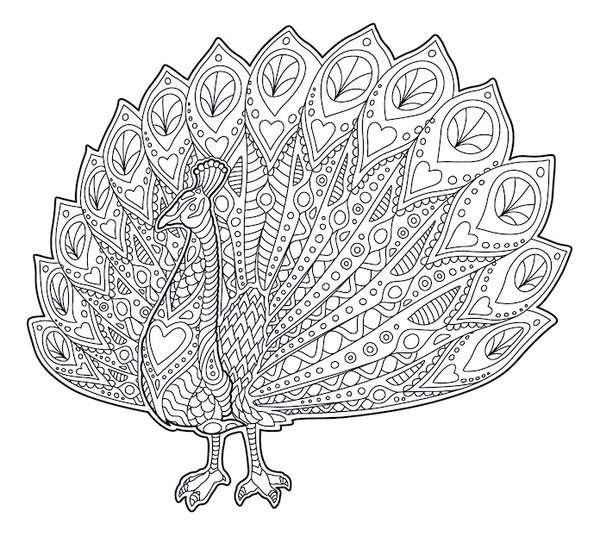


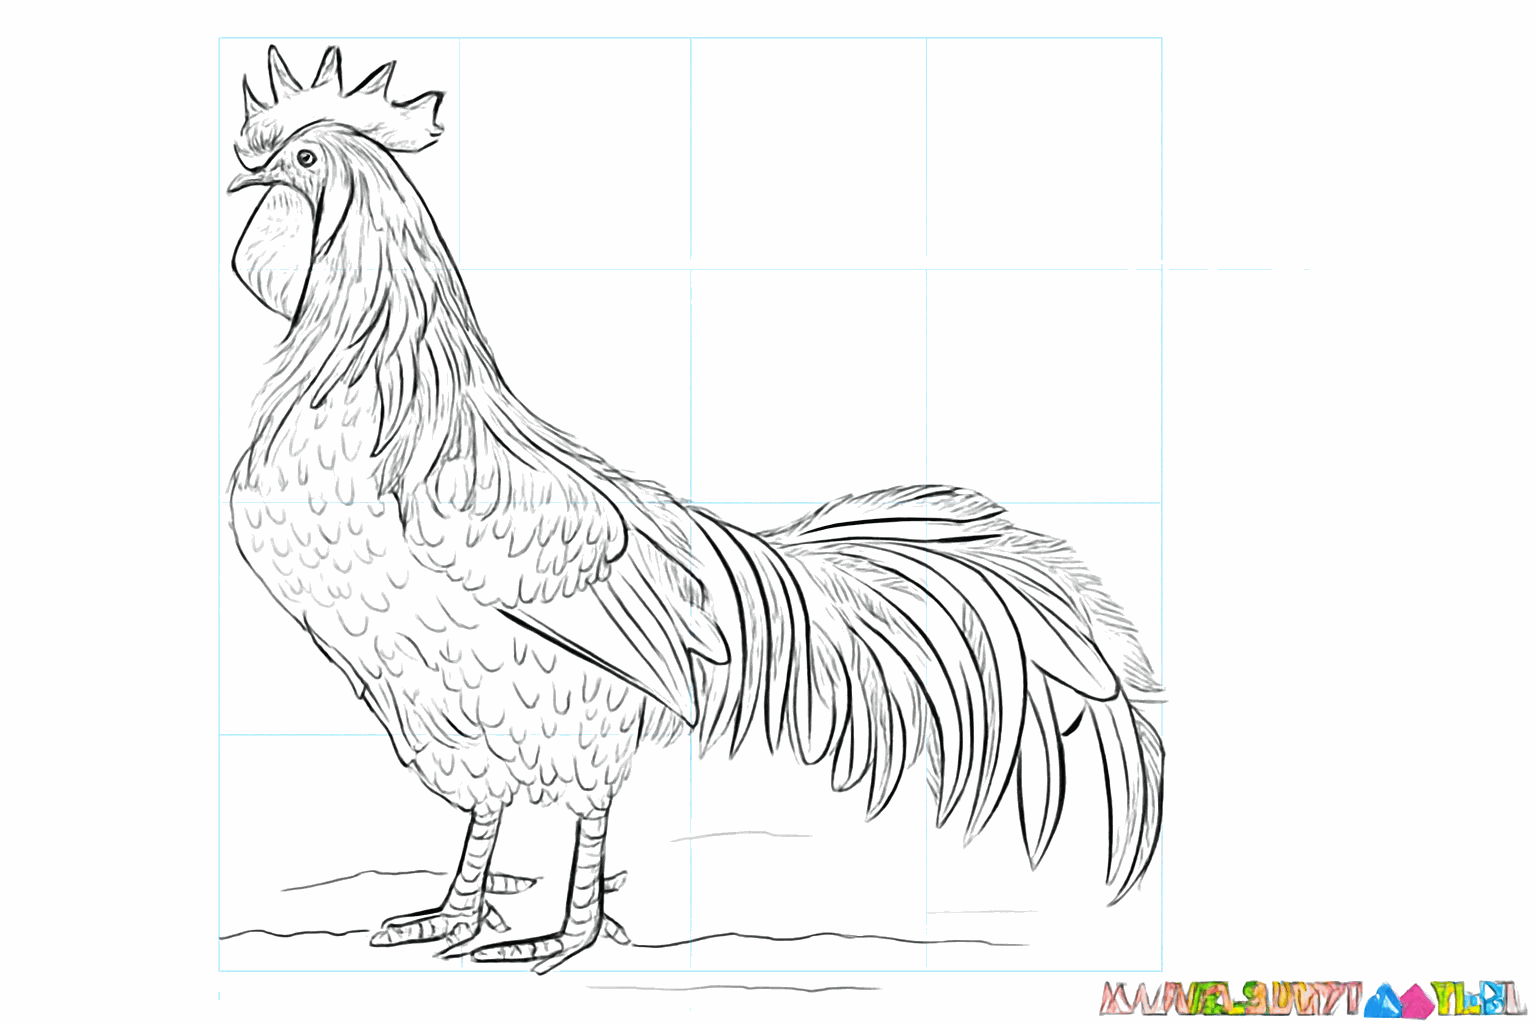
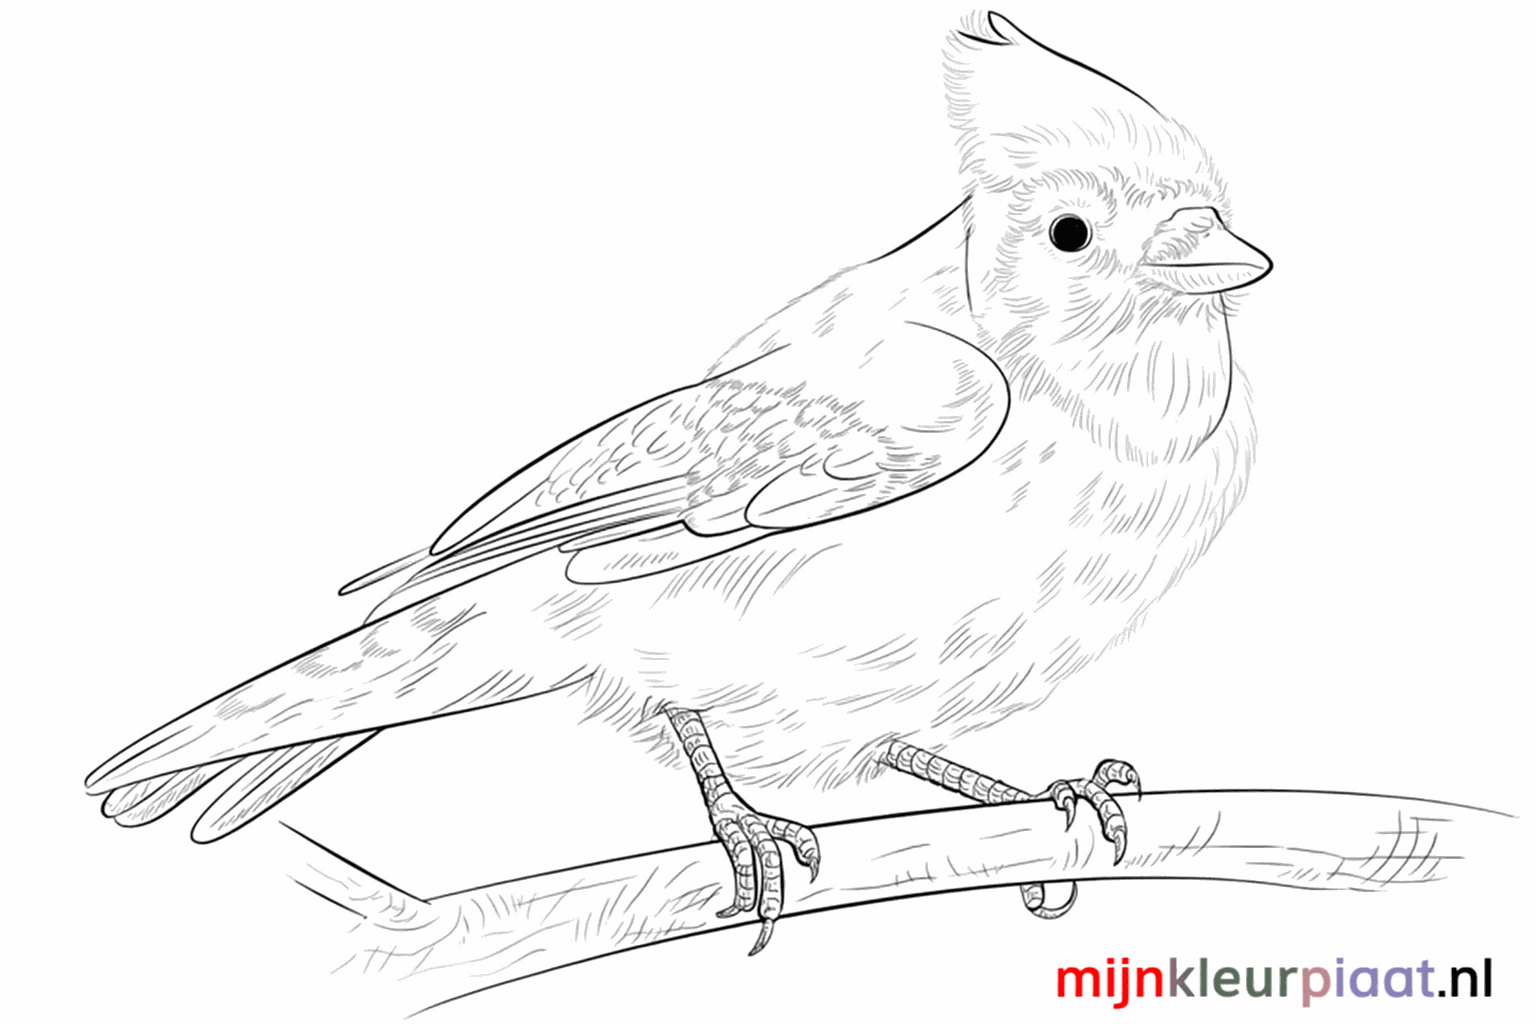
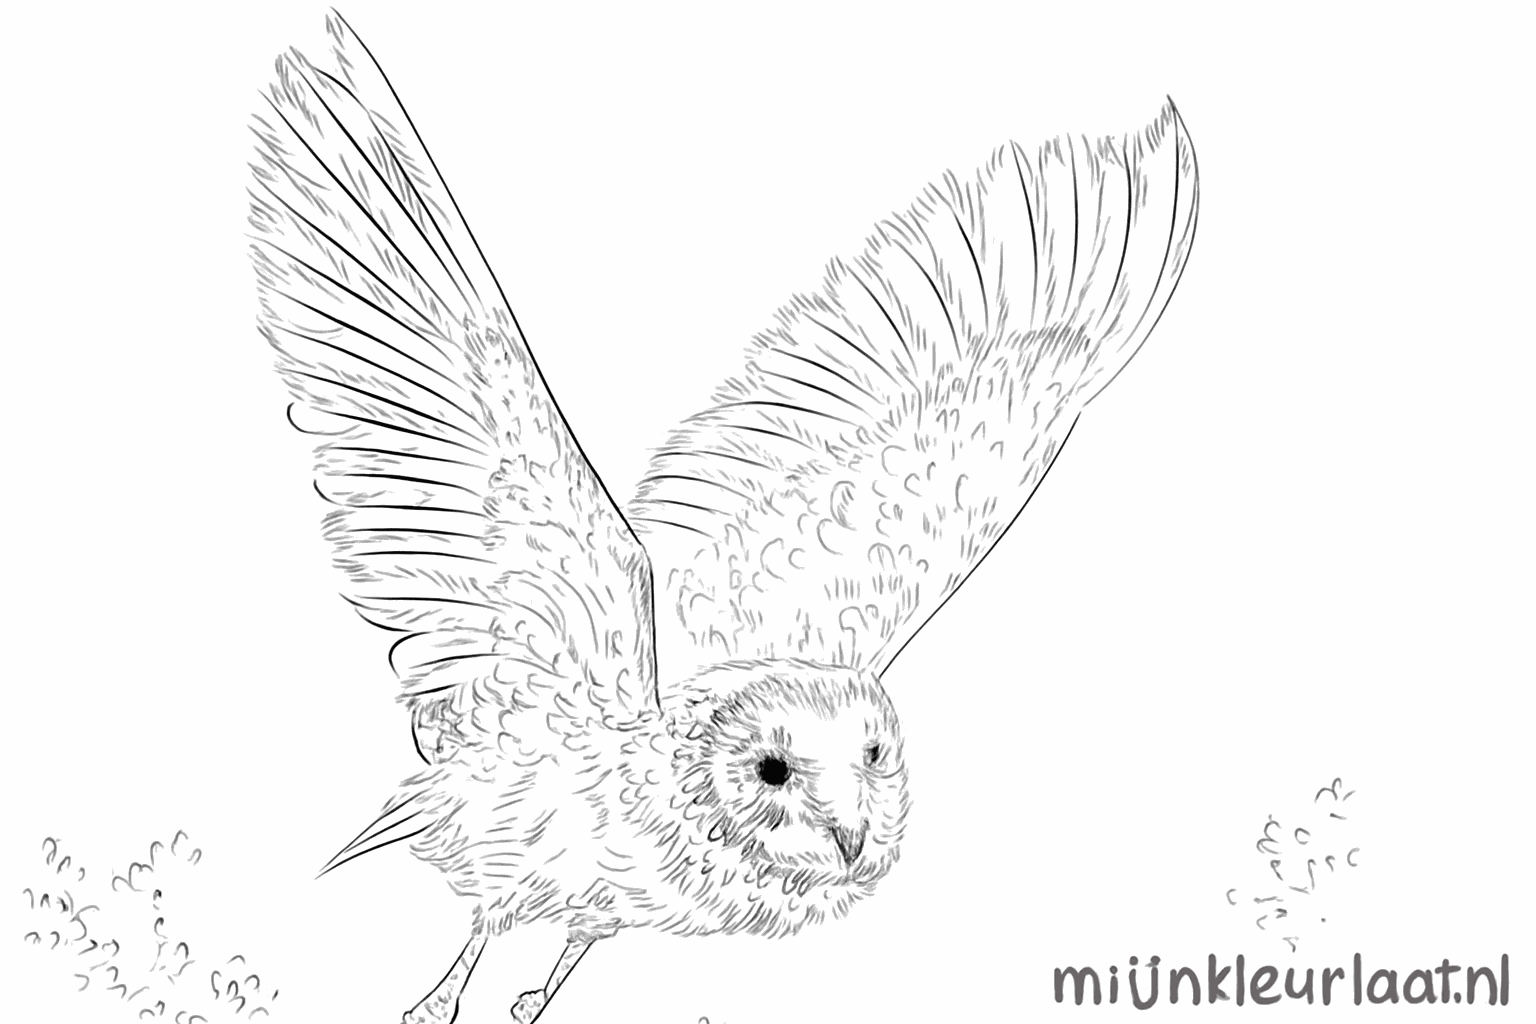
Related drawing lessons