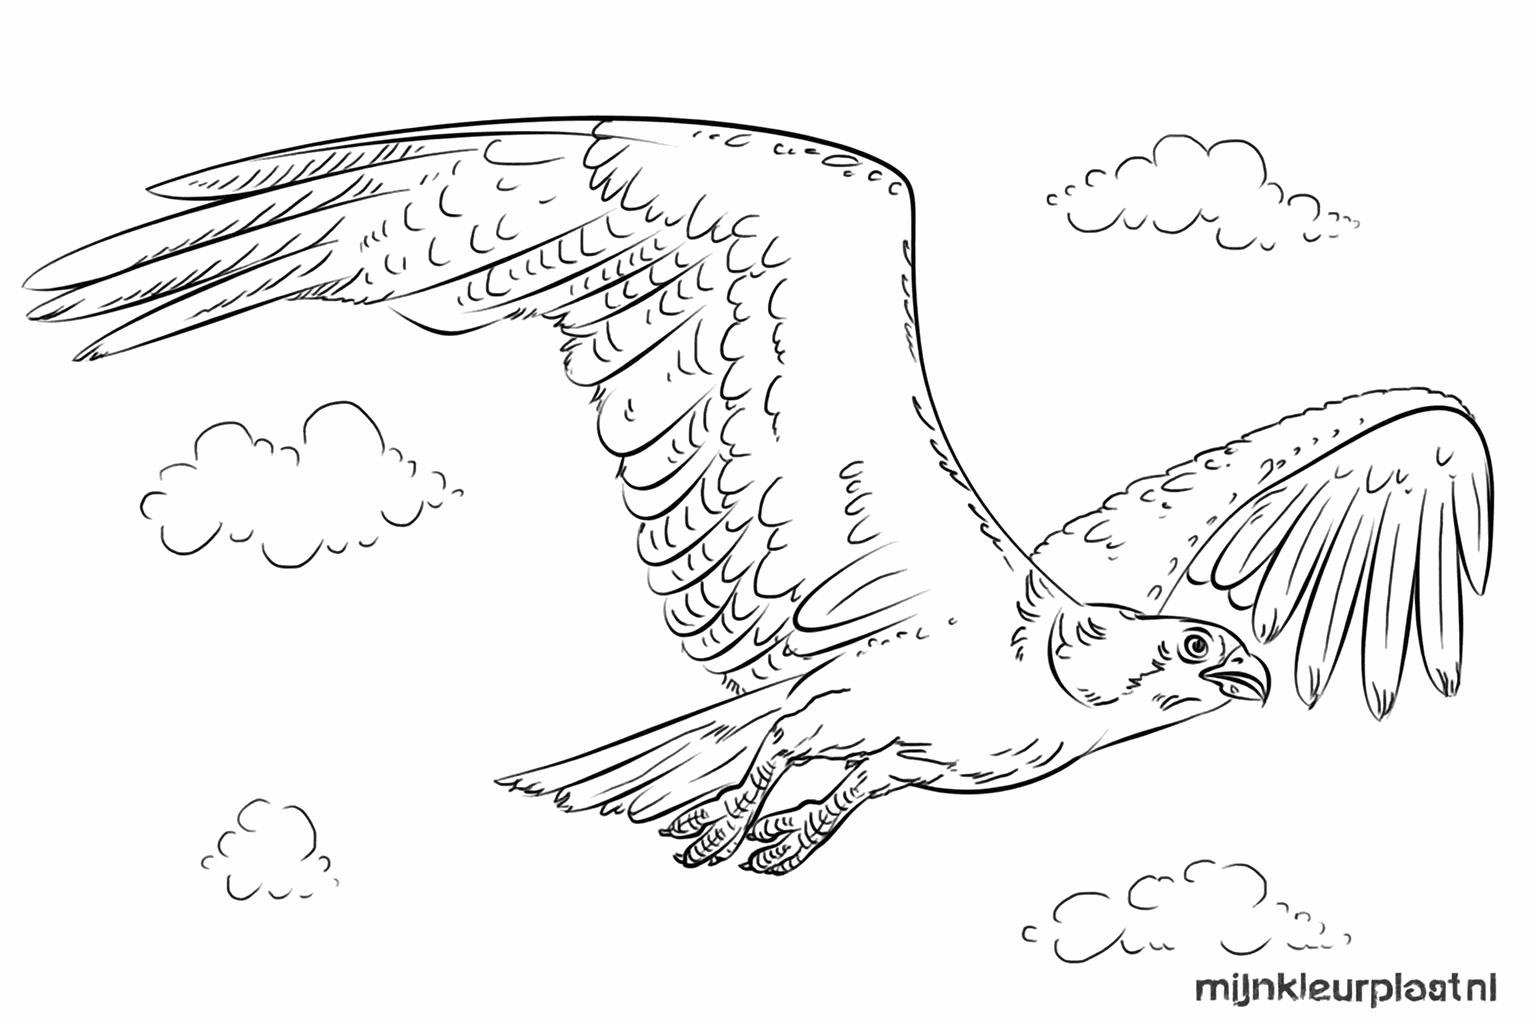
How to draw a osprey?
Learn step by step how to draw a osprey. Follow the 8 steps and print the tutorial.
Learn how to draw an impressive osprey with this easy guide. Grab your pencil and become a real bird artist!
Intro
Hi young artist! Today we are going to draw an osprey, a super strong bird that is very good at fishing. We start with simple shapes like circles and lines. Are you joining in?
Summary
In eight simple steps, you will draw a beautiful osprey. We use basic shapes to bring the bird to life on paper.
Steps
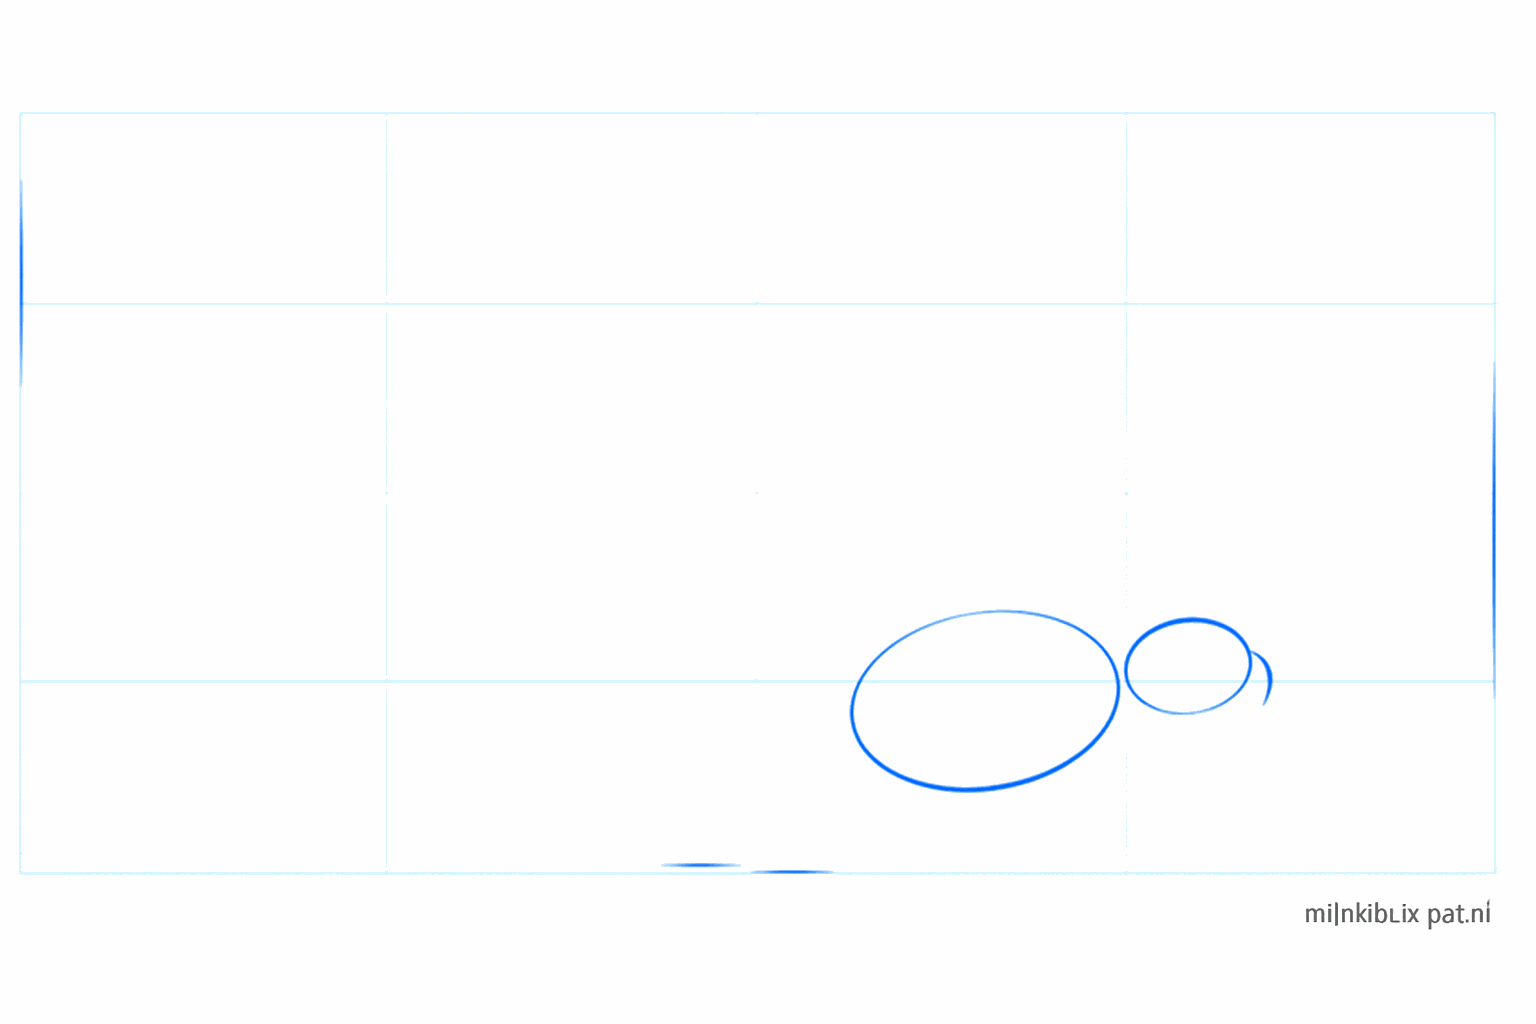
Draw a small circle for the head and a large horizontal oval for the body.
Connect the head and the body with two short lines for the neck and add a small line for the tail.
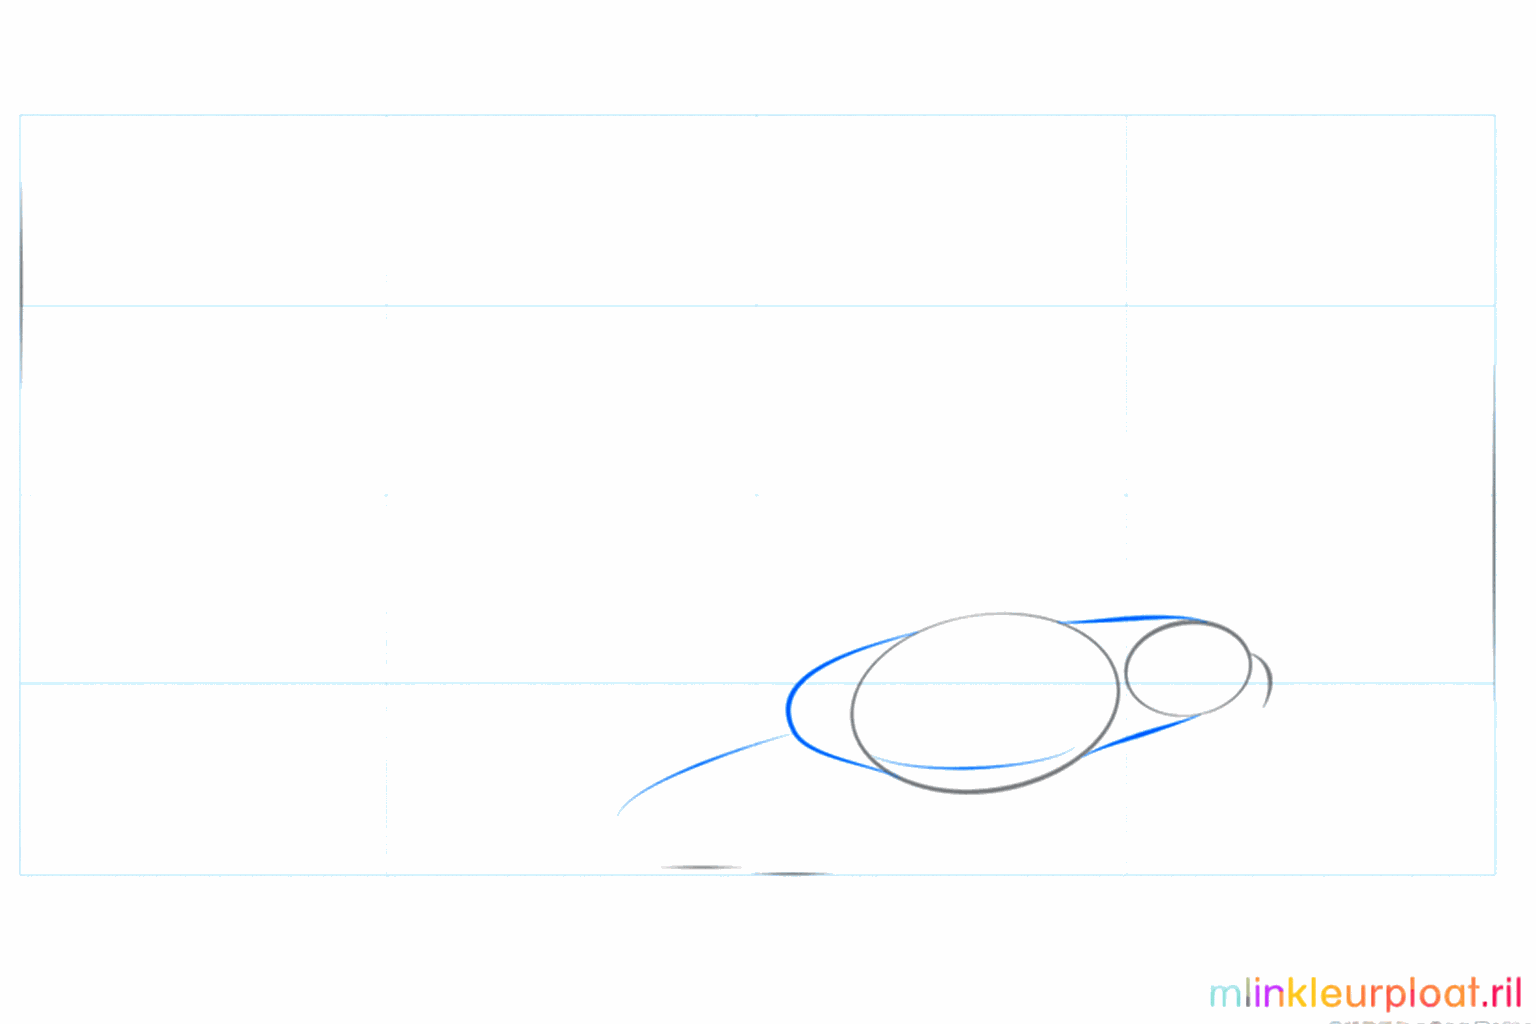
Draw a curved line for the wing and place small marks where the legs should go.
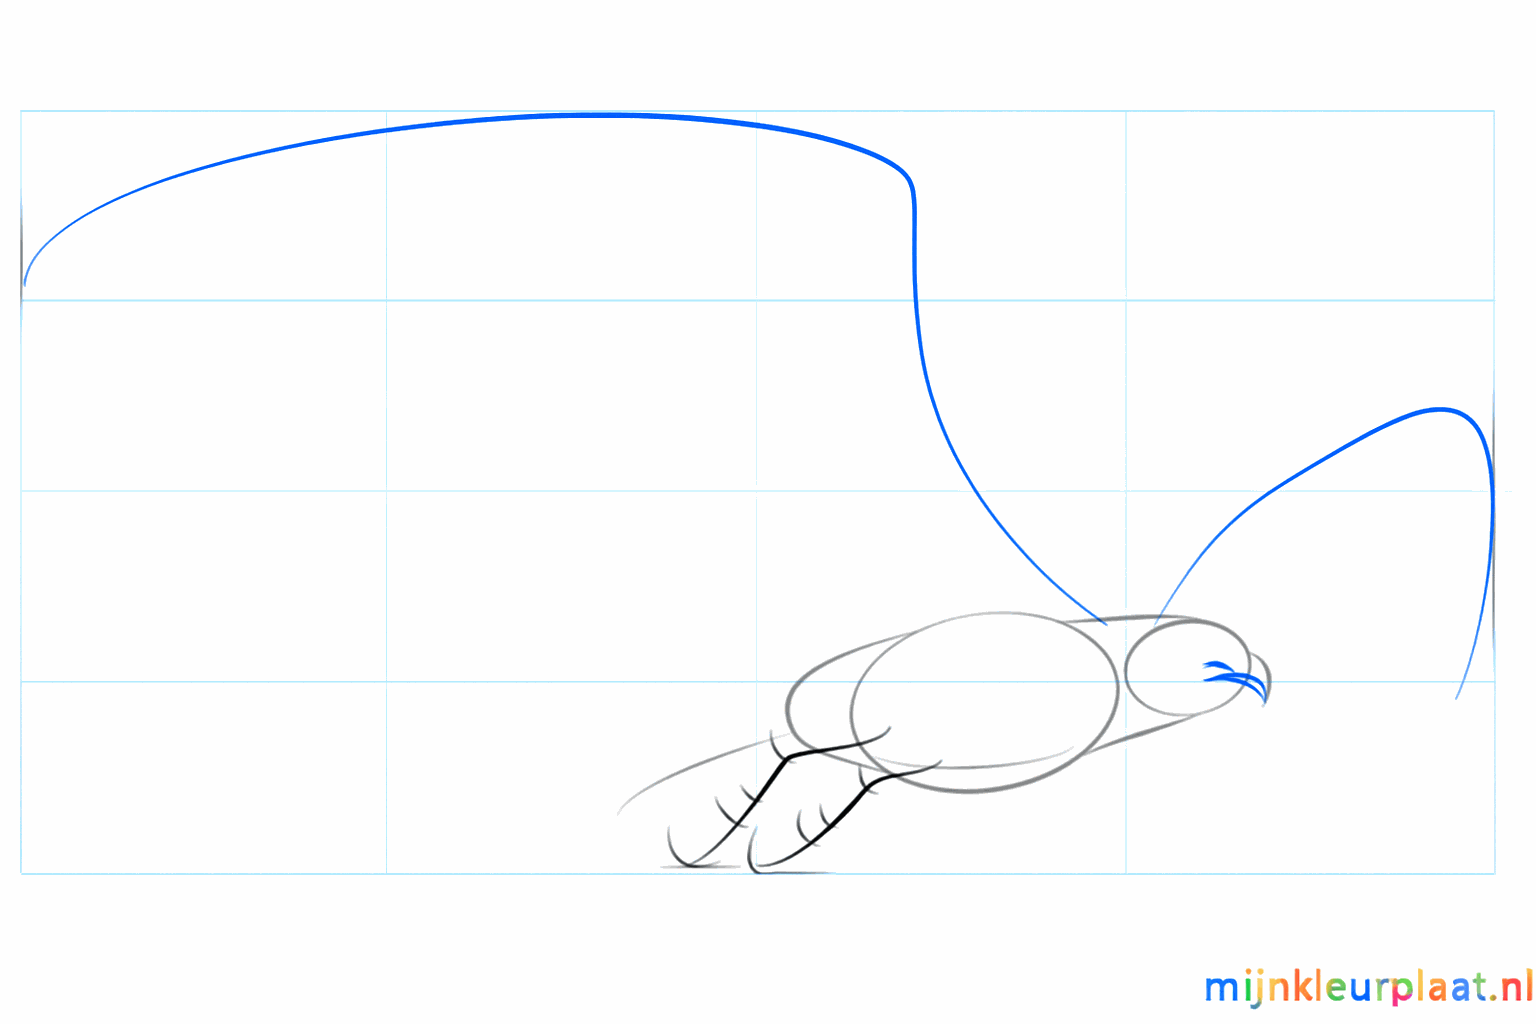
Create the beak with a small hook and give the legs more shape with thicker lines.

Finish drawing the large wing and add a small circle for the eye.
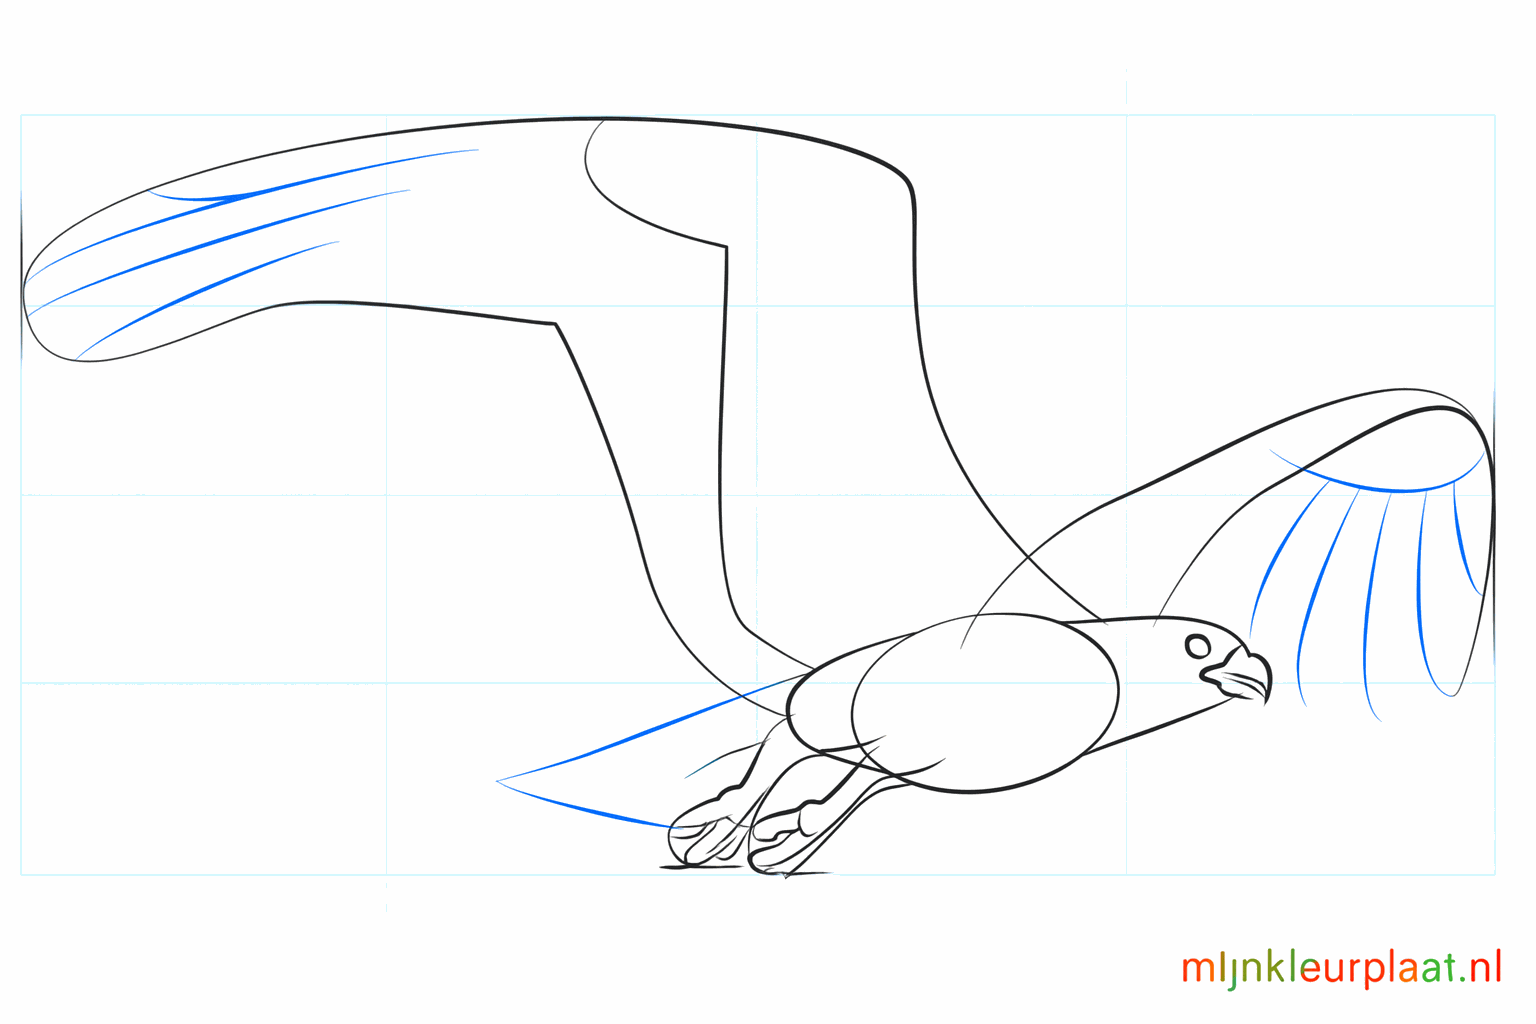
Now draw the sharp talons on the legs and make the tail a bit wider.
Add small lines in the wings and tail to show the feathers.
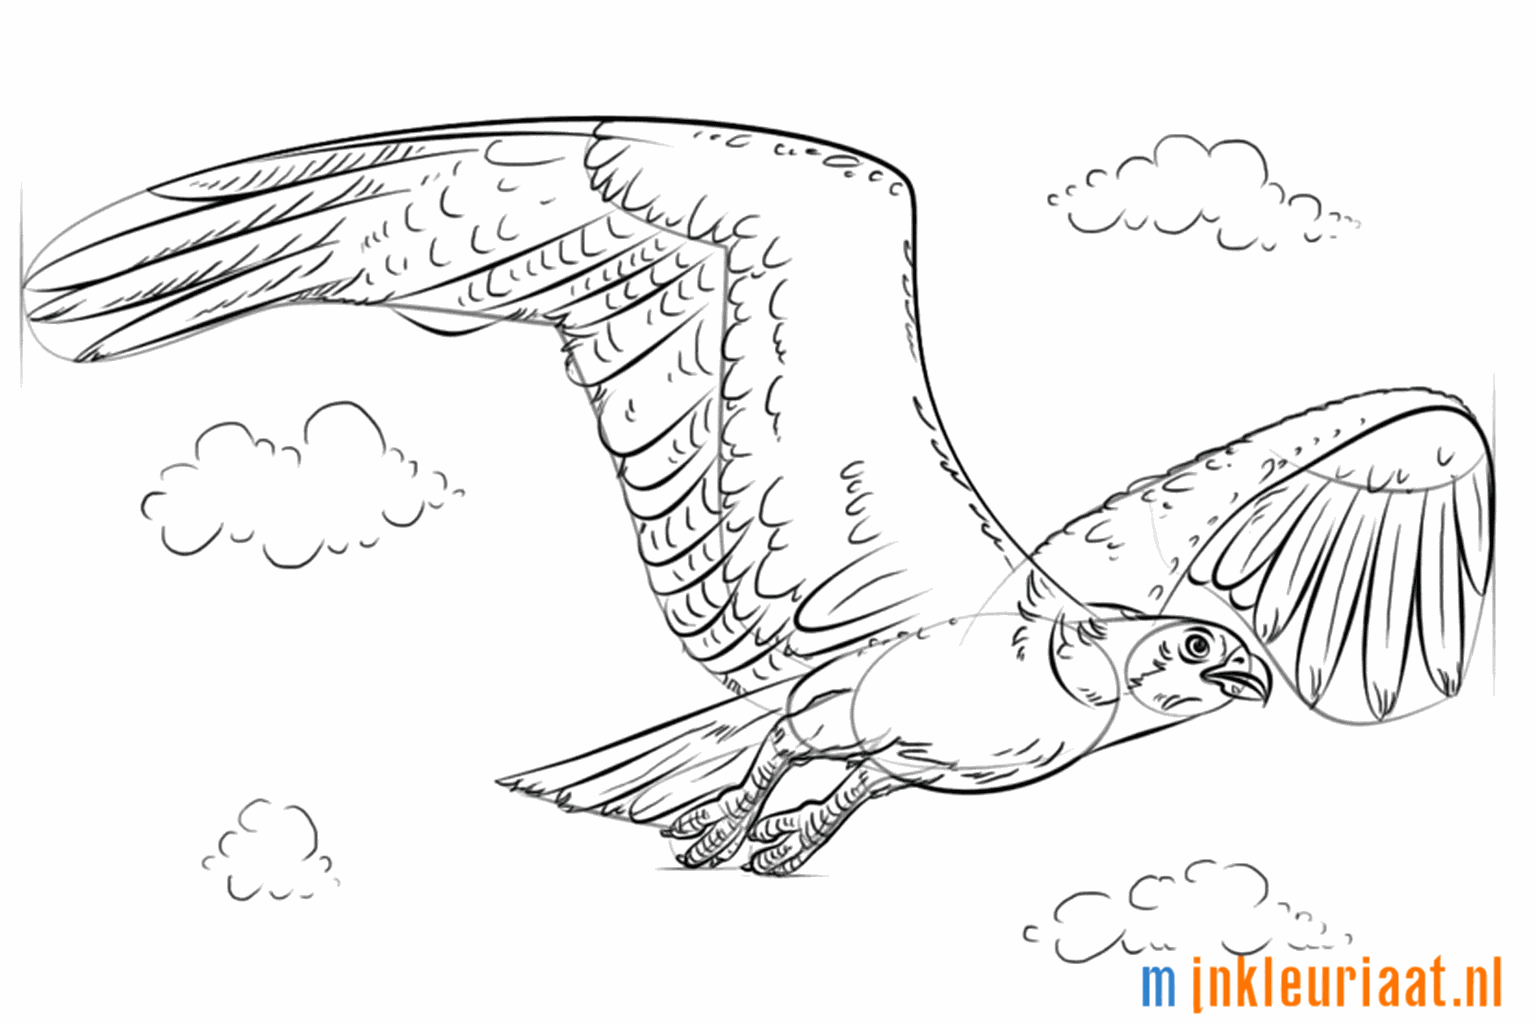
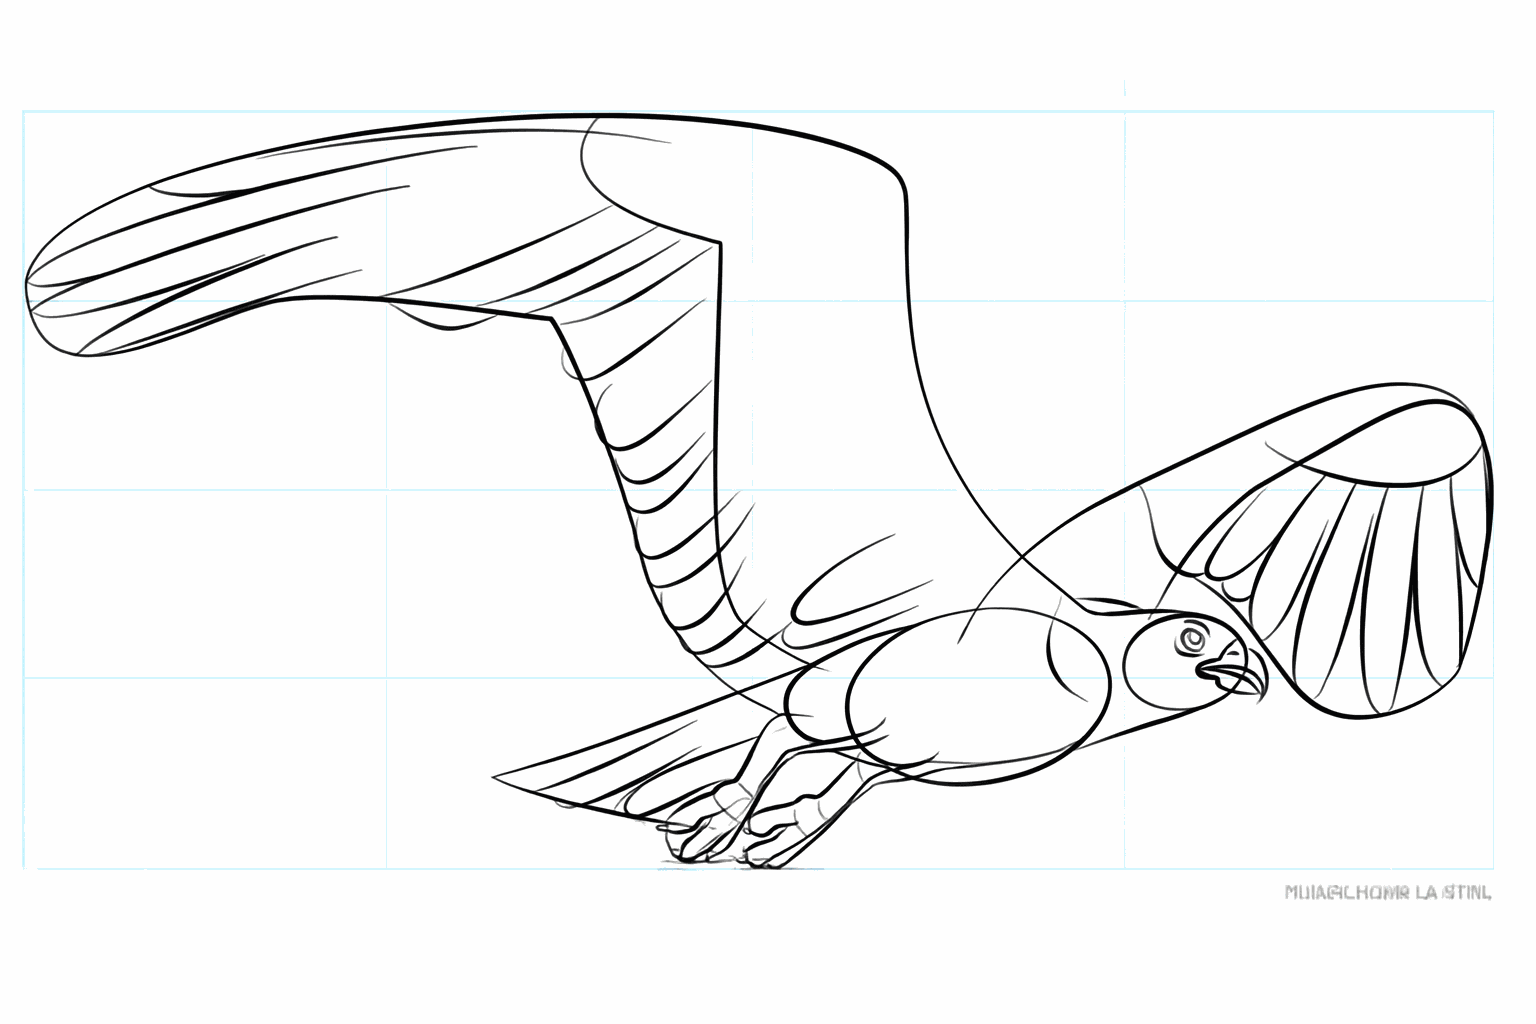
Erase the guide lines and trace the outer lines extra thick for a tough effect.
Frequently asked questions
Is this drawing lesson difficult?
What supplies do I need?
What should I do if I make a mistake?
How do I really finish my osprey?
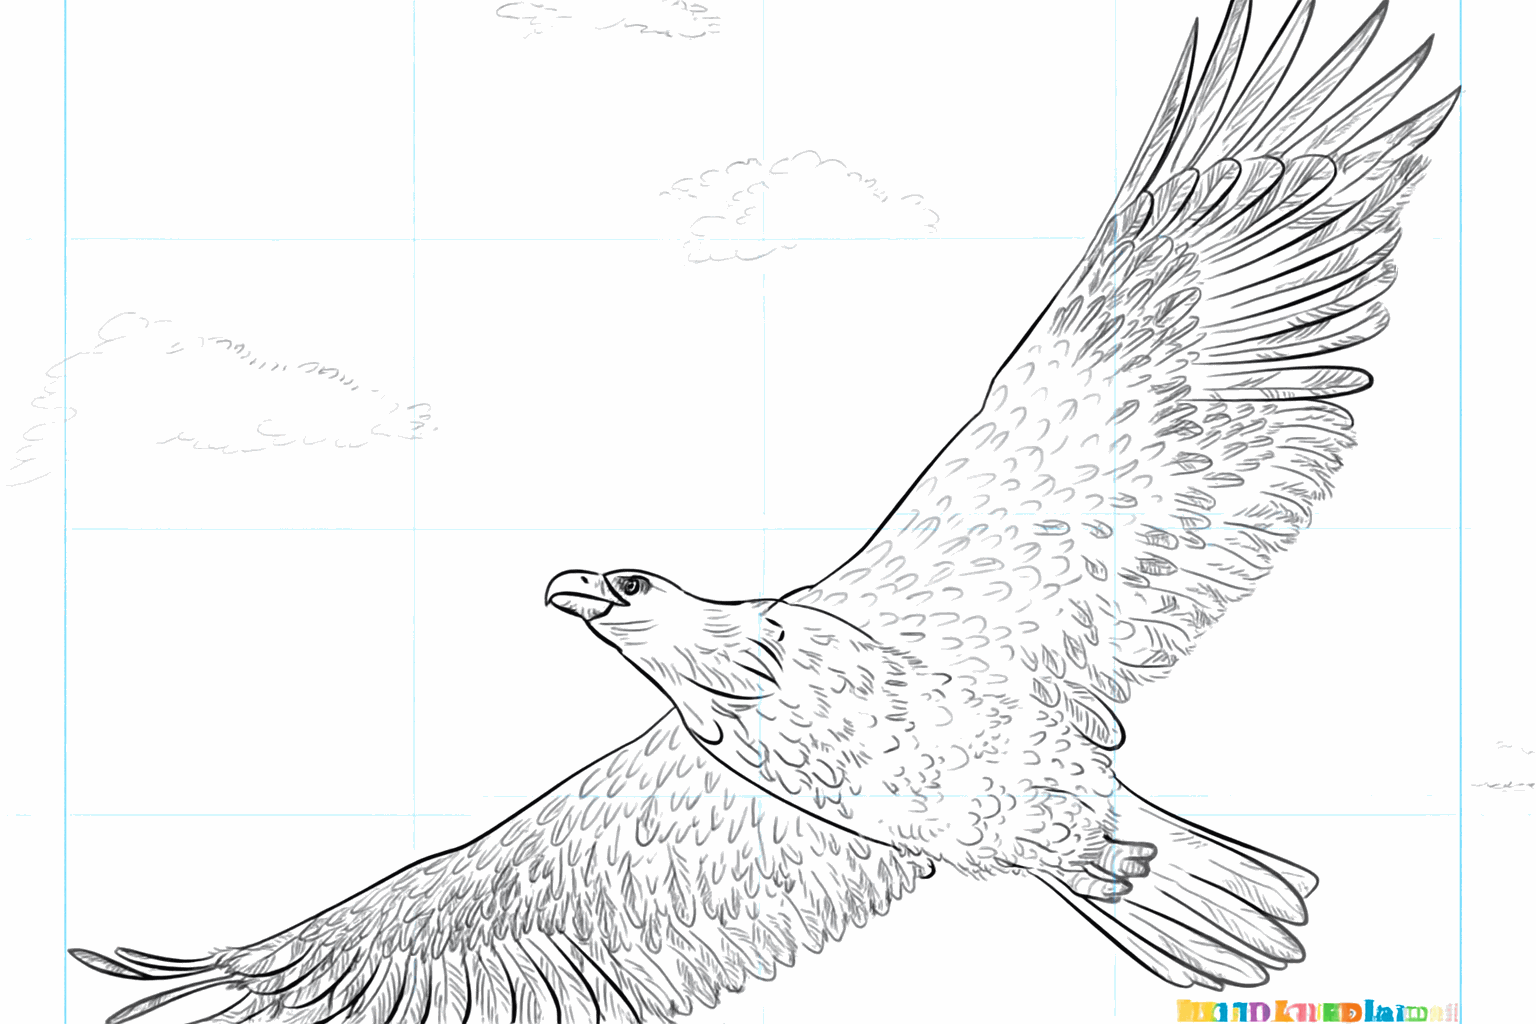
Coloring pages of osprey
View all osprey coloring pagesRelated drawing lessons