How to draw a okapi?
Learn step by step how to draw a okapi. Follow the 8 steps and print the tutorial.
Learn how to draw an okapi with this easy step-by-step drawing lesson for kids!
Intro
Hi young artist! Today we are going to draw a very special animal: the okapi. It looks a bit like a zebra and a giraffe, but it is truly unique. Grab your pencil and eraser, and let's get started together!
Summary
In this drawing lesson, you will learn how to build an okapi from simple shapes like ovals and lines. Follow the eight steps and before you know it, you'll have a beautiful jungle animal on your paper.
Steps
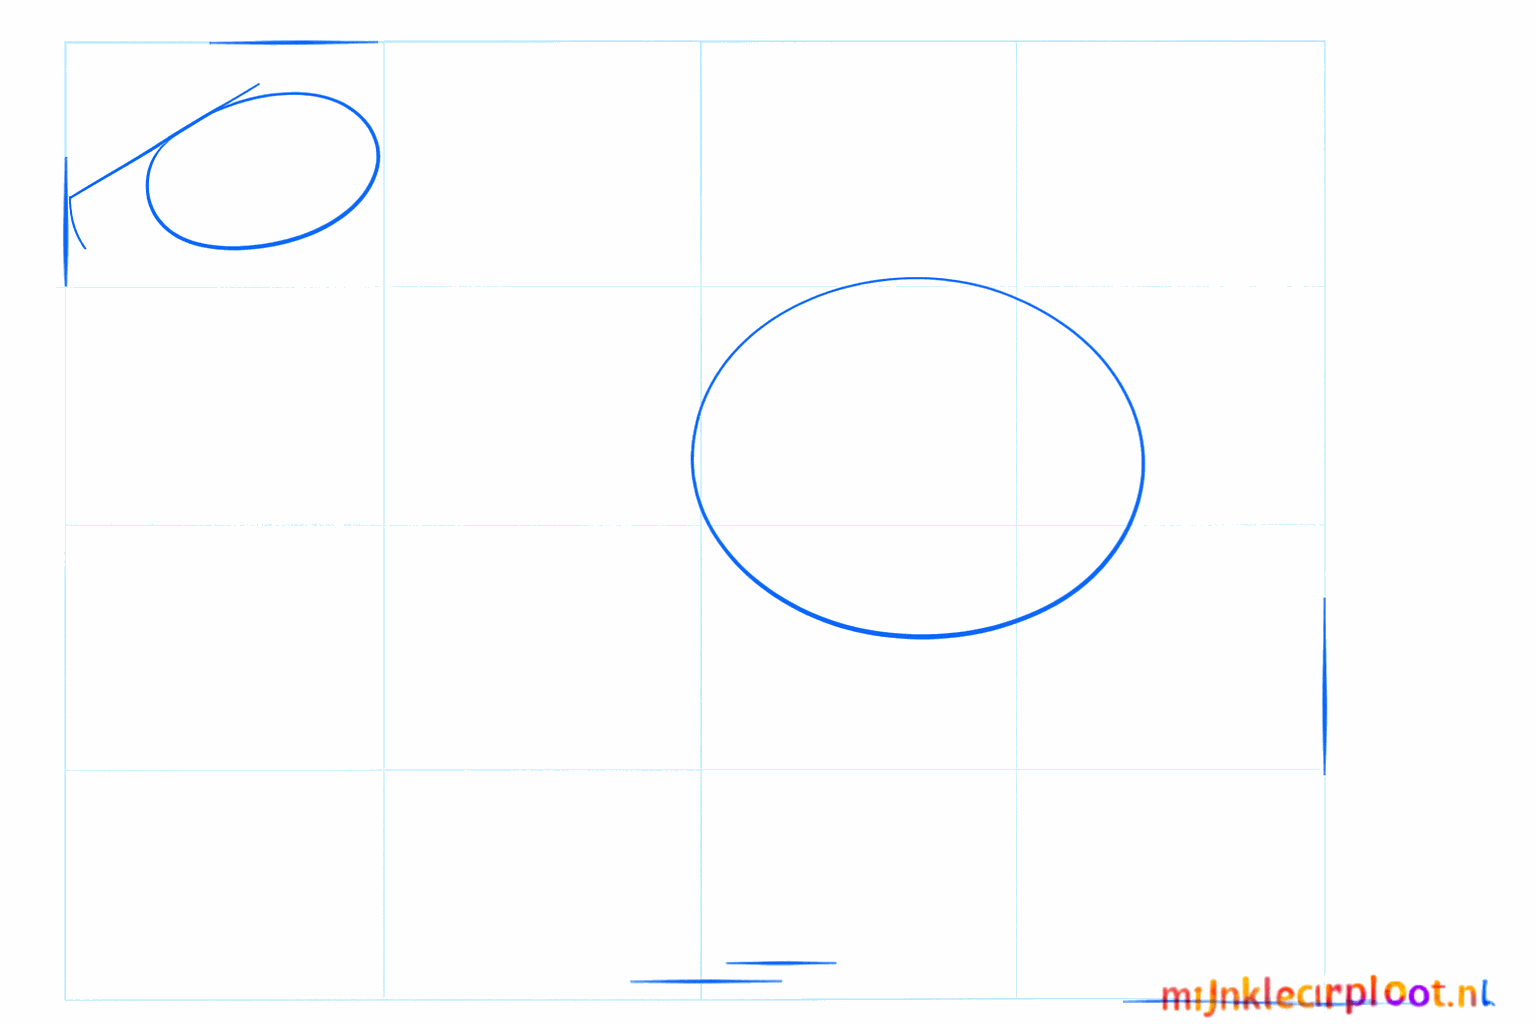
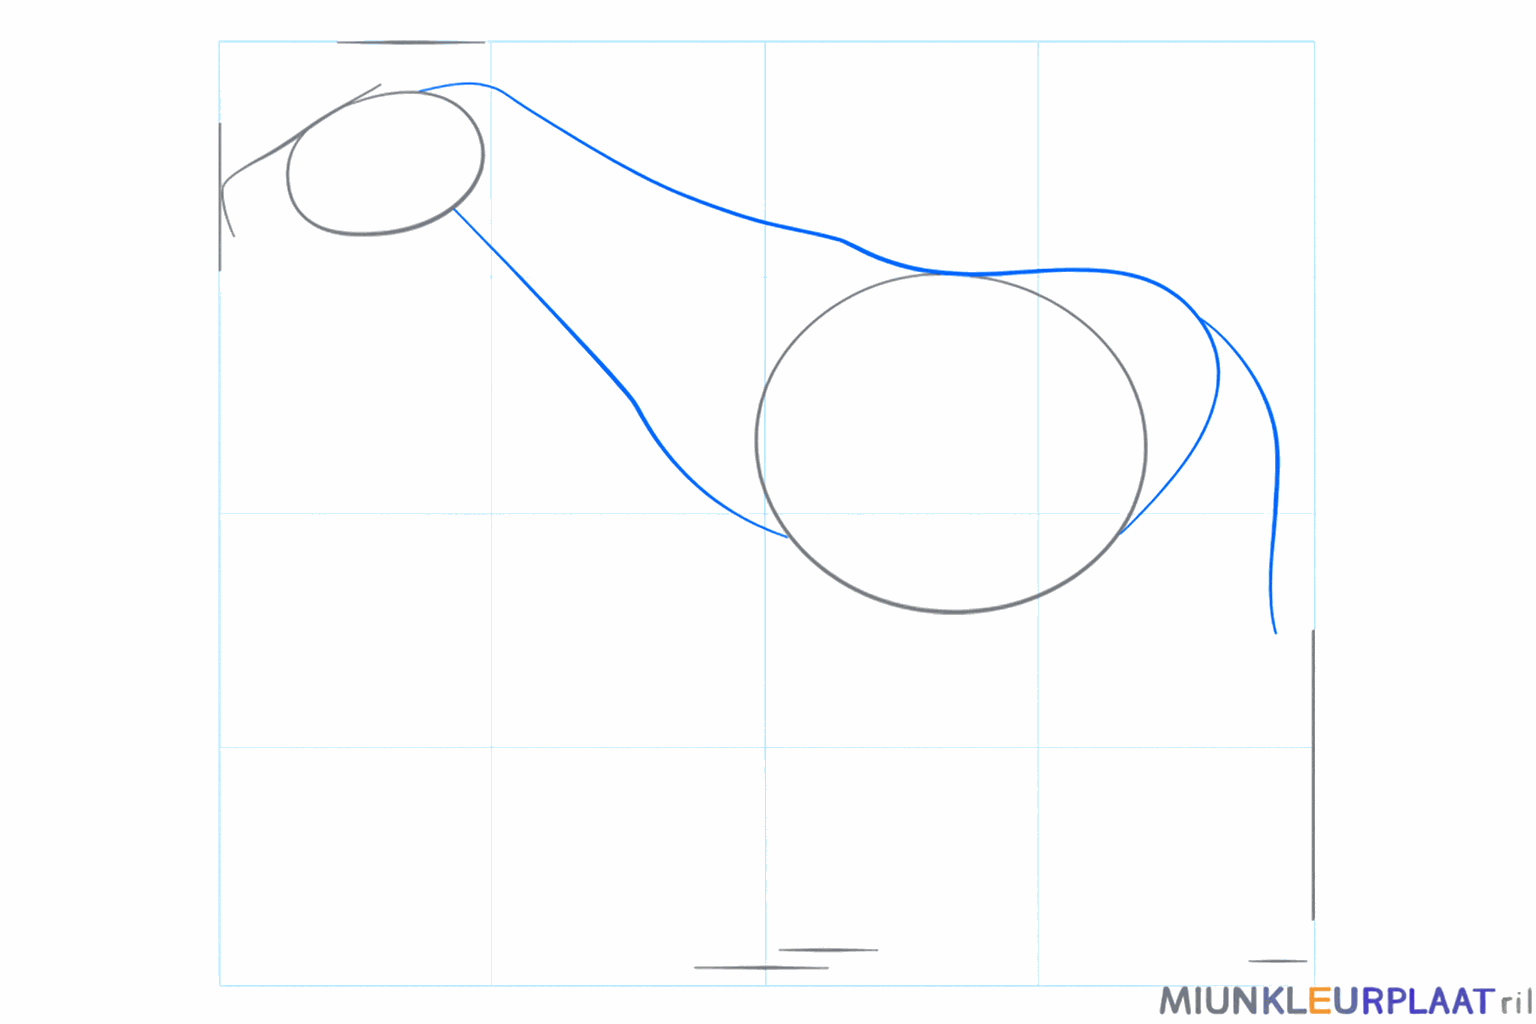
Start by drawing a large horizontal oval for the body and a small egg shape above it for the head.
Connect the head and the body with two lines for the neck and draw a curved line for the tail.
Now draw four straight lines under the body where the legs should go and a short line for the snout.
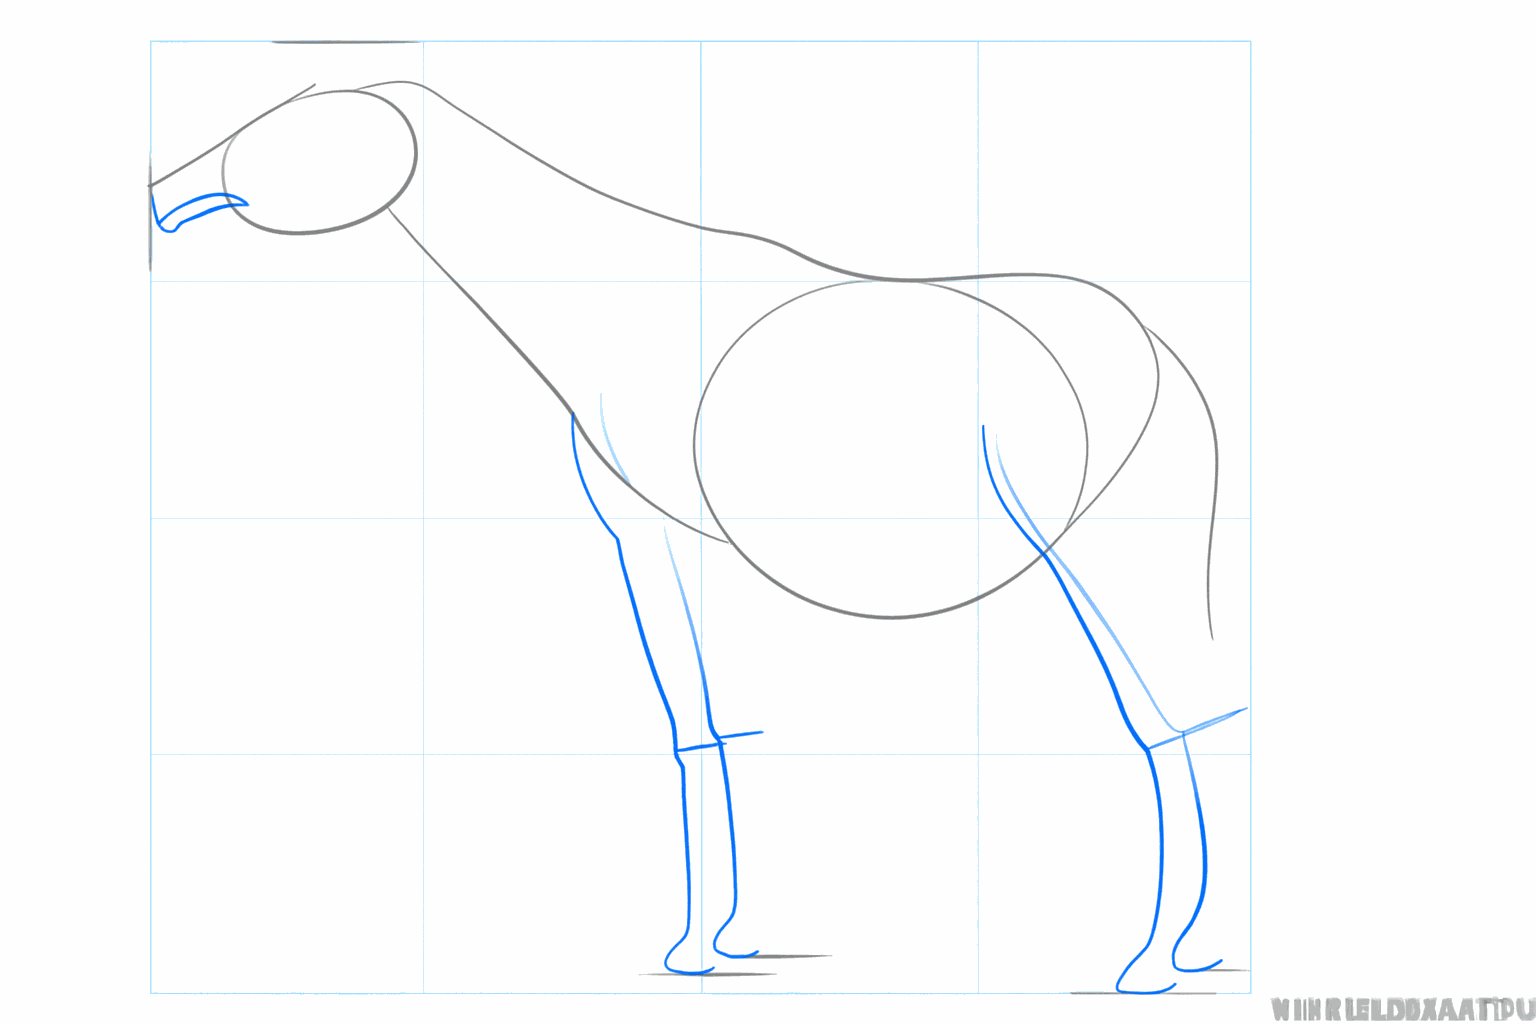
Make the legs thicker by drawing shapes around them and add two large, pointed ears to the head.

Give the okapi hooves at the bottom of the legs and draw a small horn on top of its head.
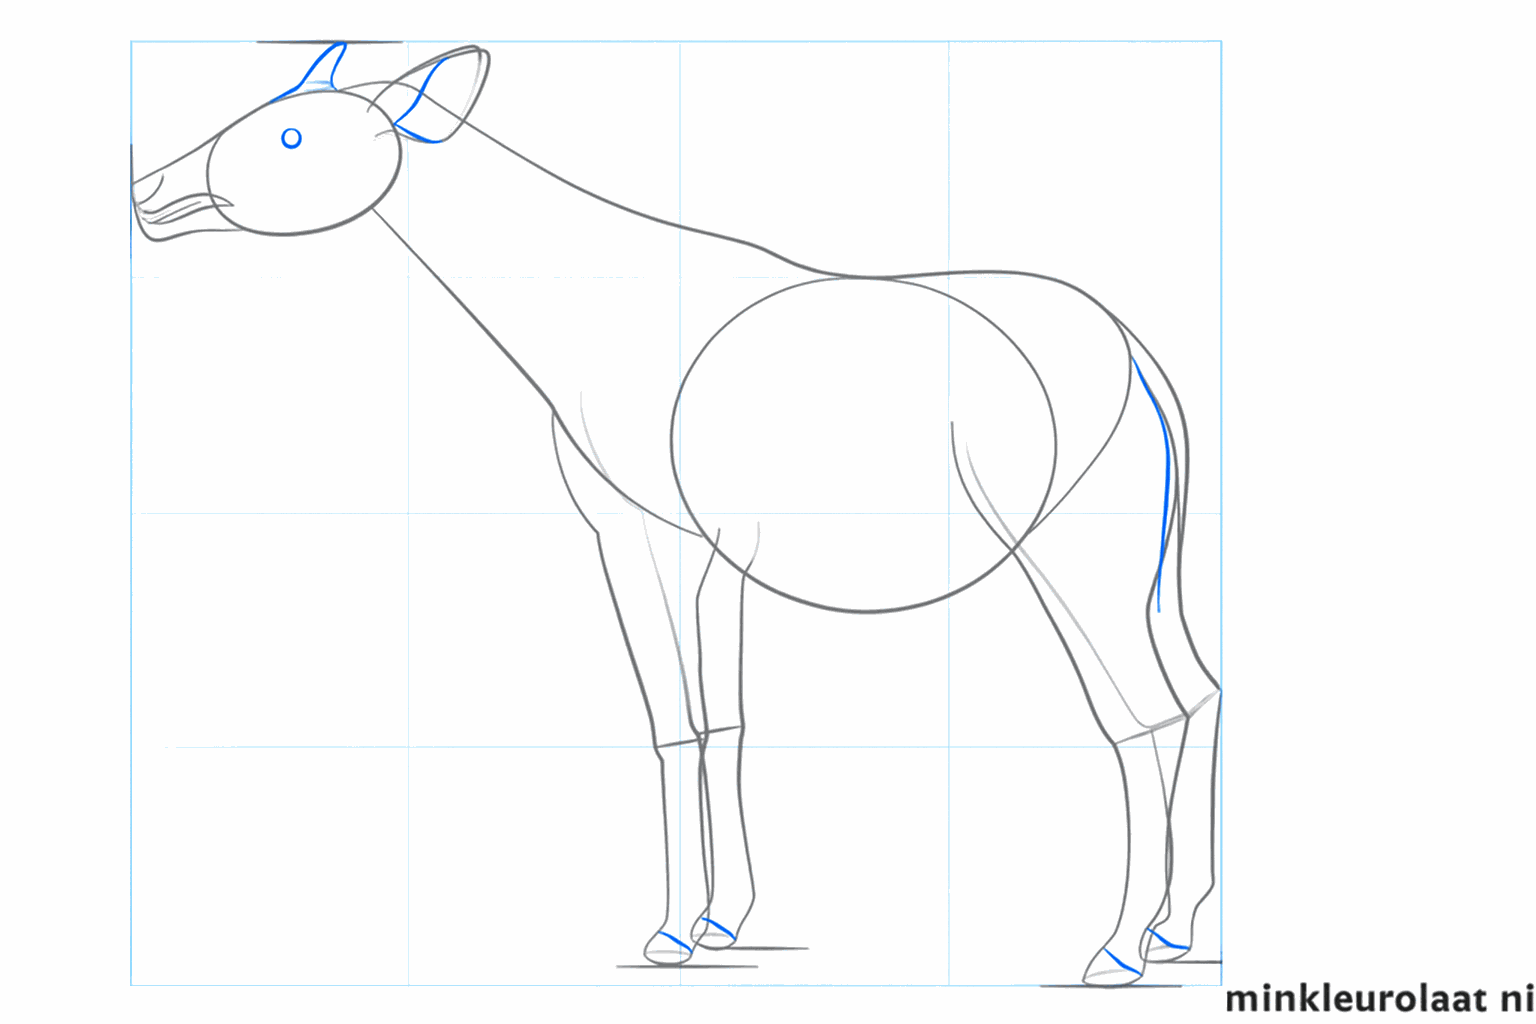
Draw a small round eye, a nostril, and finish the tail with a small tuft at the end.
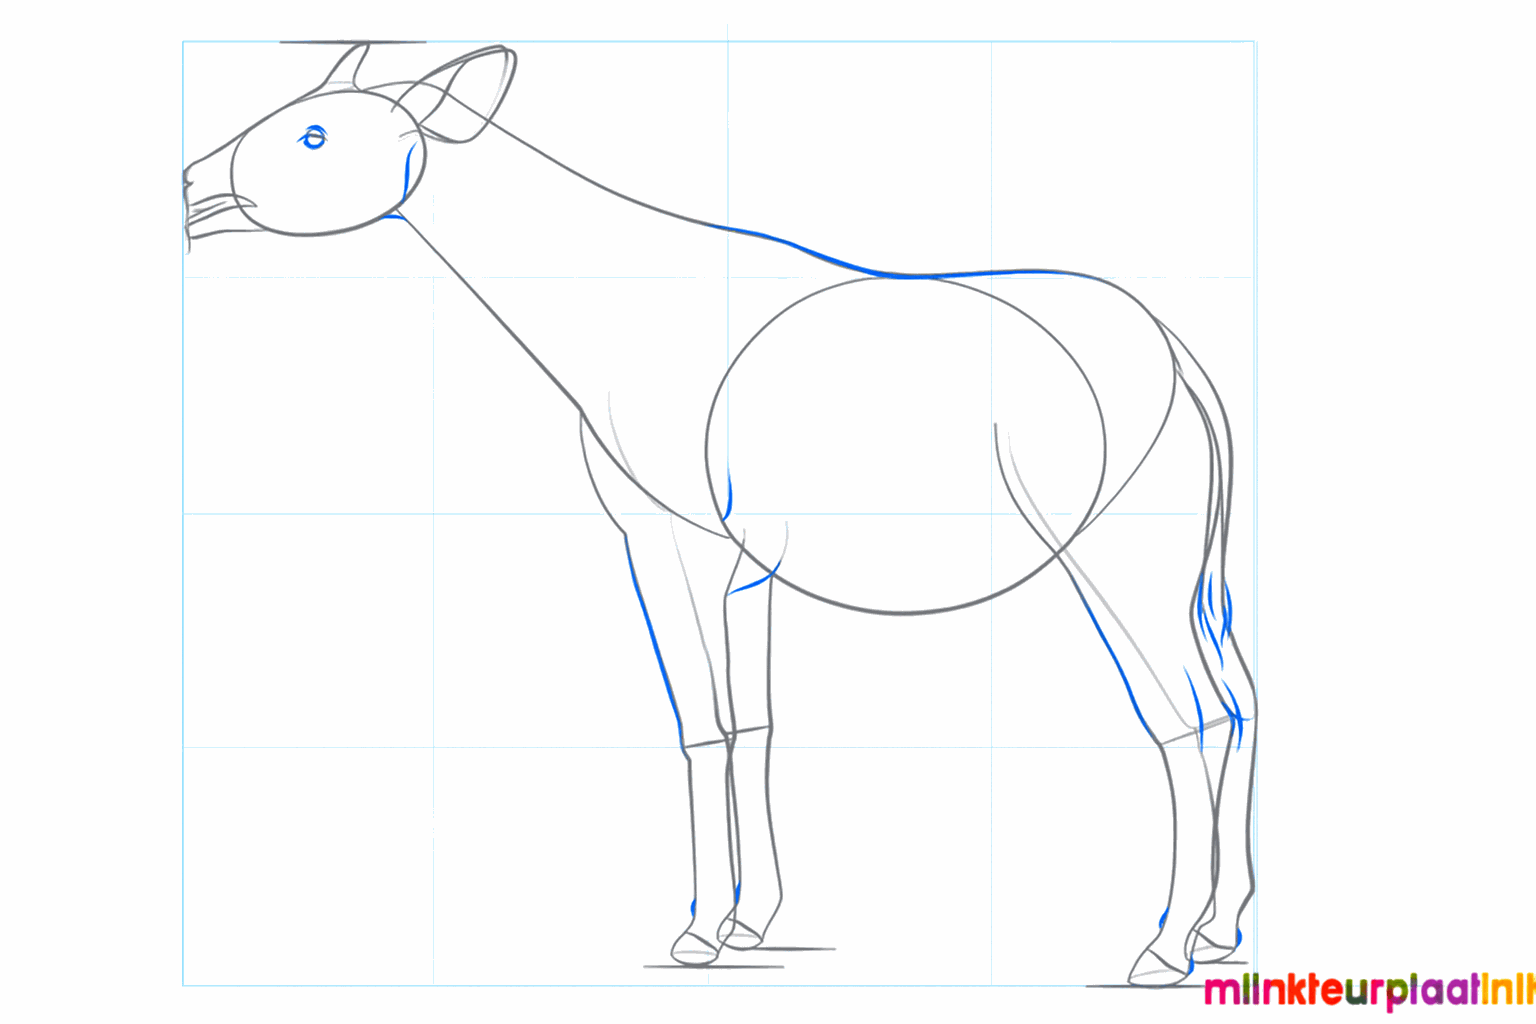
Look closely at your drawing and make the lines of the body nice, smooth, and rounded.
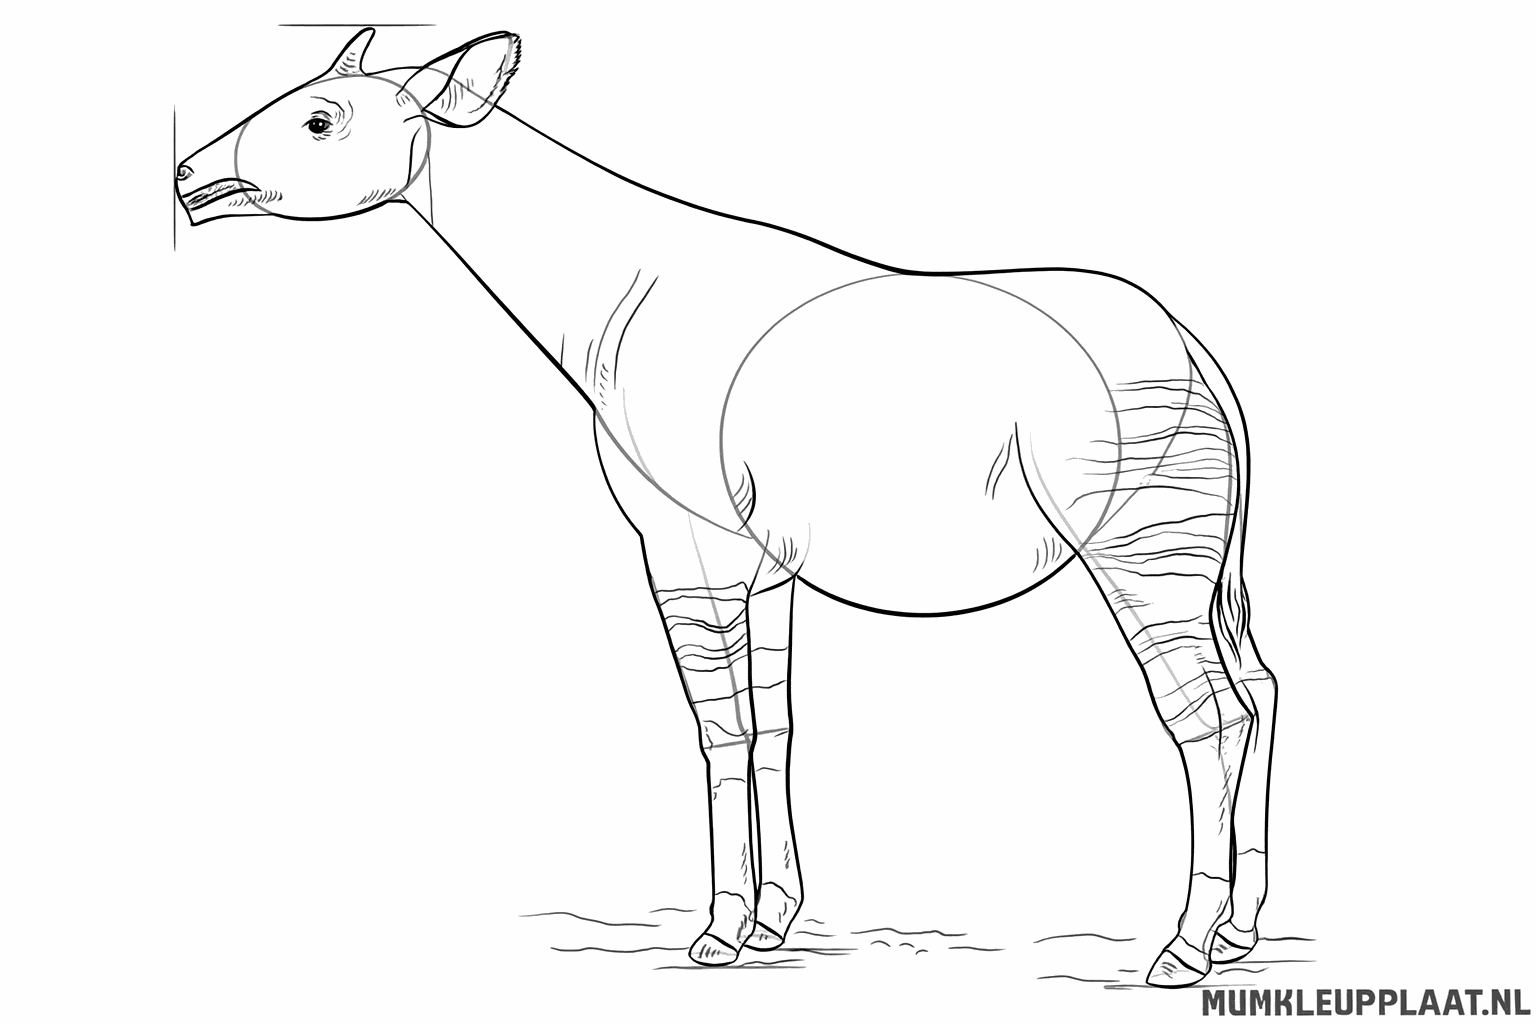
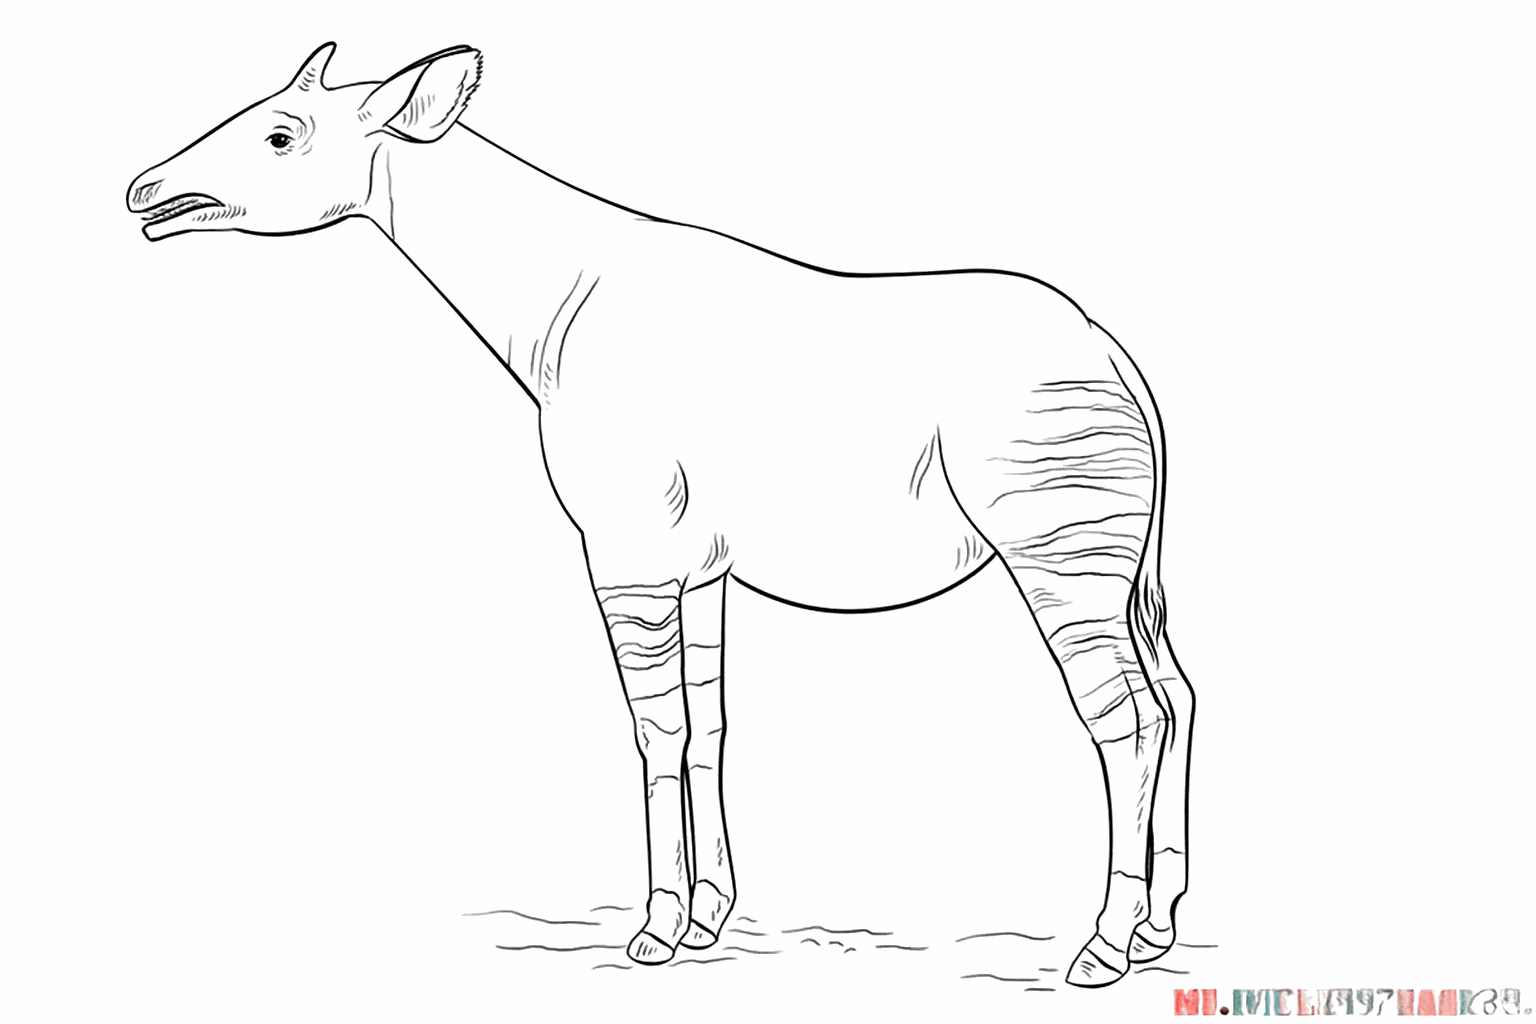
Erase the guide lines inside and draw some grass under your okapi's hooves.
Frequently asked questions
What actually is an okapi?
What supplies do I need?
Is drawing an okapi difficult?
Can I also color the okapi?
Coloring pages of okapi
View all okapi coloring pagesRelated drawing lessons