How to draw a moose?
Learn step by step how to draw a moose. Follow the 9 steps and print the tutorial.
Learn how to draw a cool moose with large antlers! Follow these simple steps and create your own forest animal on paper.
Intro
Hi little artist! Today we are going to create a true king of the forest: the moose. With its large antlers and long legs, it looks impressive, but it is very easy to draw. Grab your pencil and eraser, and let's get started together!
Summary
In this drawing lesson, you will learn to draw a moose using simple shapes like ovals. We start with the body and end with the impressive antlers and details.
Steps
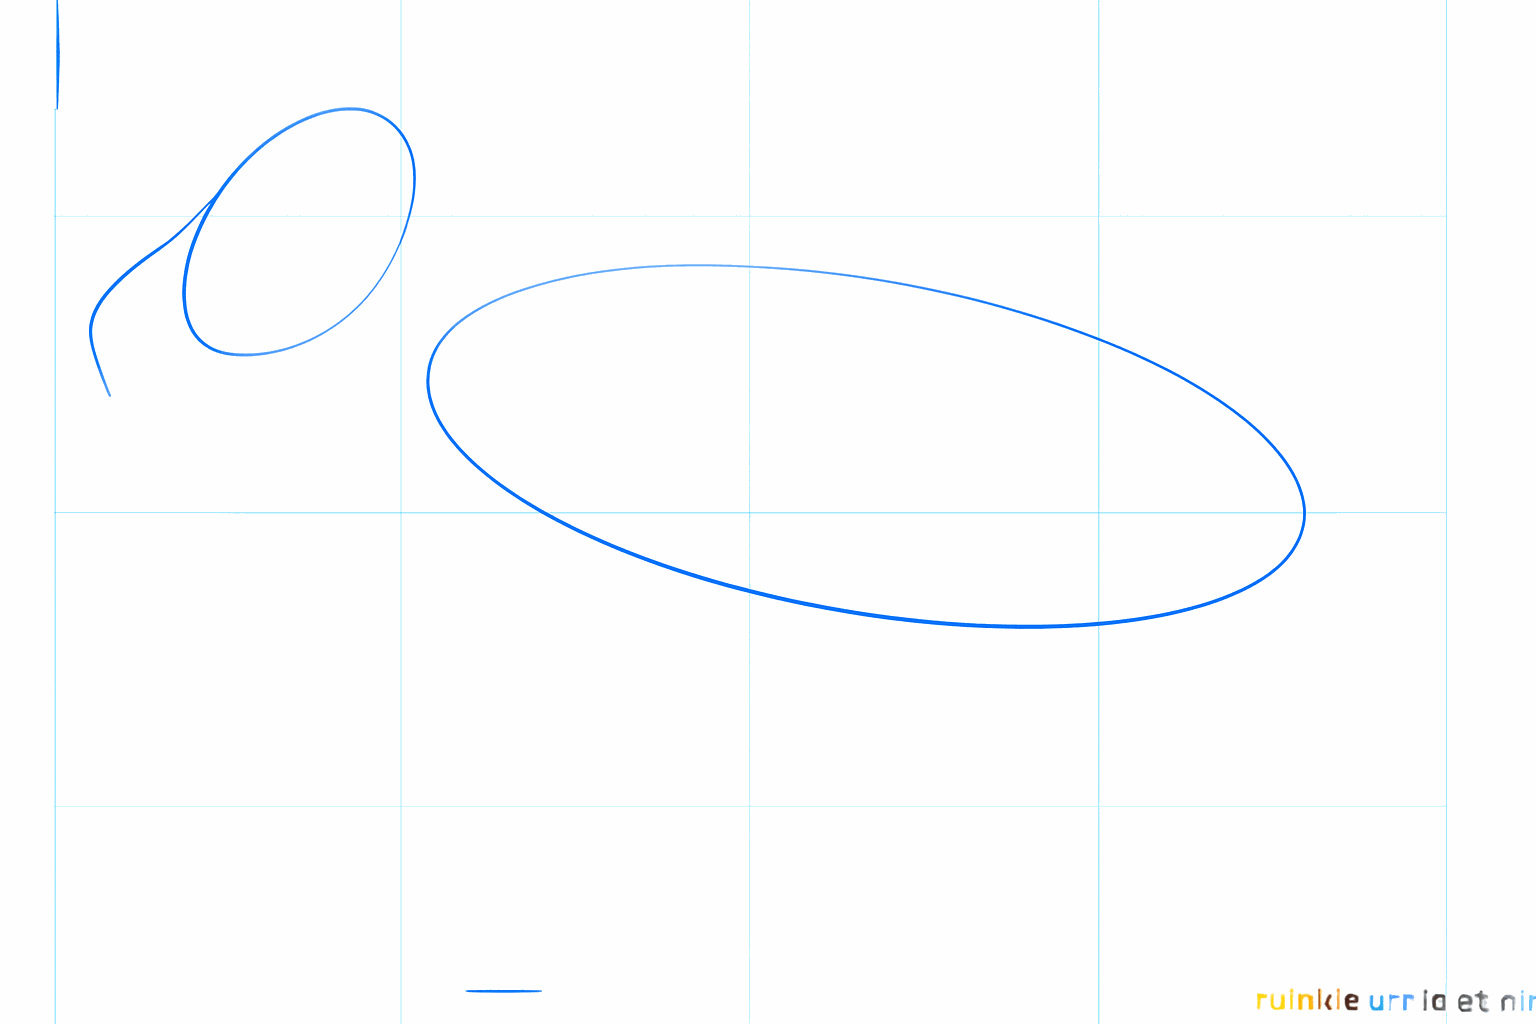
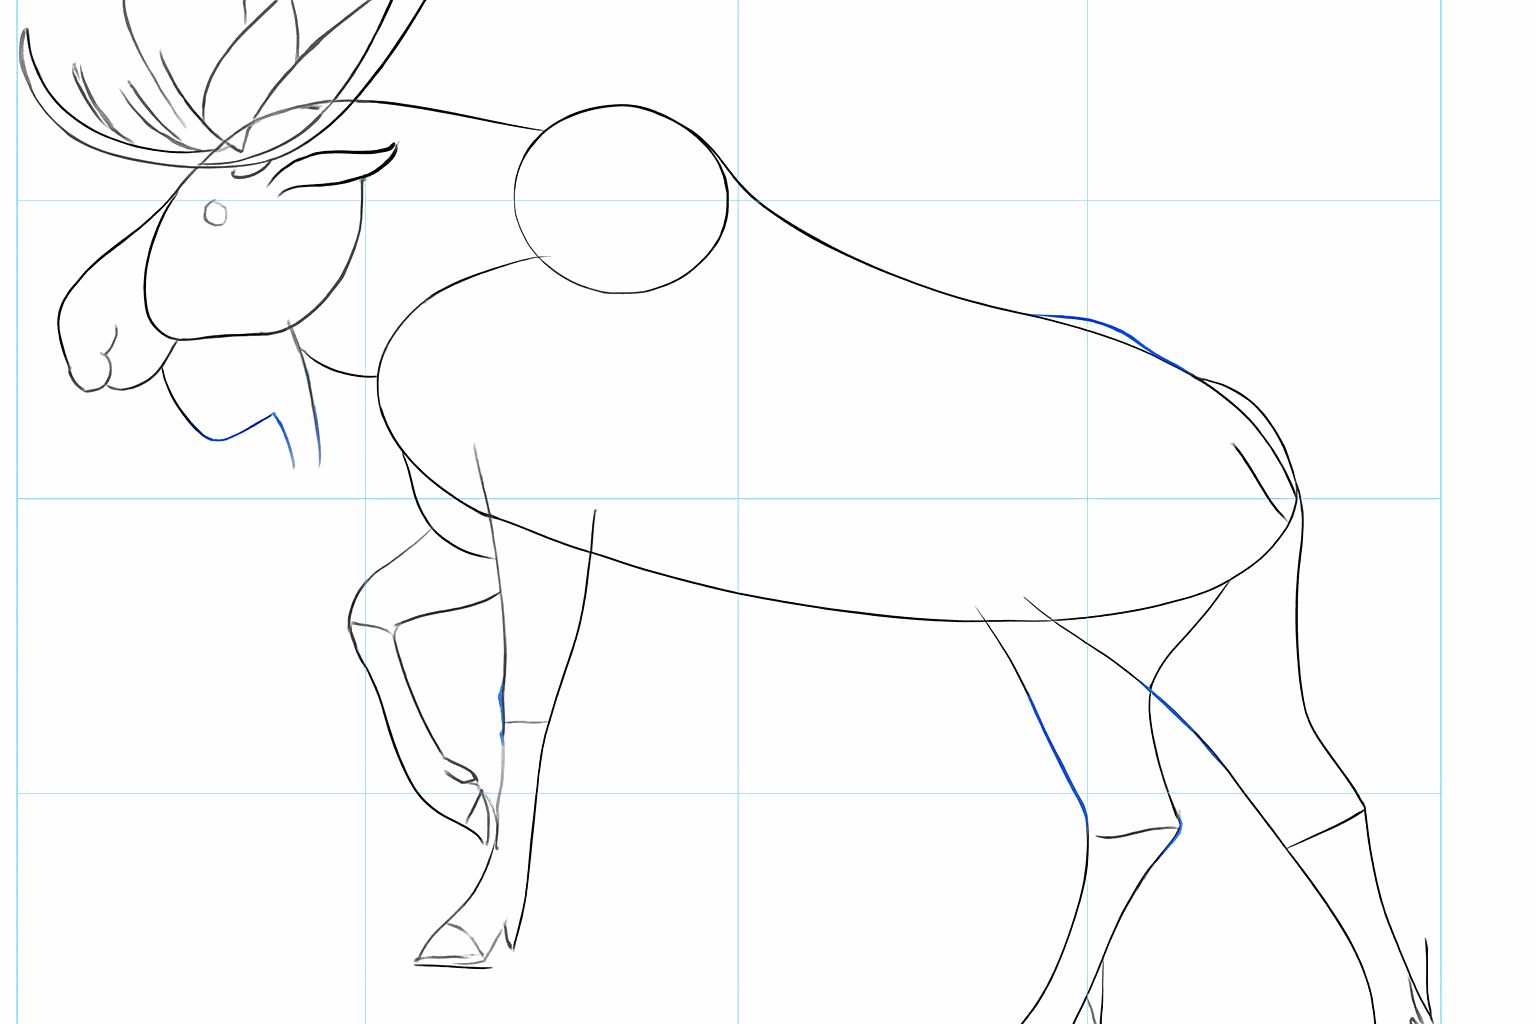
Draw a large horizontal oval for the body and a small oval for the head with a guide line in between.
Connect the head and the body with two lines for the thick neck and add a small stroke for the tail.
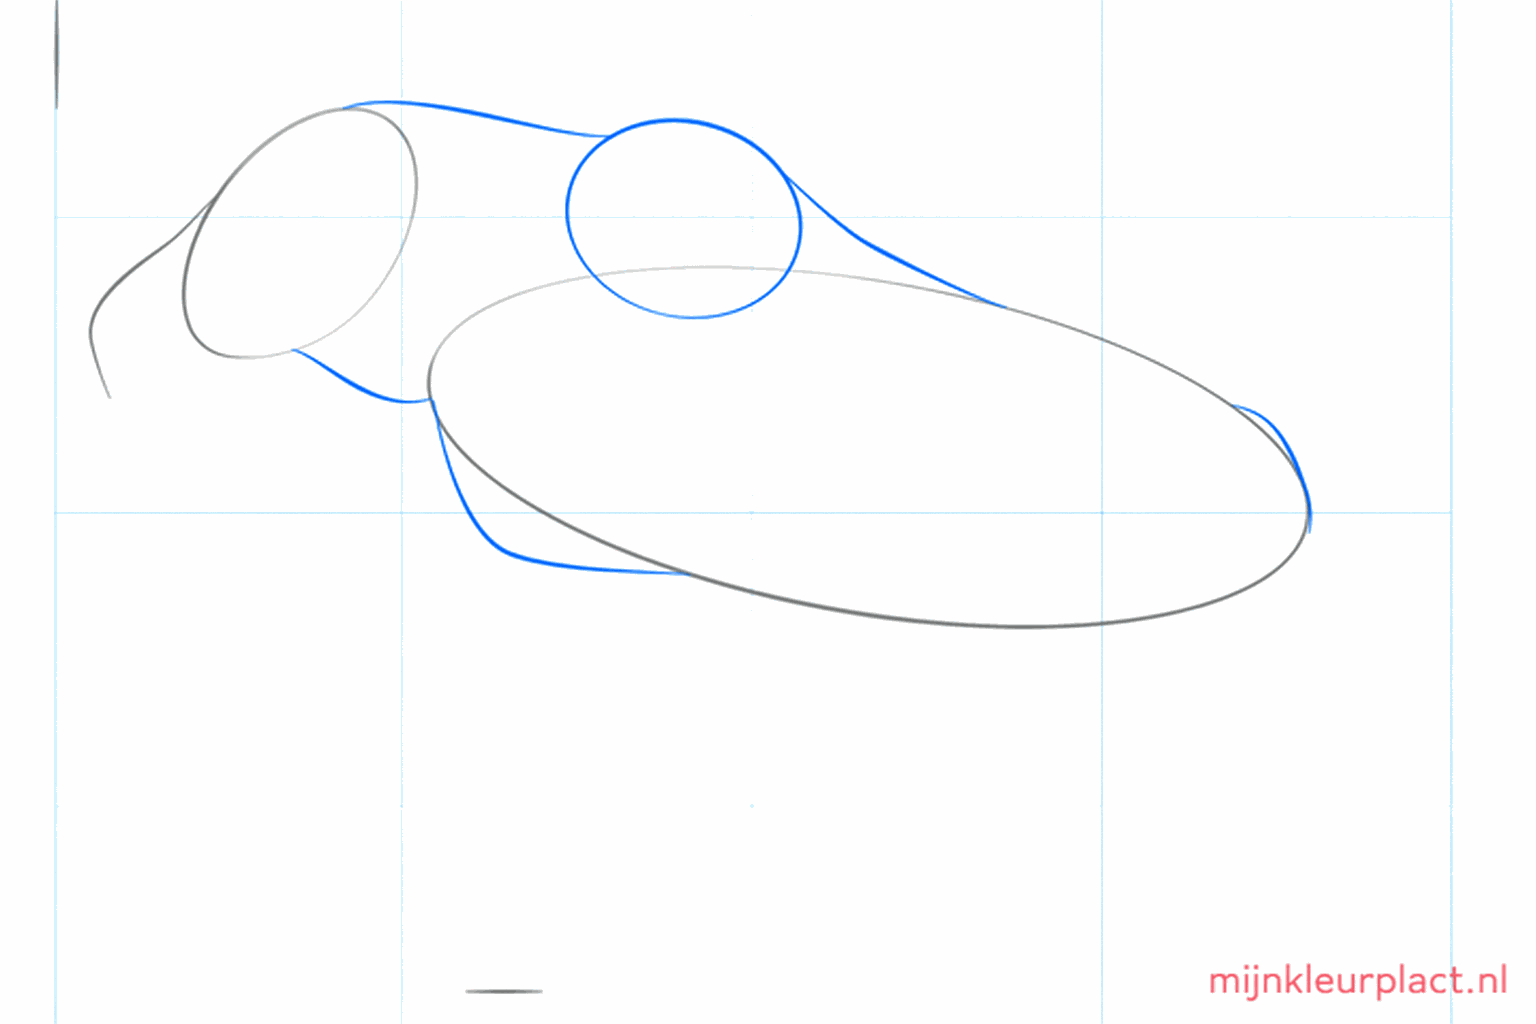
Draw straight lines downwards for the legs and draw a circle at the snout.
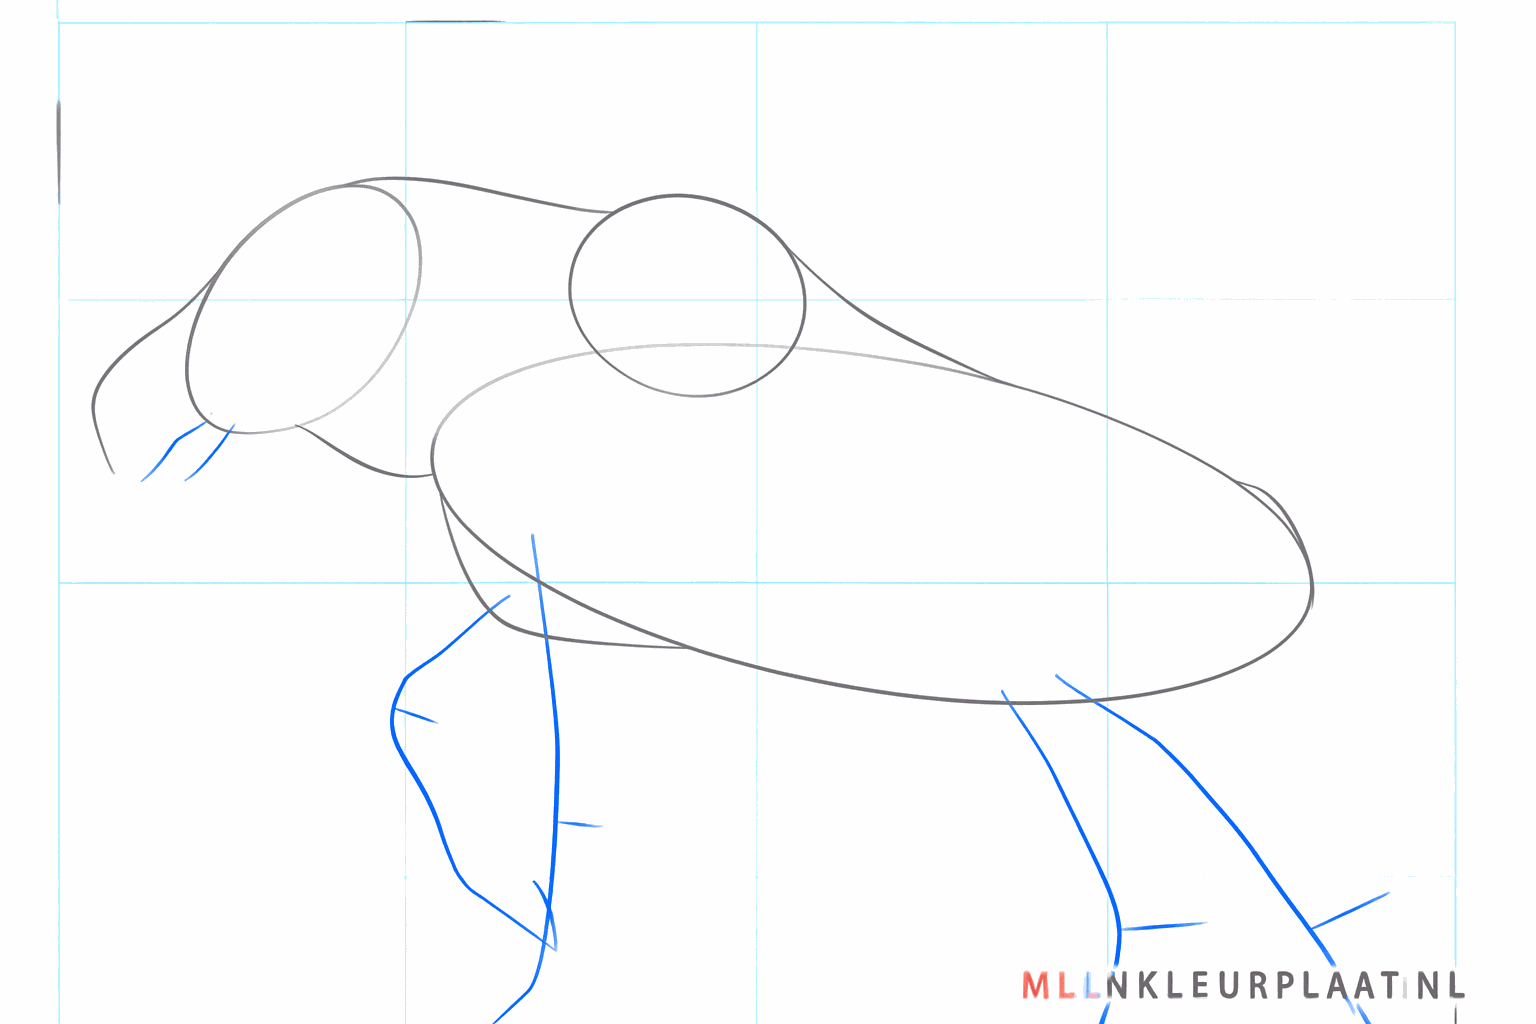
Make the legs thicker and draw the ears on top of the moose's head.
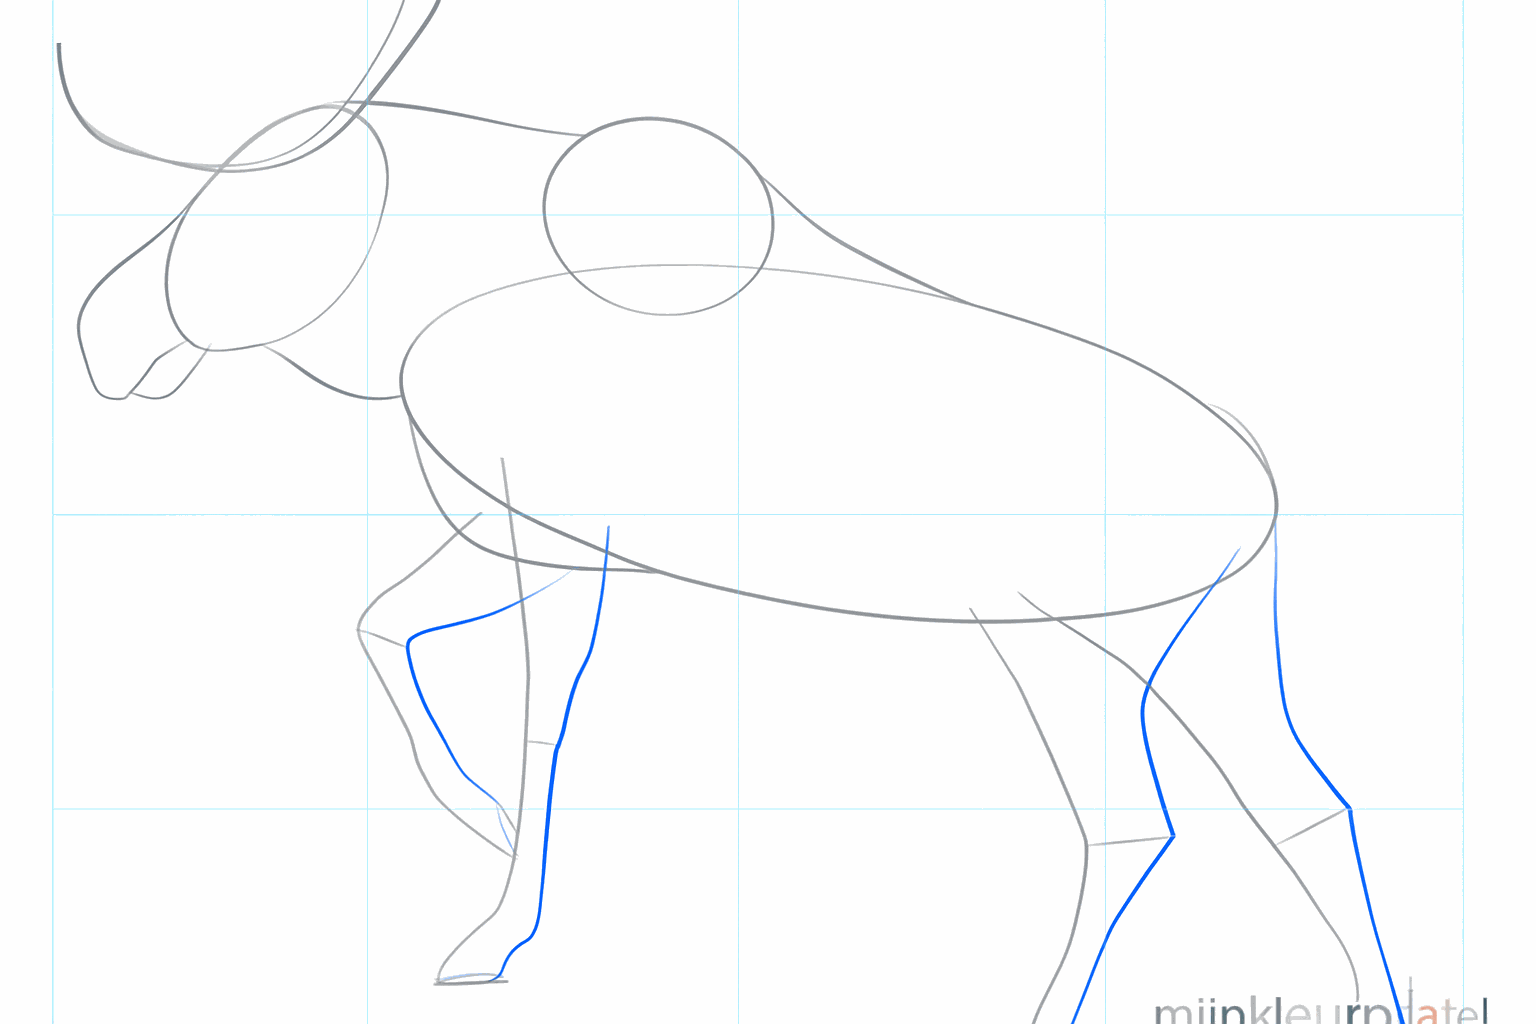
Draw two large curved lines on the head where the antlers will go later.
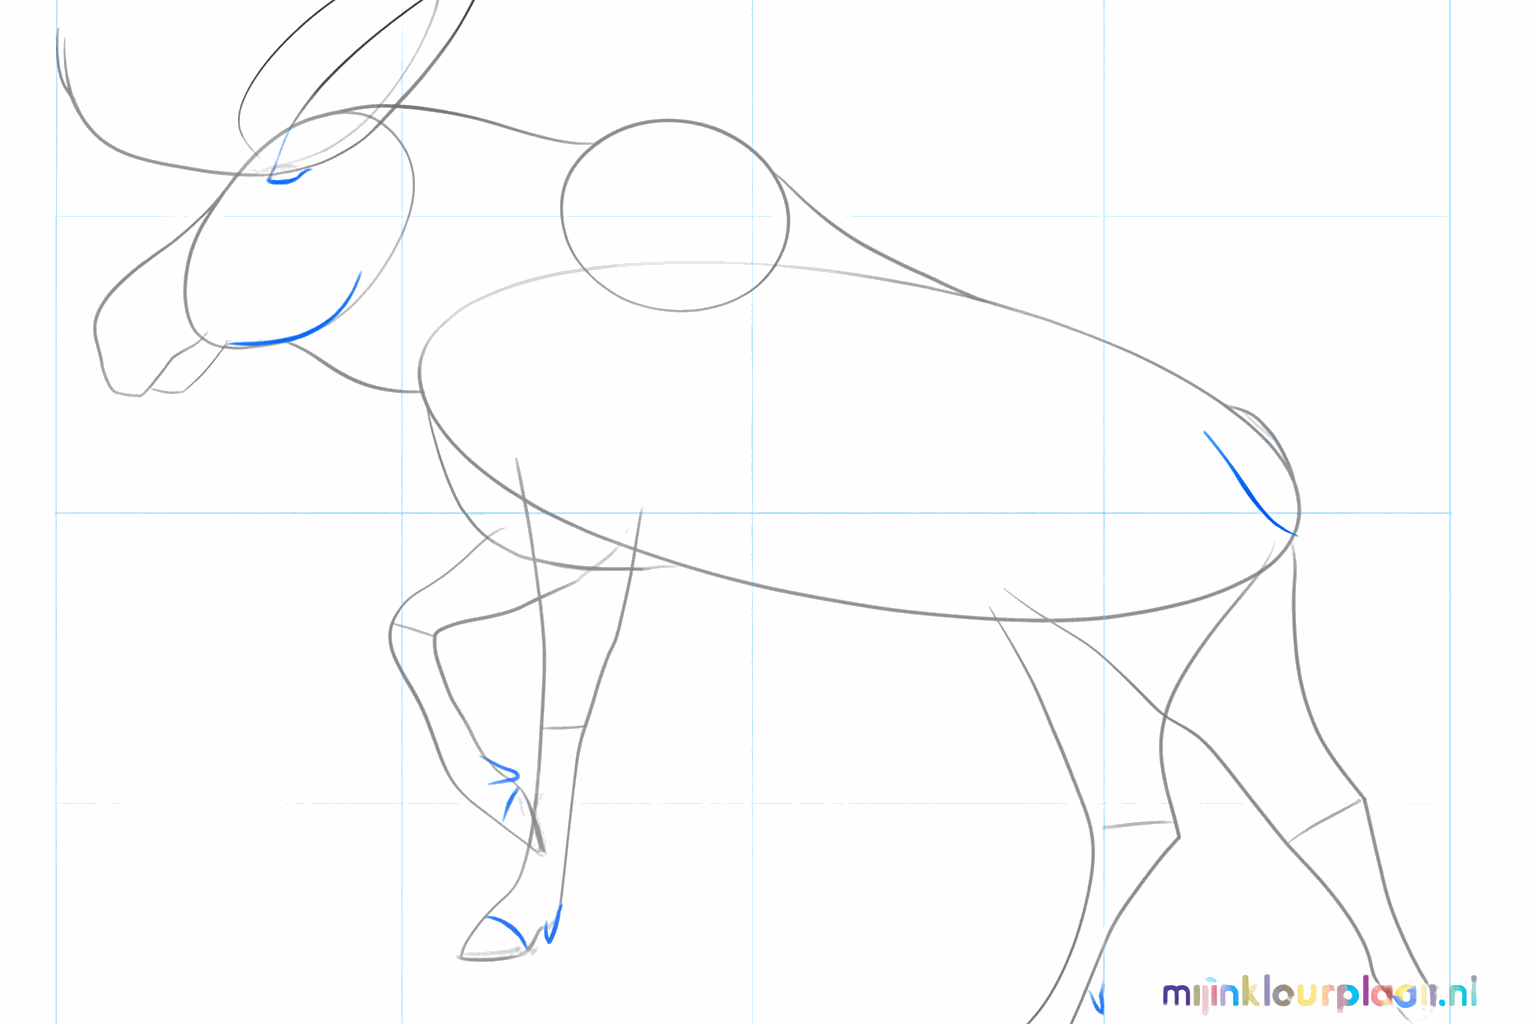
Make the shape of the antlers wider and give the snout and back more detail.
Draw small points on the antlers and add the eye, nose, and a small beard.
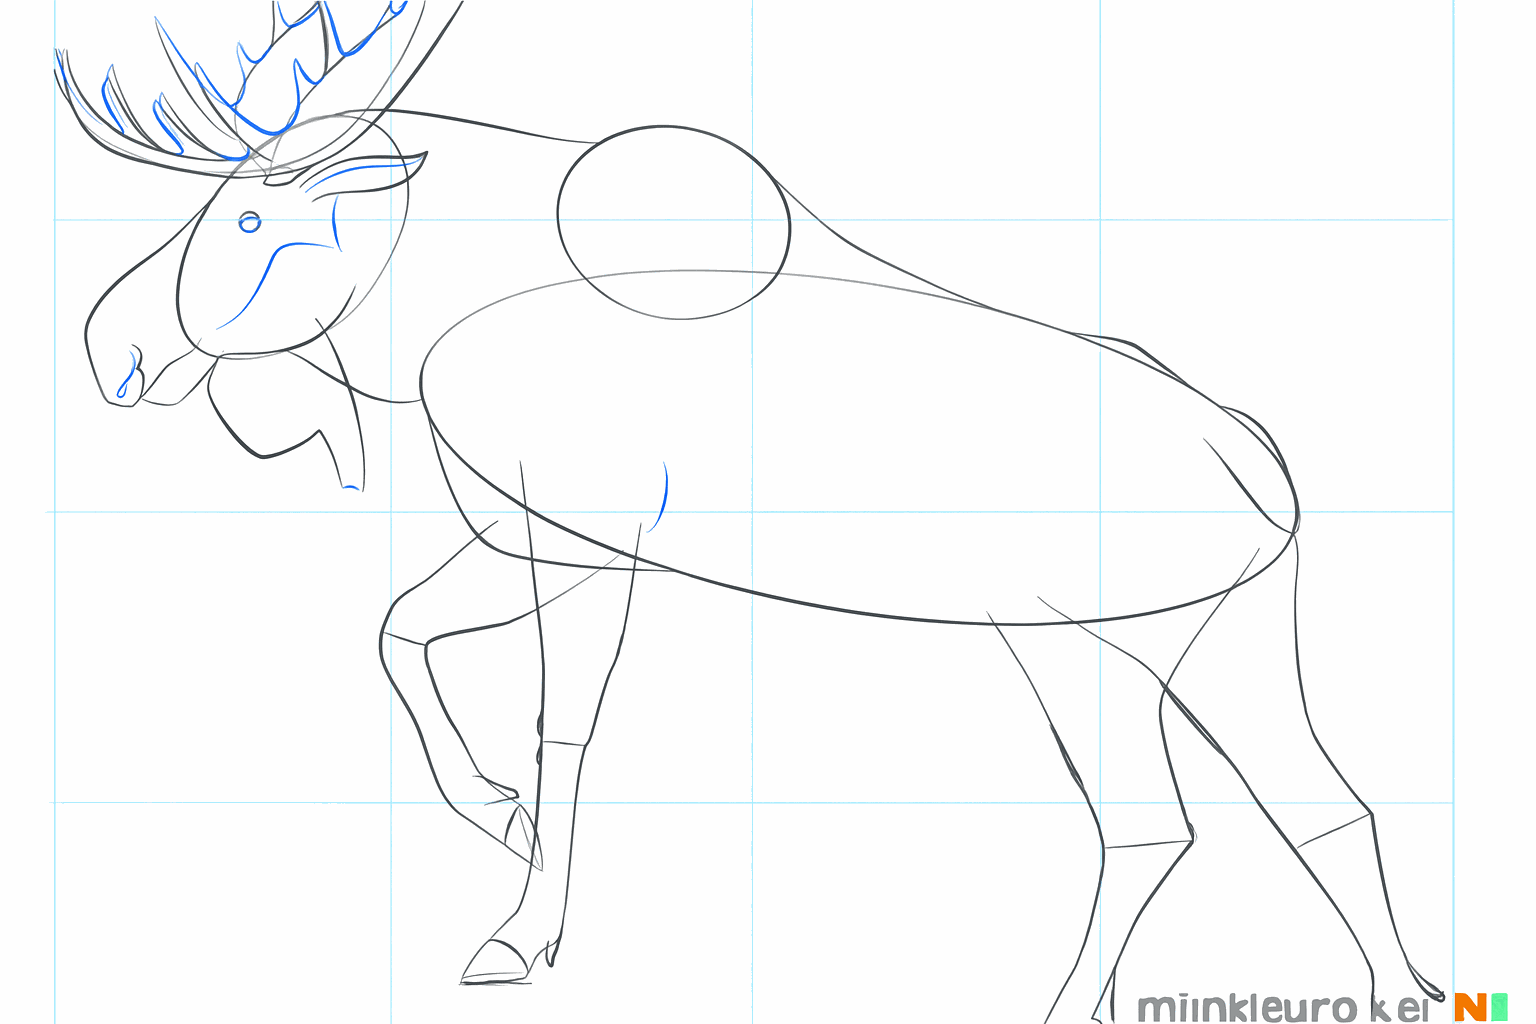
Draw extra lines in the antlers and on the legs to really bring the moose to life.
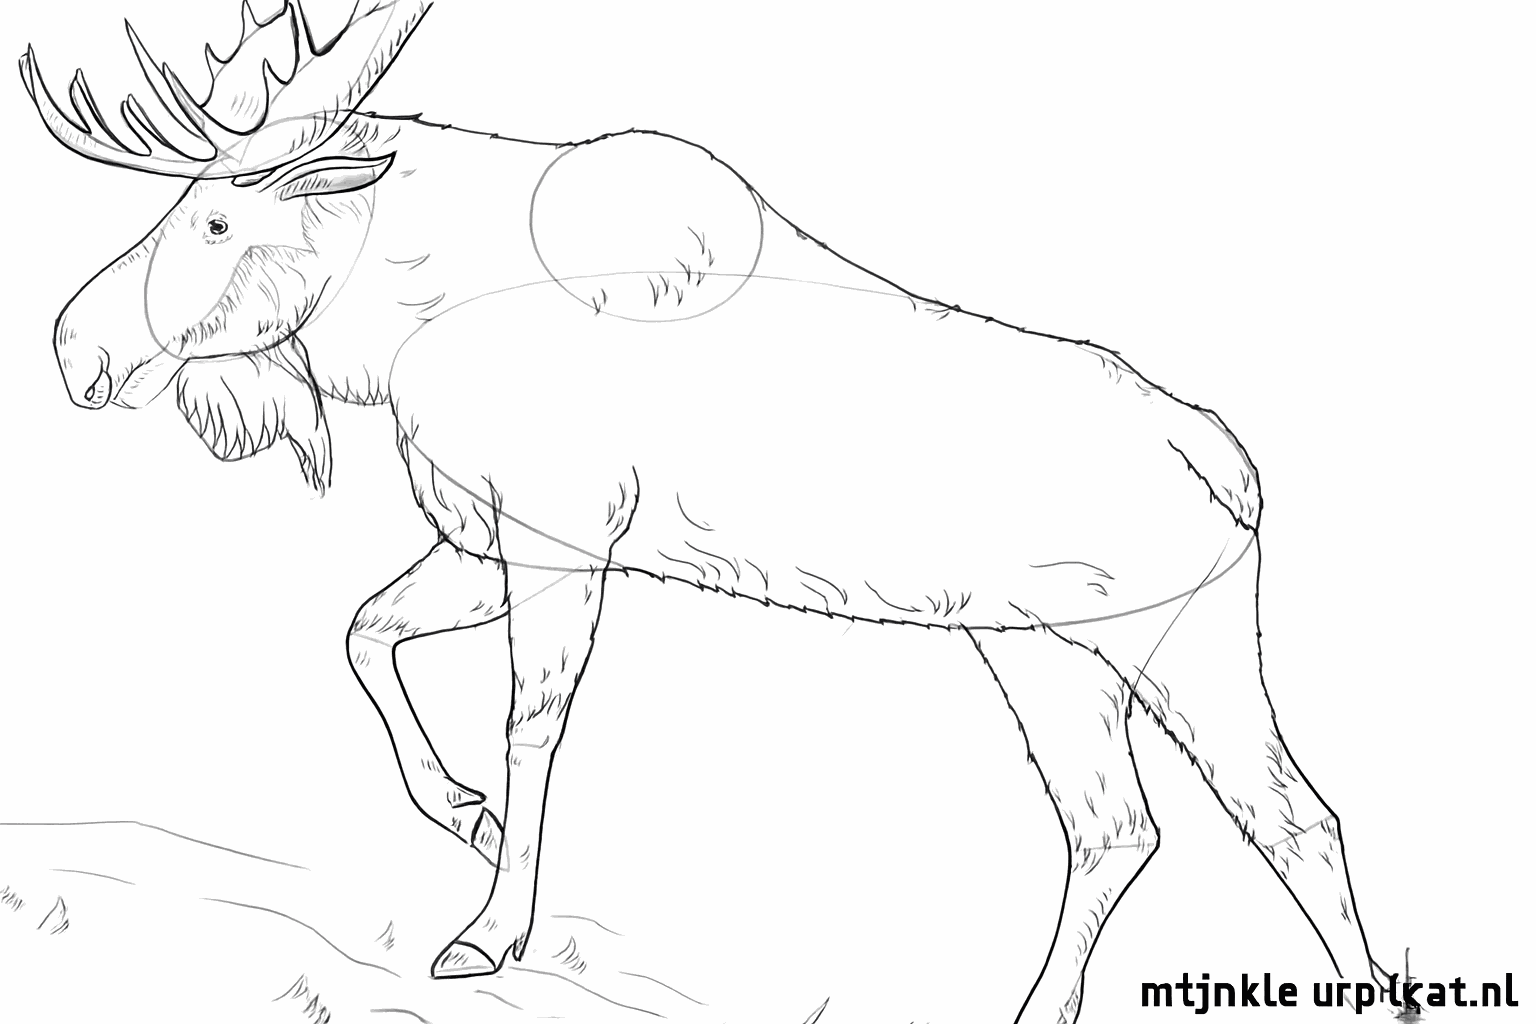
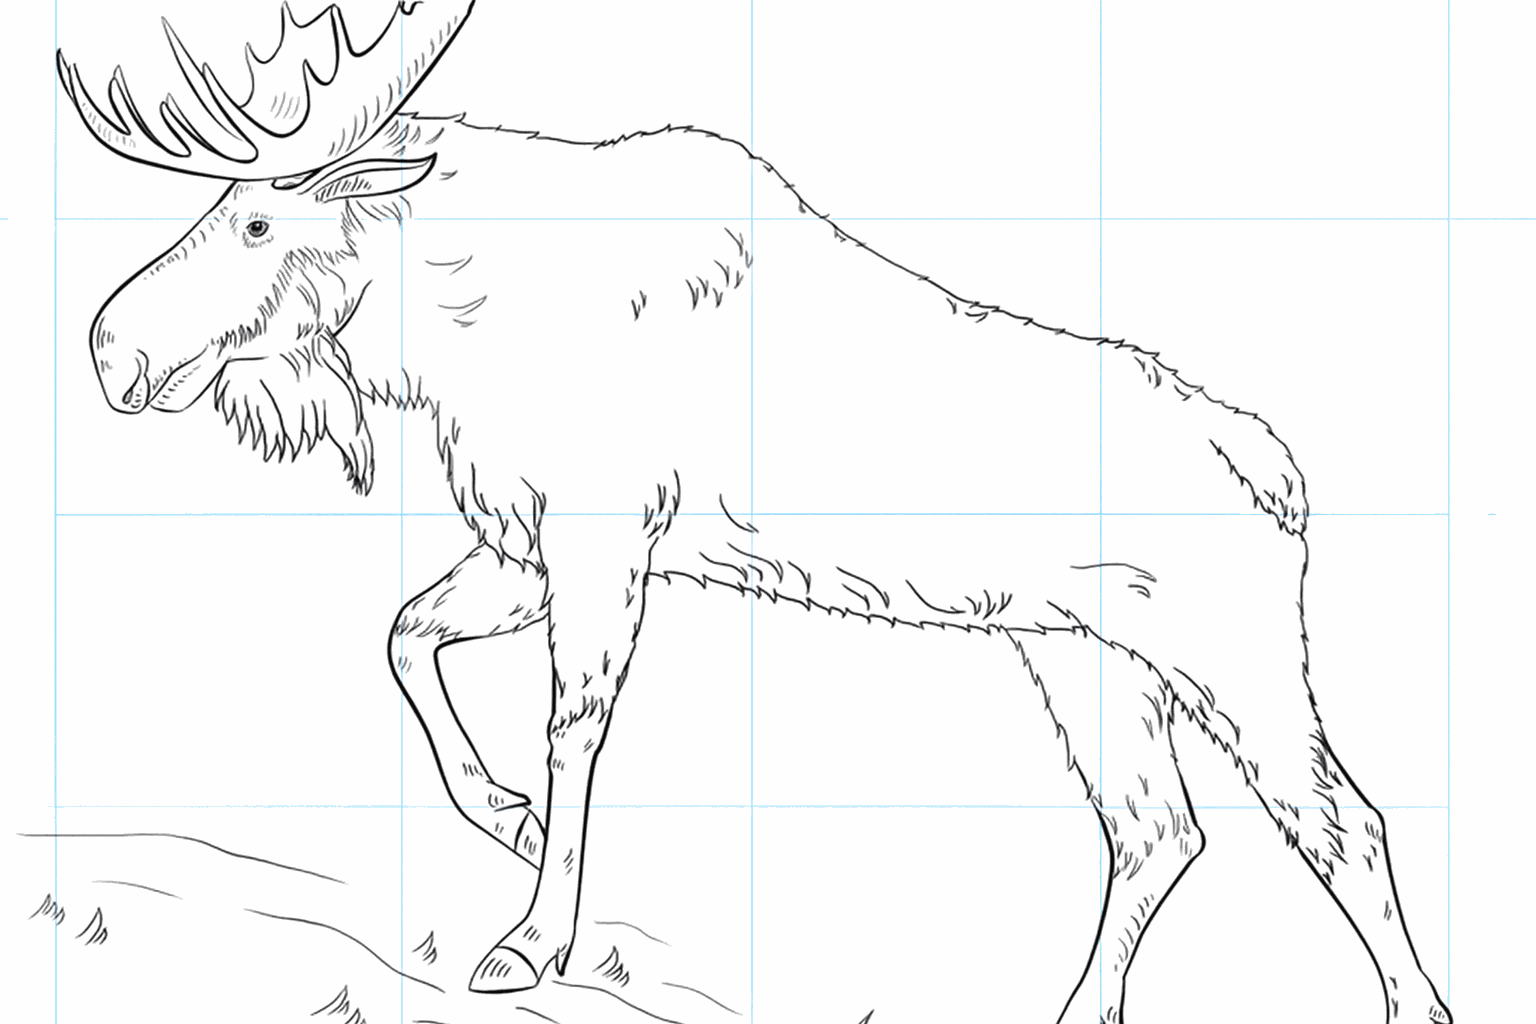
Make the outer lines dark, erase the guide lines, and draw a little grass under the hooves.
Frequently asked questions
What shapes do I need for a moose?
How do I draw those large antlers?
Is drawing a moose difficult?
What should I do if a line goes wrong?
Coloring pages of moose
View all moose coloring pagesRelated drawing lessons