How to draw a ladybug?
Learn step by step how to draw a ladybug. Follow the 8 steps and print the tutorial.
1
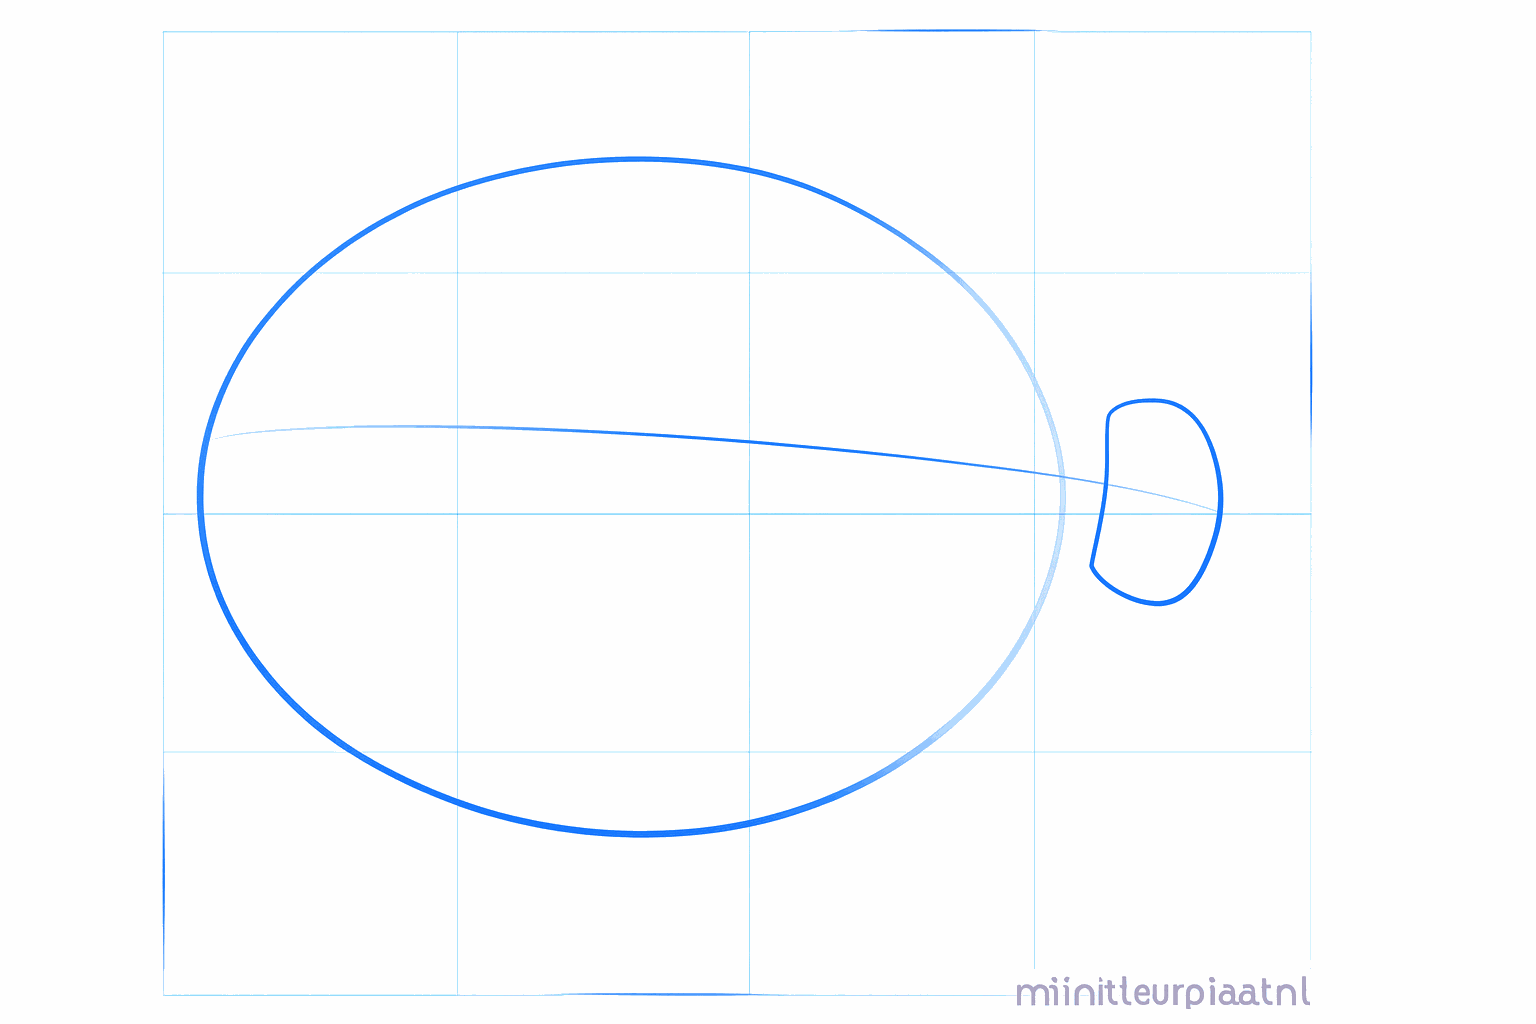
Draw a large horizontal oval for the body and a smaller circle for the head.
2
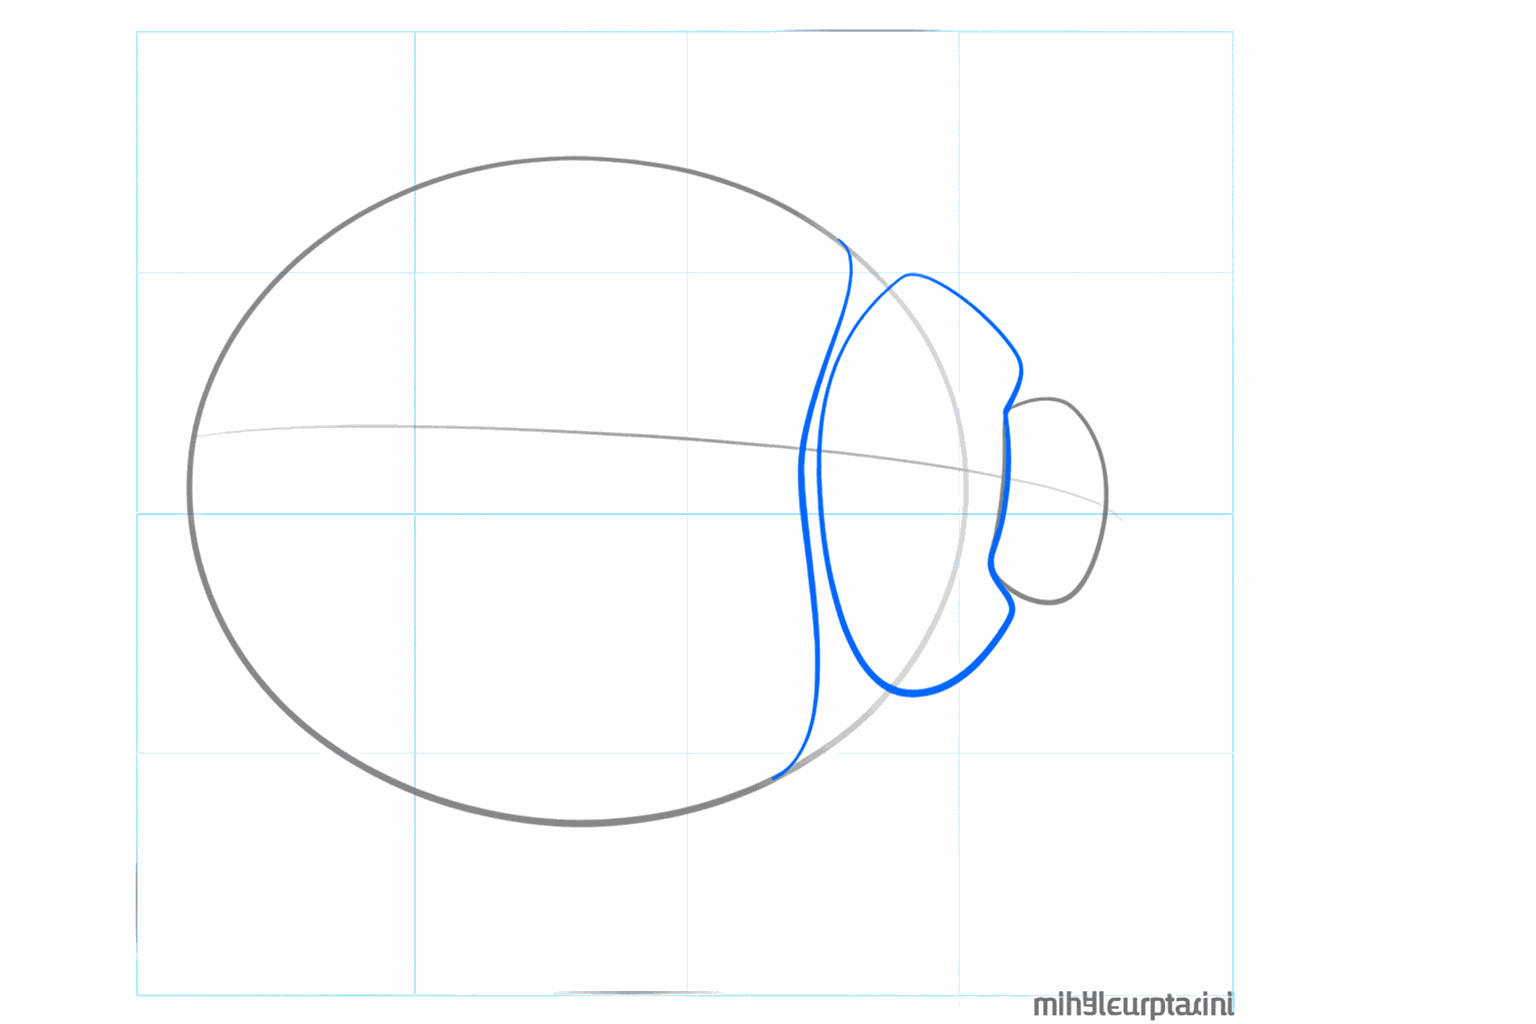
Draw a straight line exactly through the middle of the large oval to divide the wings.
3
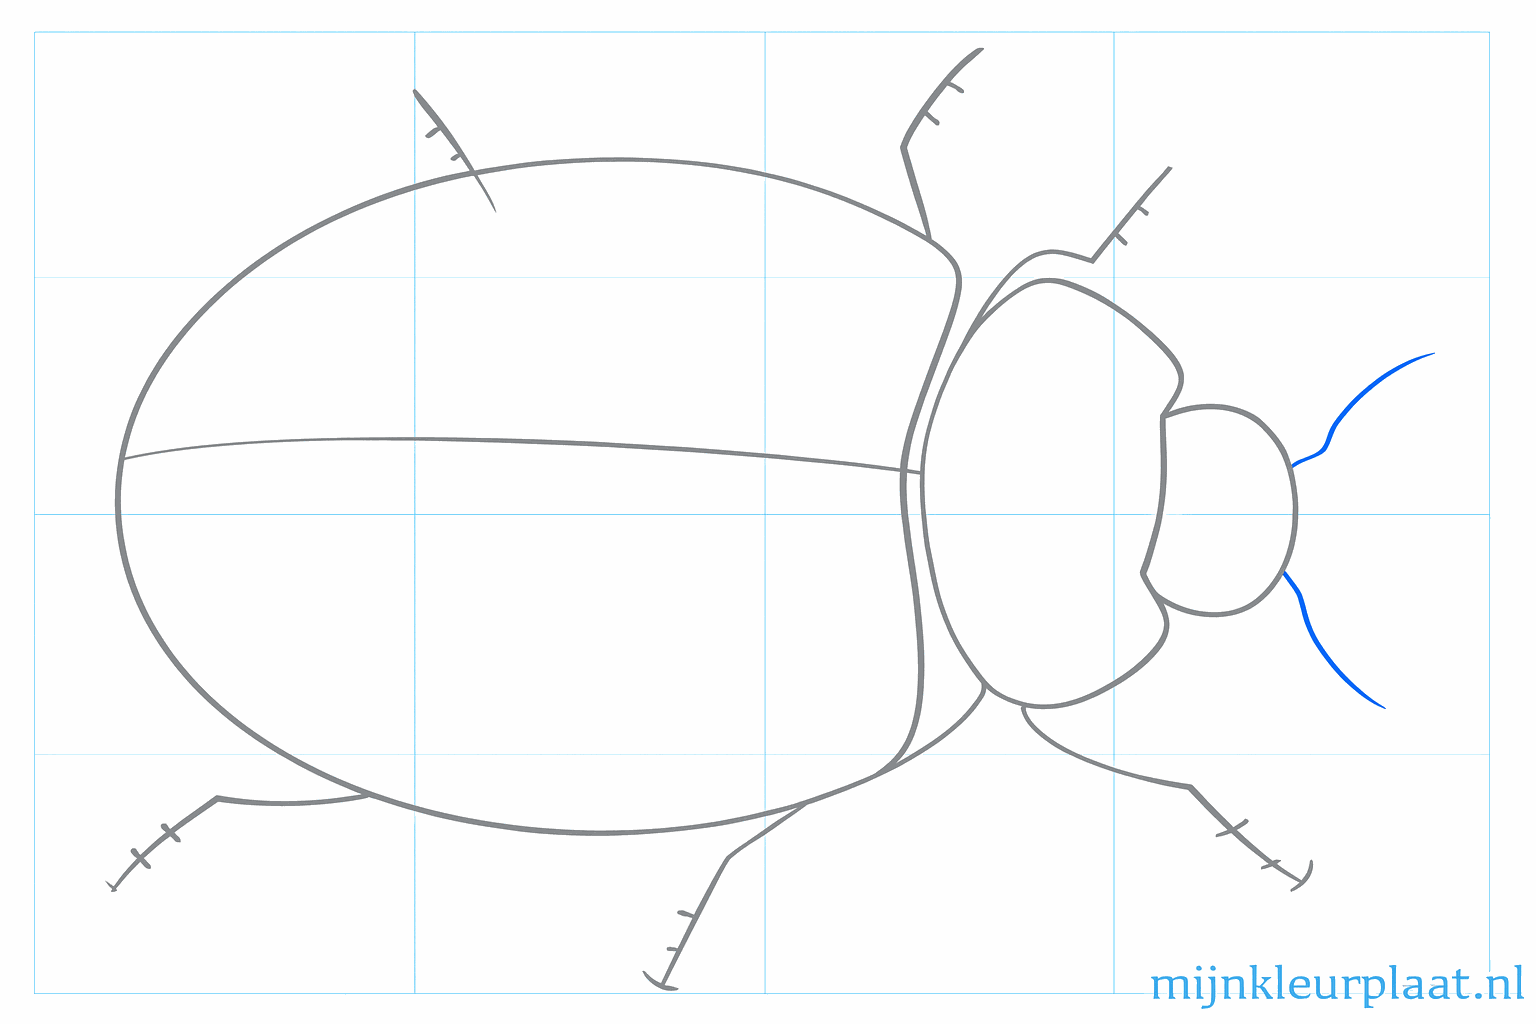
Draw a wide arc between the head and the body to create the neck area.
4
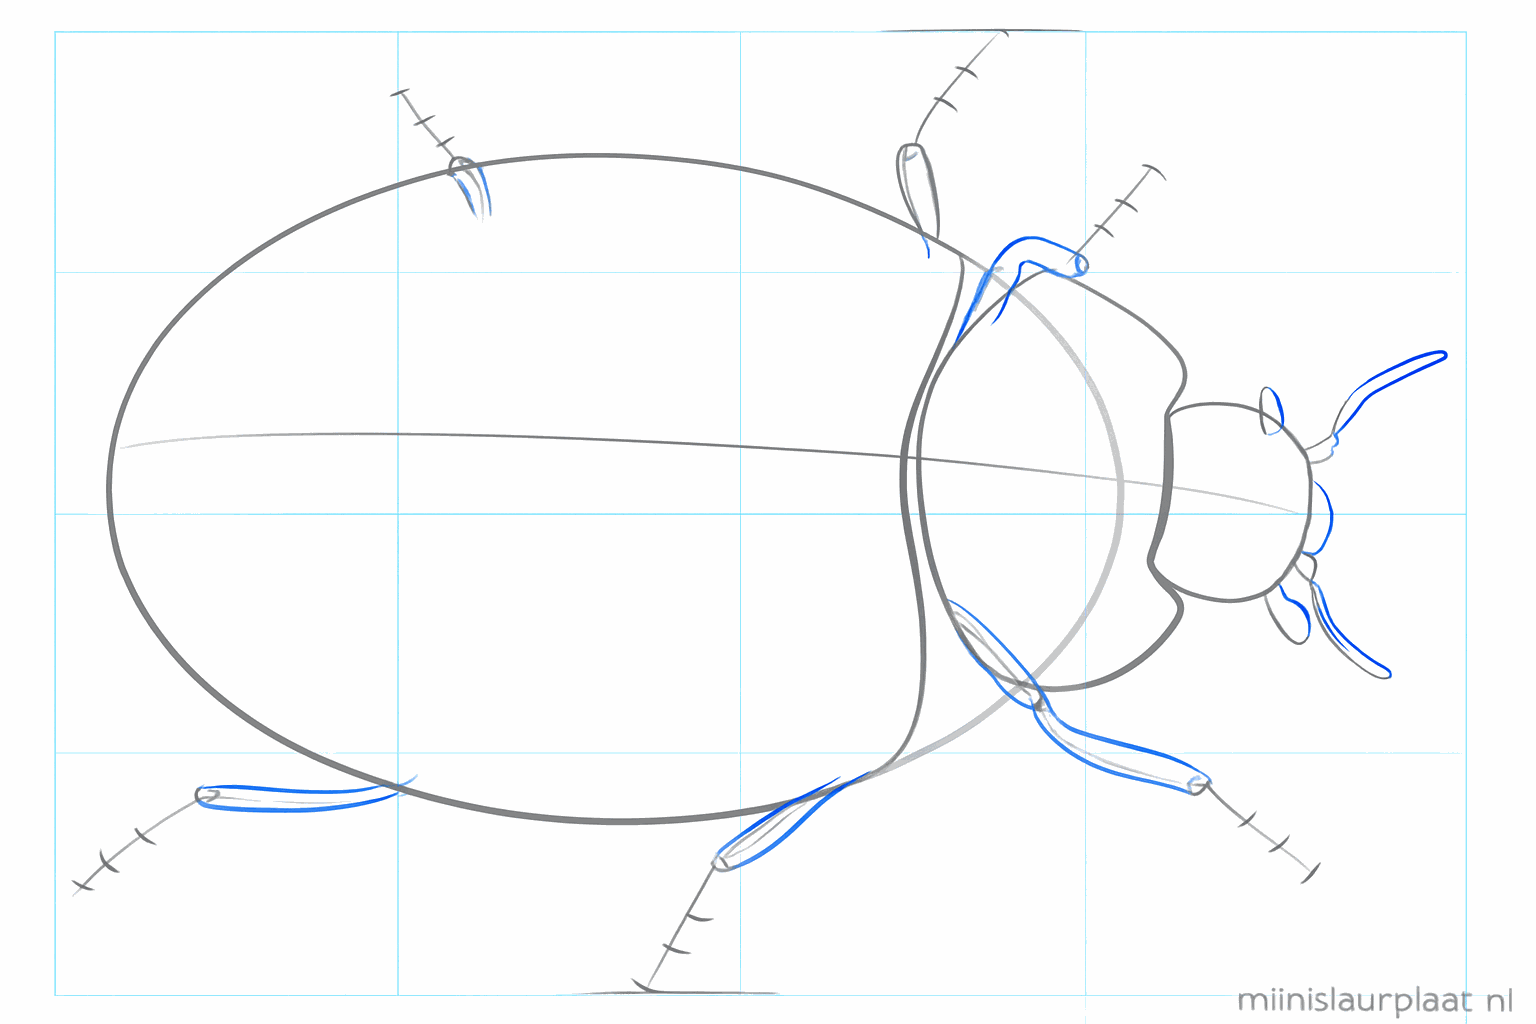
Draw three thin lines on both sides for the legs and two short antennae on the head.
5
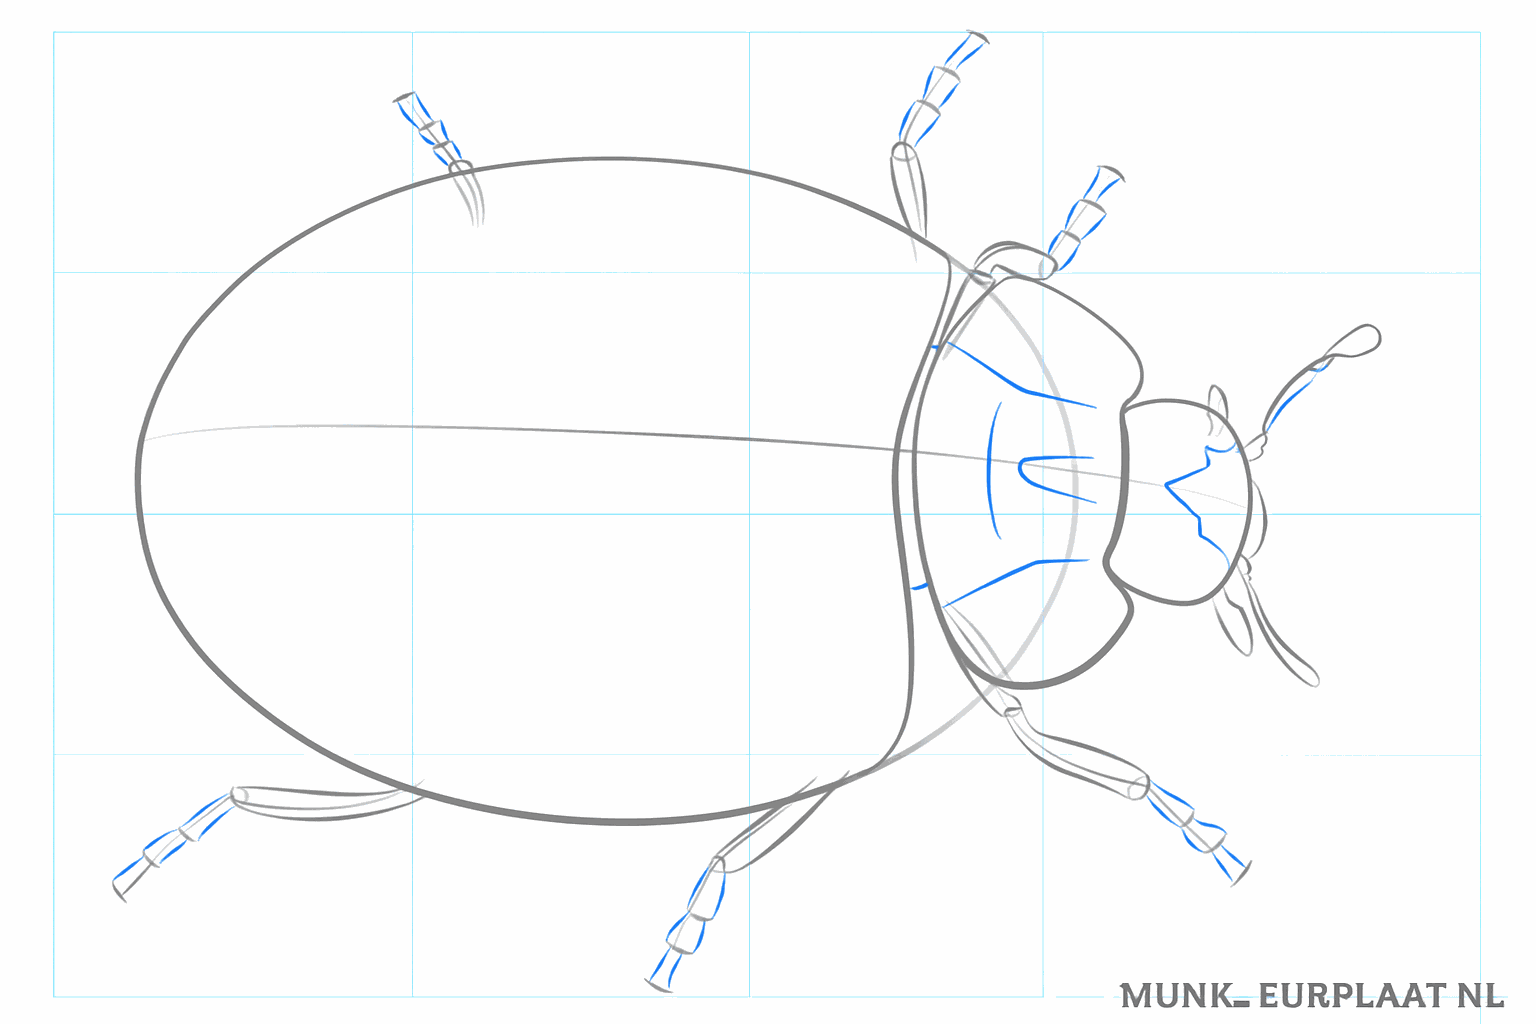
Now make the legs and antennae a bit thicker by drawing small rectangles around them.
6
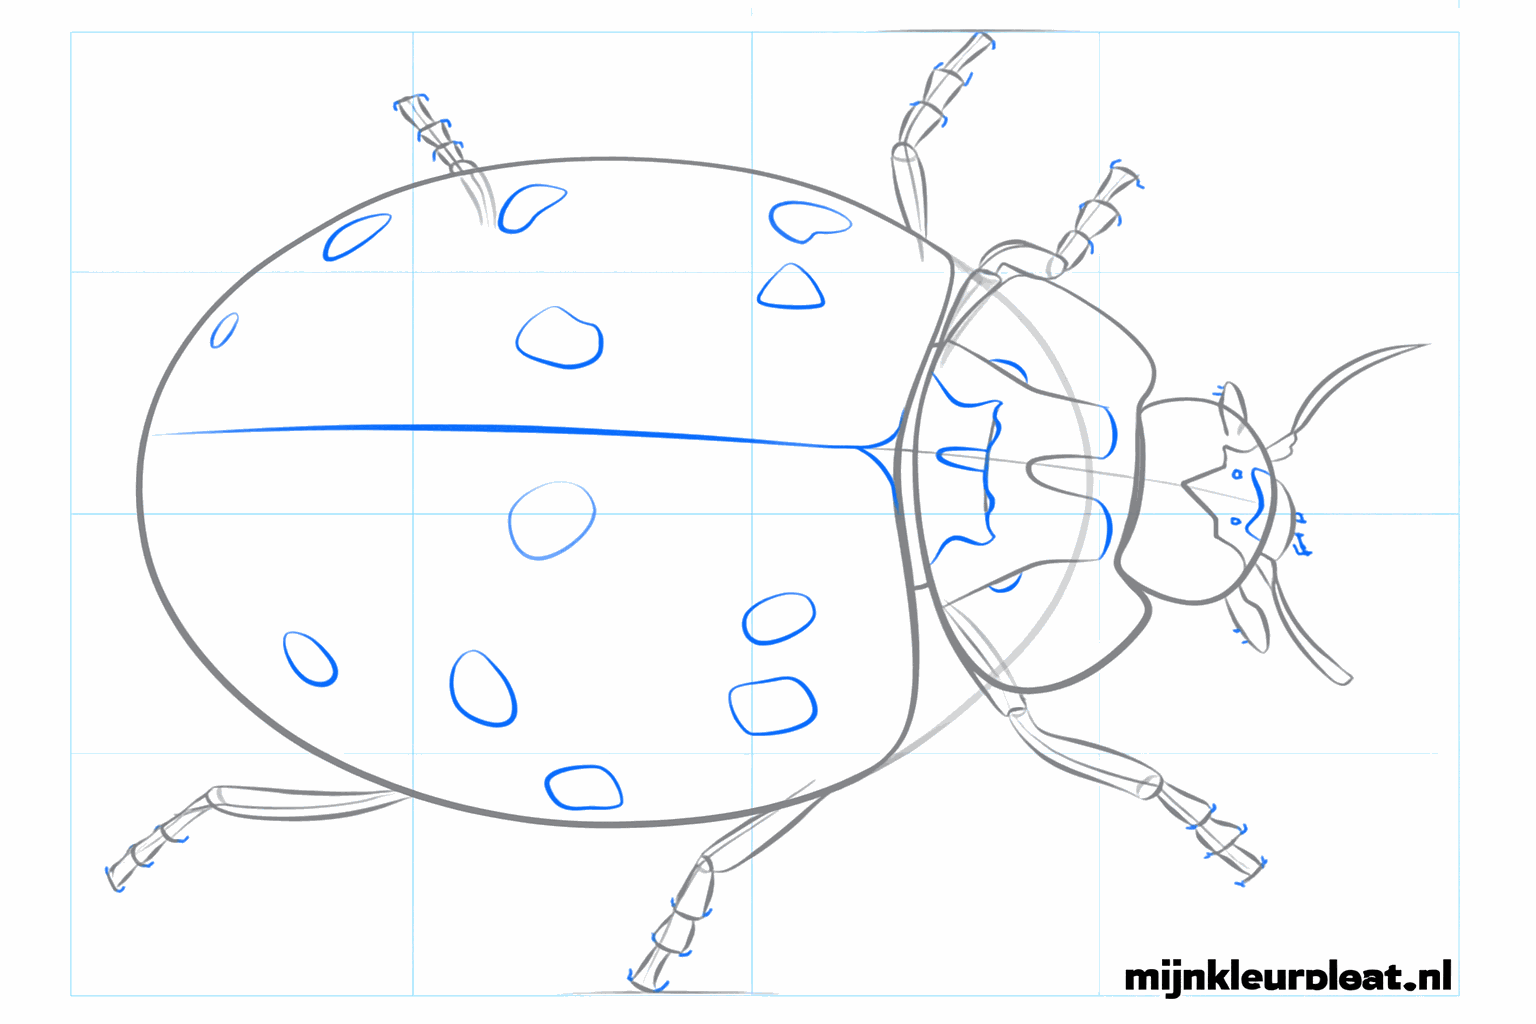
Give the head two small eyes and make the shape of the shell nice and round.
7
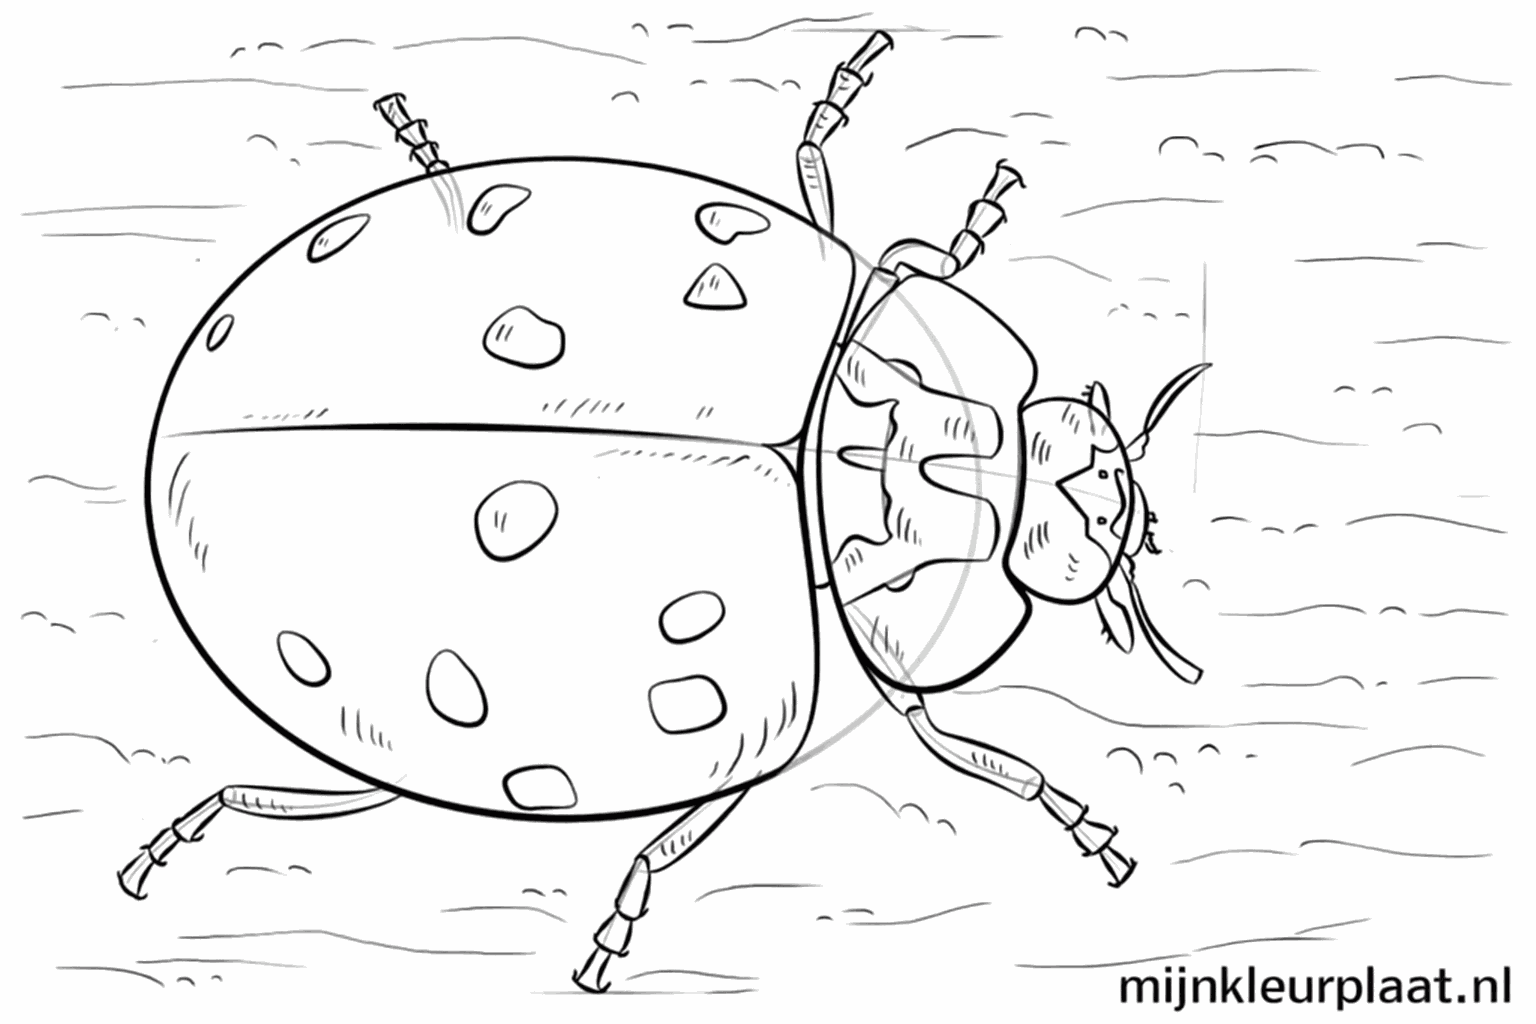
Now draw the famous black spots on the wings and add small details to the legs.
8
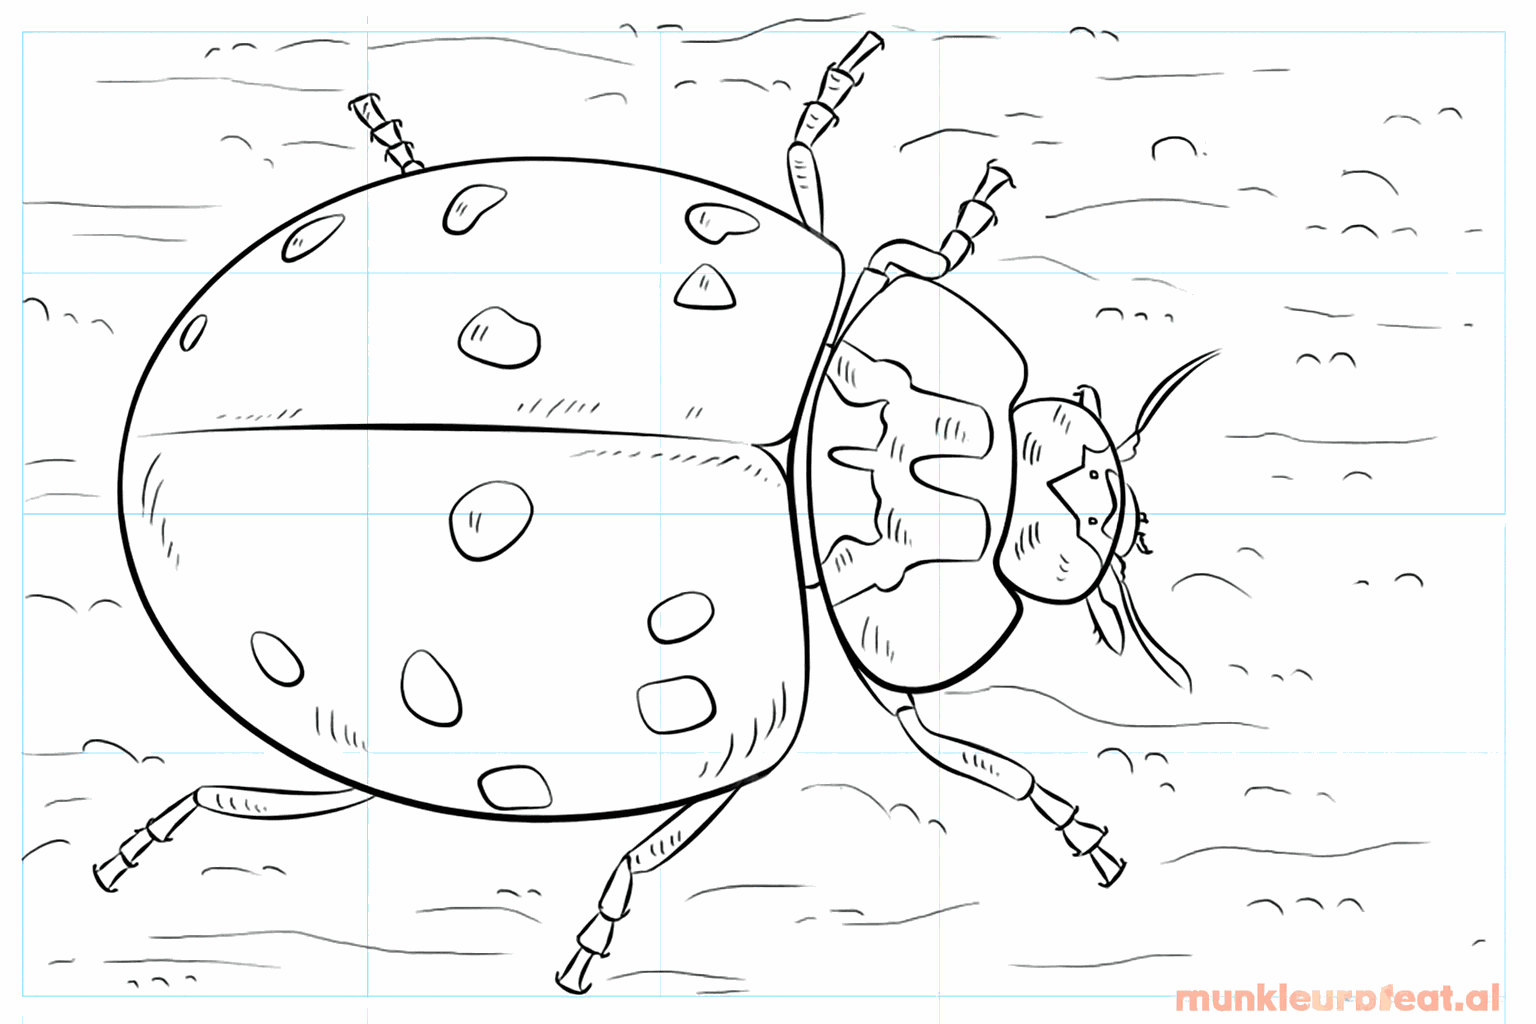
Erase the guide lines and color your ladybug beautifully red with black spots.