How to draw a kingfisher 2?
Learn step by step how to draw a kingfisher 2. Follow the 8 steps and print the tutorial.
Learn how to draw a beautiful kingfisher with these simple steps. Grab your pencil and create your own colorful water bird!
Intro
Hi little artist! Today we are going to draw a kingfisher, one of the most beautiful birds found near the water. With its long beak and short tail, it looks very cool. Follow the steps and before you know it, there will be a kingfisher on your paper!
Summary
In this drawing lesson, you will learn to create a kingfisher using simple circles and lines. We start with the basics and end with the smallest details like the beak and legs.
Steps
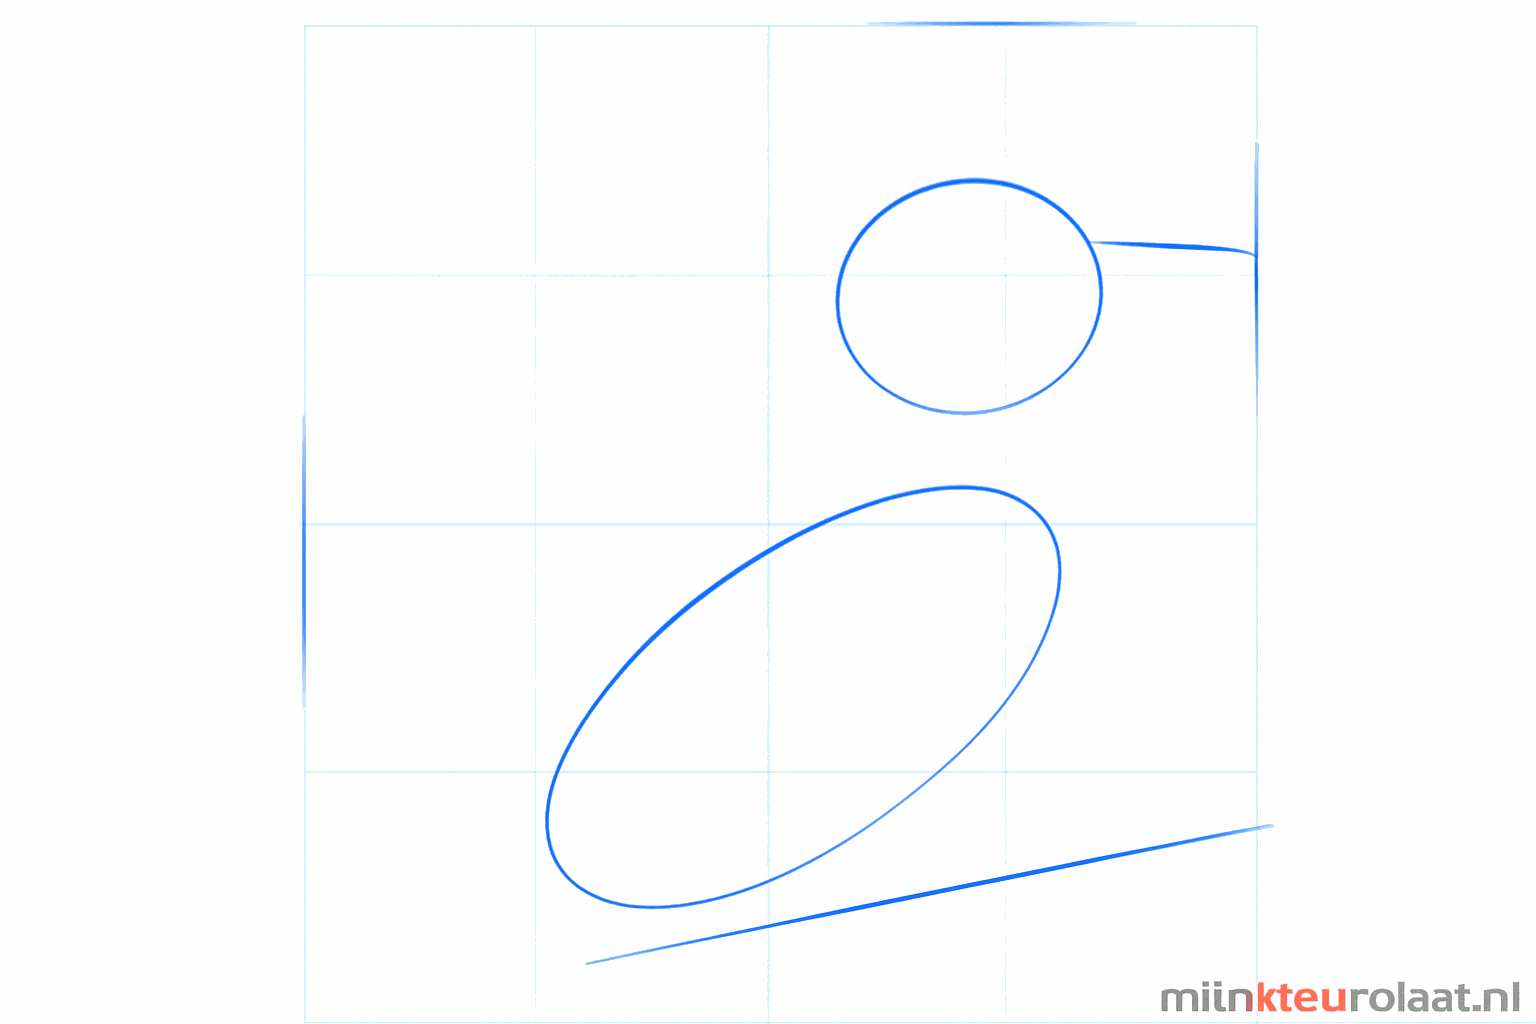
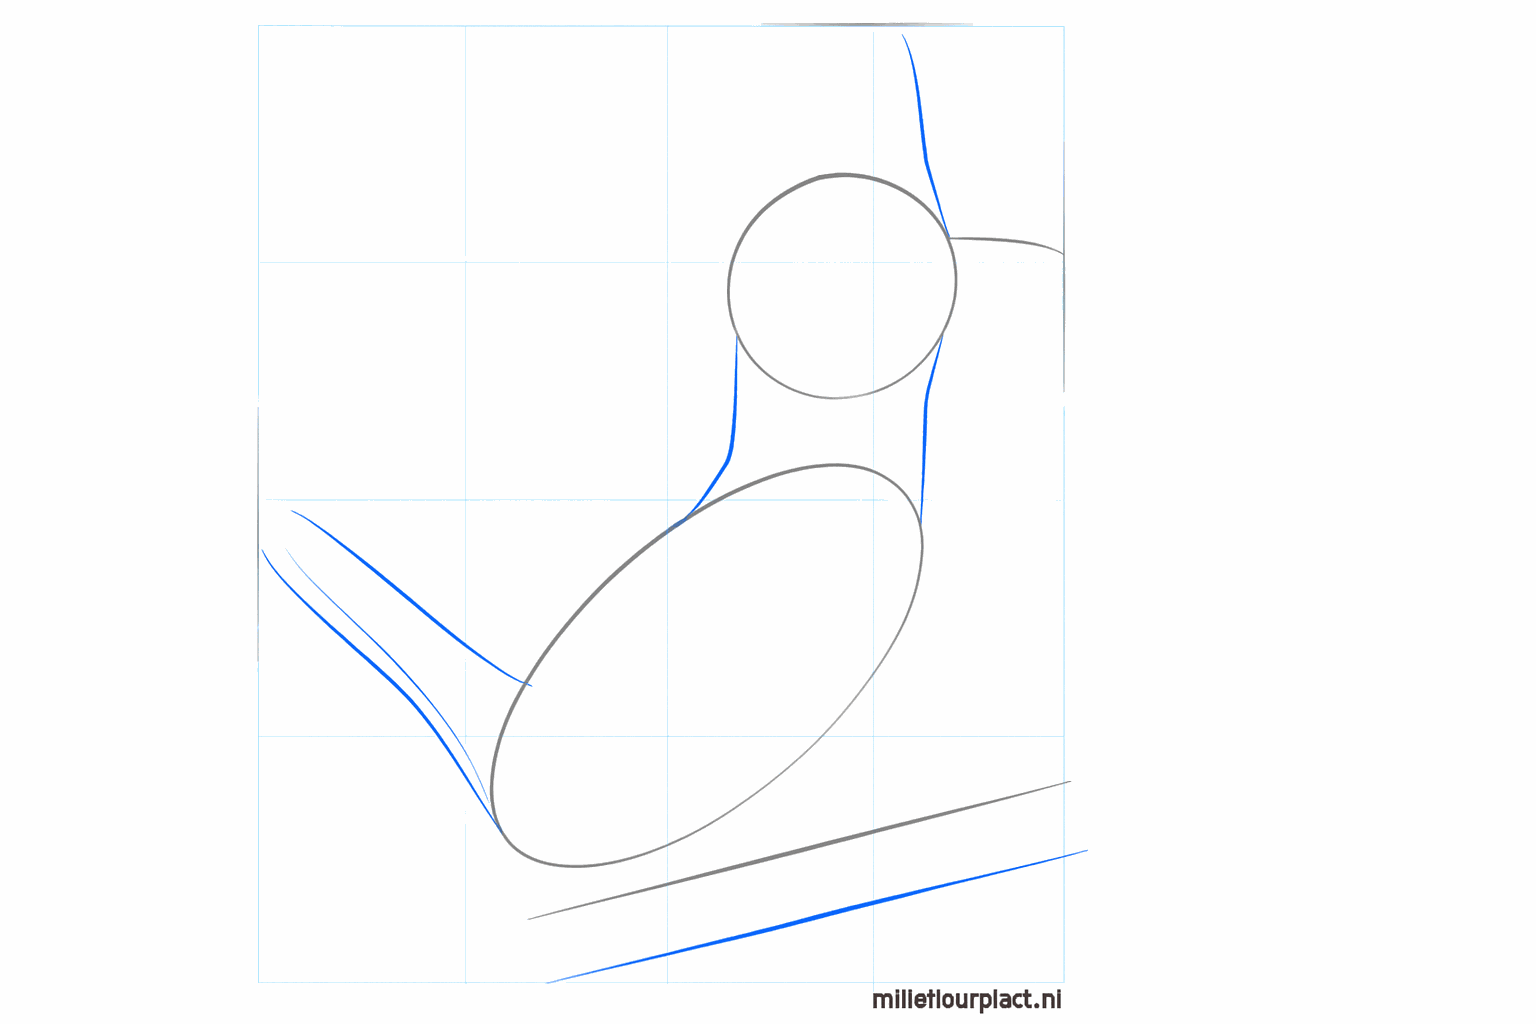
Draw a small circle for the head and a larger oval below it for the body. Also draw a slanted line for the bird to sit on.
Connect the head and the body with two short lines for the neck and draw a small line for the tail.
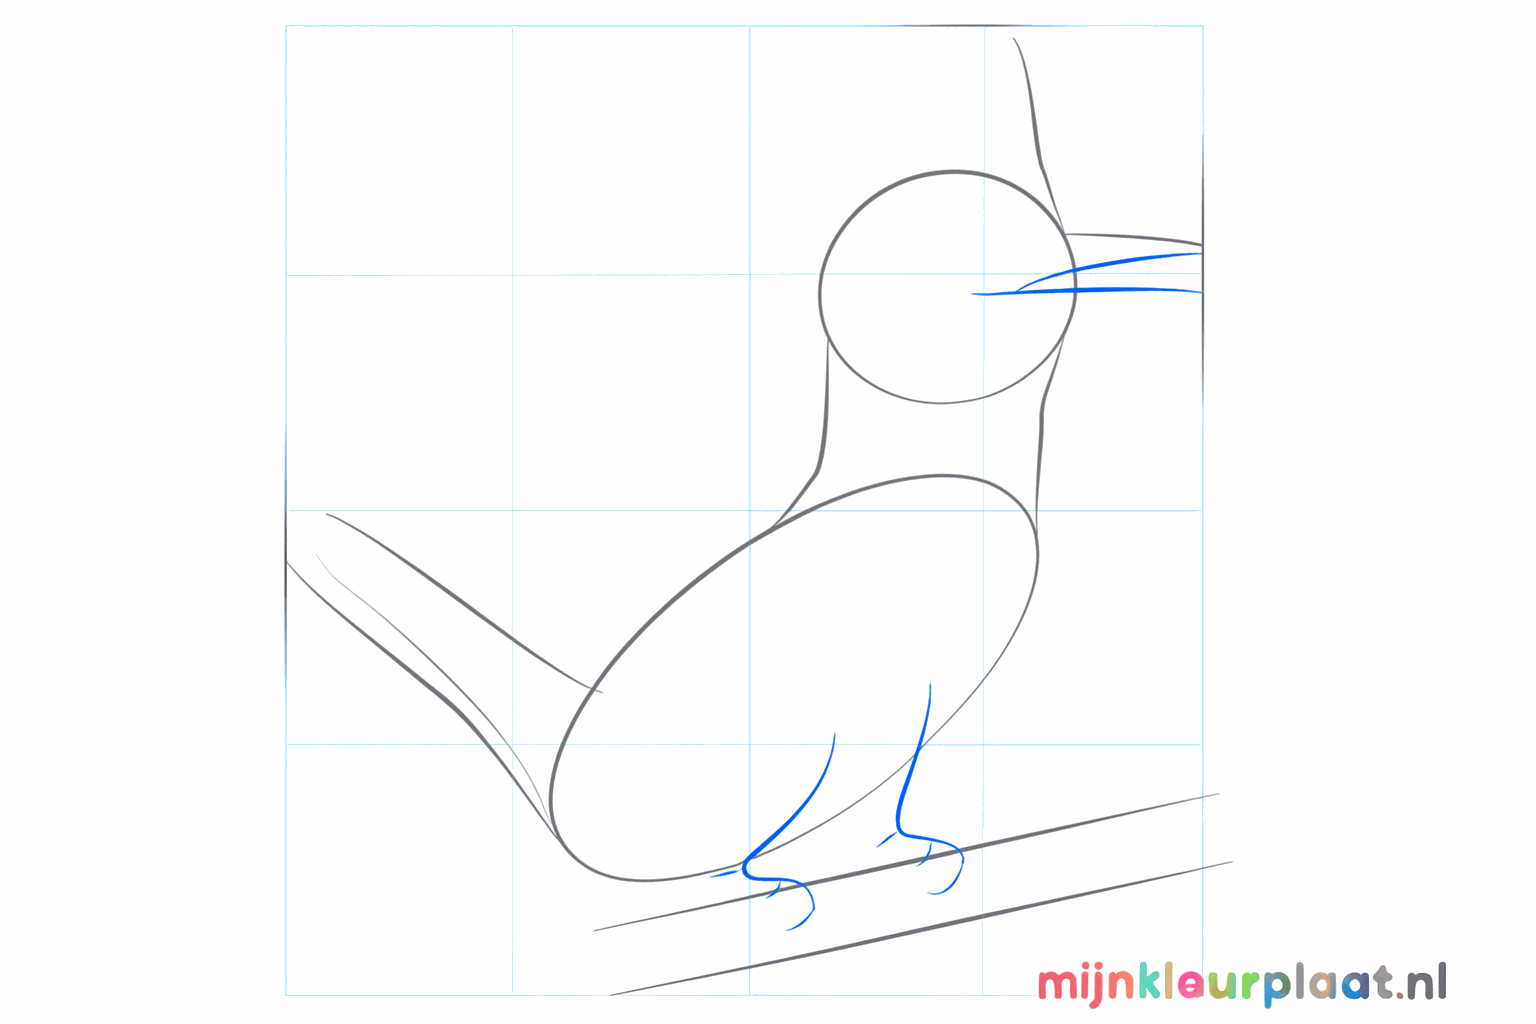
Now make small lines at the bottom of the body where the legs and beak will eventually go.
Draw a large, sharp triangle for the beak and give the wing a nice round shape on the back.
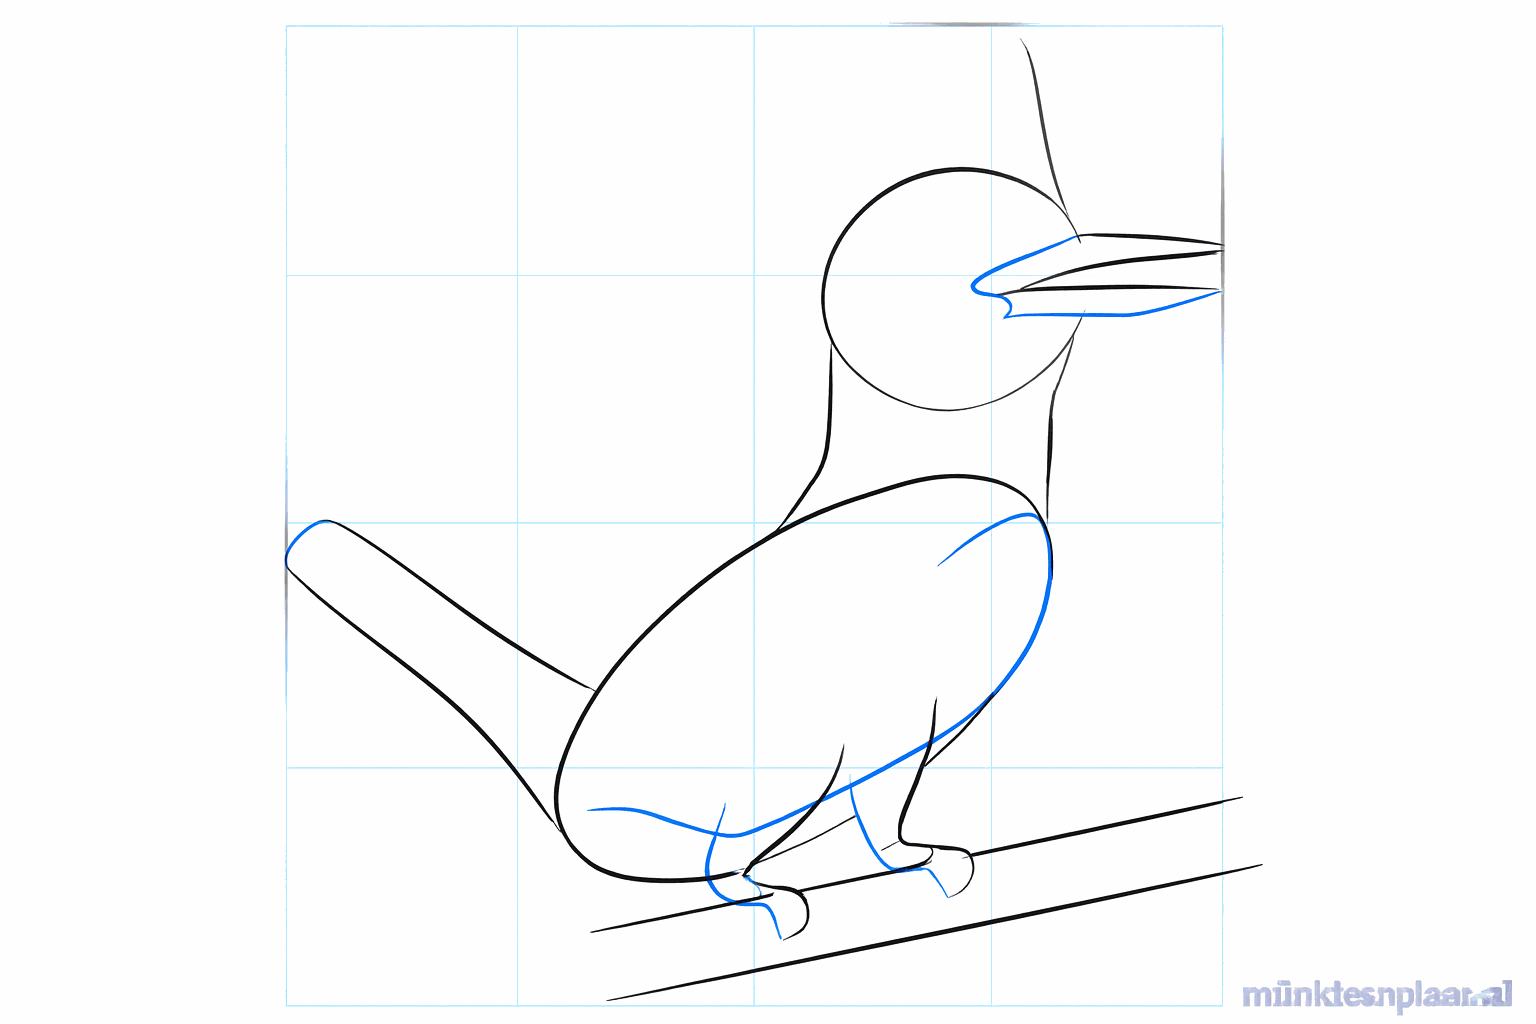
Make the tail a bit wider and draw a small round eye in the head.
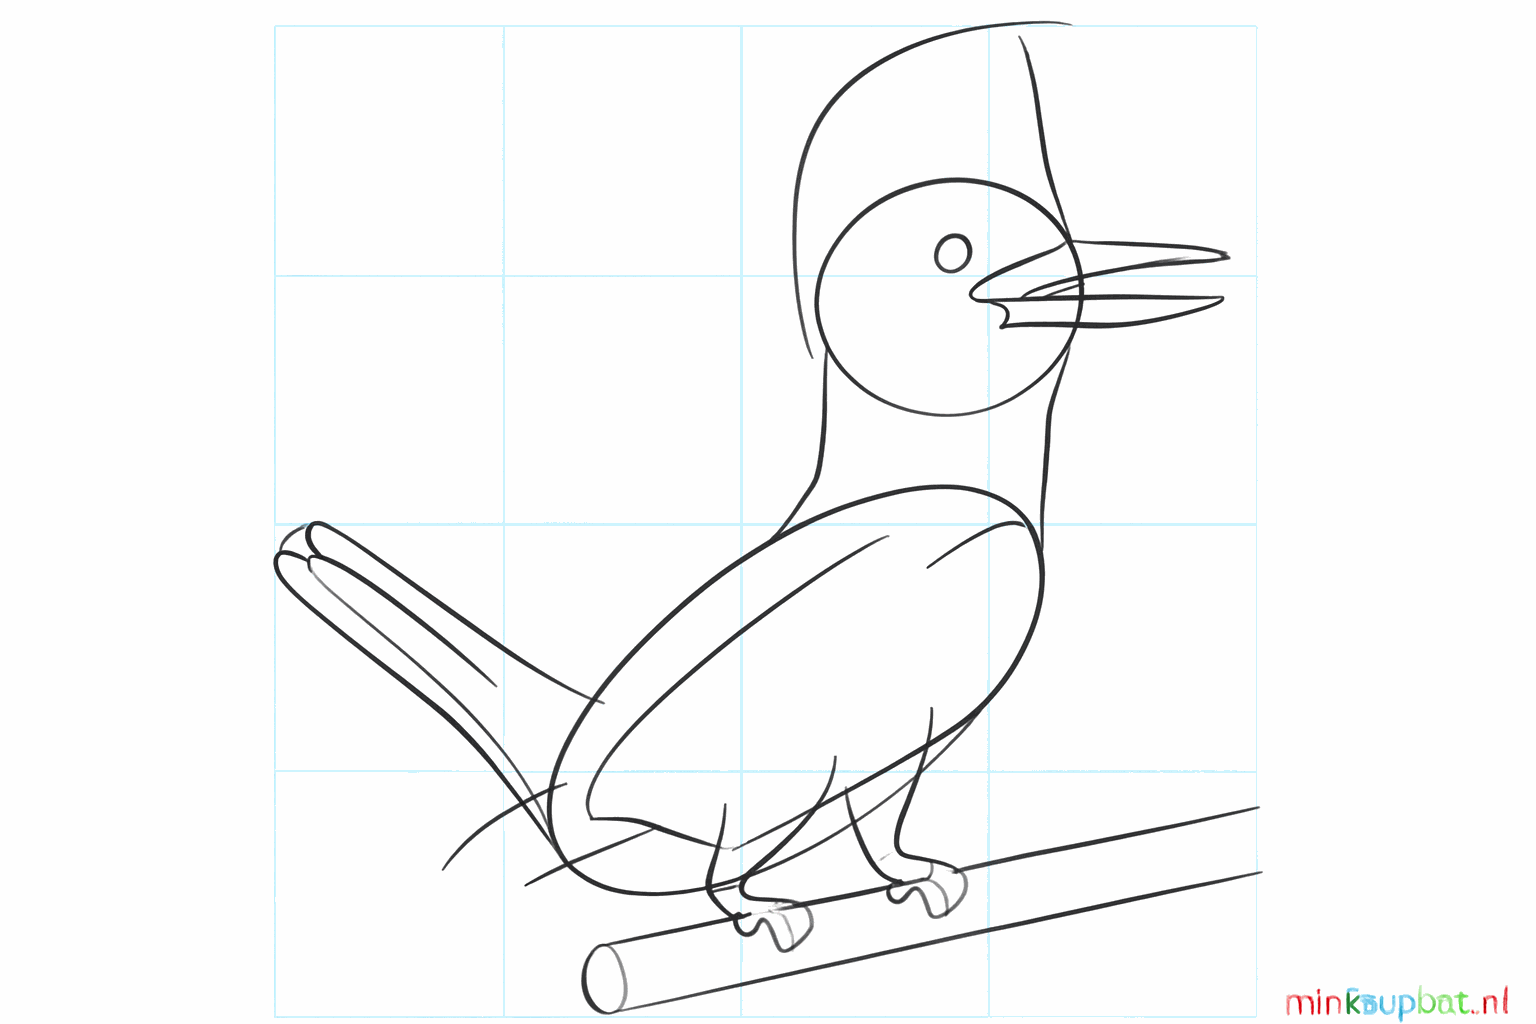
Draw the legs holding onto the branch and add a small crest on the back of the head.
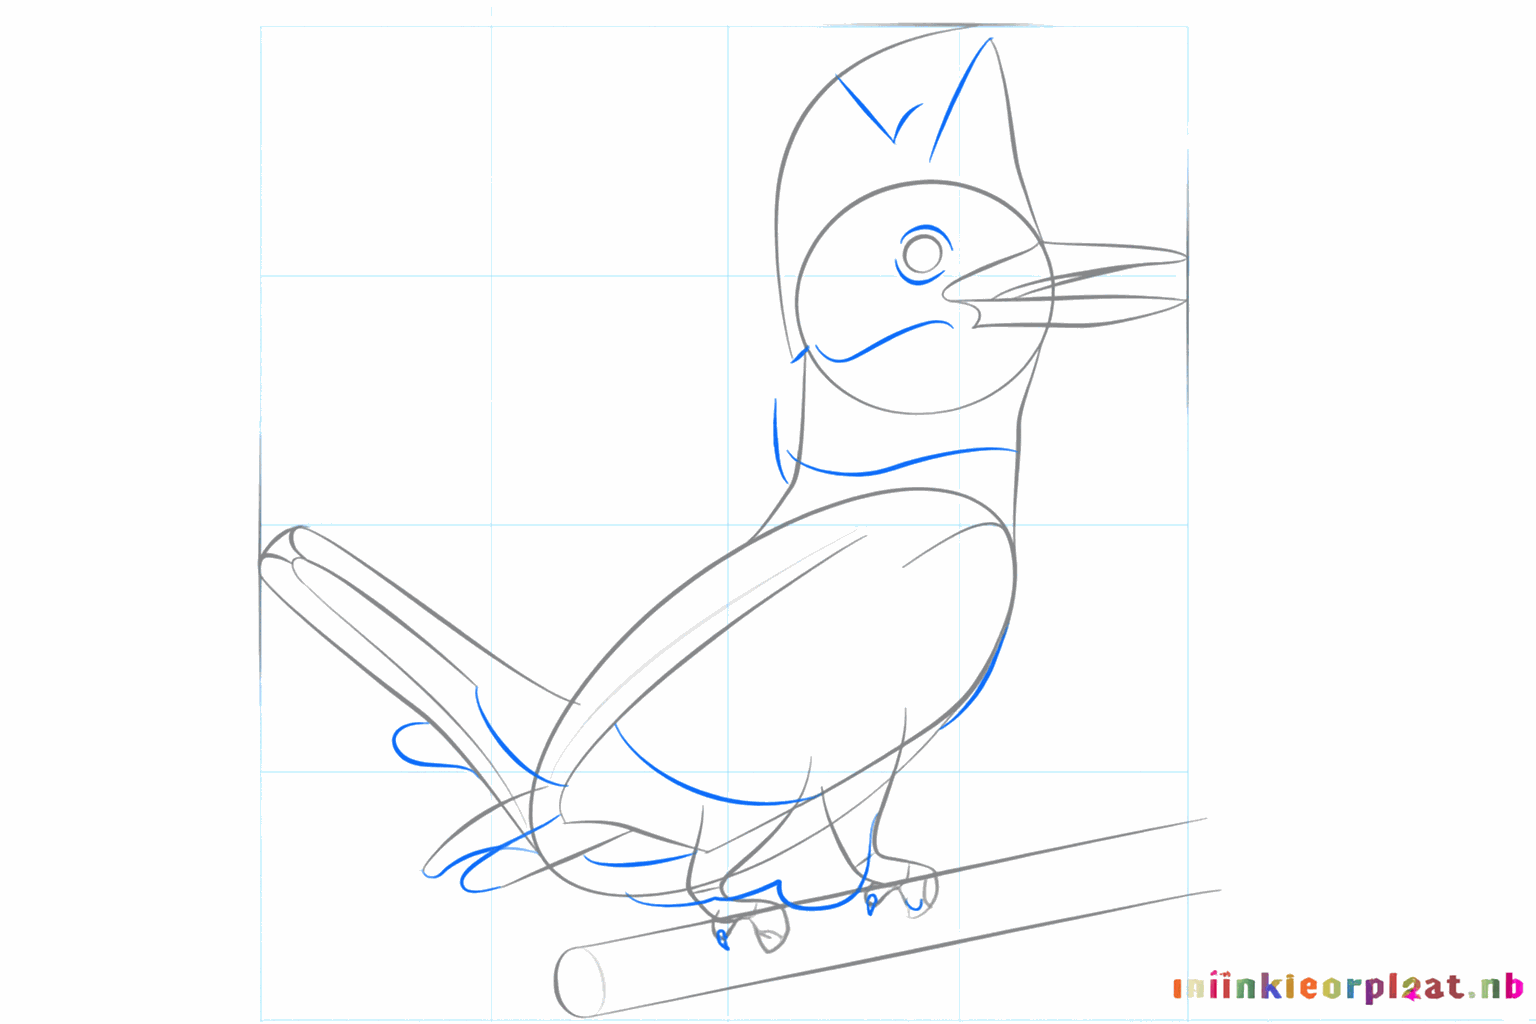
Now draw the feathers on the wing and finish the beak with a line in the middle.
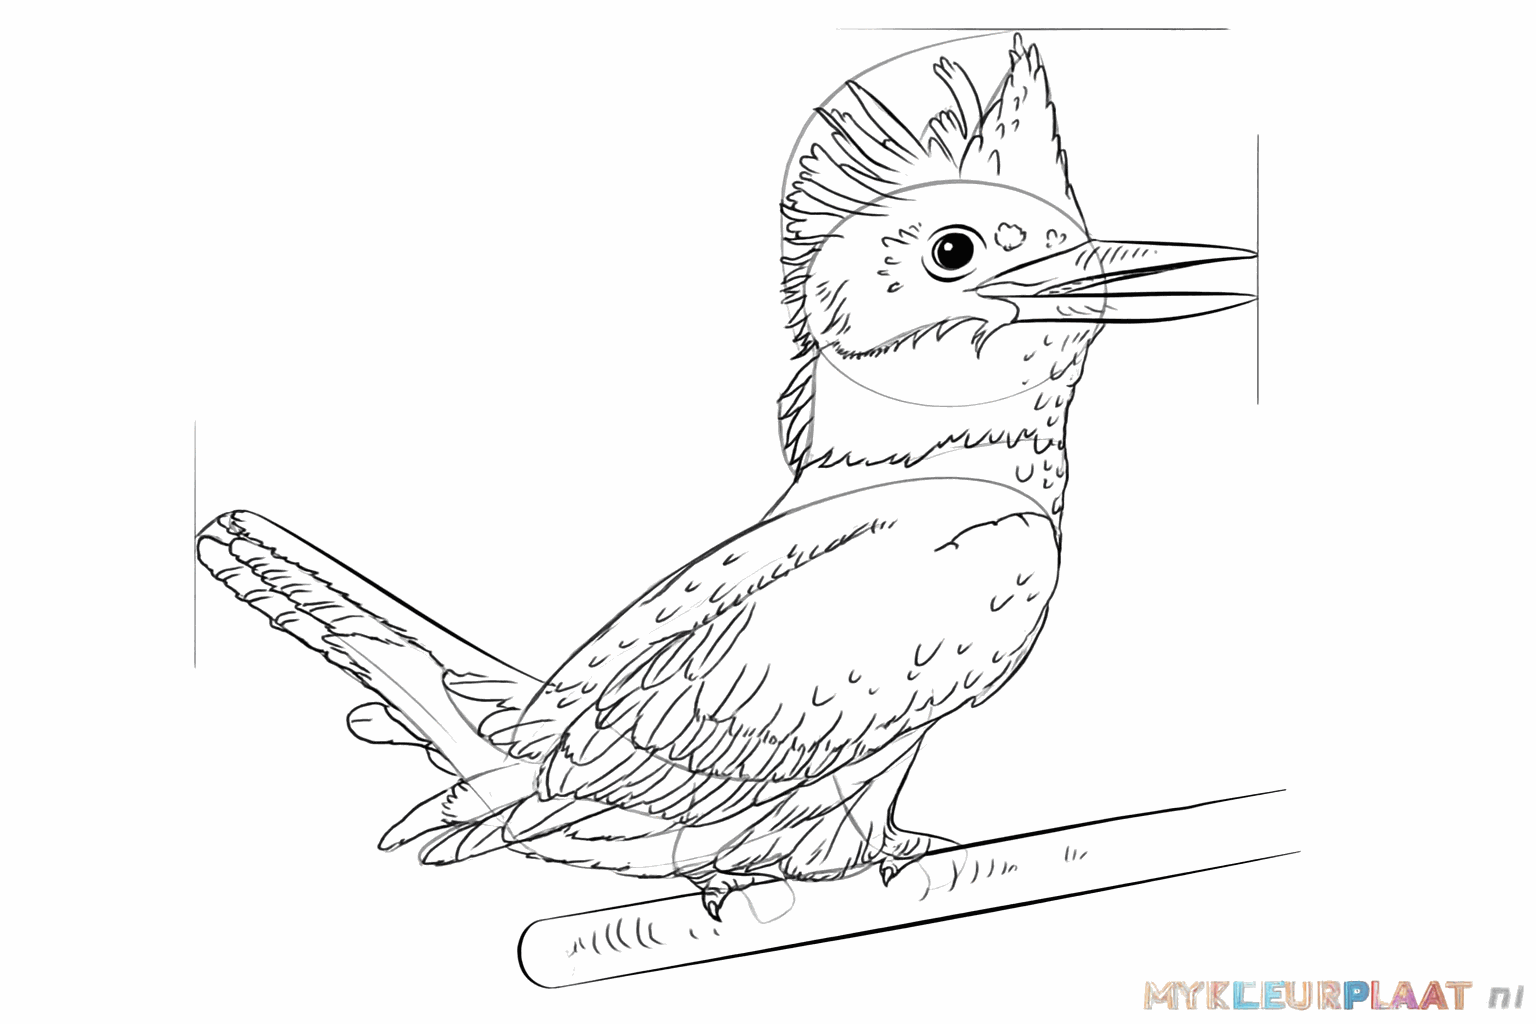
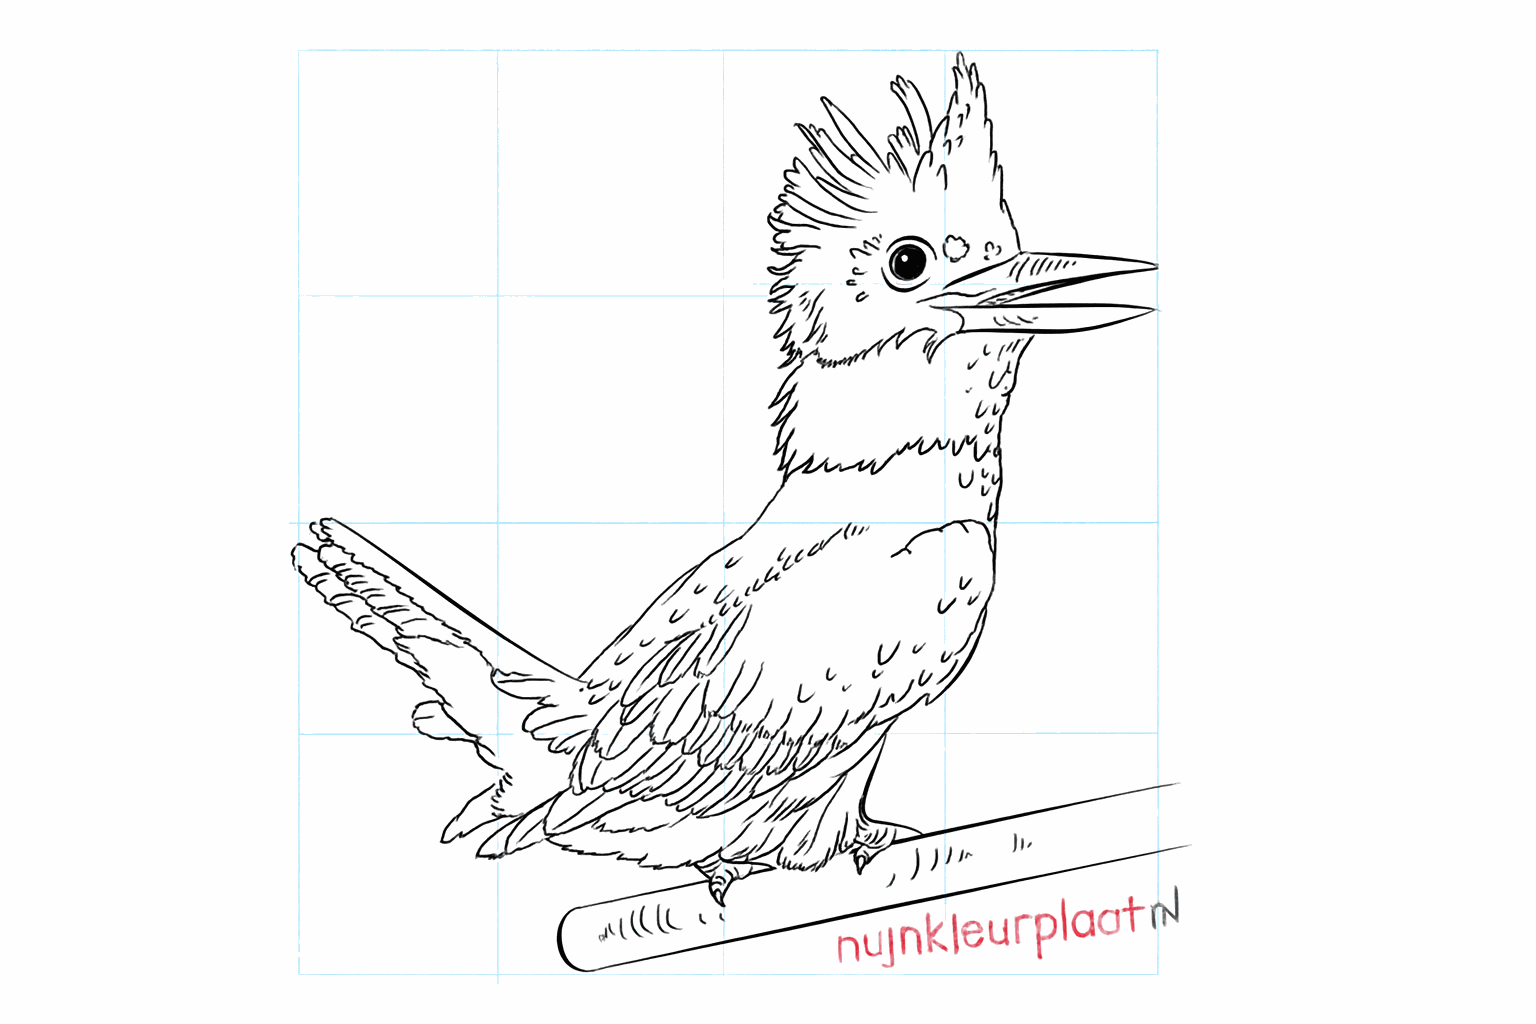
Erase the guide lines and trace the outer lines extra thick for a beautiful result.
Frequently asked questions
What colors does a kingfisher have?
Why is the beak so long?
Should I use an eraser?
Is this drawing lesson difficult?
Coloring pages of kingfisher 2
View all kingfisher 2 coloring pagesRelated drawing lessons