How to draw a corgi dog 2?
Learn step by step how to draw a corgi dog 2. Follow the 9 steps and print the tutorial.
1
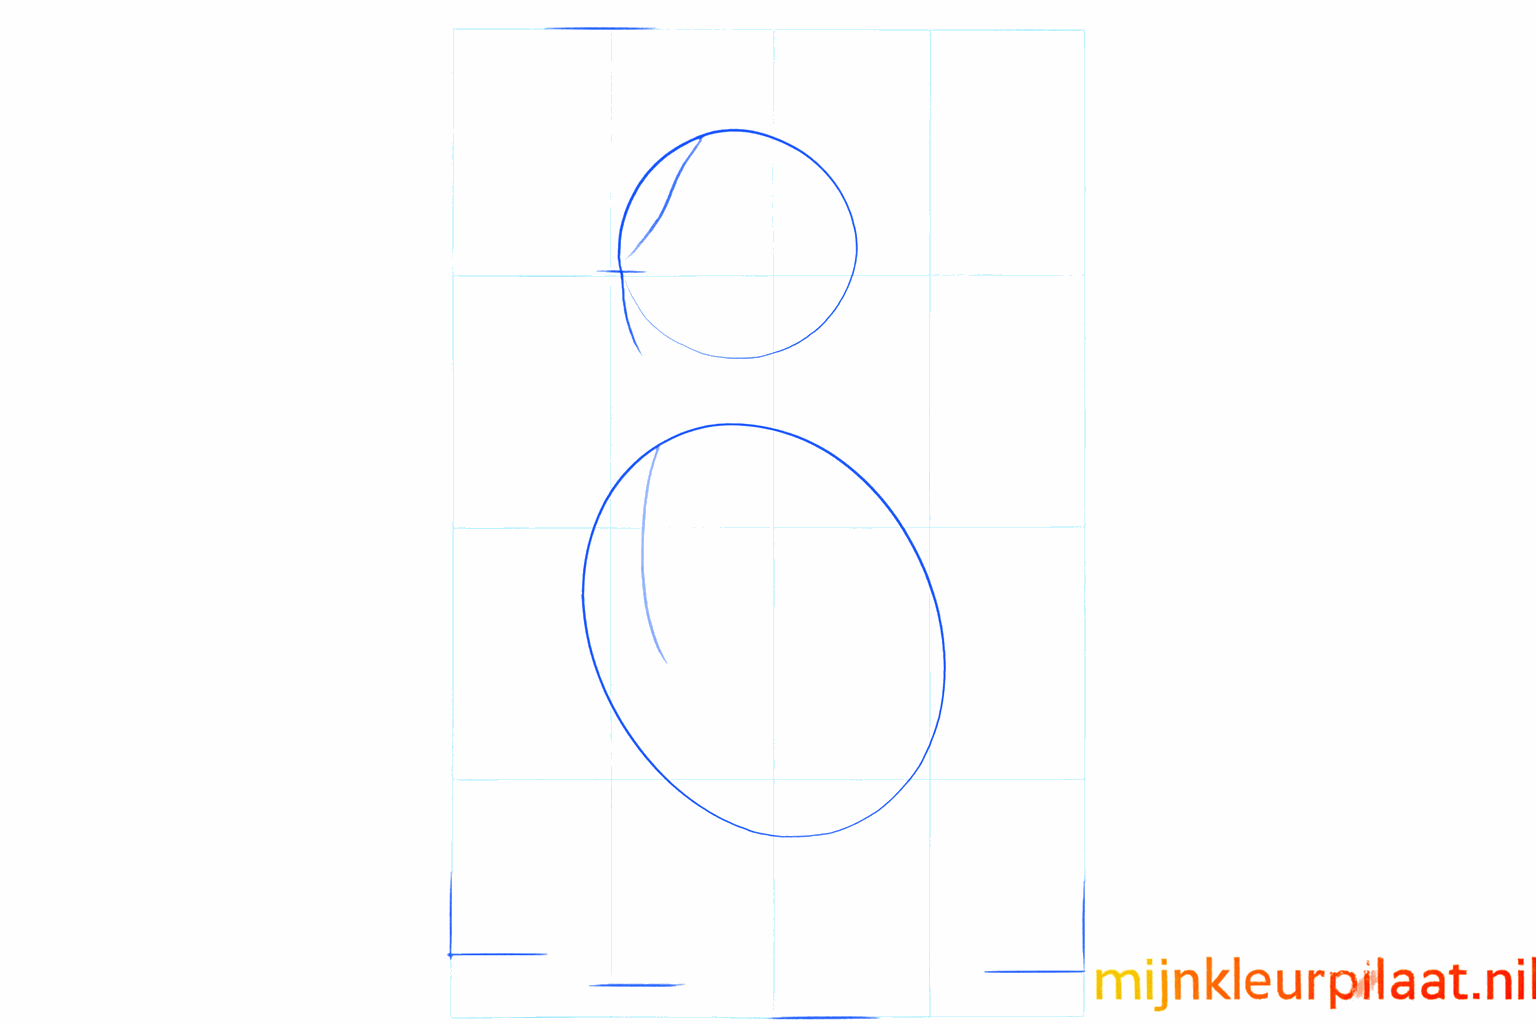
Draw a small oval for the head and a larger horizontal oval for the dog's body.
2
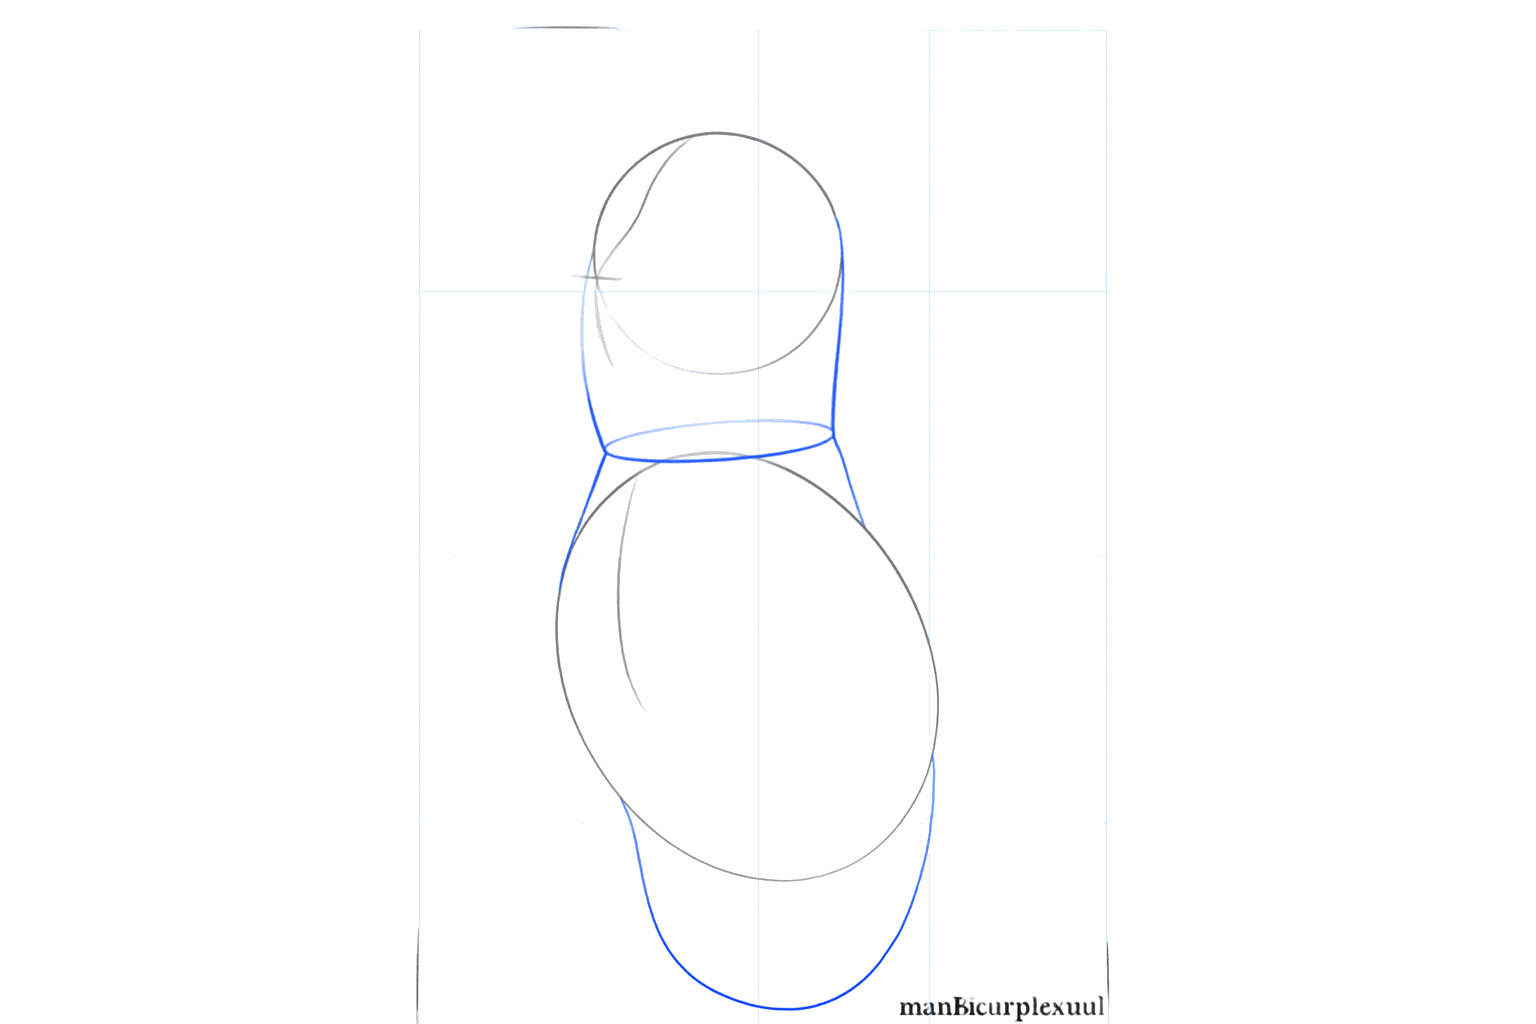
Connect the head and the body with two curved lines to create the neck.
3
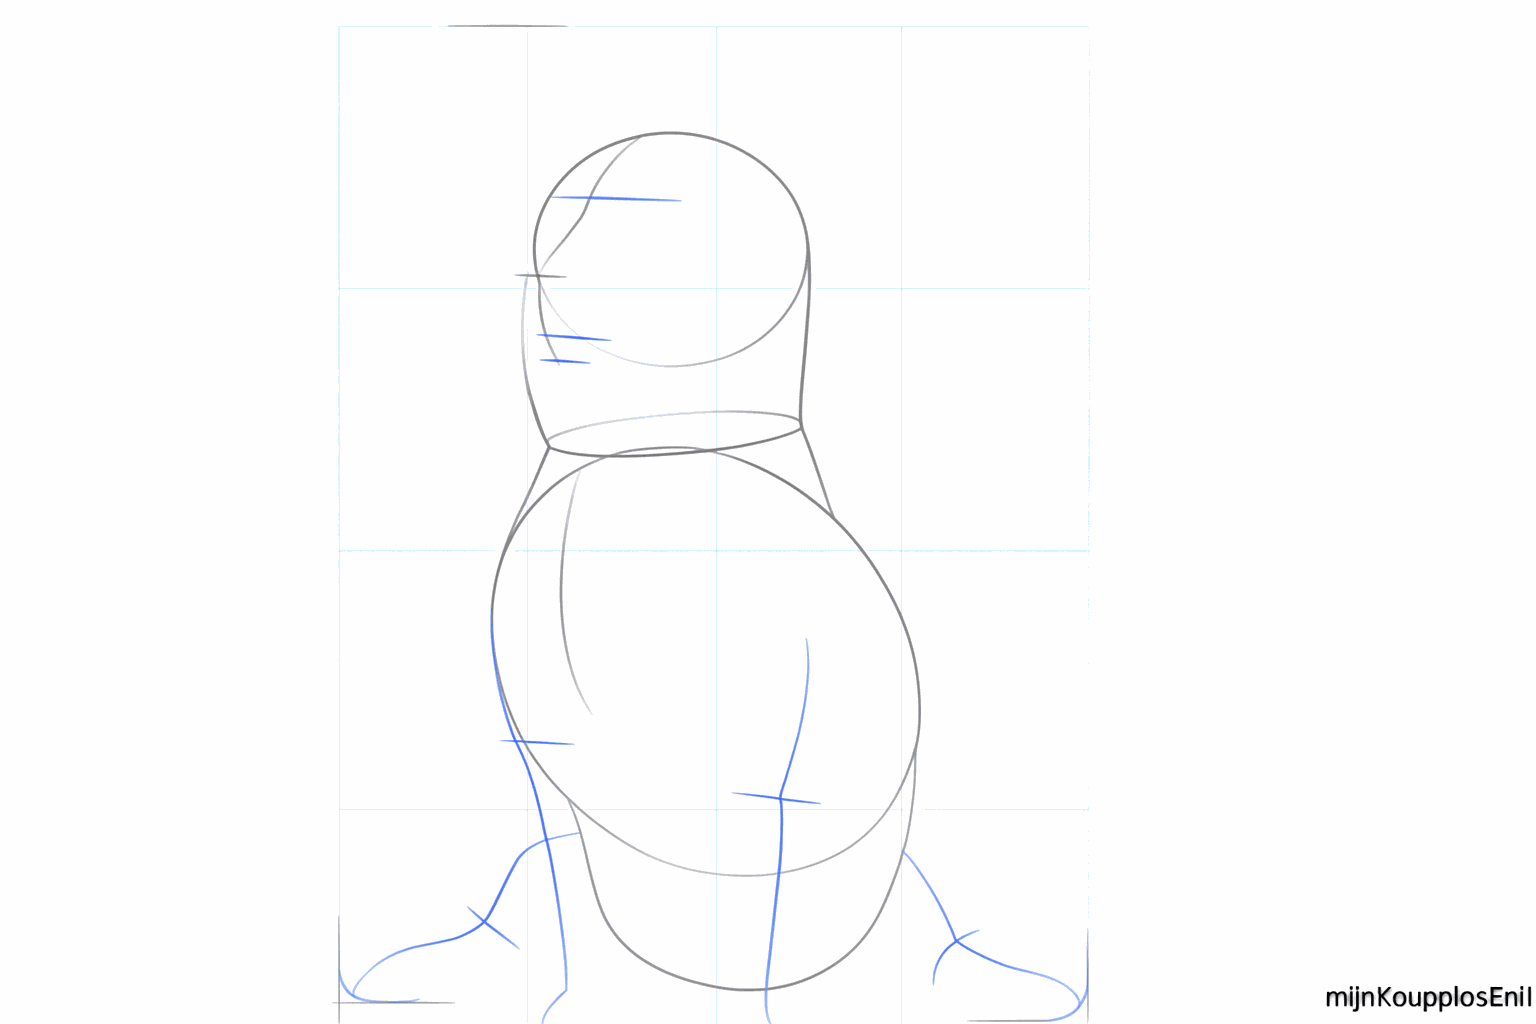
Place small guide lines where the legs and eyes should go later.
4
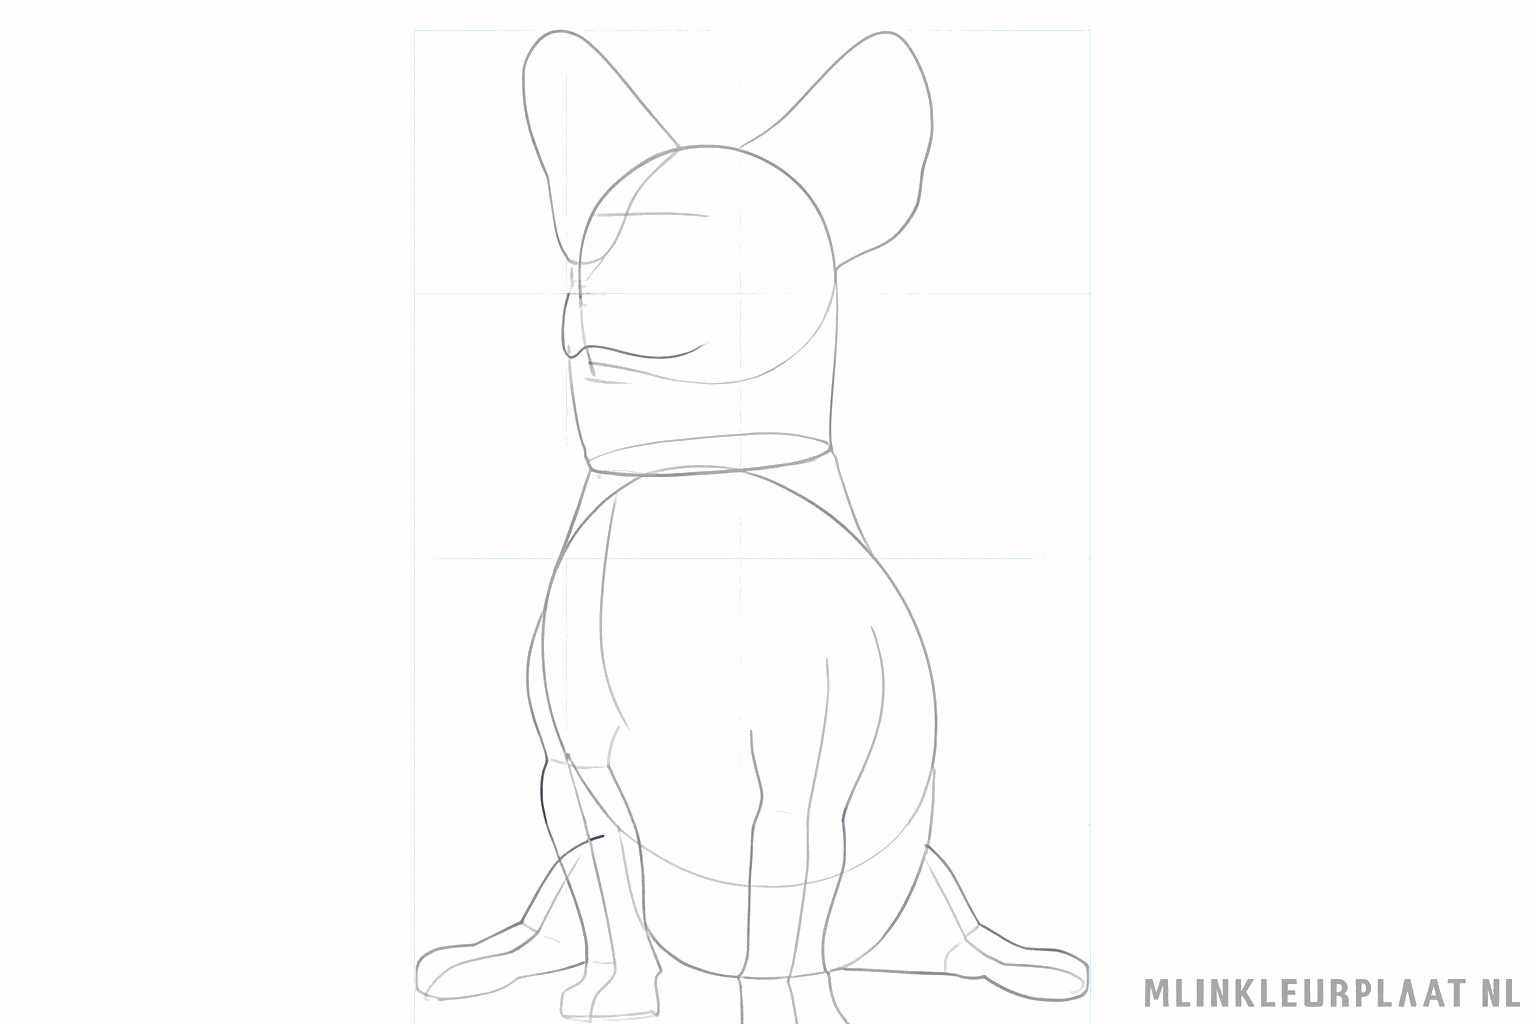
Now draw the large, pointy ears on top of the head and start on the short snout.
5
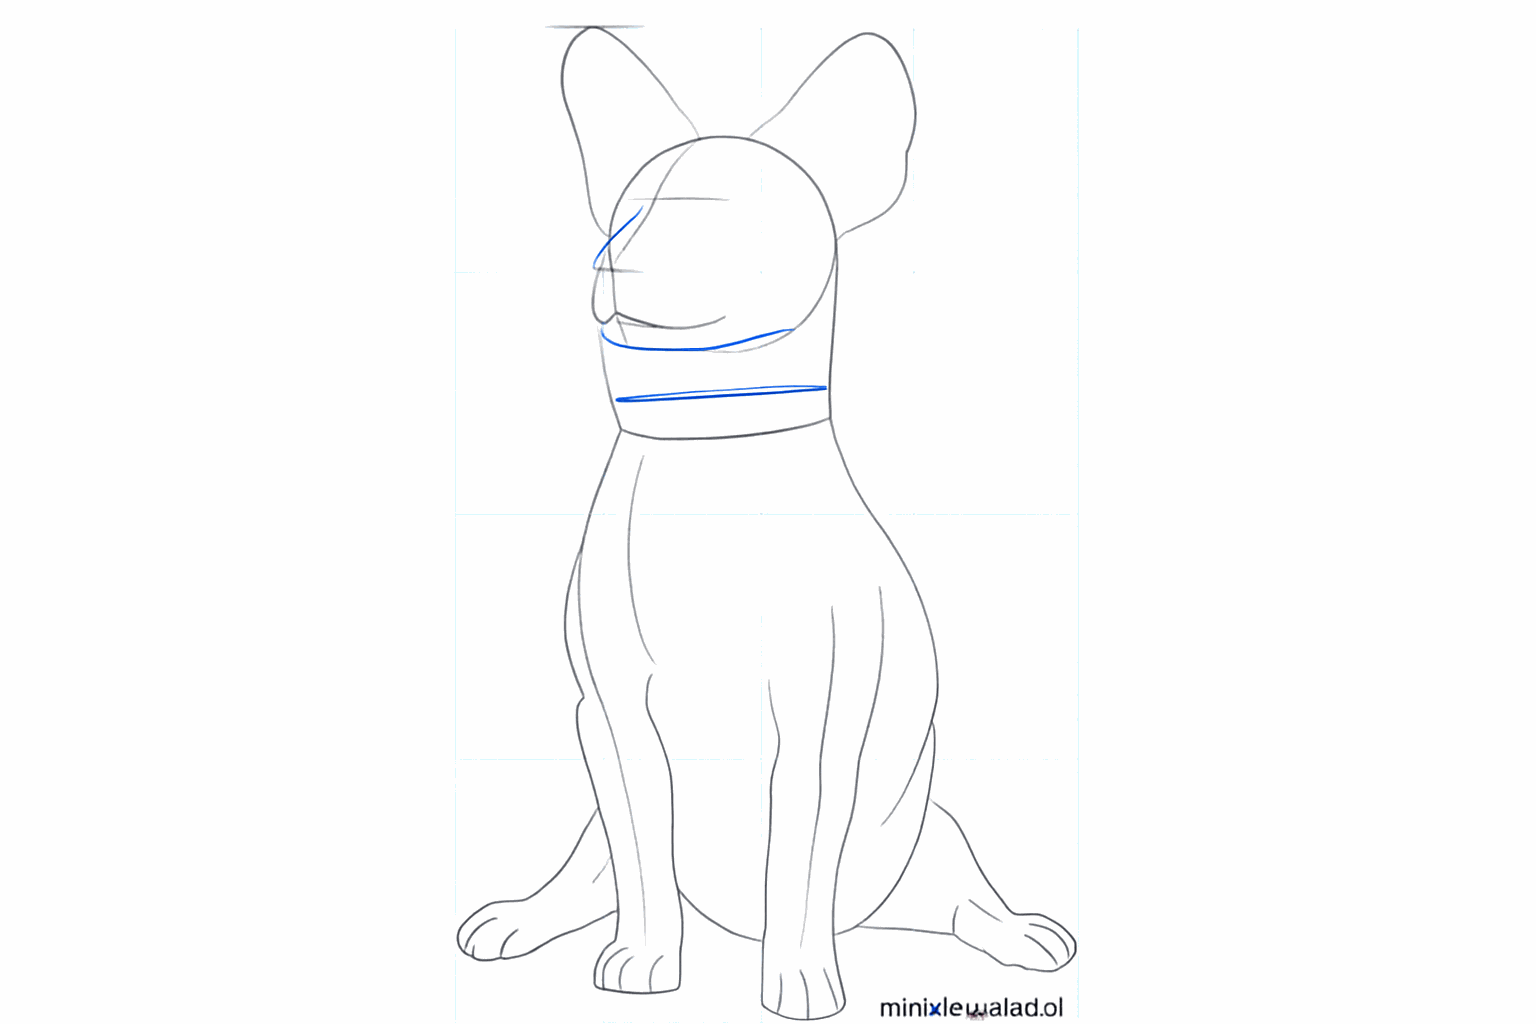
Draw the four short legs under the body and add a line for the collar.
6
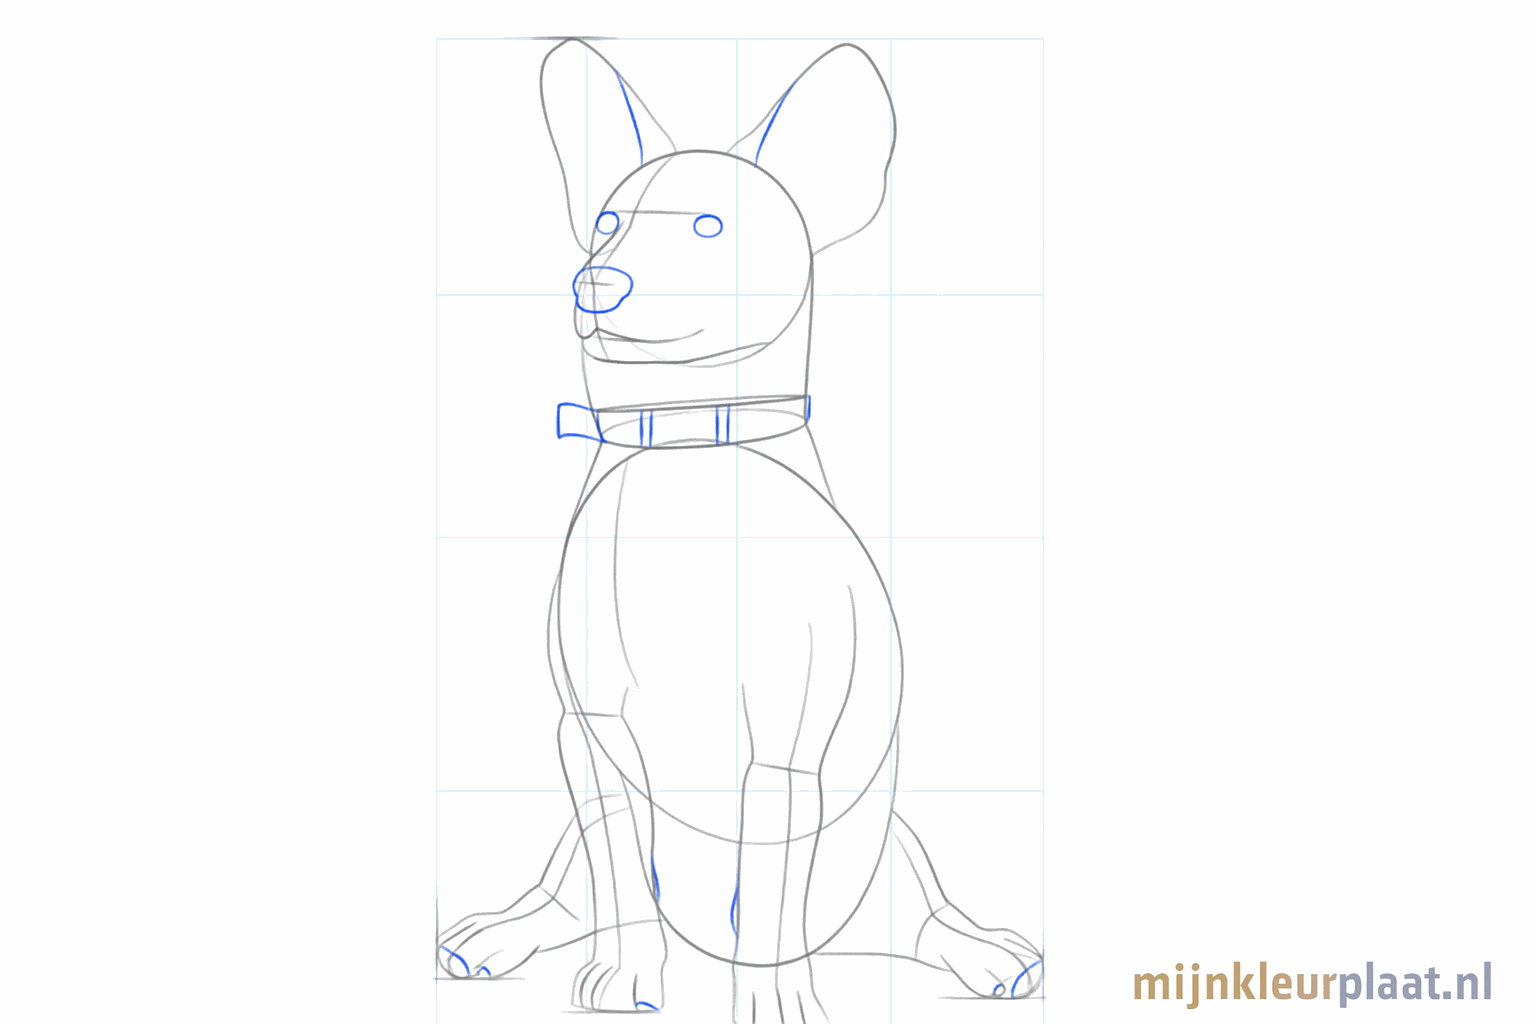
Finish the legs by drawing small arches for the toes and draw the bottom of the mouth.
7
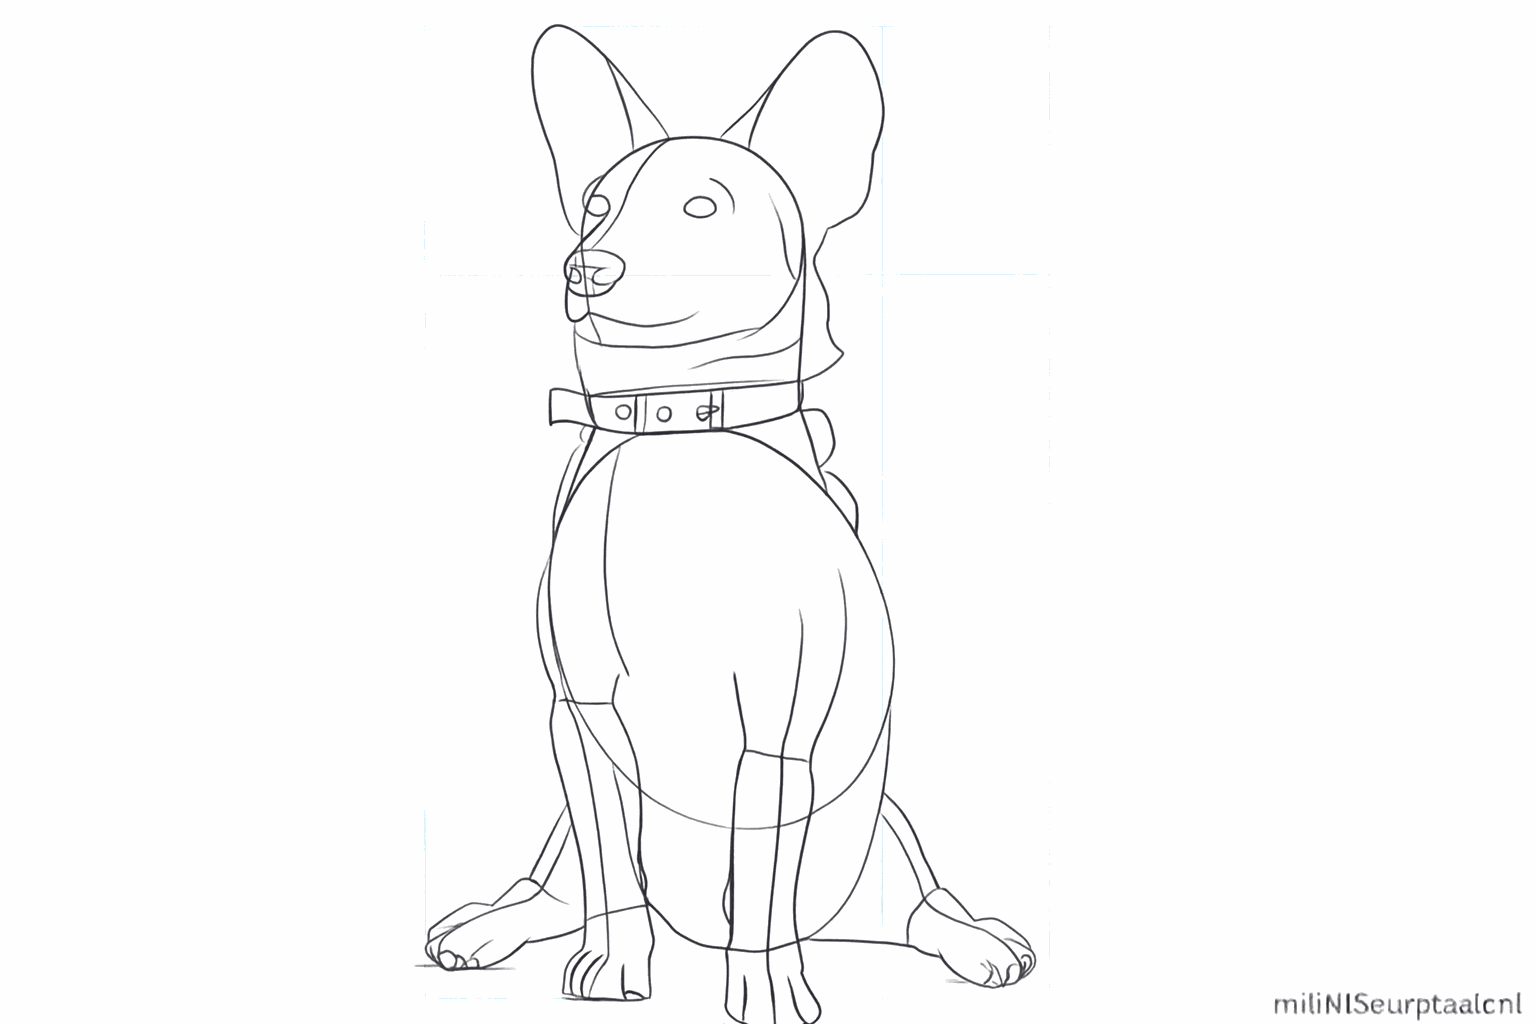
Draw the eyes as shiny spheres and add lines inside the ears for more depth.
8
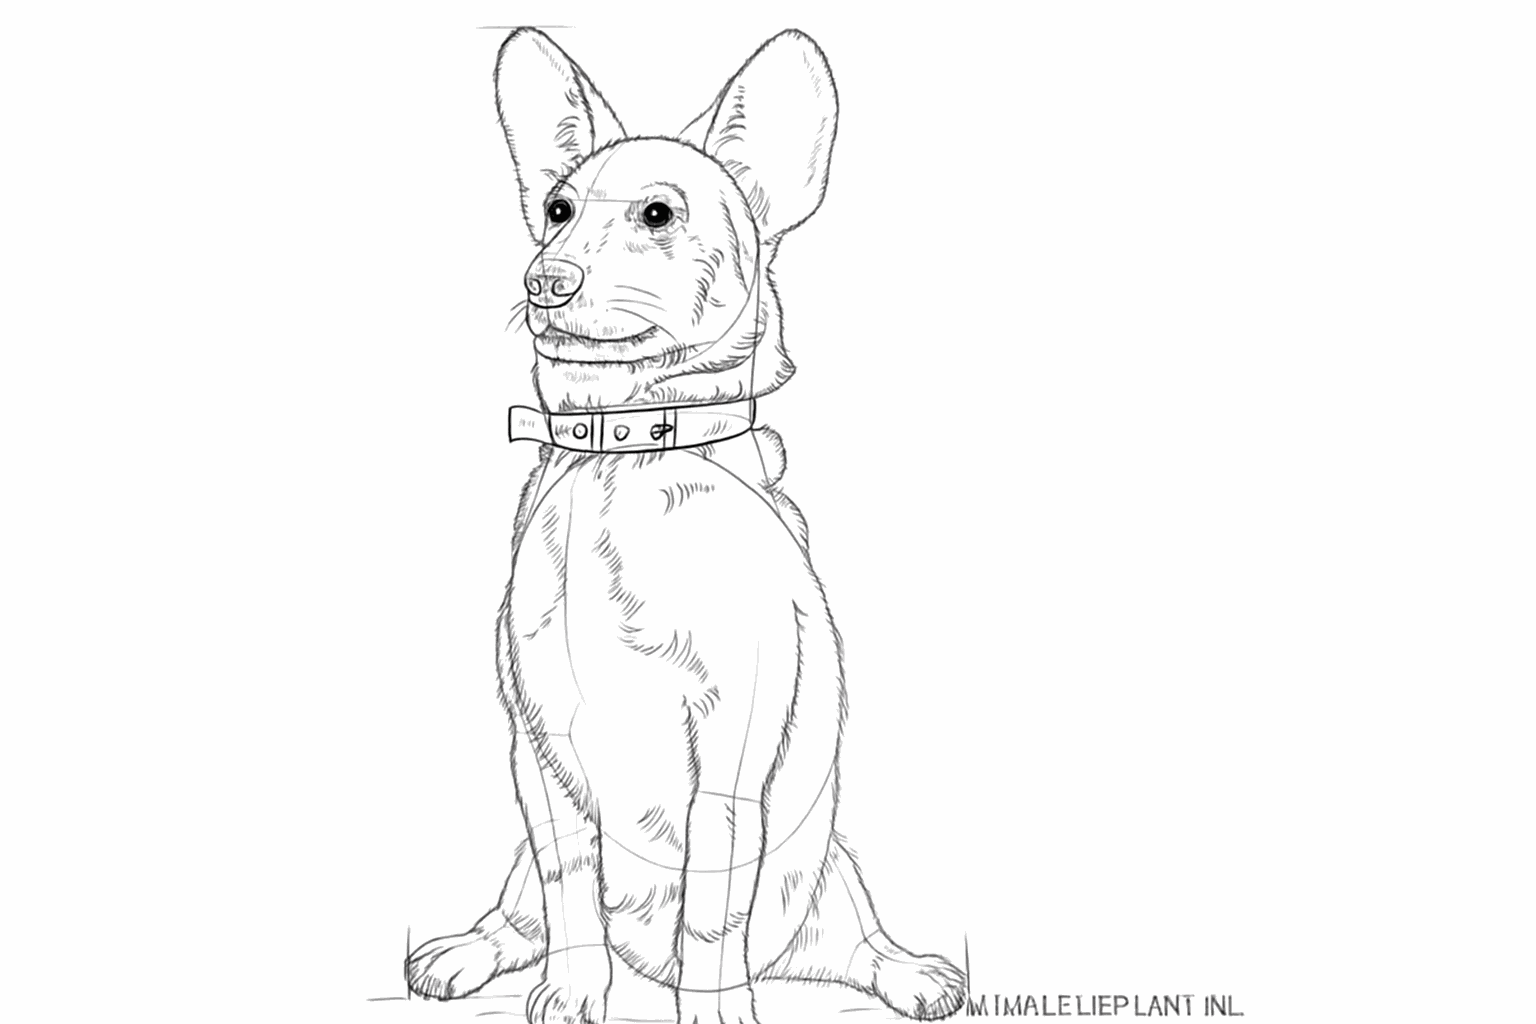
Now draw the nose and add small details to the fur all over the body.
9
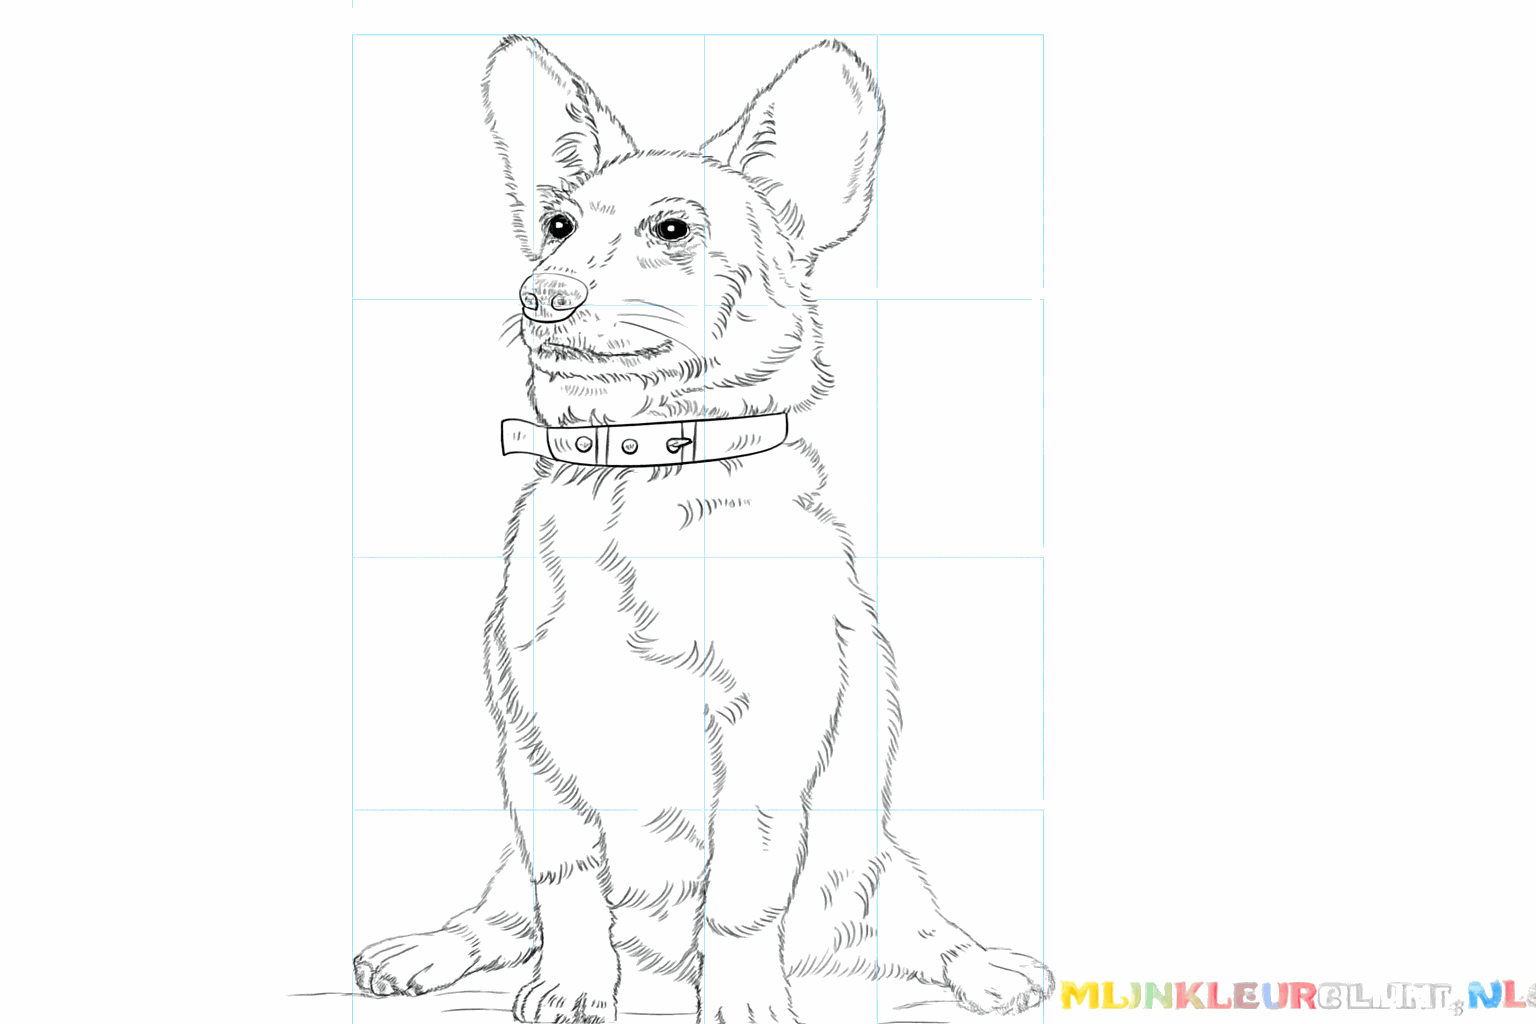
Trace the final lines darker and erase all the guide lines you no longer need.