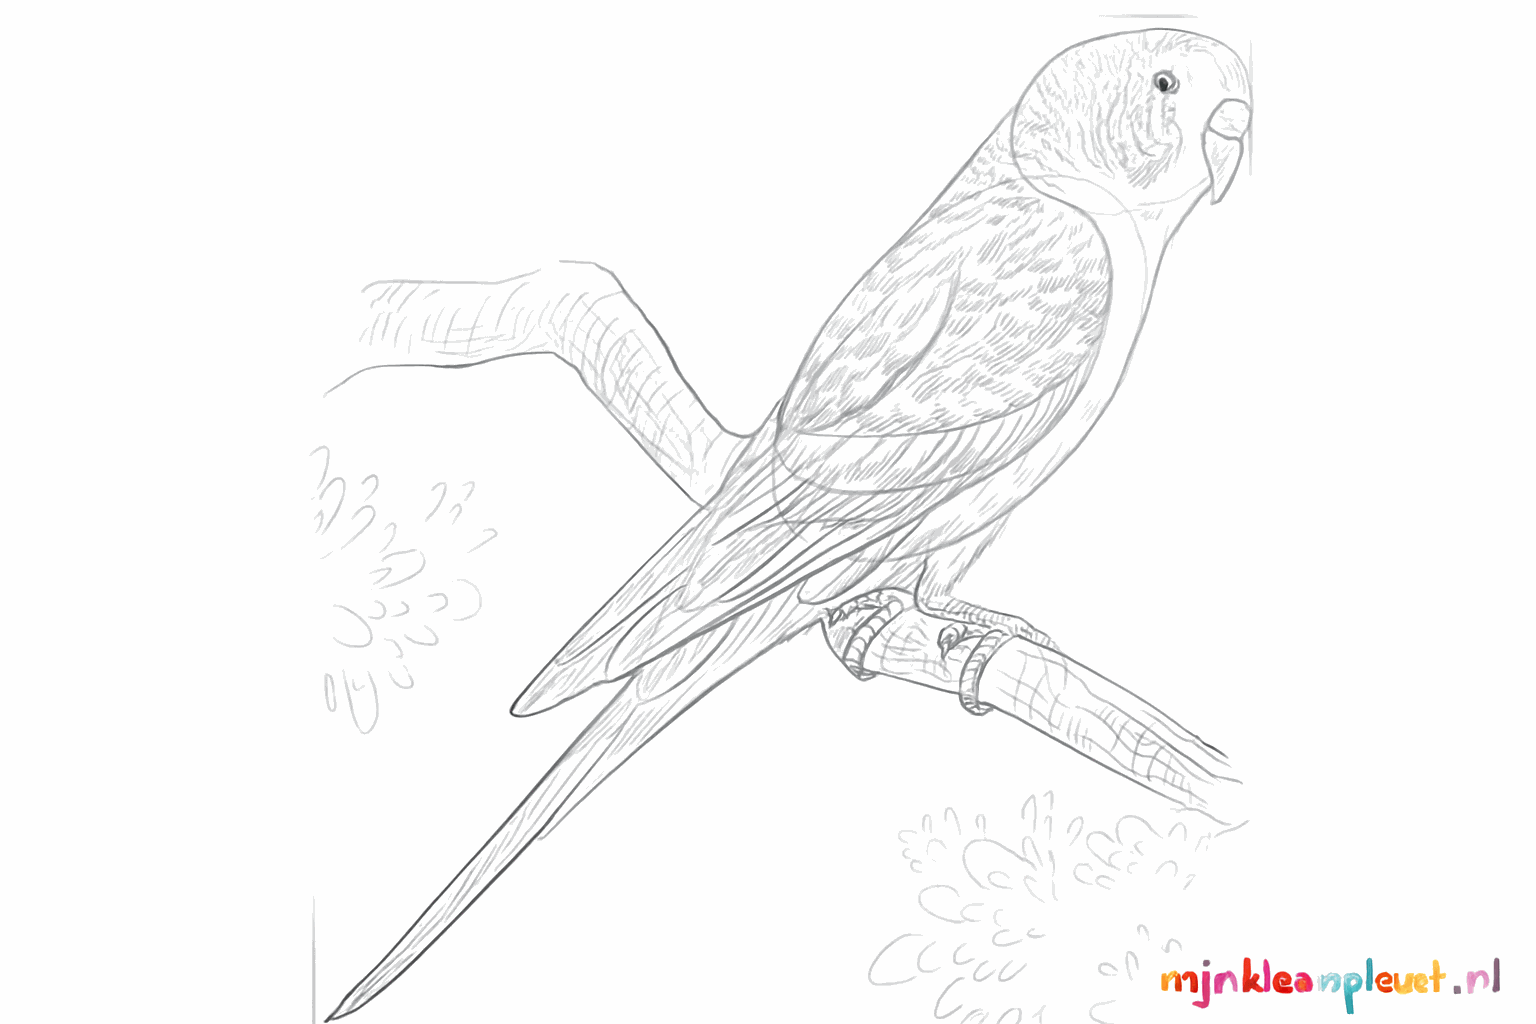
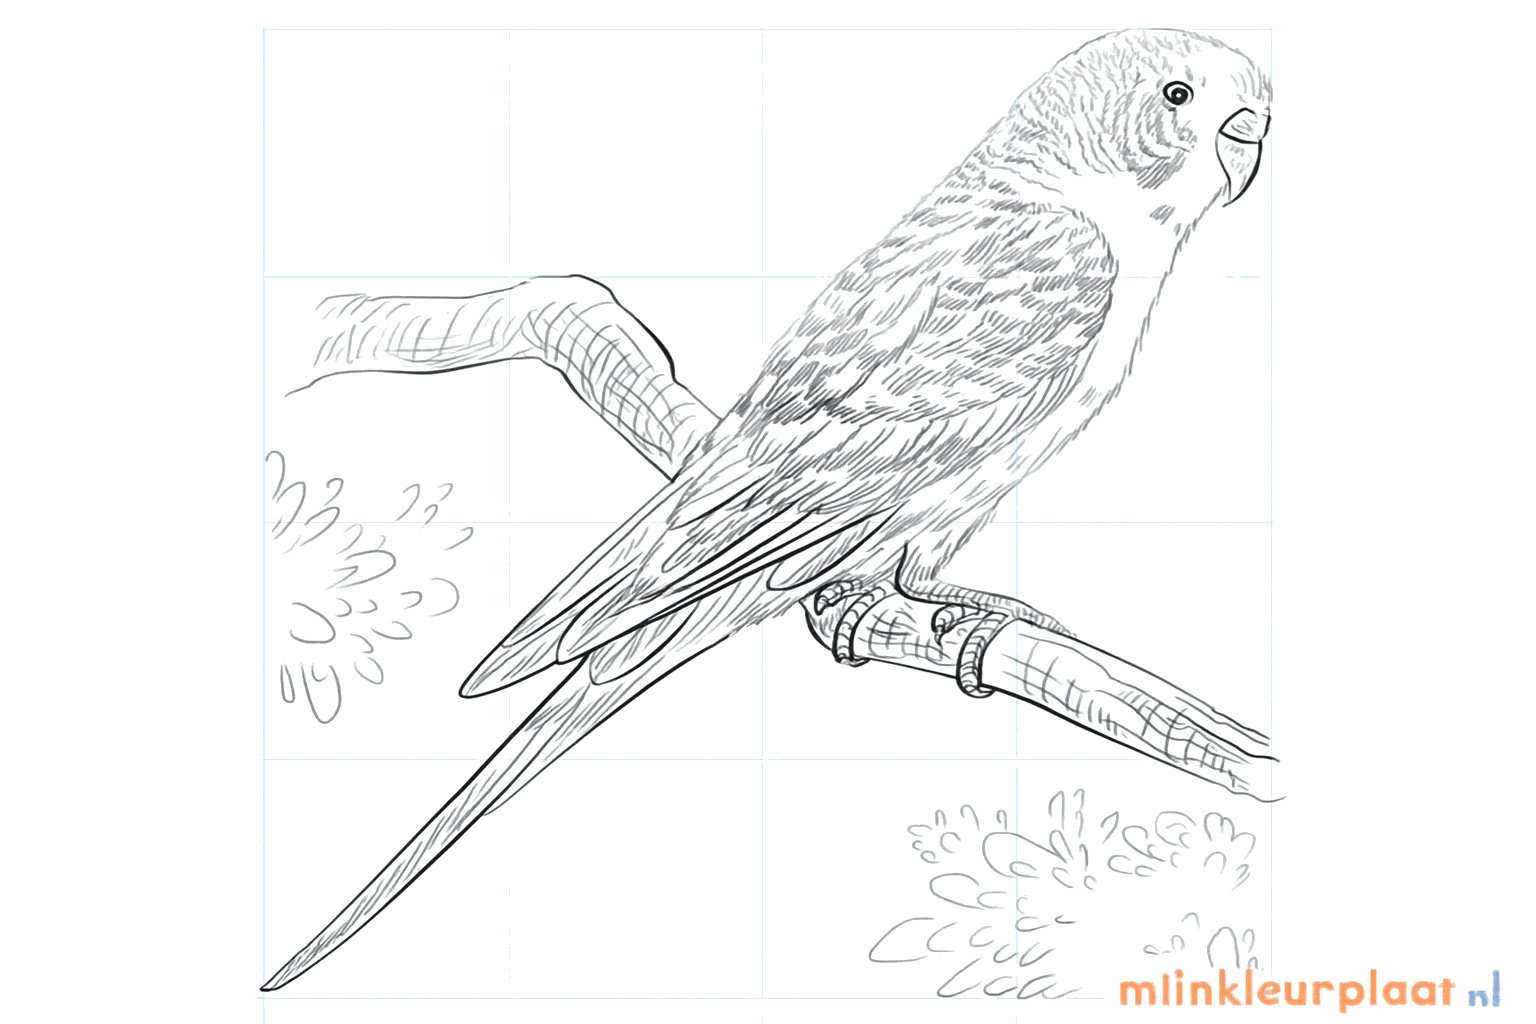
How to draw a budgerigar?
Learn step by step how to draw a budgerigar. Follow the 8 steps and print the tutorial.
Learn how to draw a beautiful, colorful parakeet on a branch yourself. With these easy steps, you will become a real bird artist!
Intro
Hi little artist! Today we are going to draw a cheerful parakeet sitting cozily on a branch. Grab your pencil and paper, because we are starting with simple shapes. Are you joining in?
Summary
In eight simple steps, you draw a parakeet by starting with circles and ovals. You will learn how to make the beak, wings, and feet for a beautiful result.
Steps
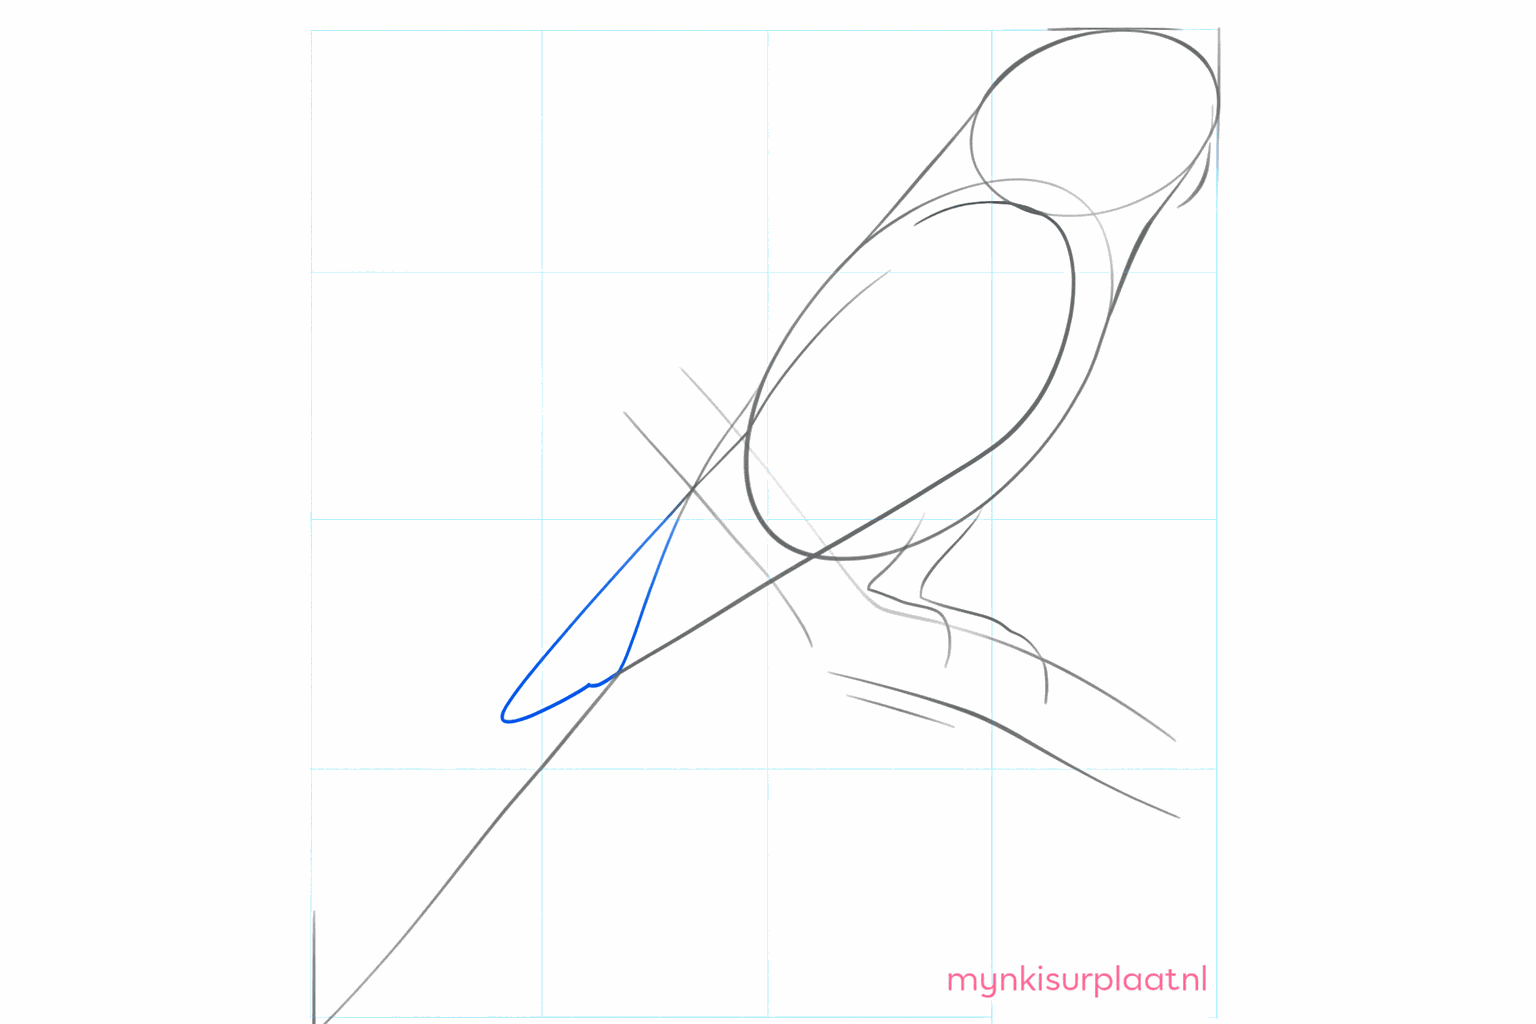
Draw a small circle at the top for the head and draw a diagonal line for the branch.
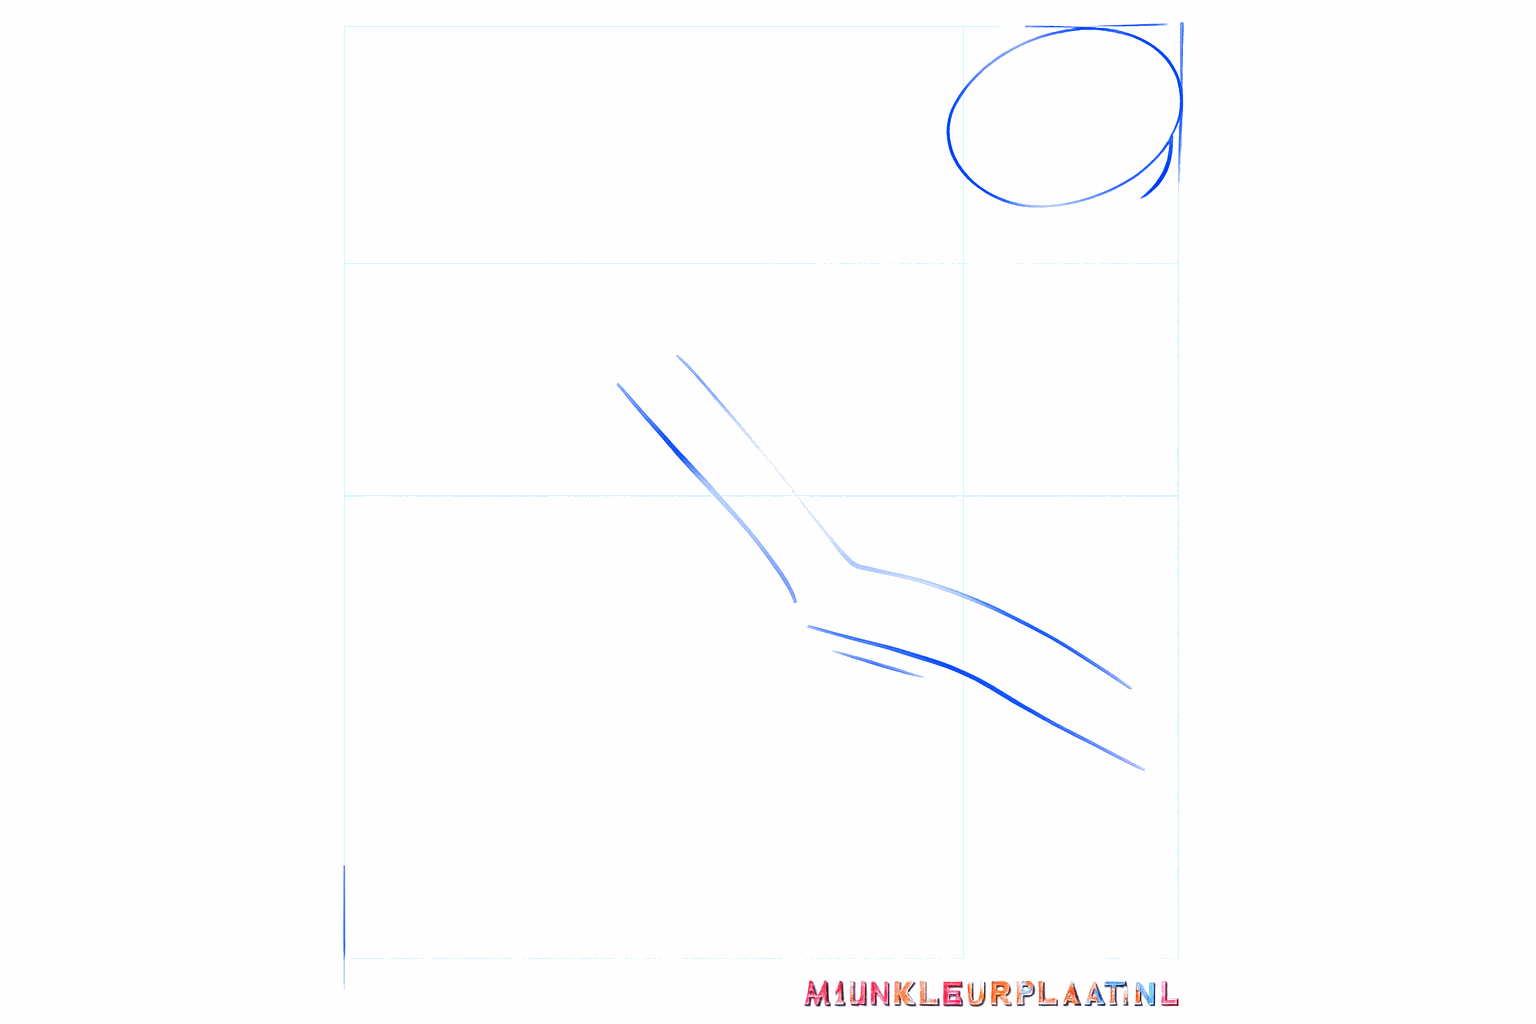
Make a larger oval under the head for the body and draw a long line downwards for the tail.

Draw a curved line in the middle of the body for the wing and put small dashes where the feet will go.
Give the parakeet a curved beak at the front of the head and draw a small eye.
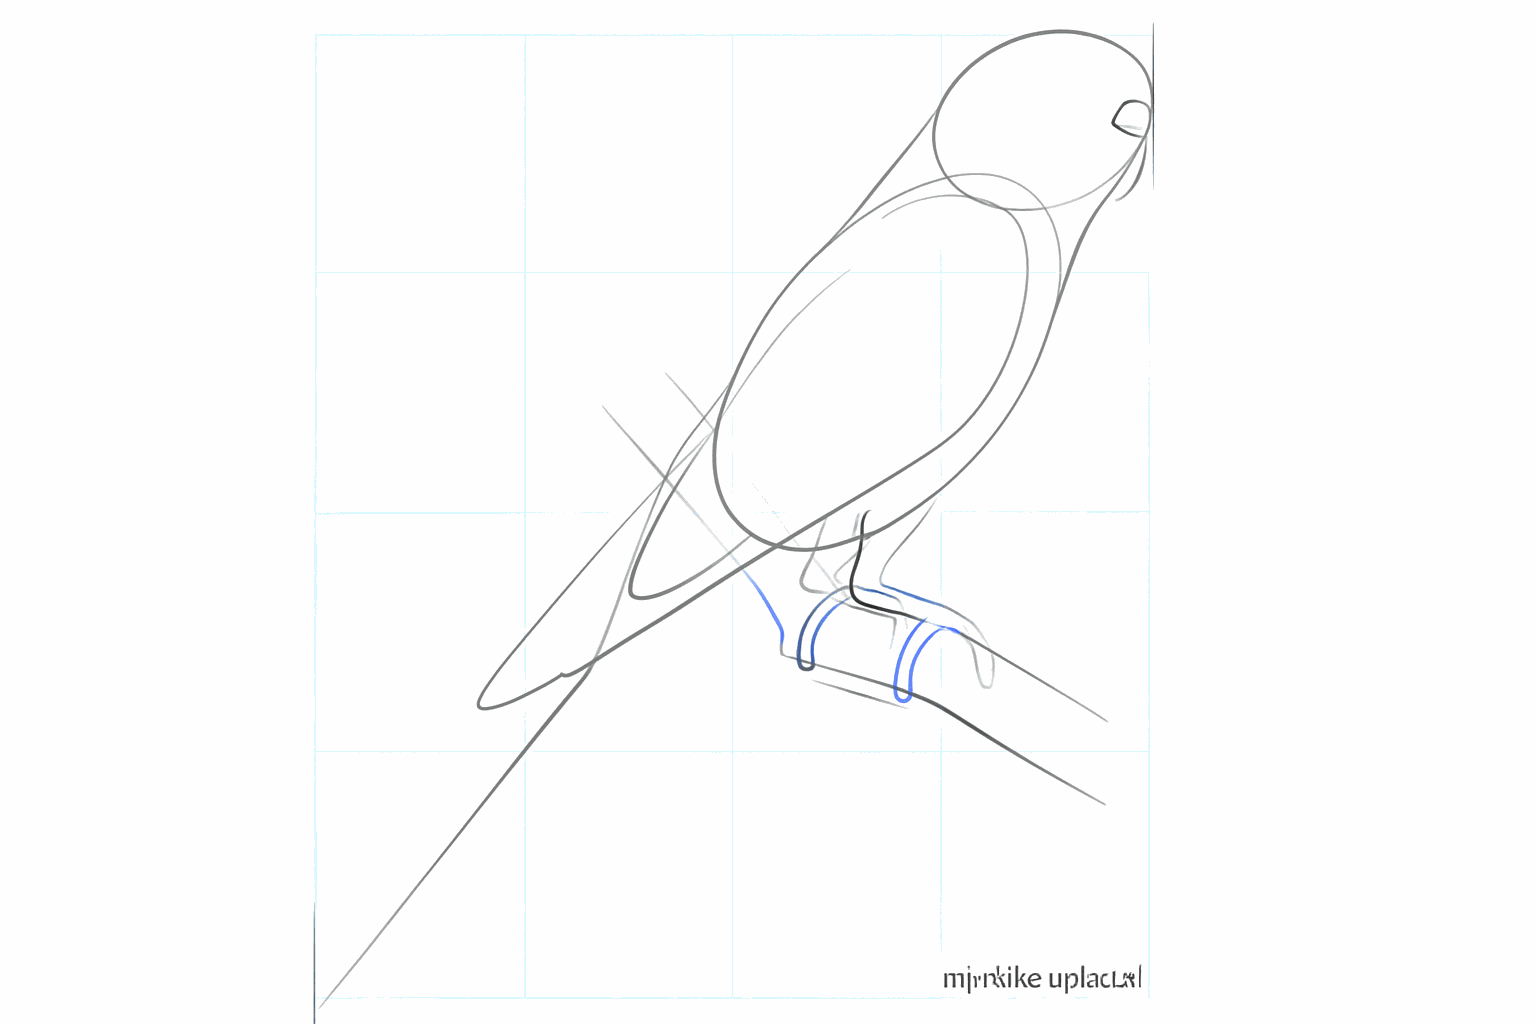
Draw the feet with small toes that grip firmly around the branch.
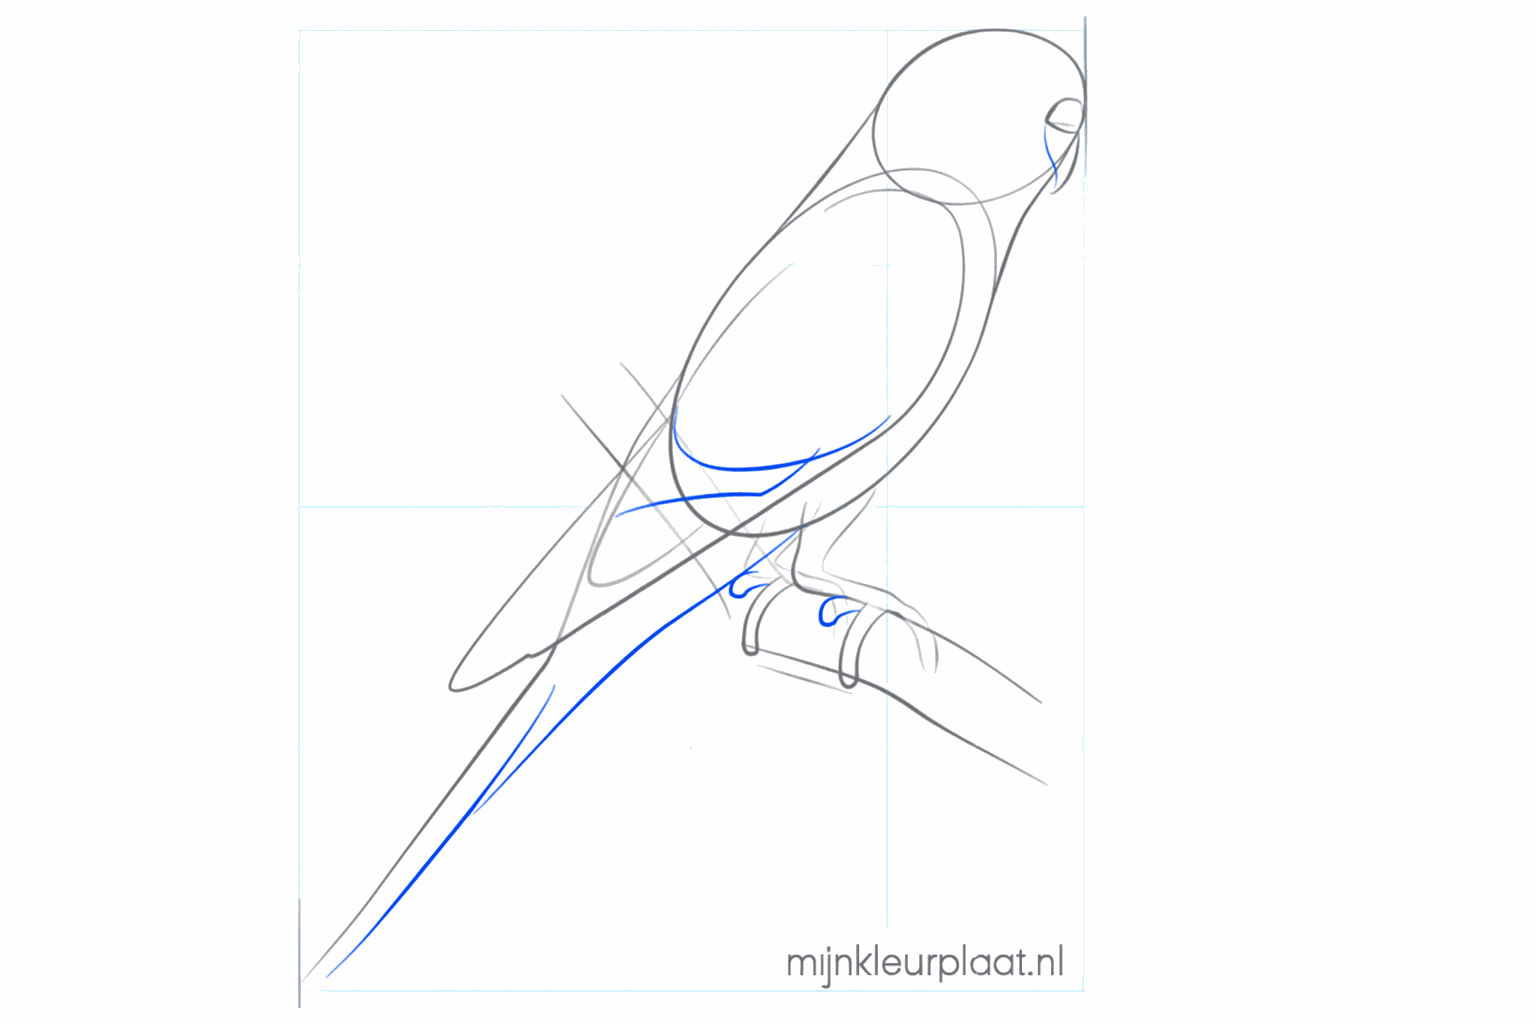
Make the tail a bit thicker and draw the first layers of feathers on the wing with arches.
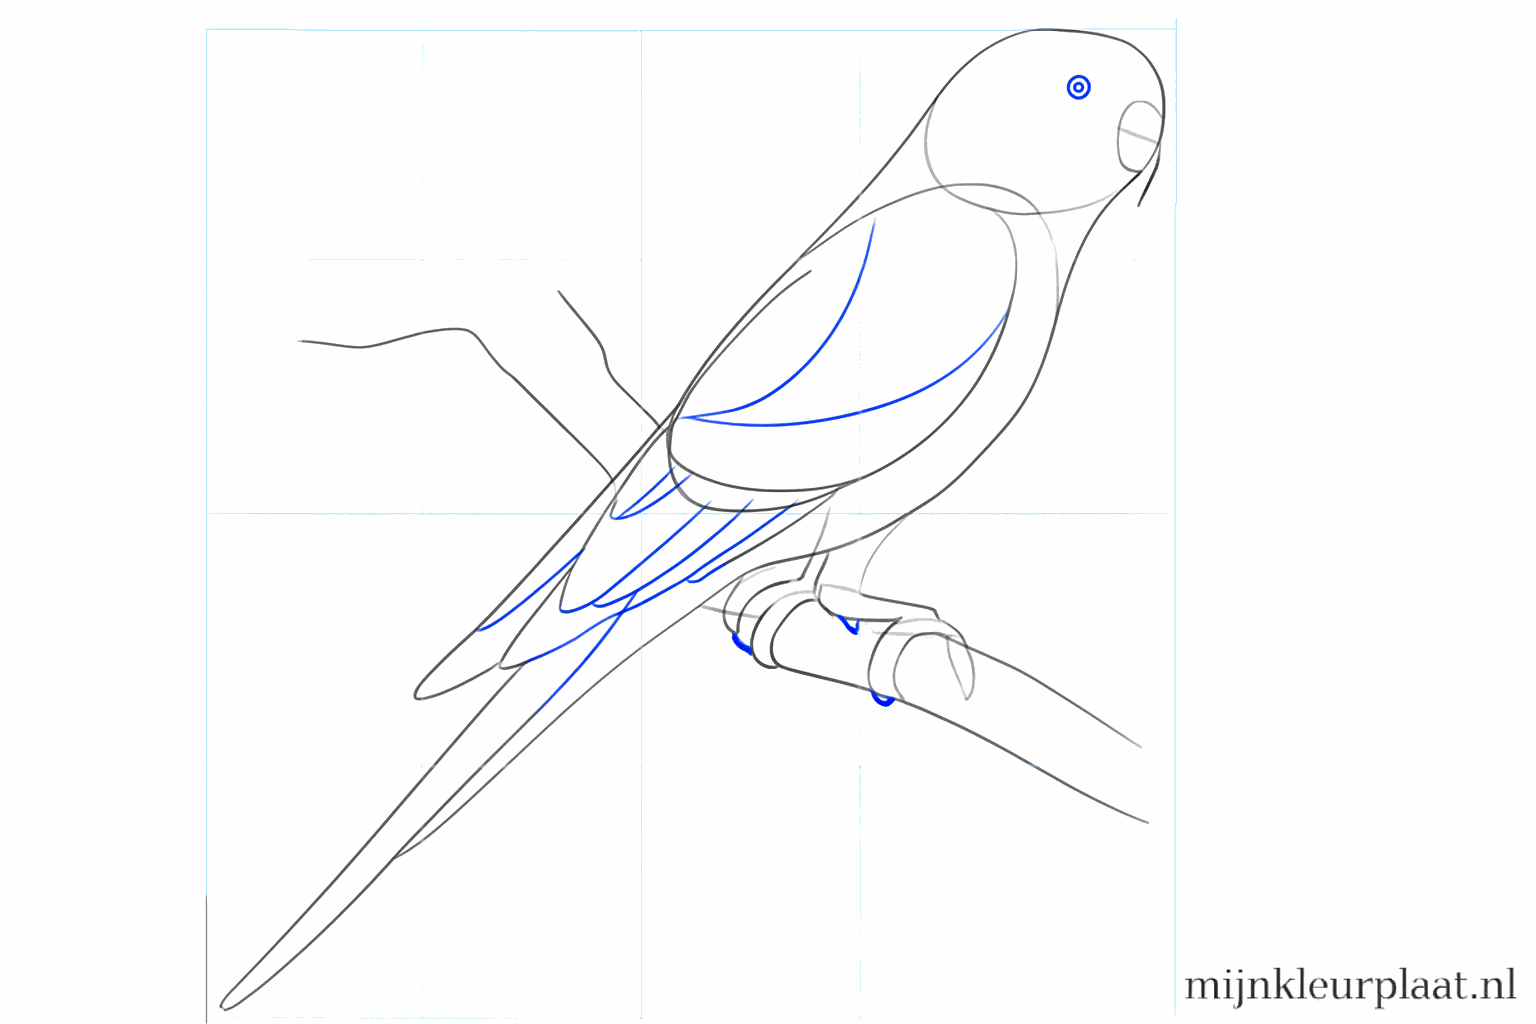
Now draw more details, such as the stripes on the head and extra feathers on the belly.
Make the outlines thicker, erase the guide lines, and give the branch some bumps for a realistic effect.
Frequently asked questions
What colors can I give my parakeet?
Do I need to use an eraser?
How do I make the feathers?
Is this drawing lesson difficult?
Coloring pages of budgerigar
View all budgerigar coloring pagesRelated drawing lessons