How to draw a blue wren 2?
Learn step by step how to draw a blue wren 2. Follow the 8 steps and print the tutorial.
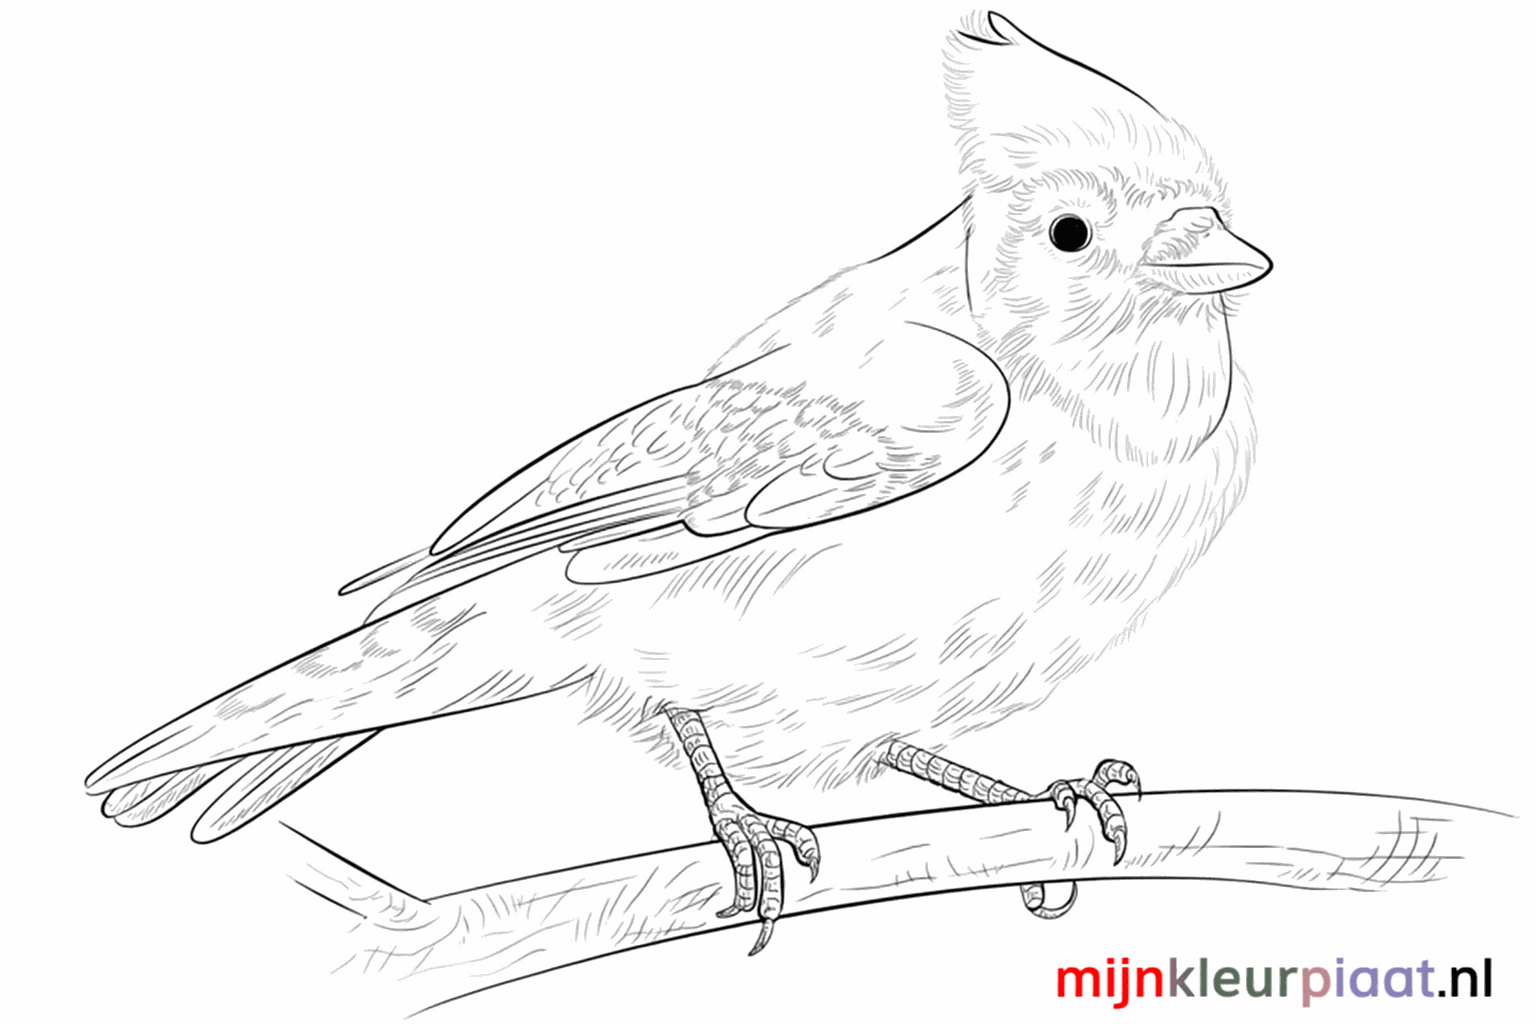
Learn how to draw a beautiful blue bird on a branch step by step. Perfect for little artists who love animals!
Intro
Hi little artist! Today we are going to draw a beautiful blue bird sitting cozily on a branch. Grab your pencil and paper, because we are going to work together. With simple shapes, you'll conjure up a sweet little bird on your paper in no time!
Summary
In this drawing lesson, you will learn to draw a blue bird using simple circles and lines. Follow the 8 steps and create your own cheerful bird on a branch.
Steps
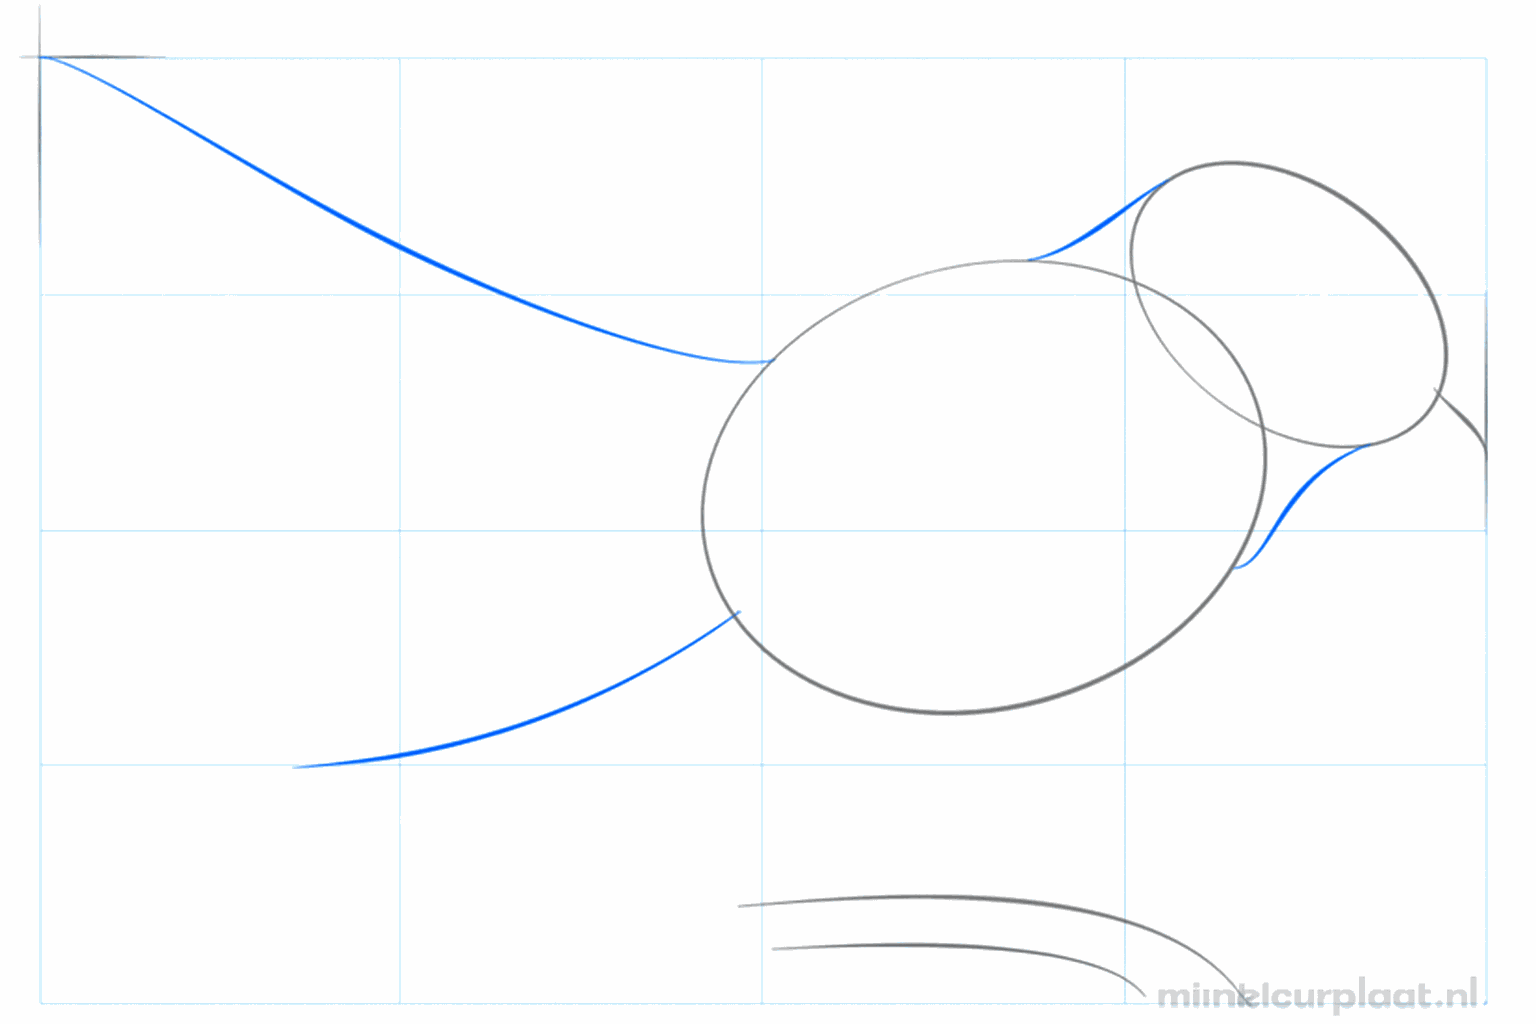
Draw a small circle for the head and a larger oval for the body, with a short line for the beak.
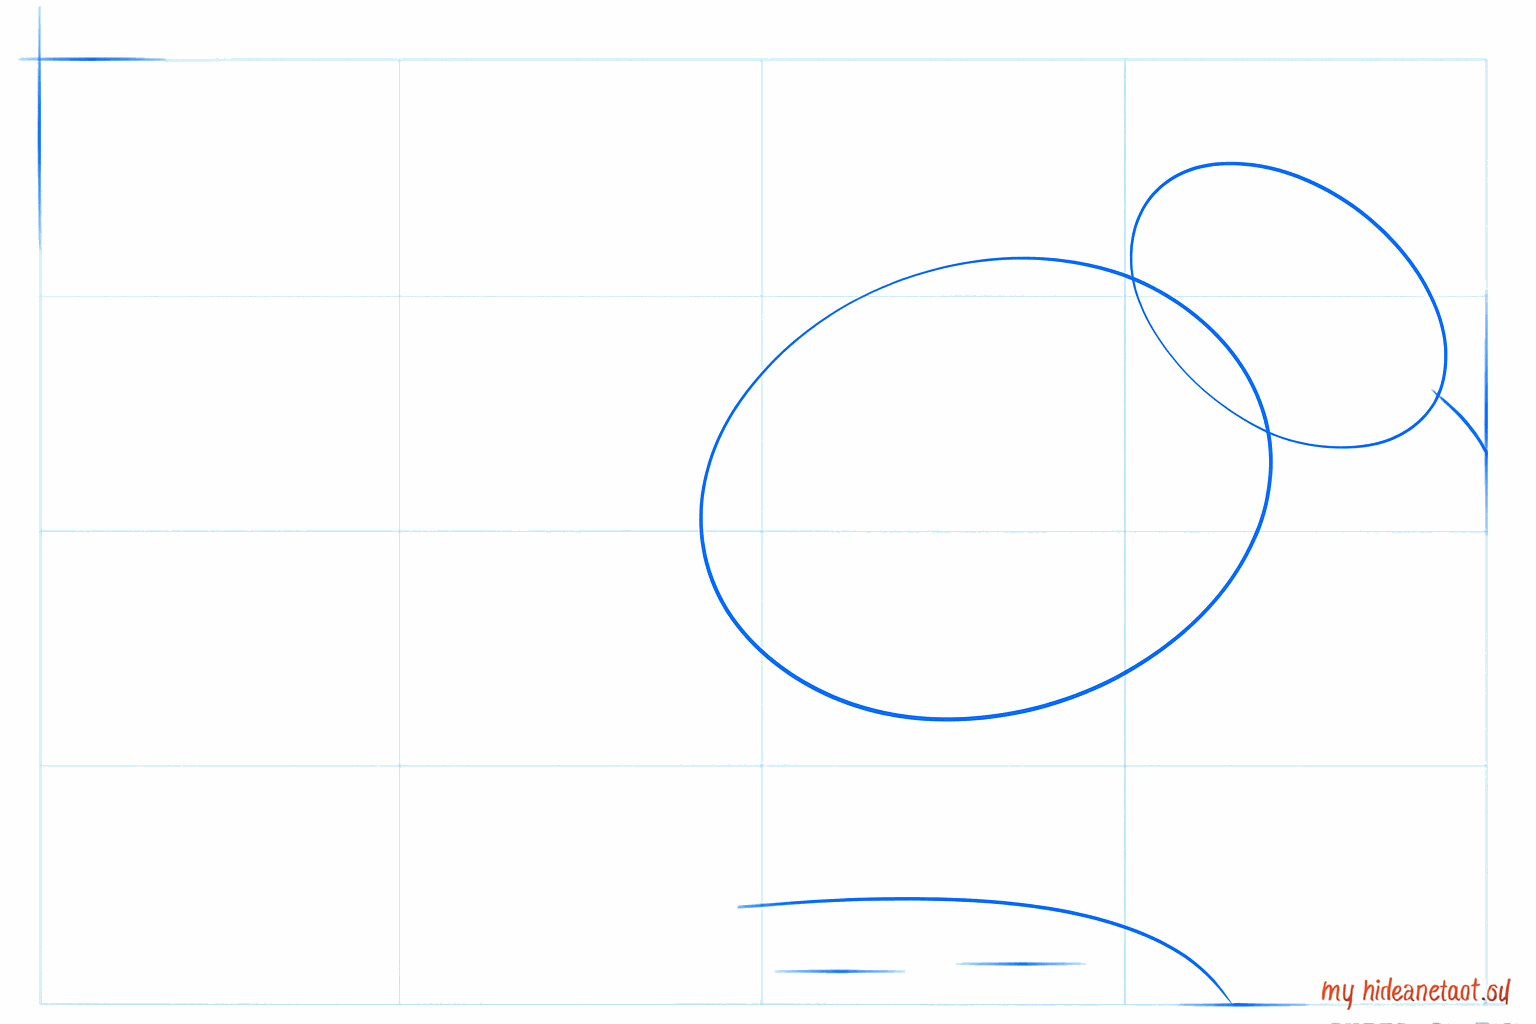
Connect the head to the body with two lines for the neck and sketch a thick branch under the bird.
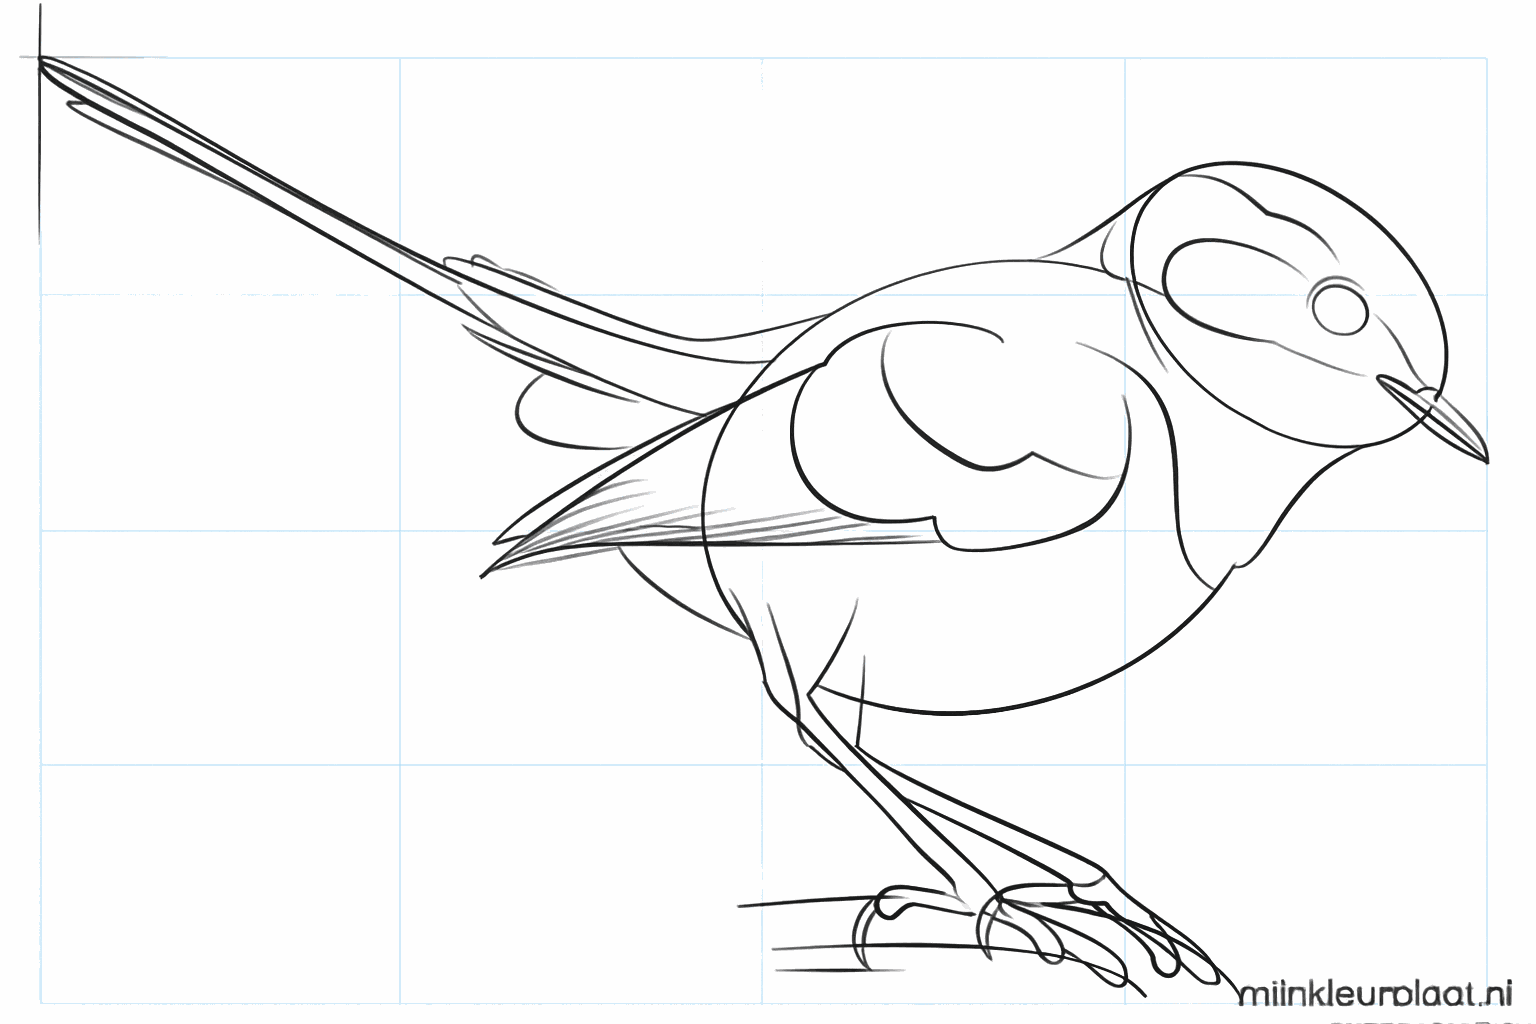
Draw a long diagonal line upwards for the tail and place guide lines for the wings and legs.
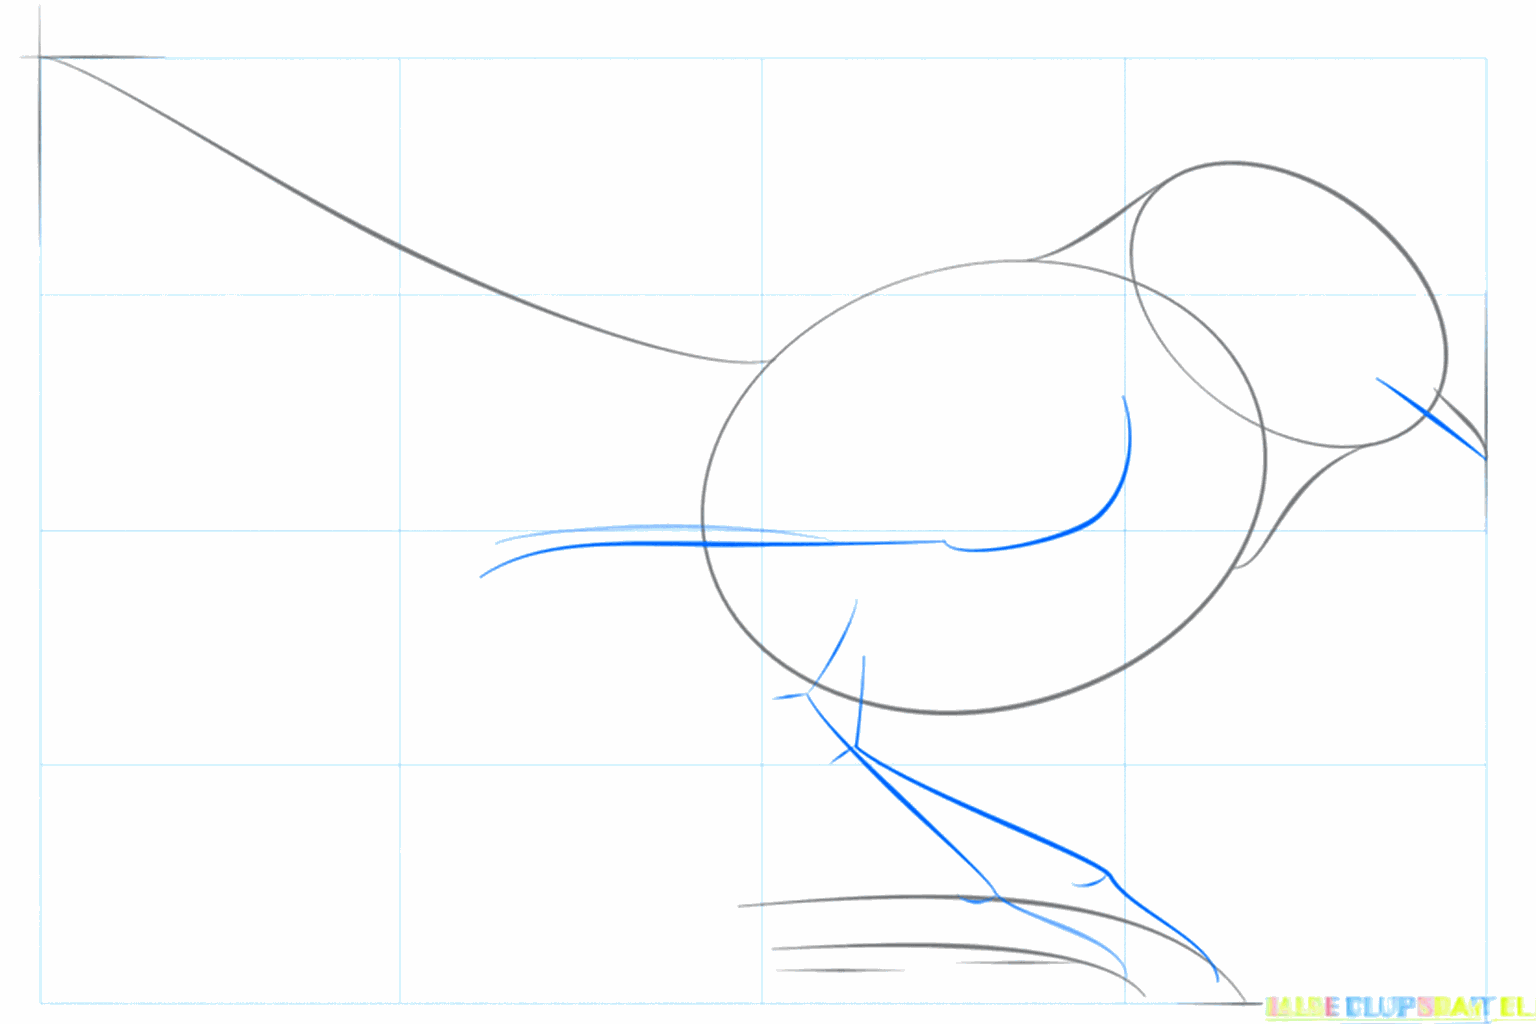
Make the beak a bit thicker and give the wings and legs their first real shape.
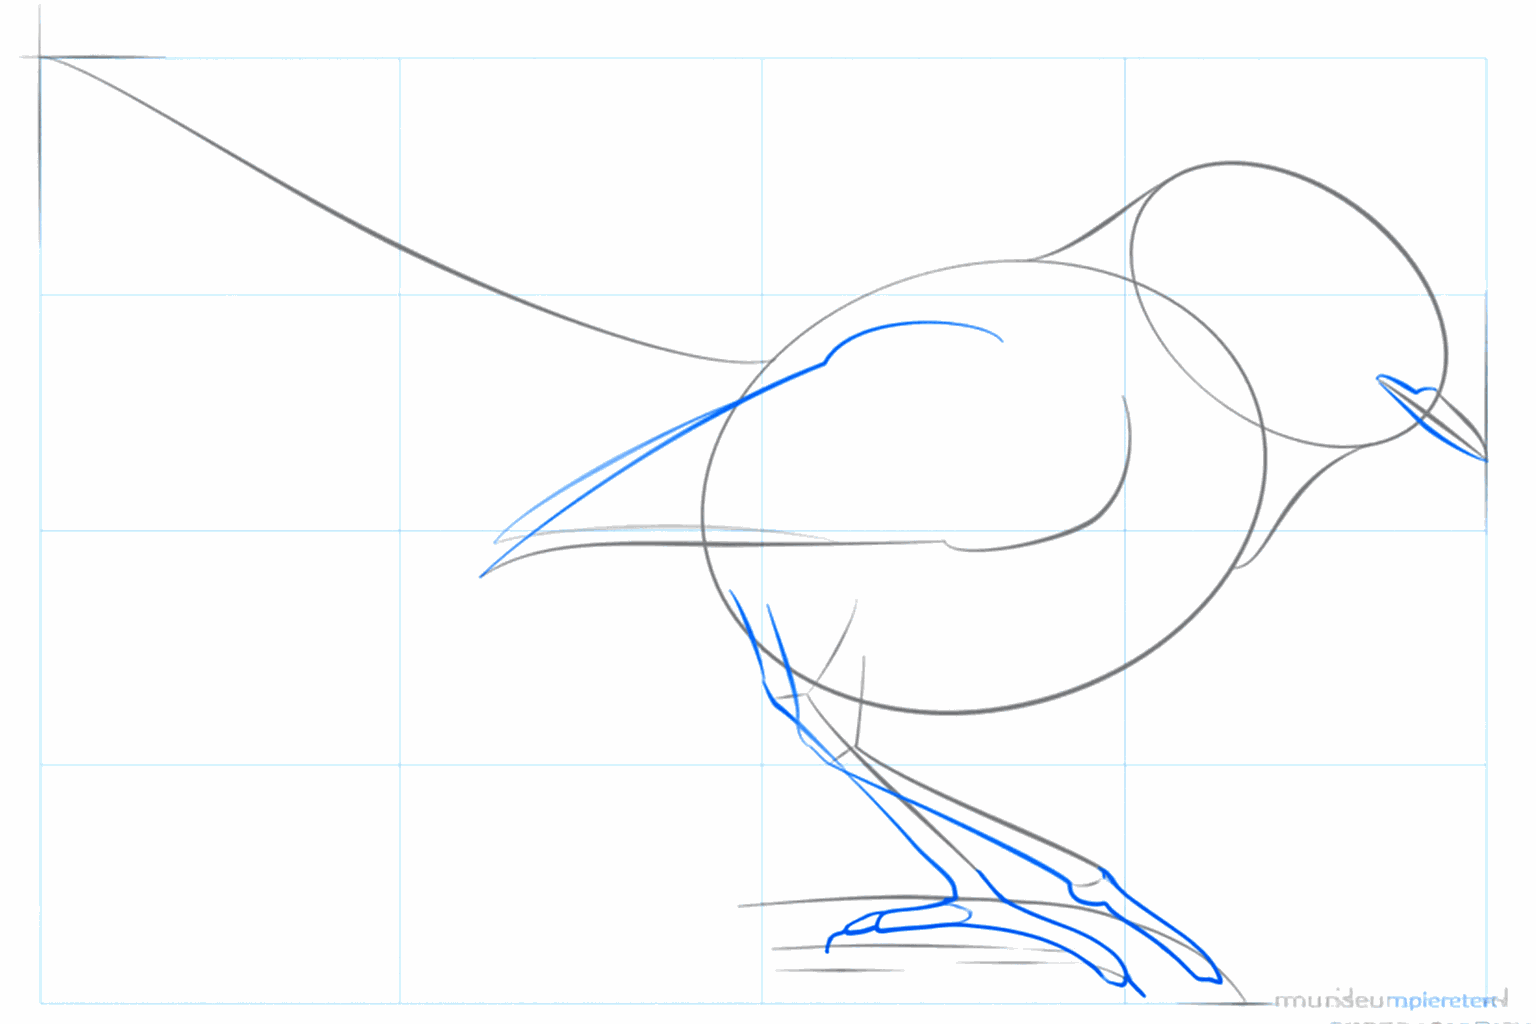
Draw a small round eye in the head and make the tail wider with two long lines.
Give the bird small toes to hold onto the branch and draw extra lines in the wings.
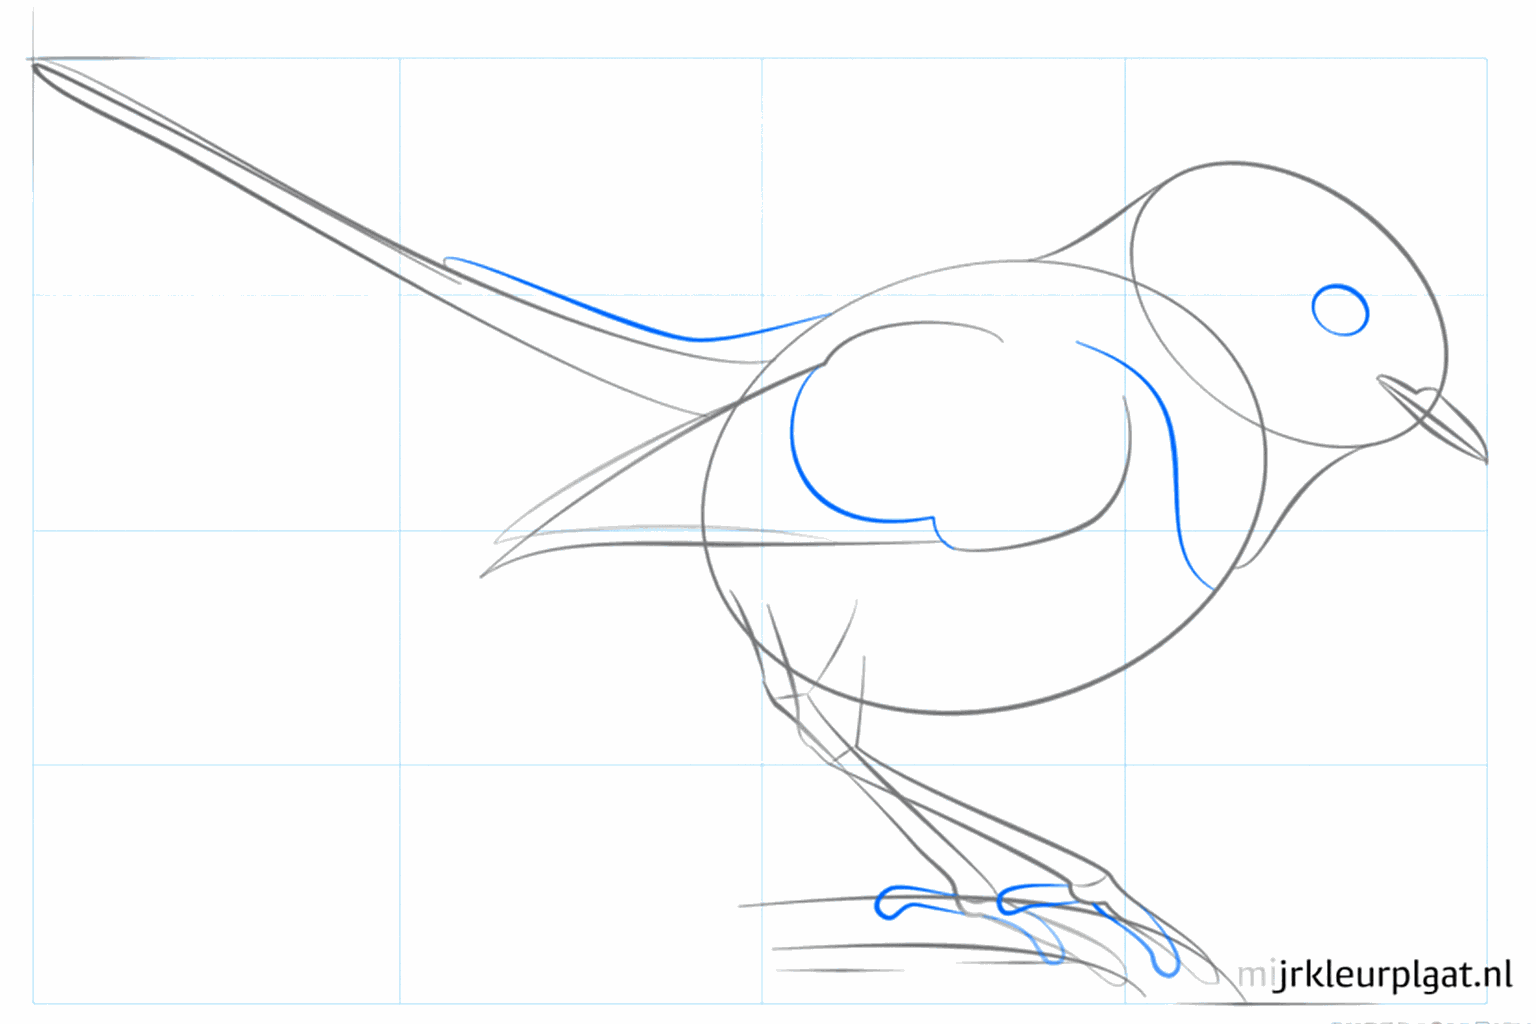
Draw small claws on the toes and add soft lines everywhere for the feathers.
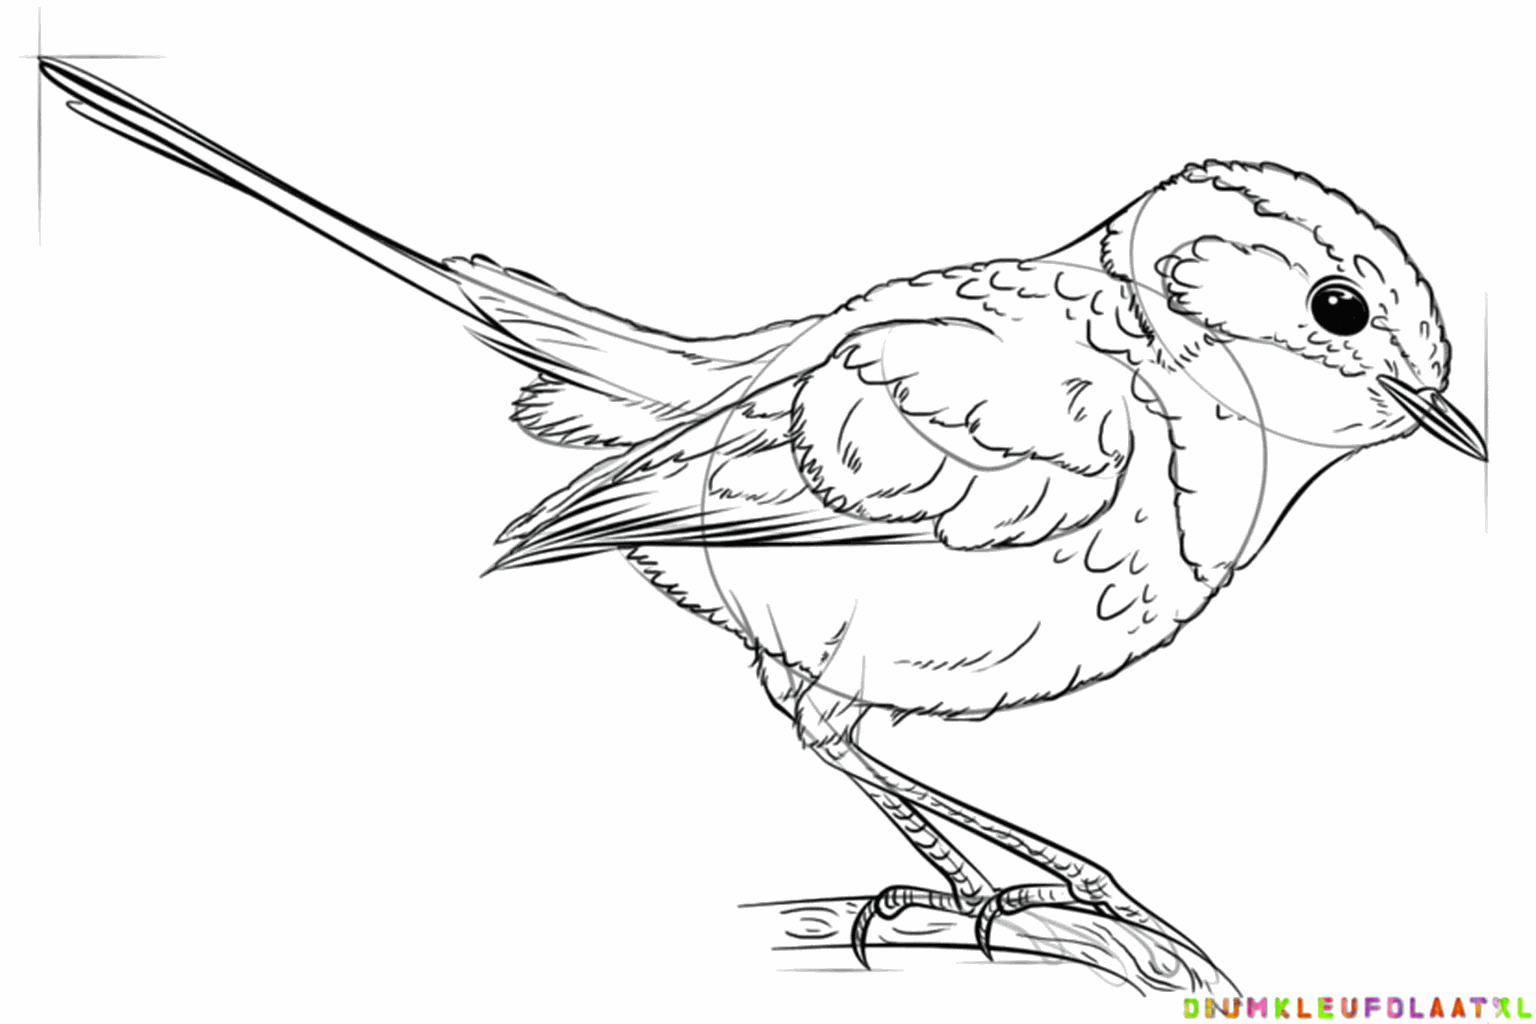
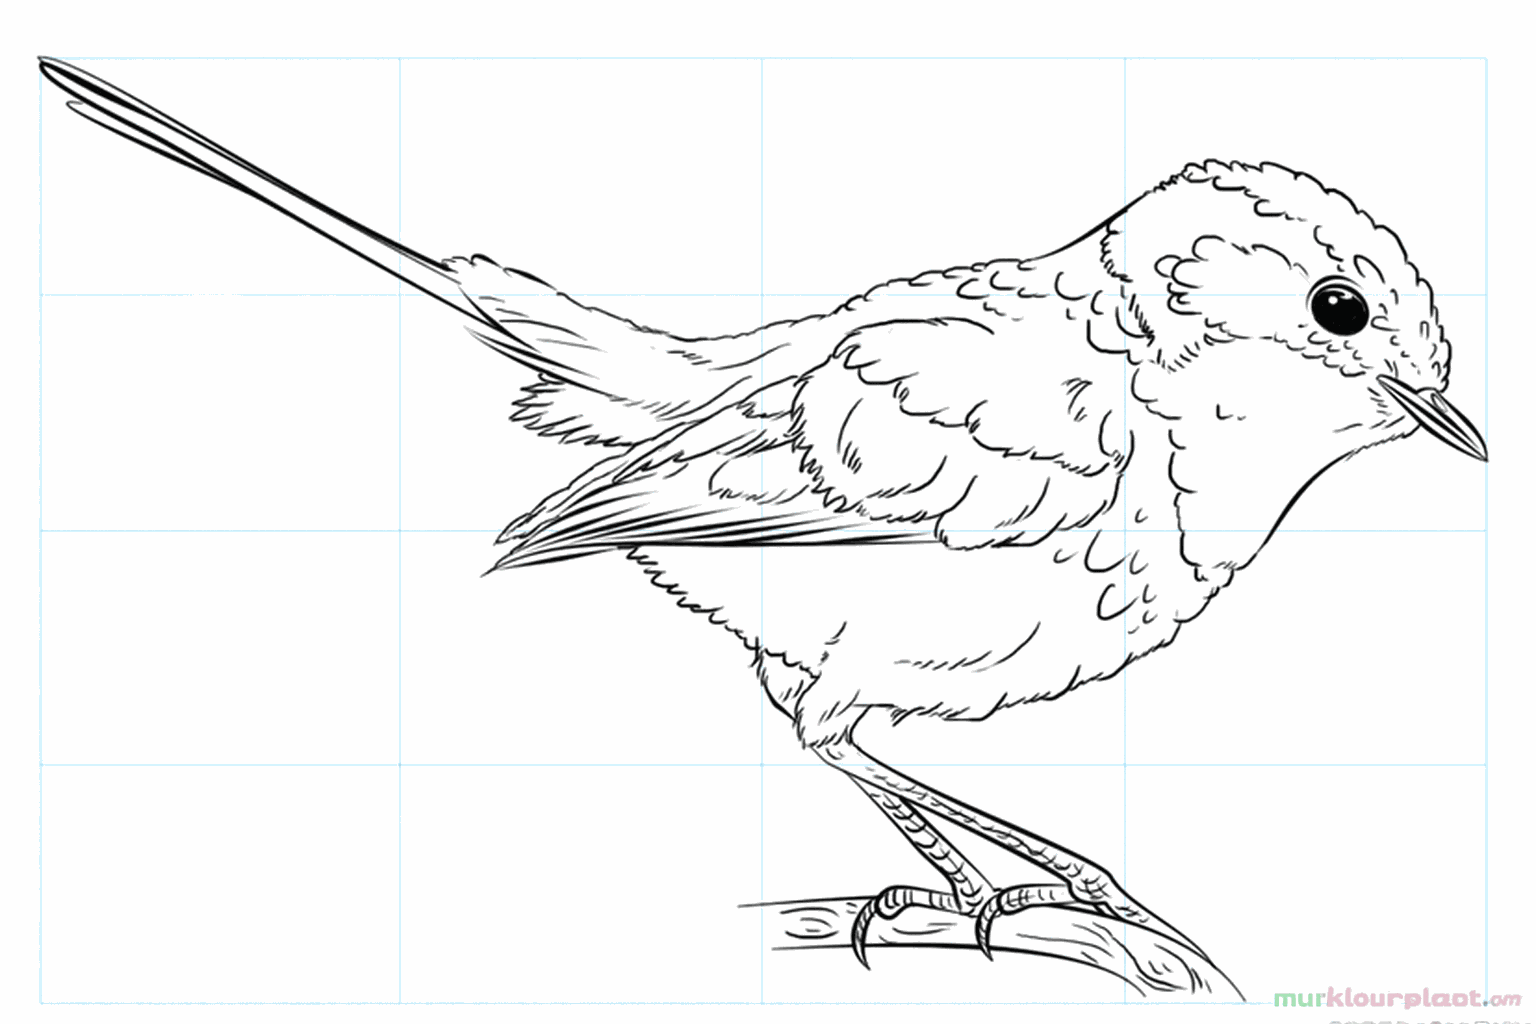
Make the outer lines darker, erase the guide lines, and color your bird beautifully blue!
Frequently asked questions
Which colors do I need?
What if my circle isn't perfectly round?
Should I draw with a pencil or a marker?
How do I draw thin legs?
Coloring pages of blue wren 2
View all blue wren 2 coloring pagesRelated drawing lessons