How to draw a blue jay?
Learn step by step how to draw a blue jay. Follow the 9 steps and print the tutorial.
1

Draw a diagonal line for the branch and a small circle for the bird's head.
2
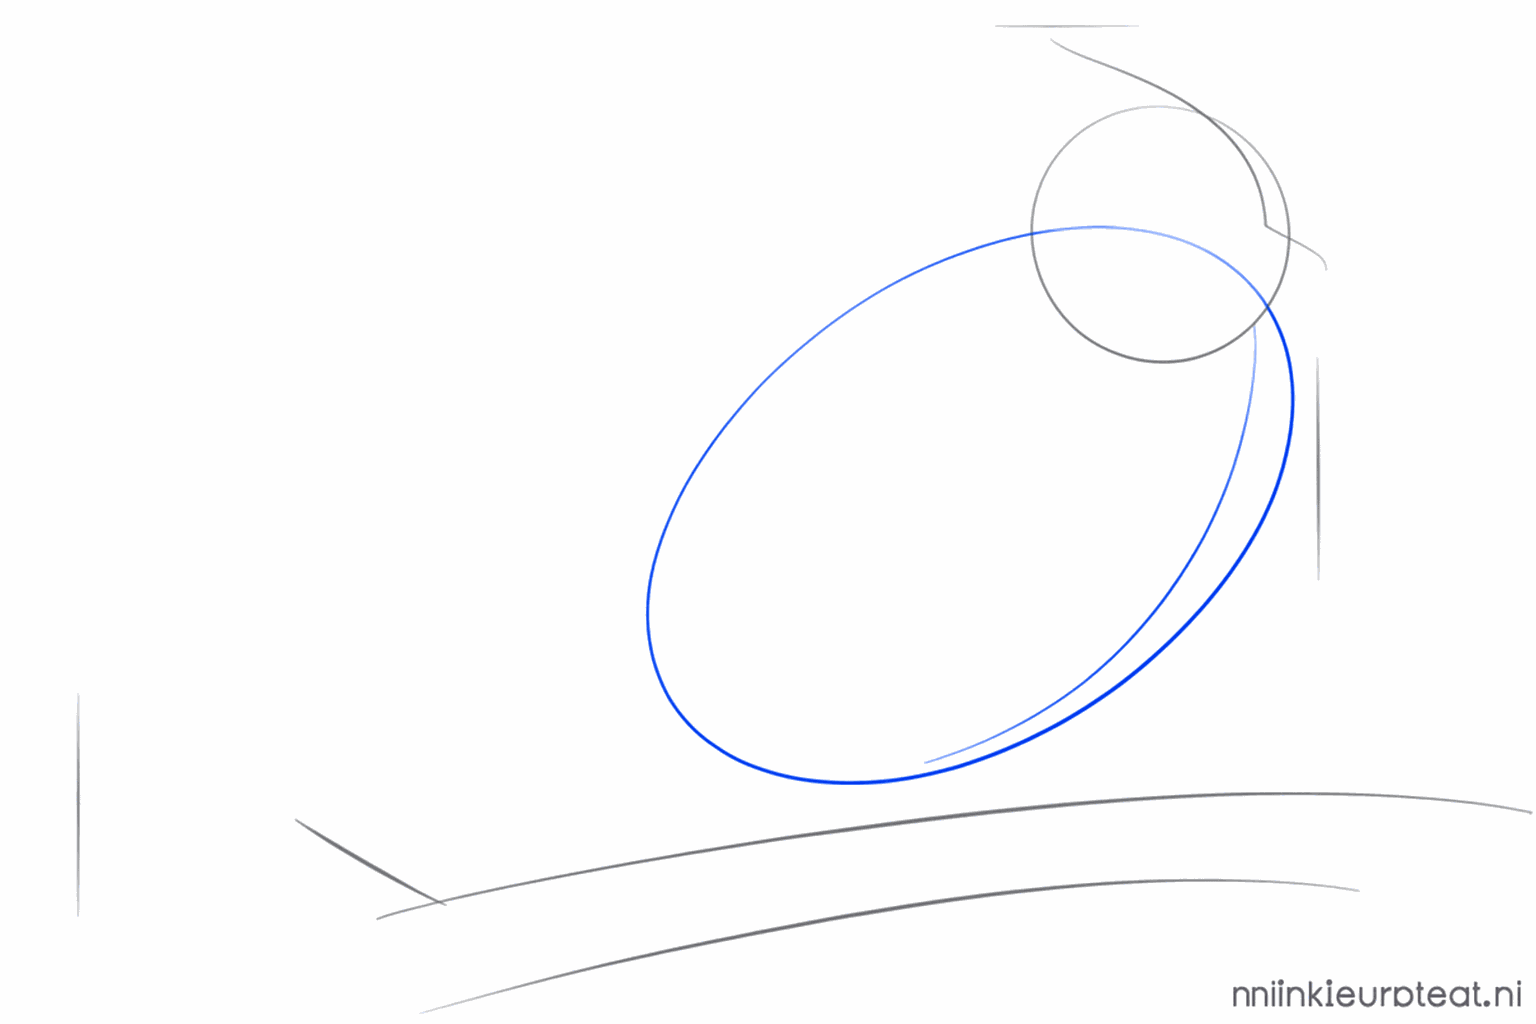
Draw a larger oval under the head to create the blue jay's body.
3
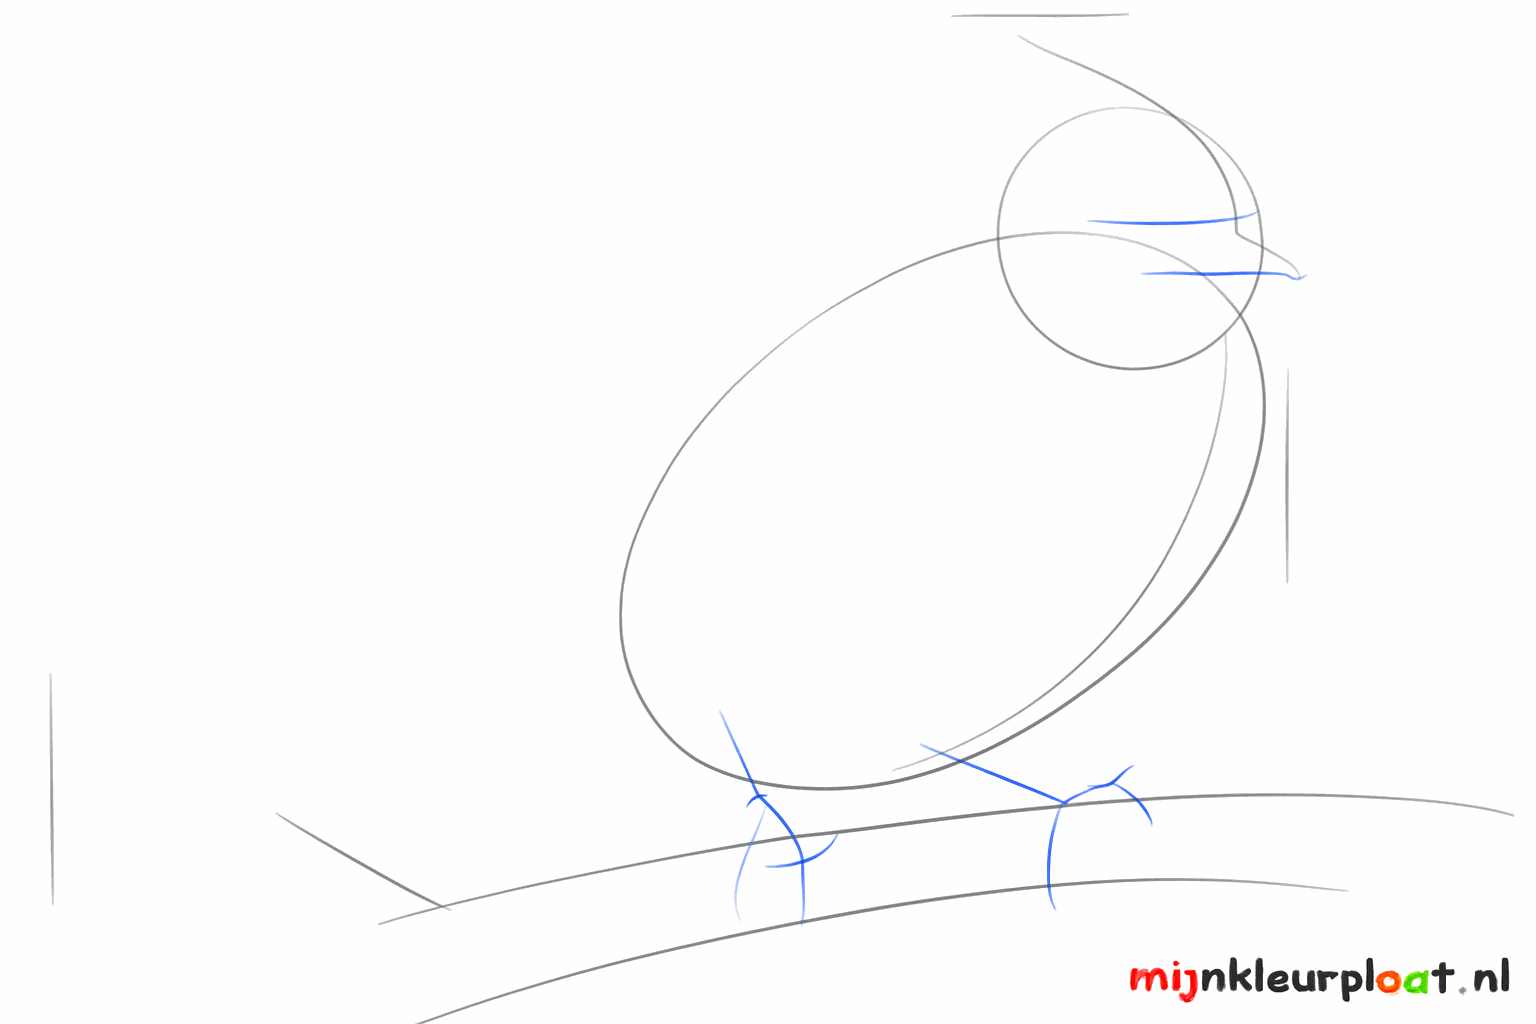
Place two short lines under the body where the bird's legs will go later.
4
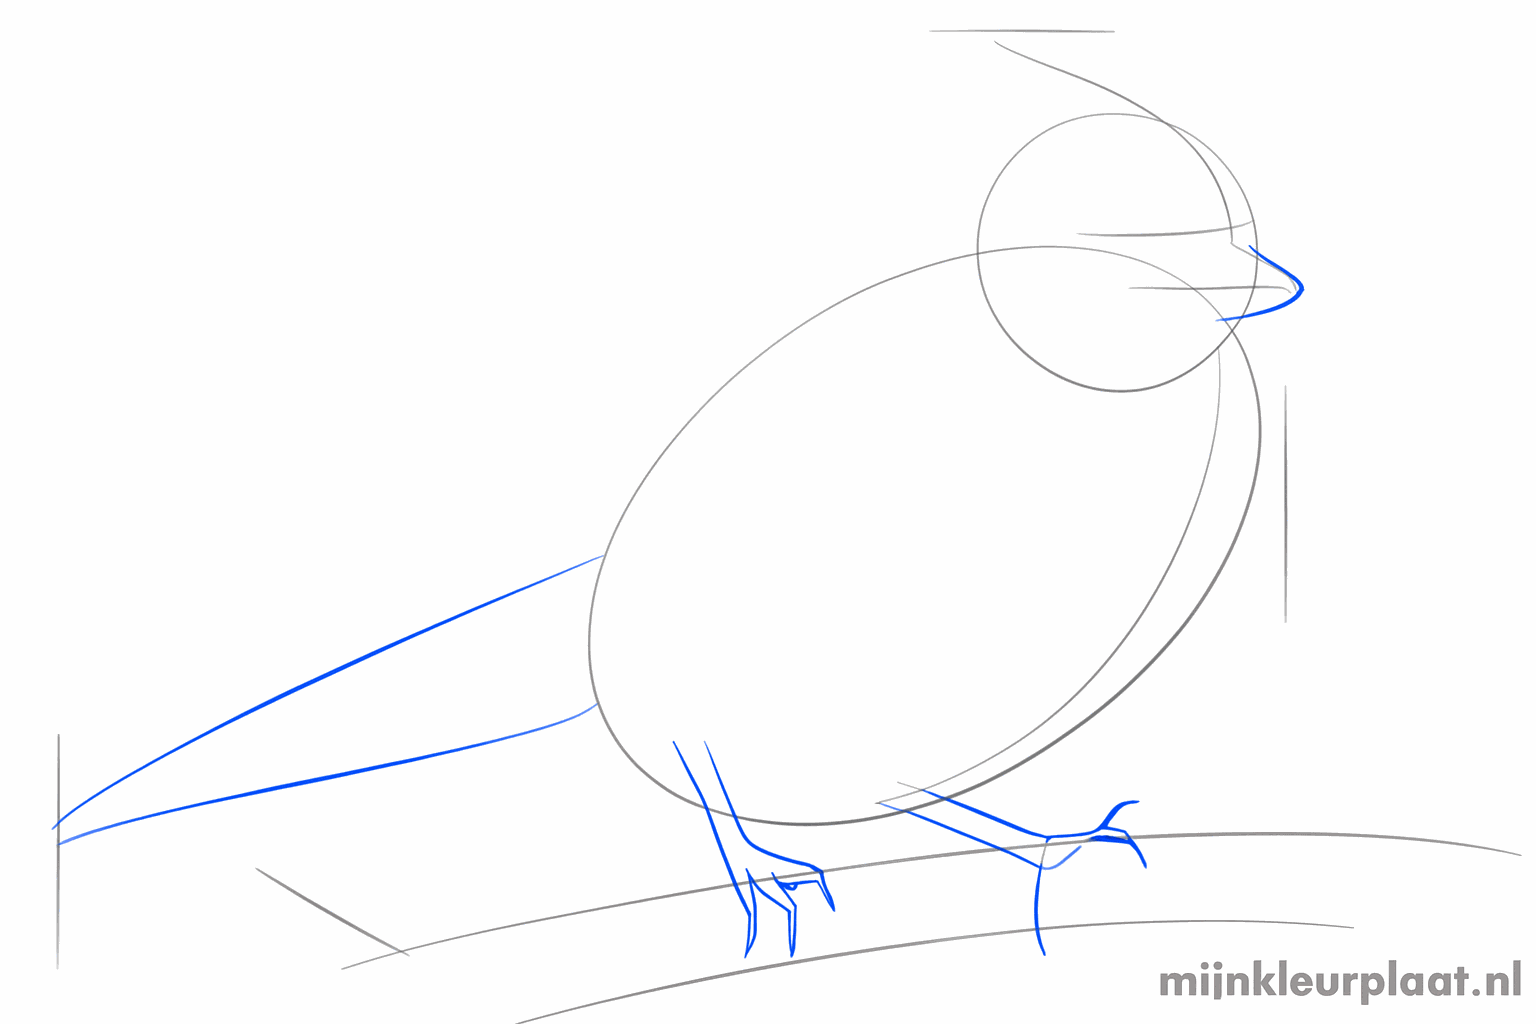
Draw a small beak at the front of the head and a long rectangle for the tail.
5
Finish the legs with small toes that grip firmly around the branch.
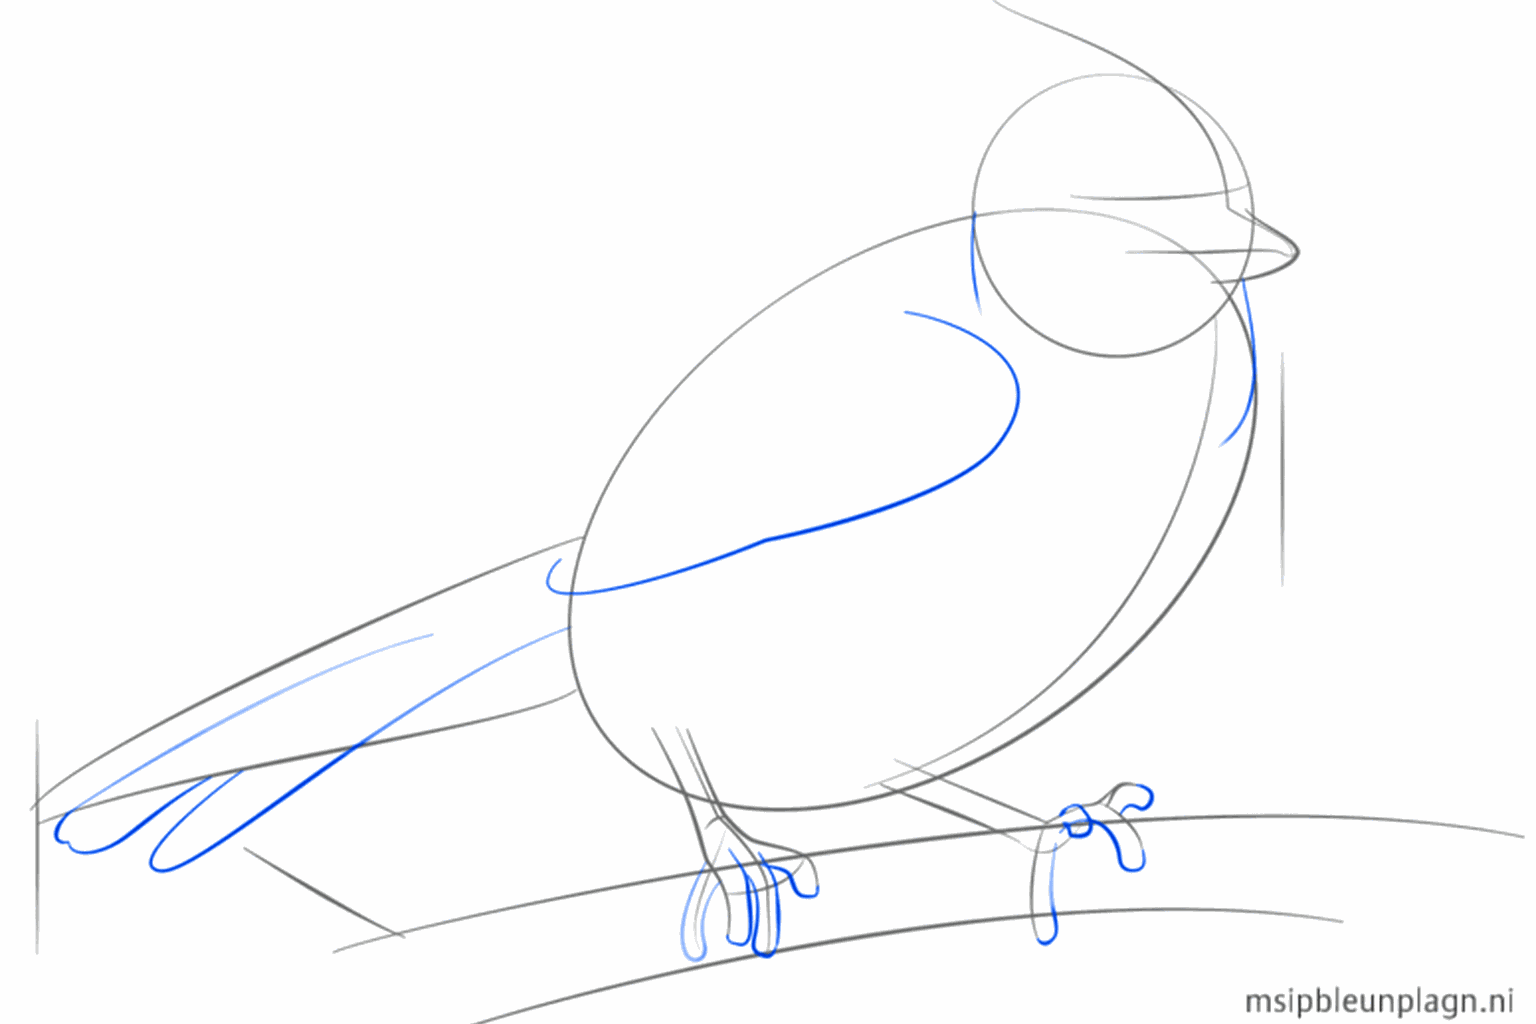
6
Draw a large curved line in the middle of the body for the jay's wing.
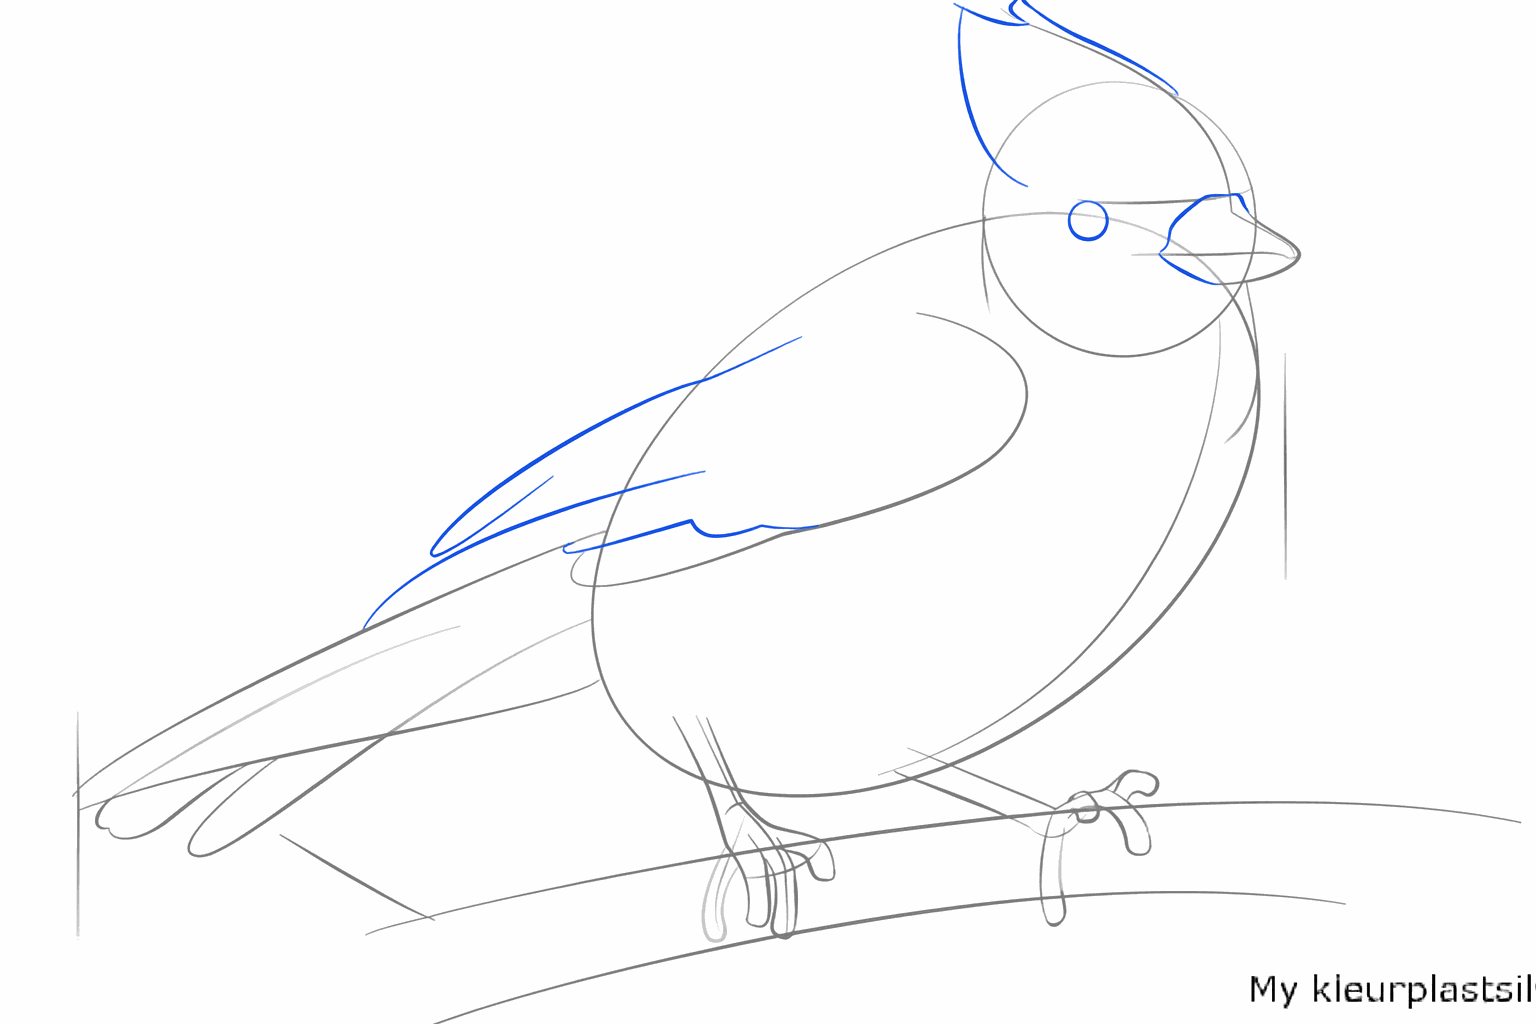
7
Give the bird a cool crest on top of its head and draw a small round eye.
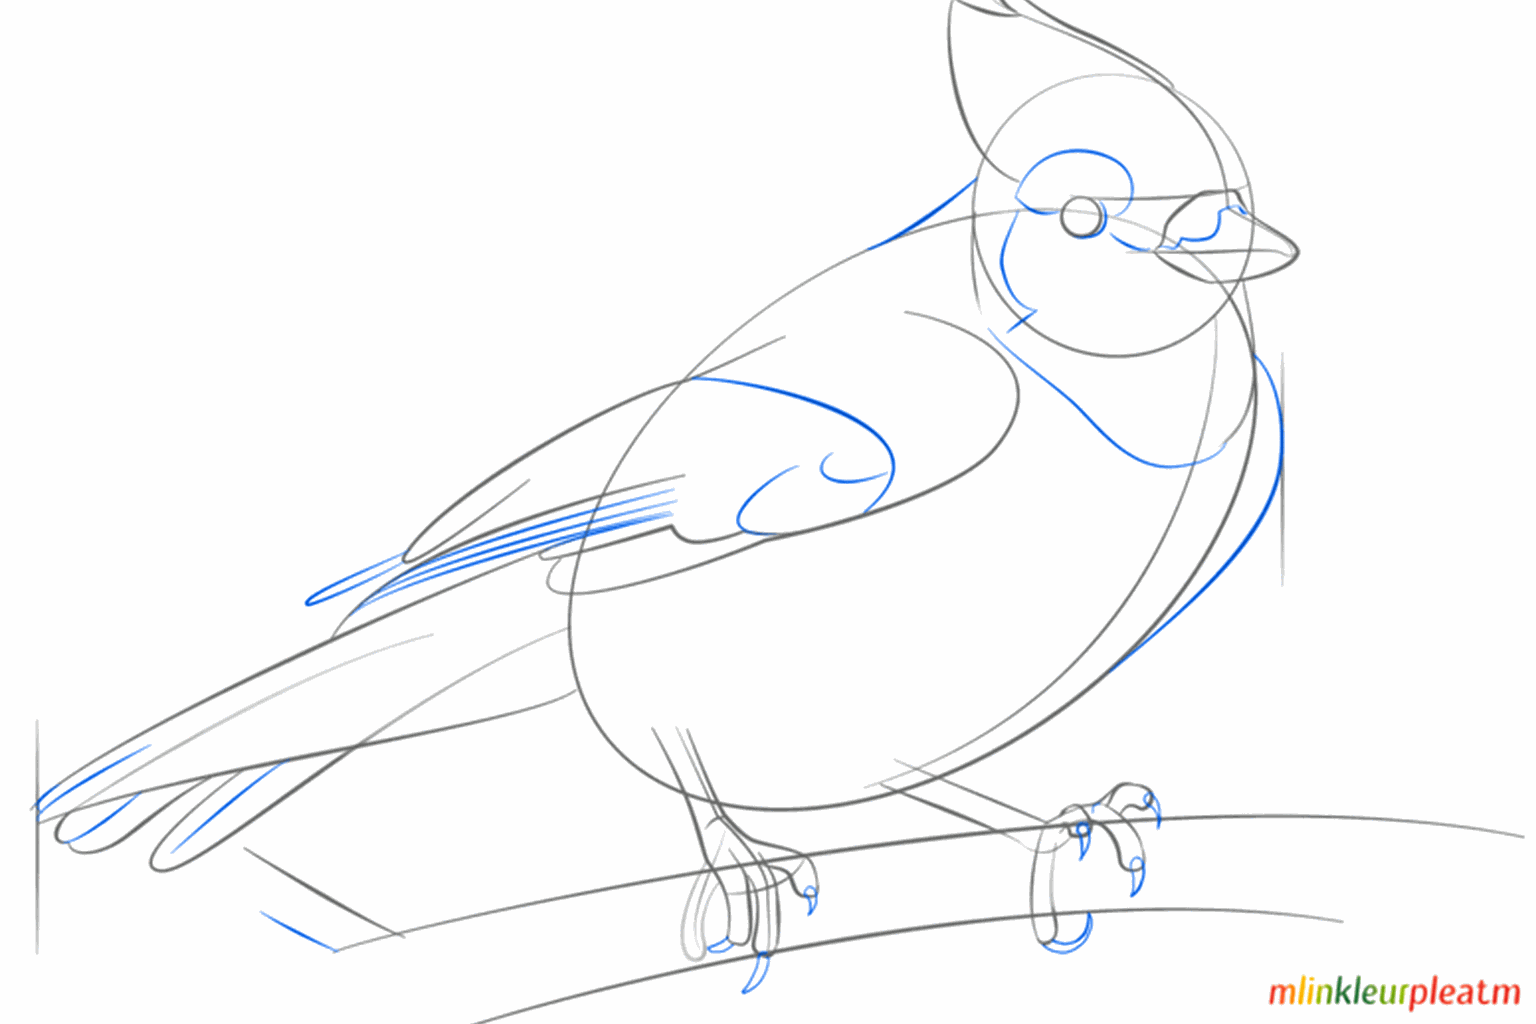
8
Add extra lines to the wing and the tail for the beautiful feathers.
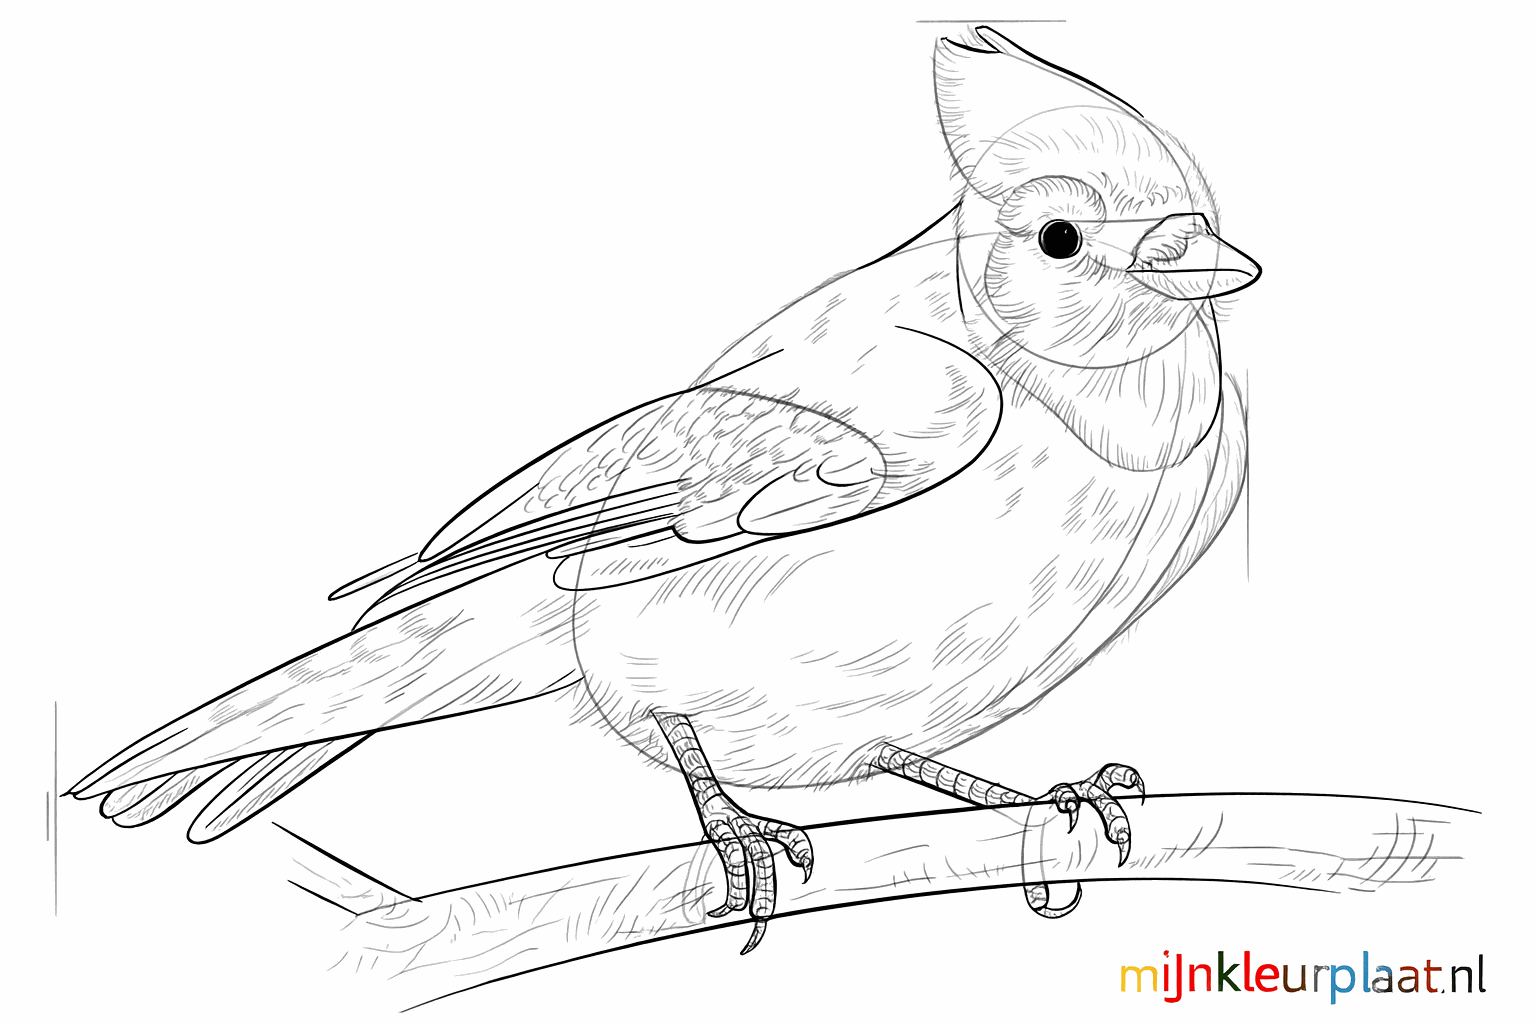
9

Erase the guide lines and trace the outer lines of your blue jay extra thickly.