How to draw a baby cougar 2?
Learn step by step how to draw a baby cougar 2. Follow the 8 steps and print the tutorial.
Learn how to draw a little cougar climbing on a tree trunk. Follow these simple steps and create your own wild animal!
Intro
Hi little artist! Today we are going to draw a super cute baby cougar. This little predator still looks very sweet and loves to climb trees. Grab your pencil and eraser, and let's get started together!
Summary
In this drawing lesson, you will learn to draw a baby cougar using simple circles and lines. We build the animal step by step, from the head to the tail and the tree trunk.
Steps
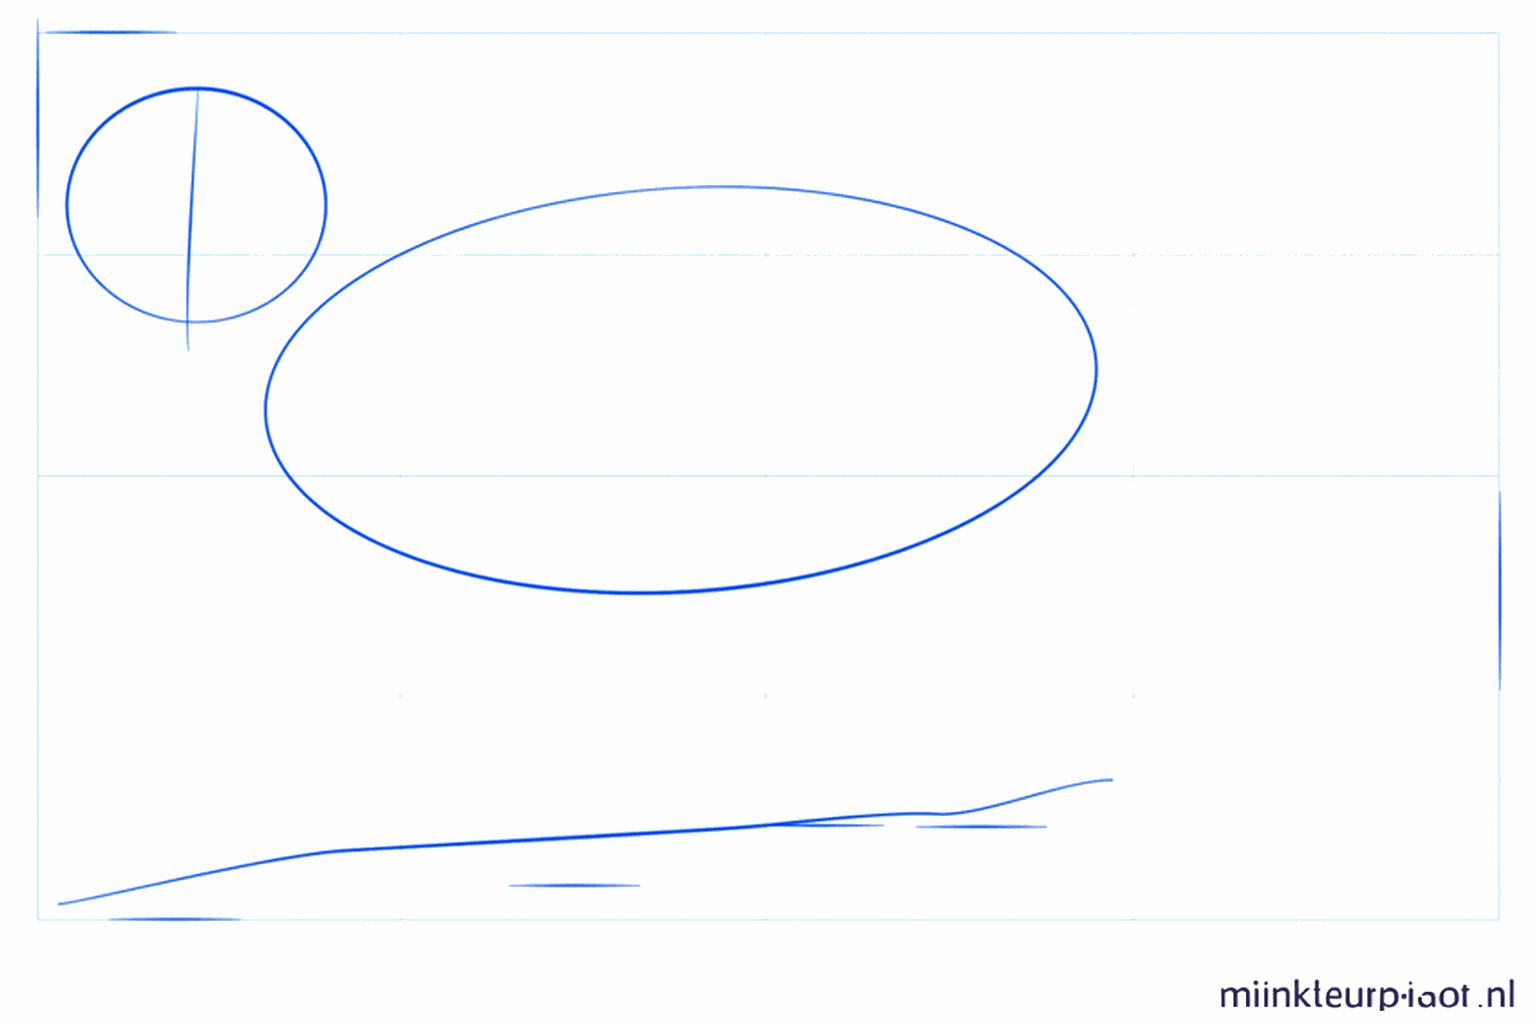
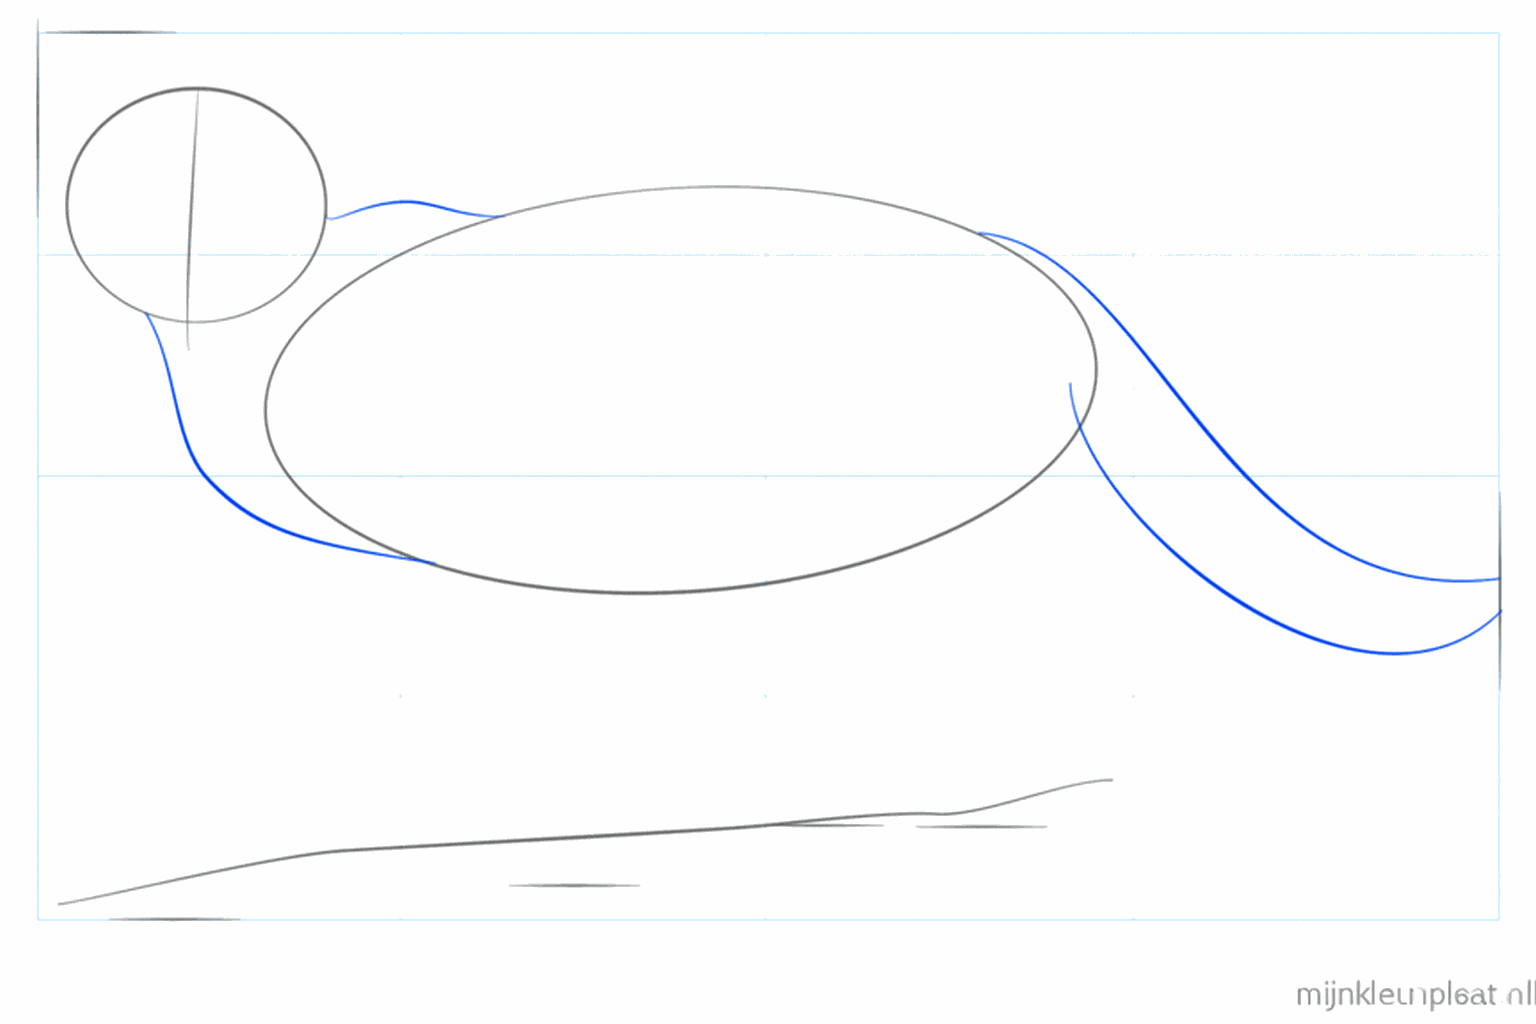
Draw a circle for the head and a larger oval for the body, with a line for the tree trunk underneath.
Connect the head and the body with two short lines for the neck and draw a long arc for the tail.
Draw straight lines where the cougar's legs should be and guide lines in the face.
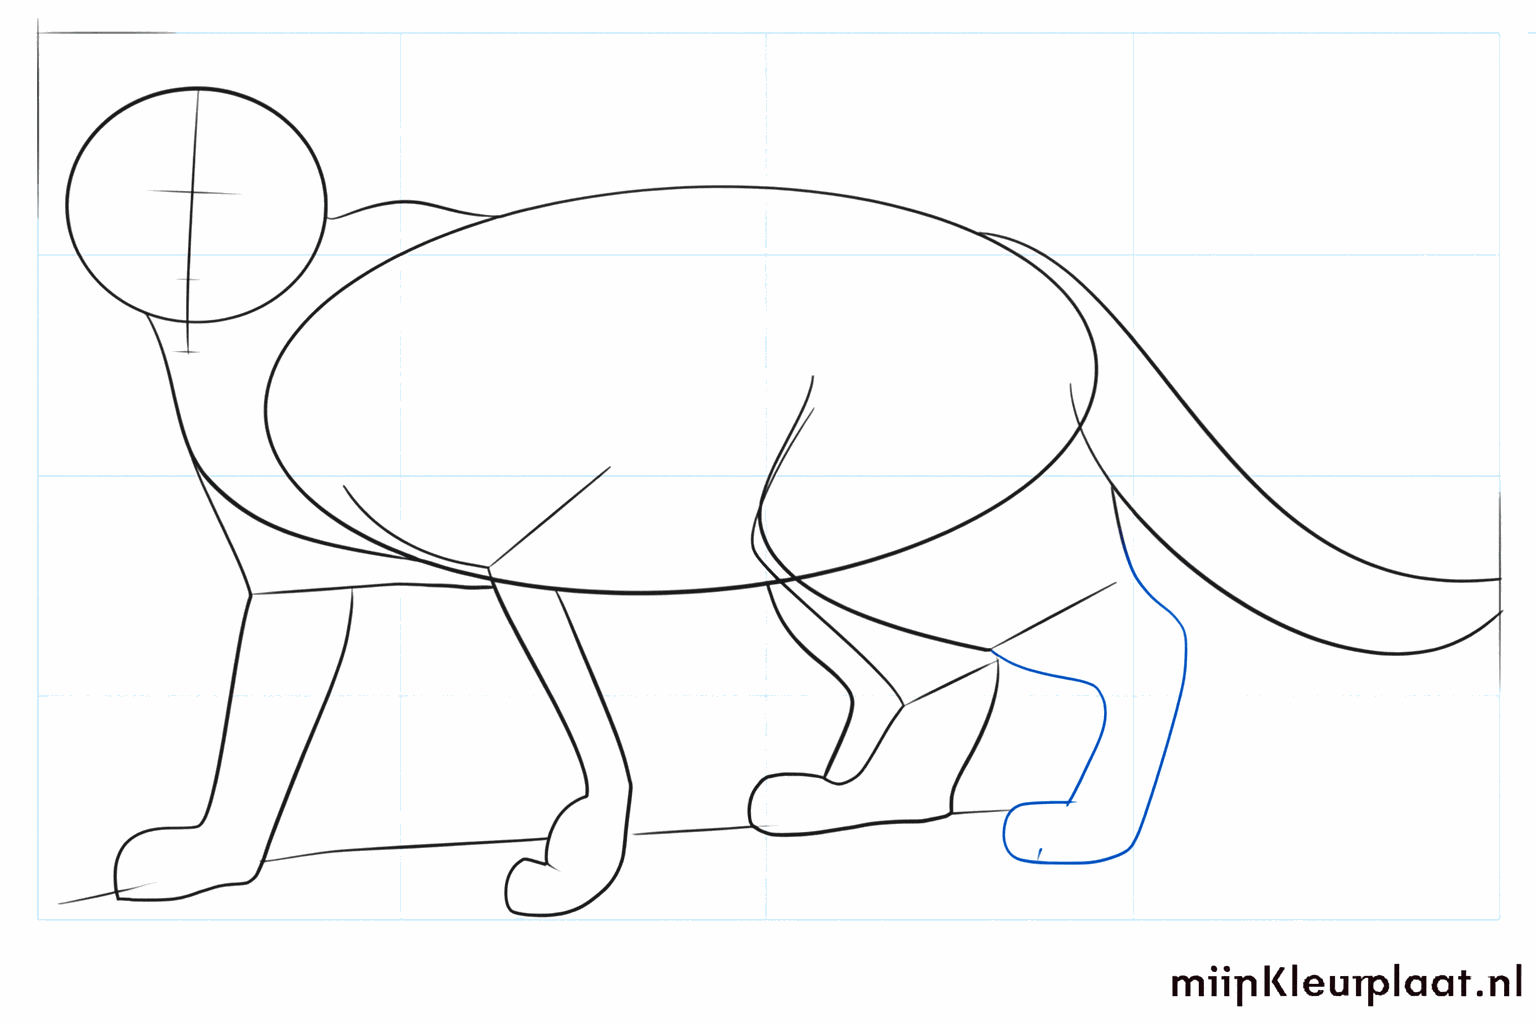
Make the legs thicker by drawing ovals around the lines and add two small arcs for the ears.
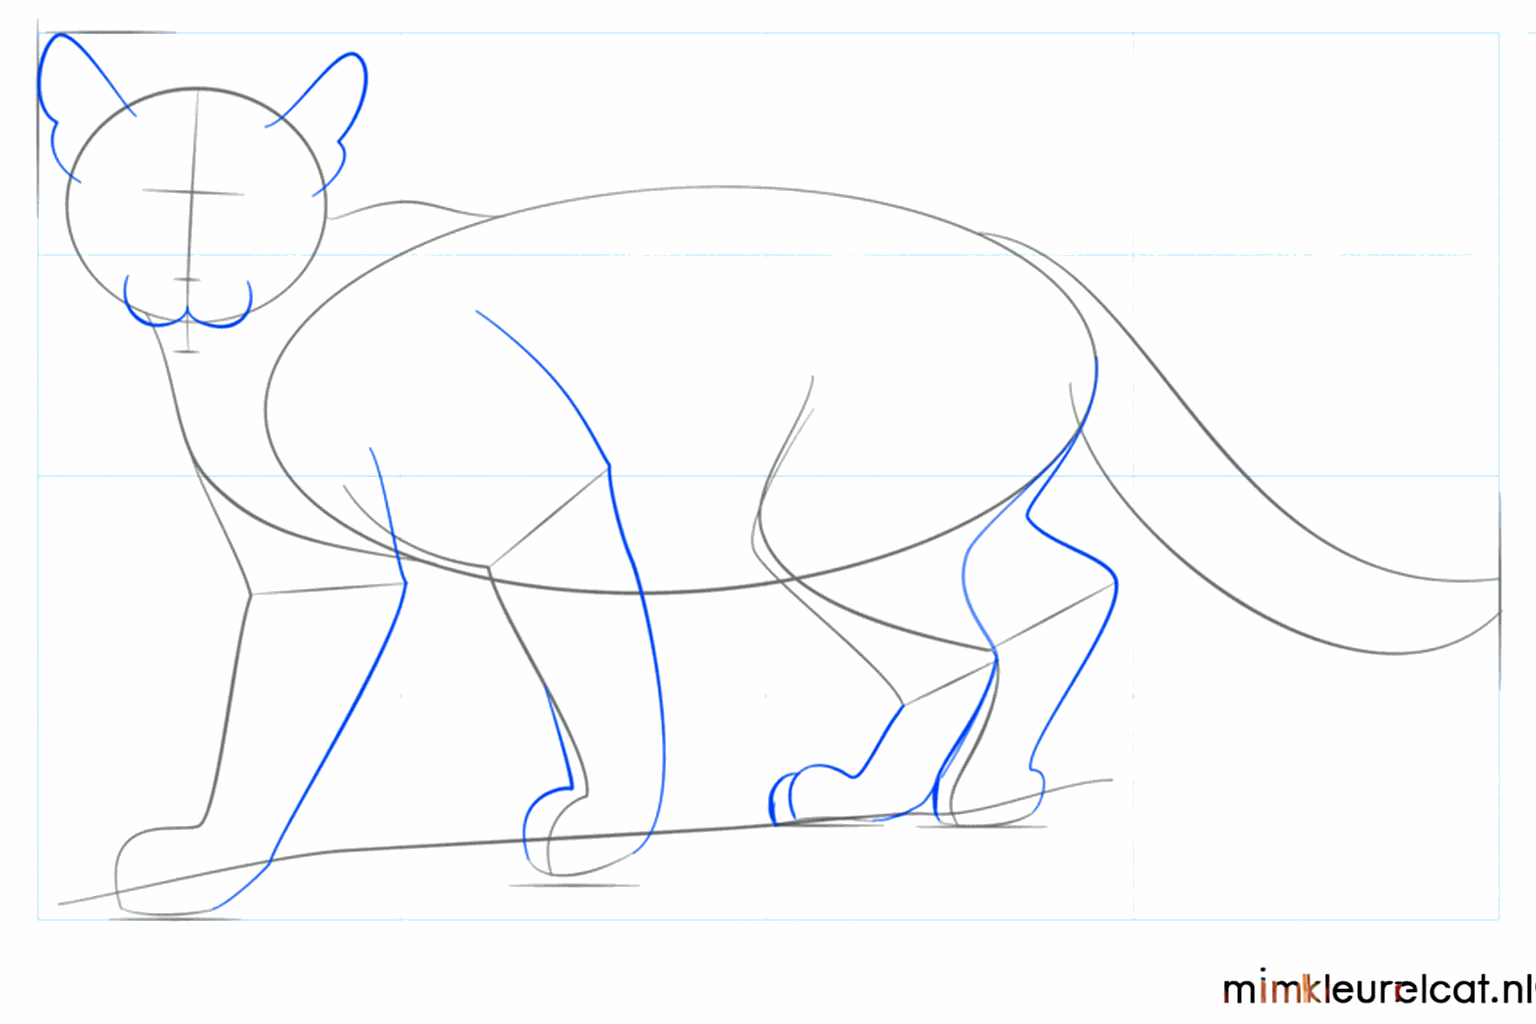
Draw a small snout at the bottom of the guide lines in the face and give the legs round feet.
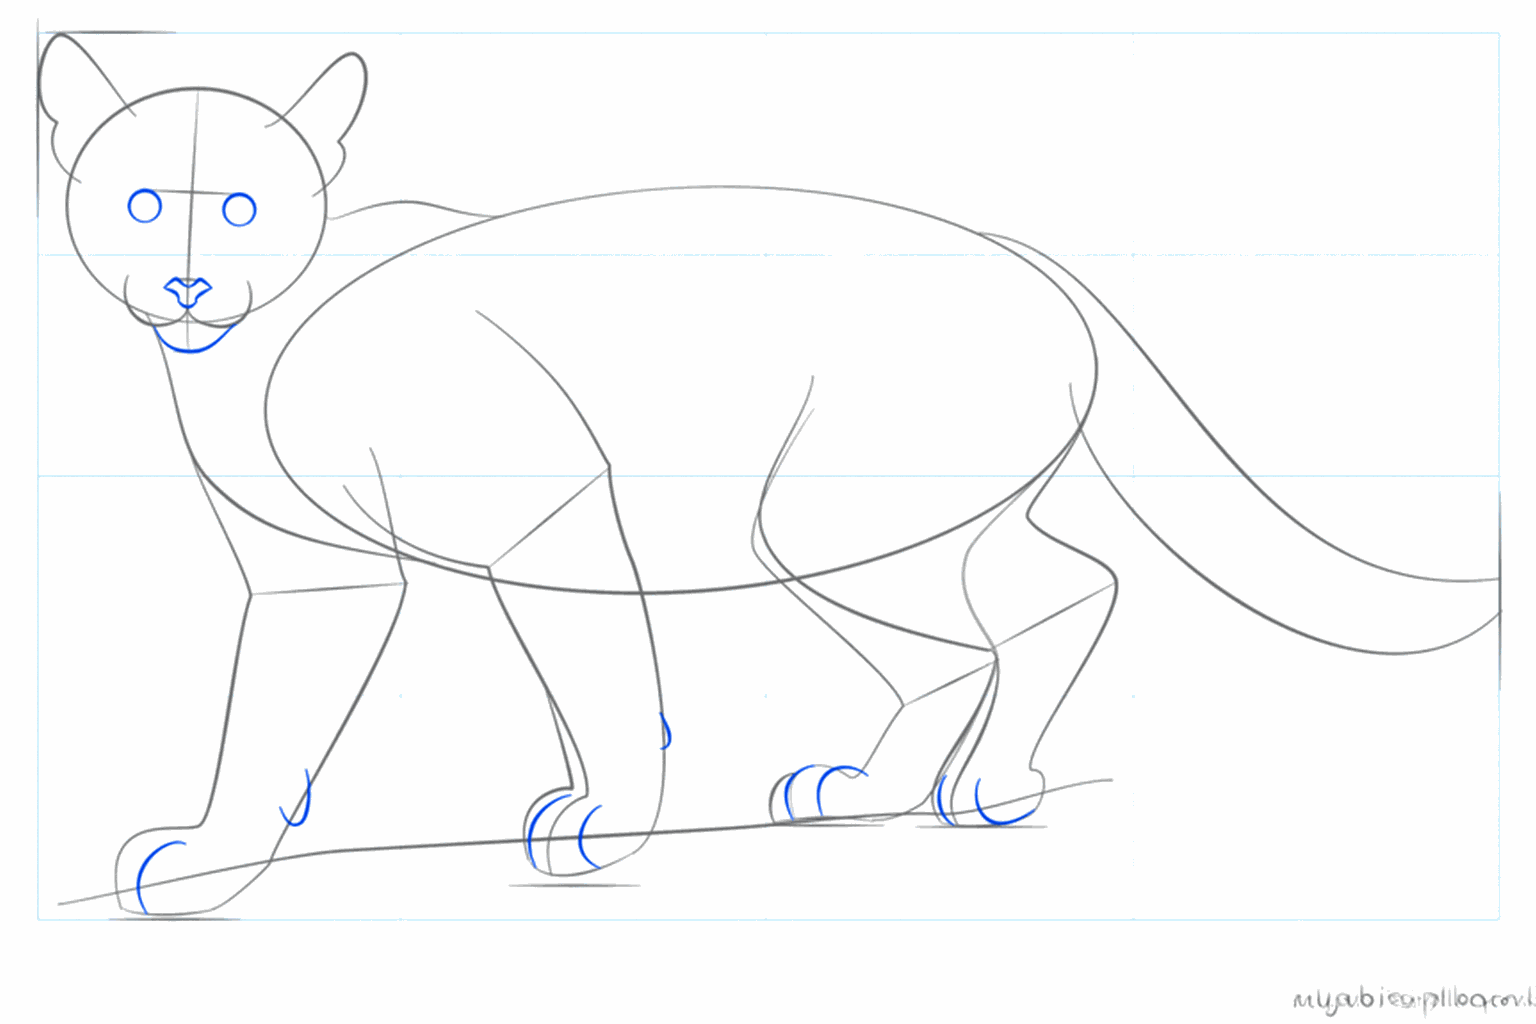
Draw two round eyes and a small triangle for the nose, and make the ears slightly more detailed.

Now draw the toes on the paws and finish the tree trunk under the cougar with some lines for the bark.
Go over the most important lines with a dark pencil and carefully erase the guide circles.
Frequently asked questions
What colors does a baby cougar have?
Do I need to use a ruler?
What if I make a mistake?
How do I make the cougar look extra real?
Coloring pages of baby cougar 2
View all baby cougar 2 coloring pagesRelated drawing lessons