How to draw a albatross 2?
Learn step by step how to draw a albatross 2. Follow the 8 steps and print the tutorial.
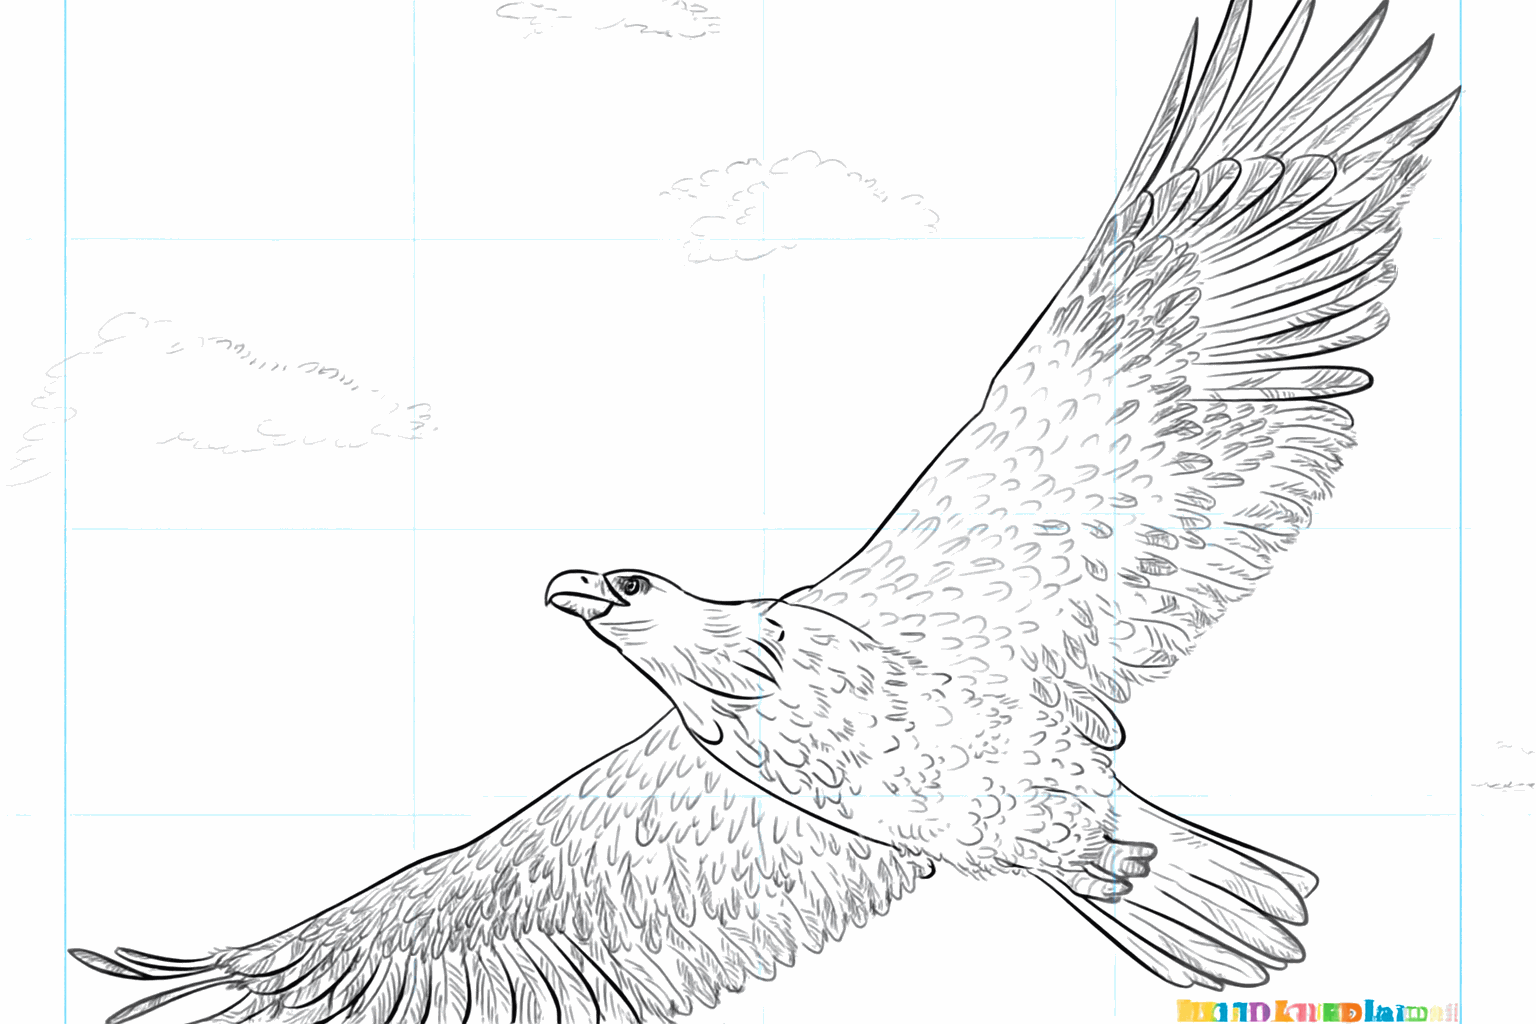
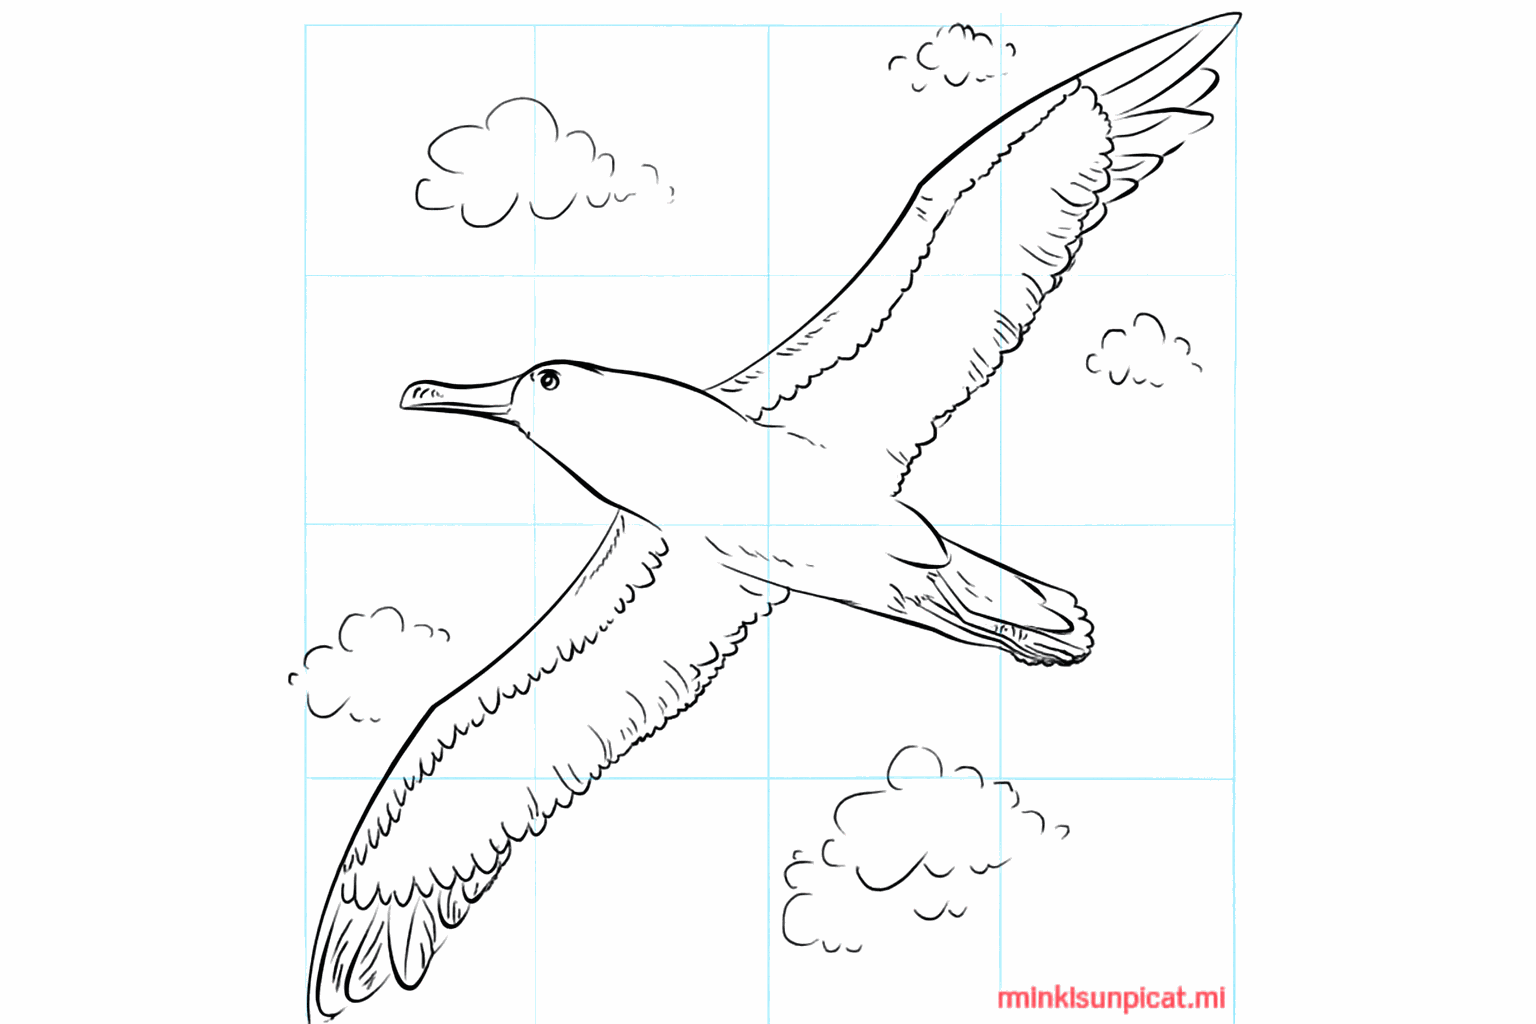
Learn how to draw an impressive albatross with this easy step-by-step drawing lesson for kids!
Intro
Hi young artist! Today we are going to draw an albatross, a bird that is super good at soaring over the vast ocean. With a few simple shapes, you can conjure this bird onto your paper. Grab your pencil and let's get started together!
Summary
In this drawing lesson, you will learn to draw an albatross using circles and ovals. We start with the basics and gradually add more details like wings and feathers.
Steps
Draw a small circle for the head and a large horizontal oval for the bird's body.
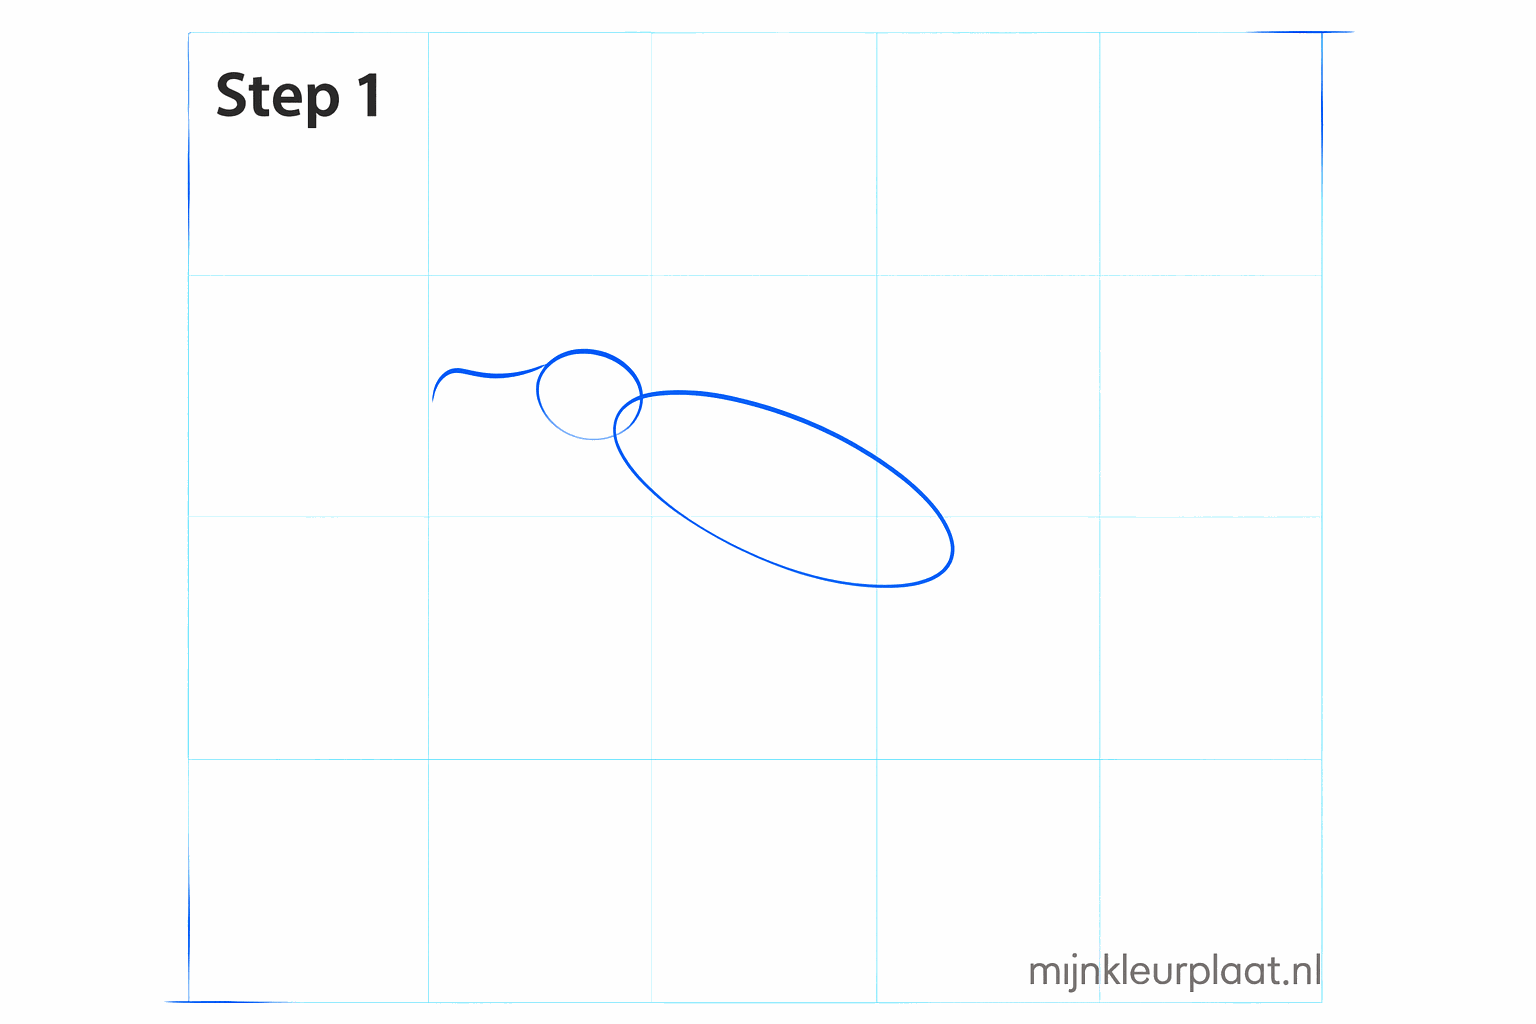
Connect the head to the body by drawing two curved lines for the neck.
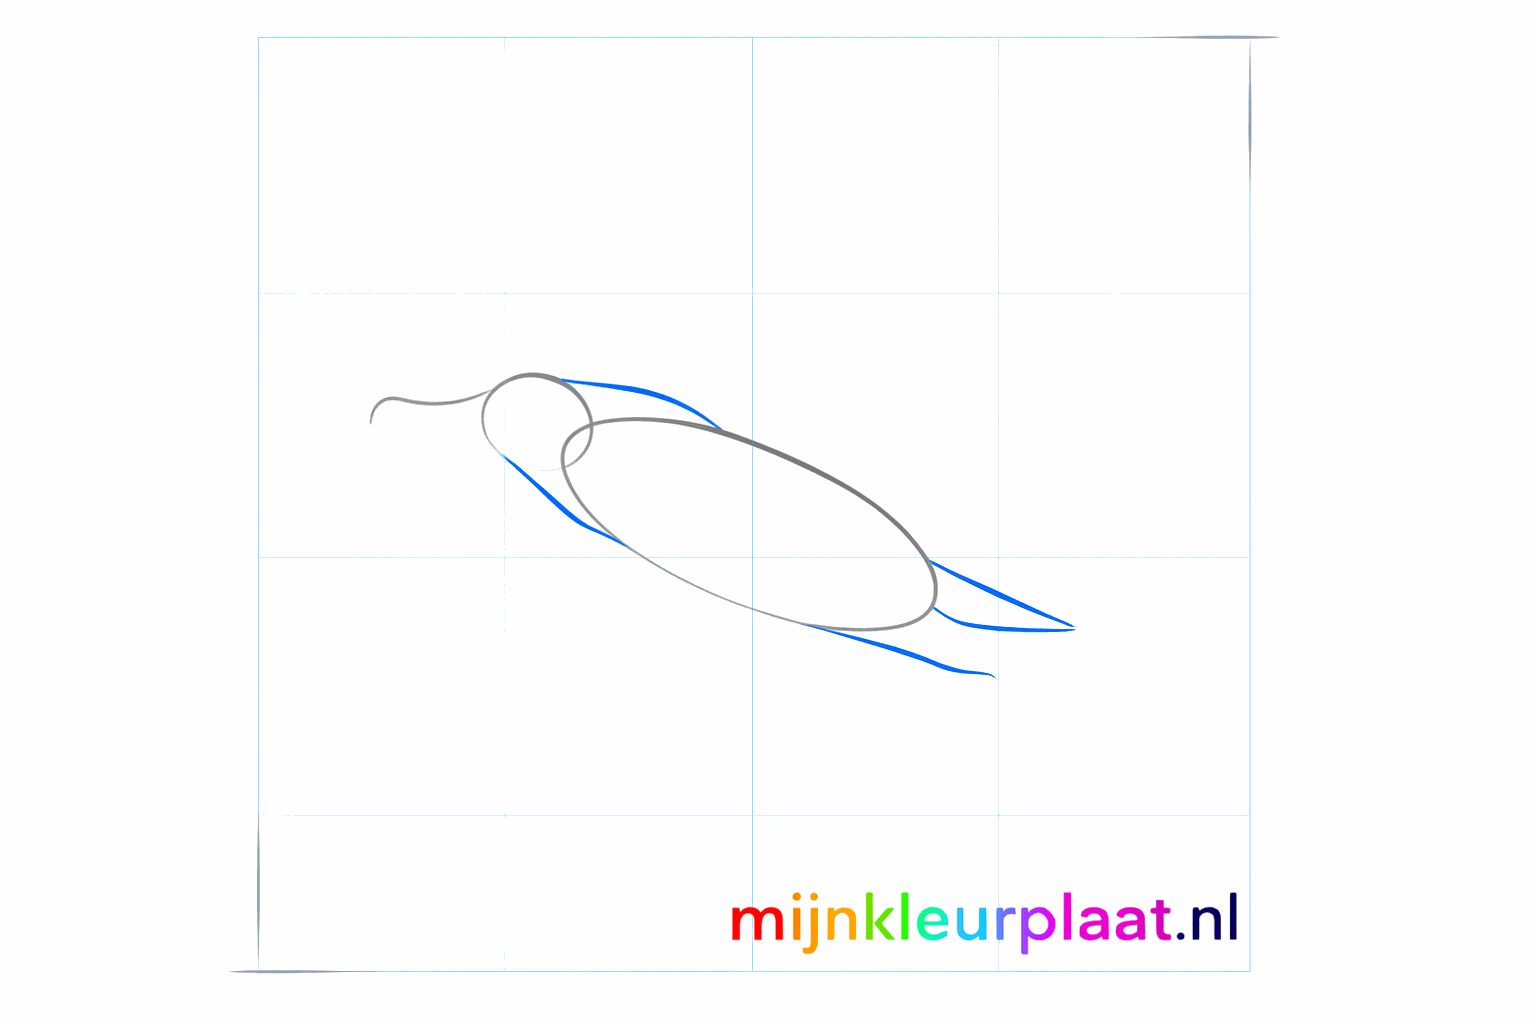
Place a long straight line from the head for the beak and determine where the legs will go.
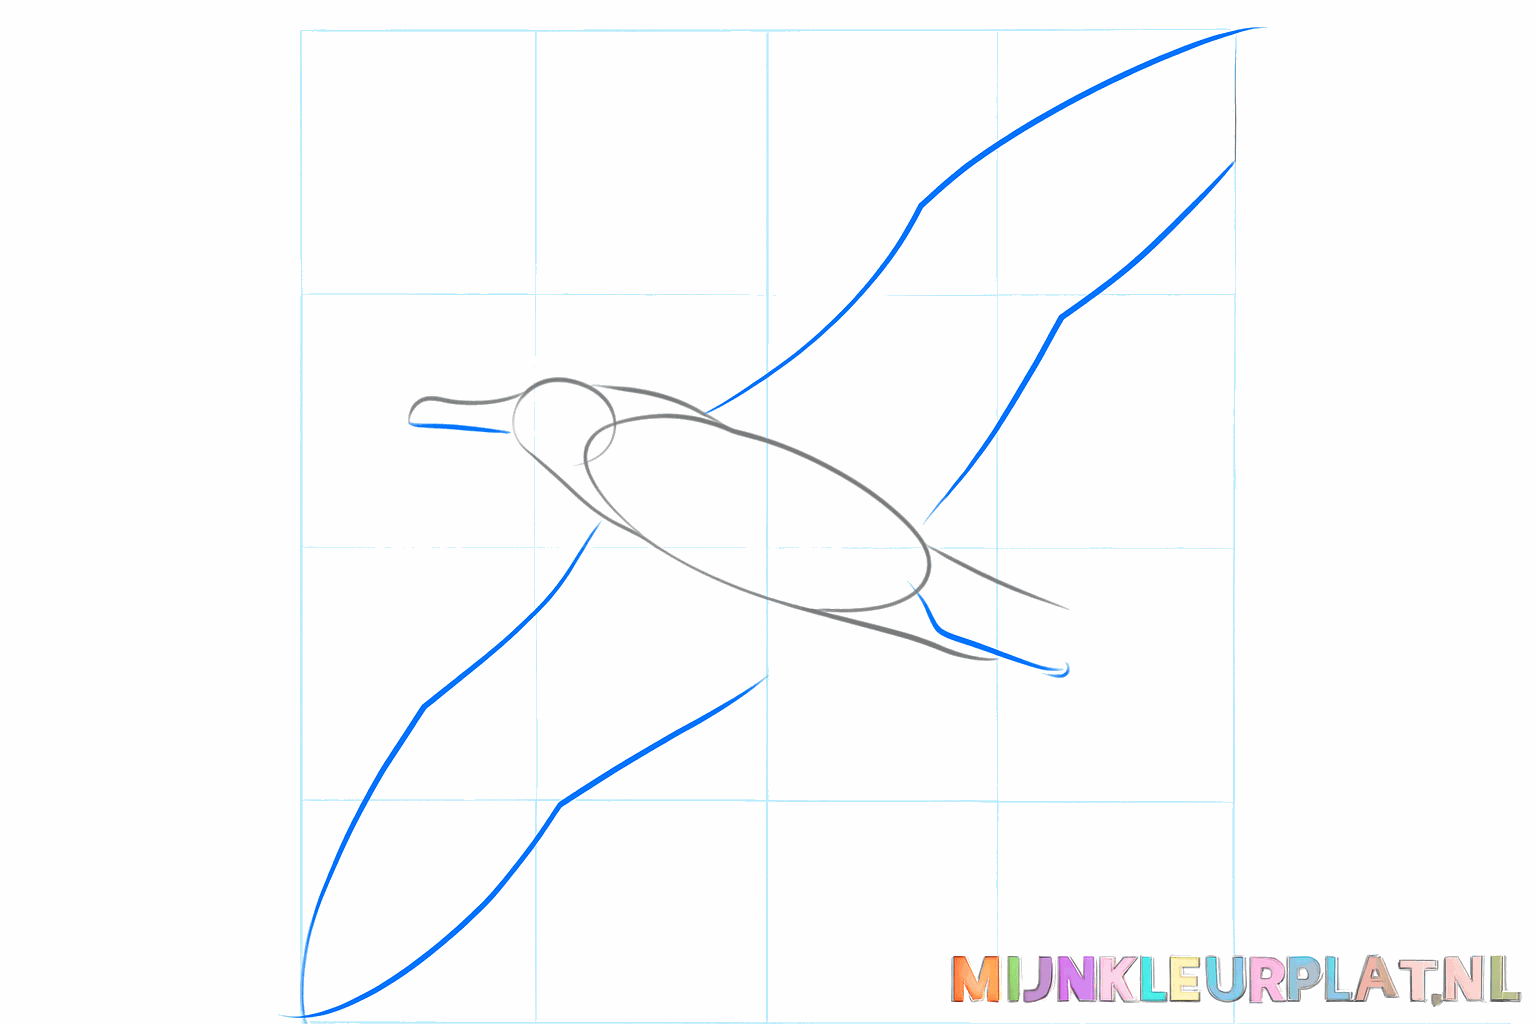
Now draw the large shapes for the long wings and make the beak a bit thicker.

Finish the legs with small webbed feet and give the wings their true shape.
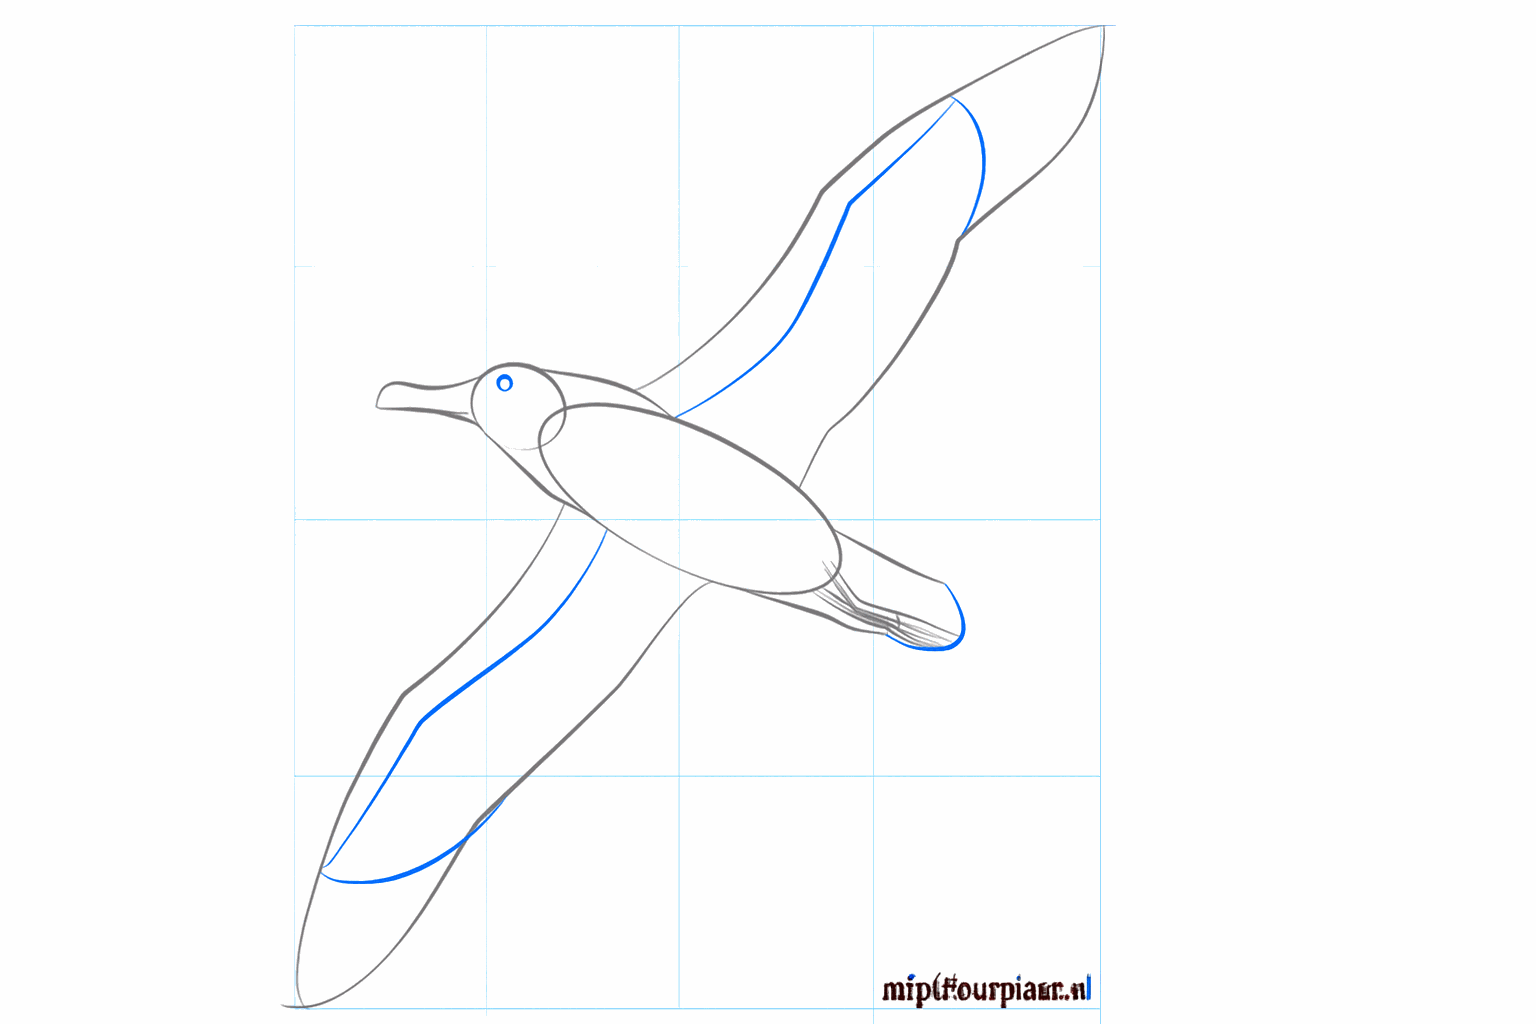
Draw a small round eye in the head and give the tail a nice point.

Draw small strokes on the wings to make the bird's feathers visible.
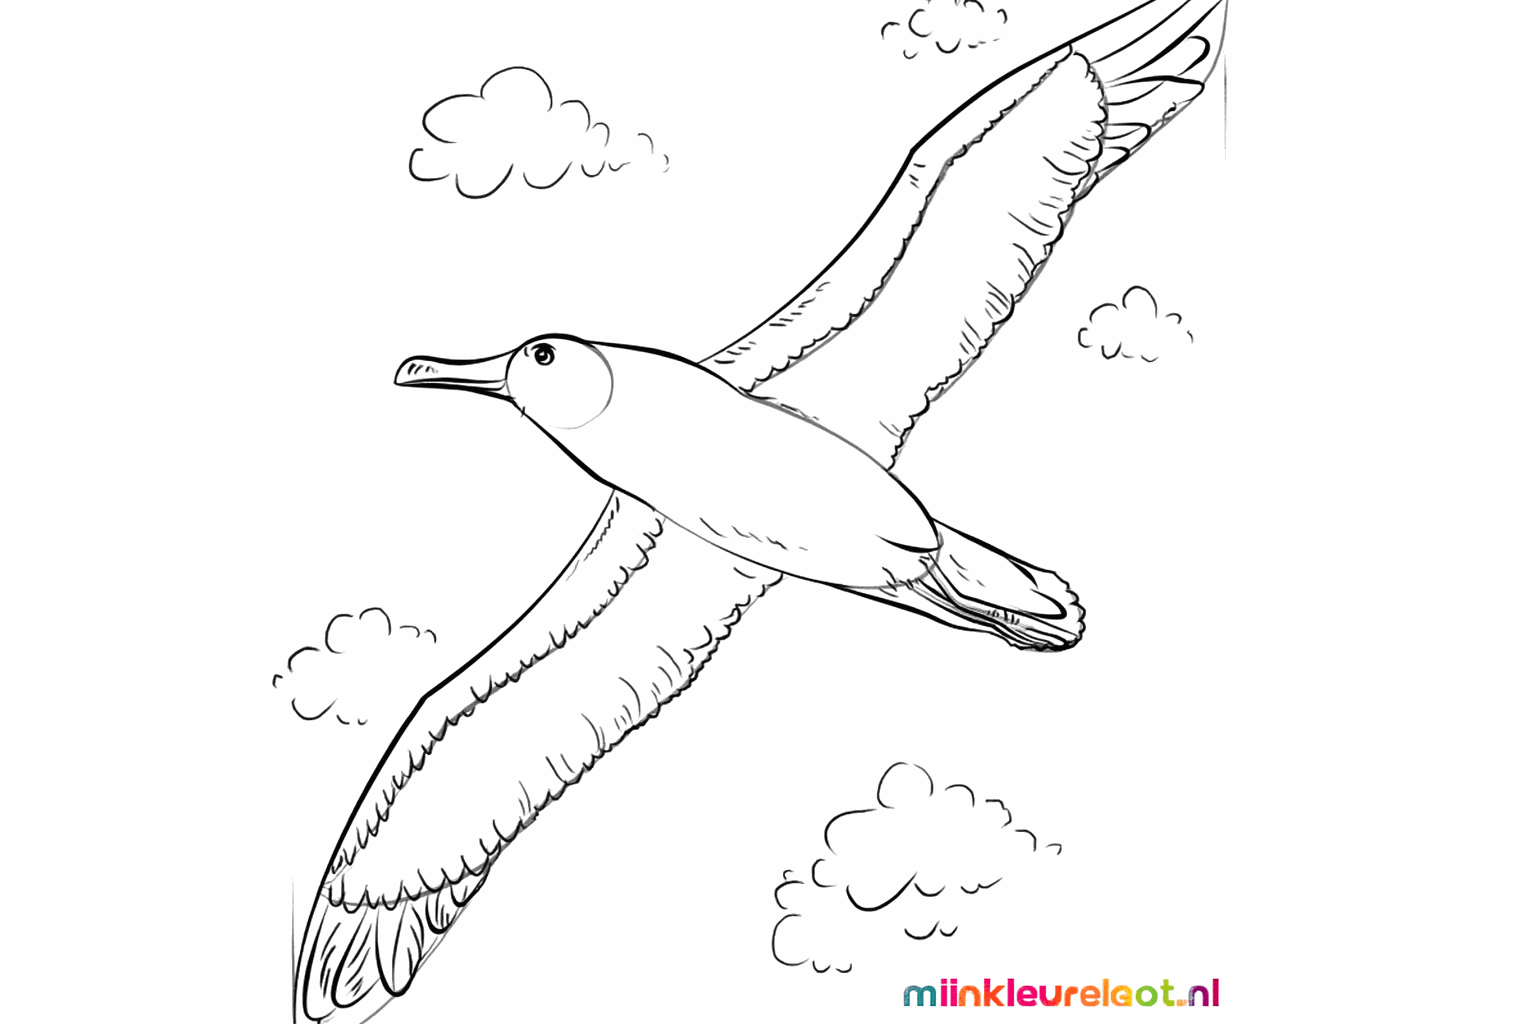
Make the outer lines darker, erase the guide lines, and draw a ground surface.
Frequently asked questions
What shapes do I need for an albatross?
How do I draw an albatross's beak?
Are an albatross's wings long?
Should I leave the guide lines?
Coloring pages of albatross 2
View all albatross 2 coloring pagesRelated drawing lessons