Free Coloring Pages for Children - MijnKleurplaat.nl
Or discover one of these popular themes:
TikTok Meme Coloring Pages!
The coolest and funniest memes now as a coloring page
Bring Your Coloring Pages to Life!
Transform images into magical AI videos
Ramadan Kleurplaten!
Moskee, maan & lantaarns om te printen
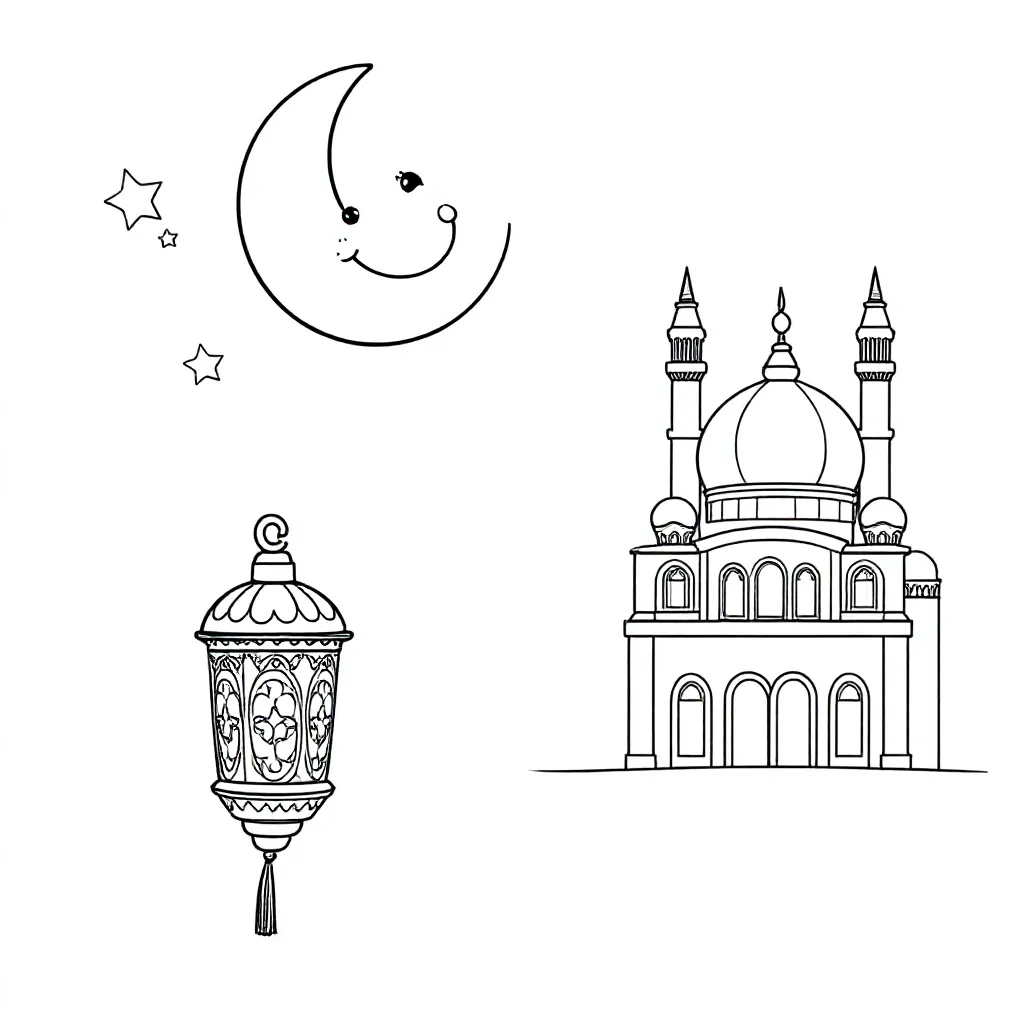
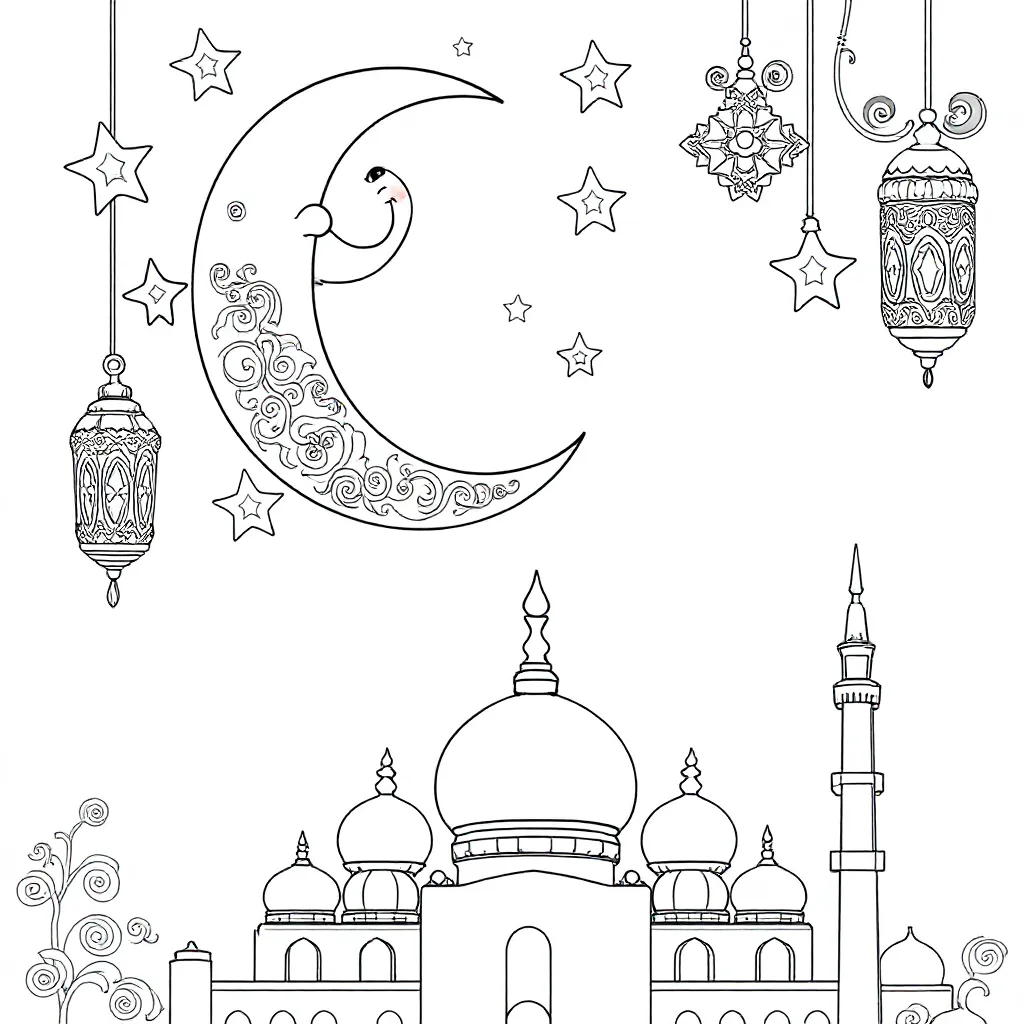
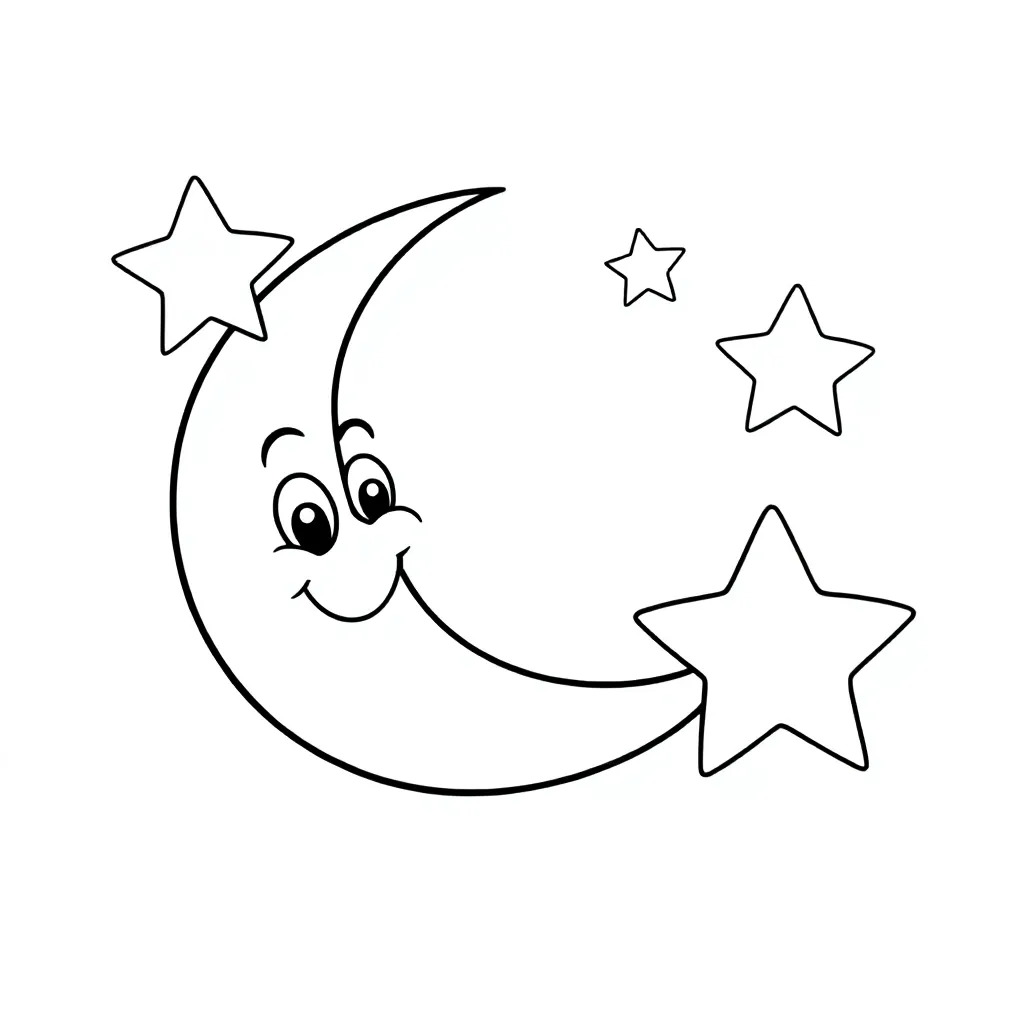
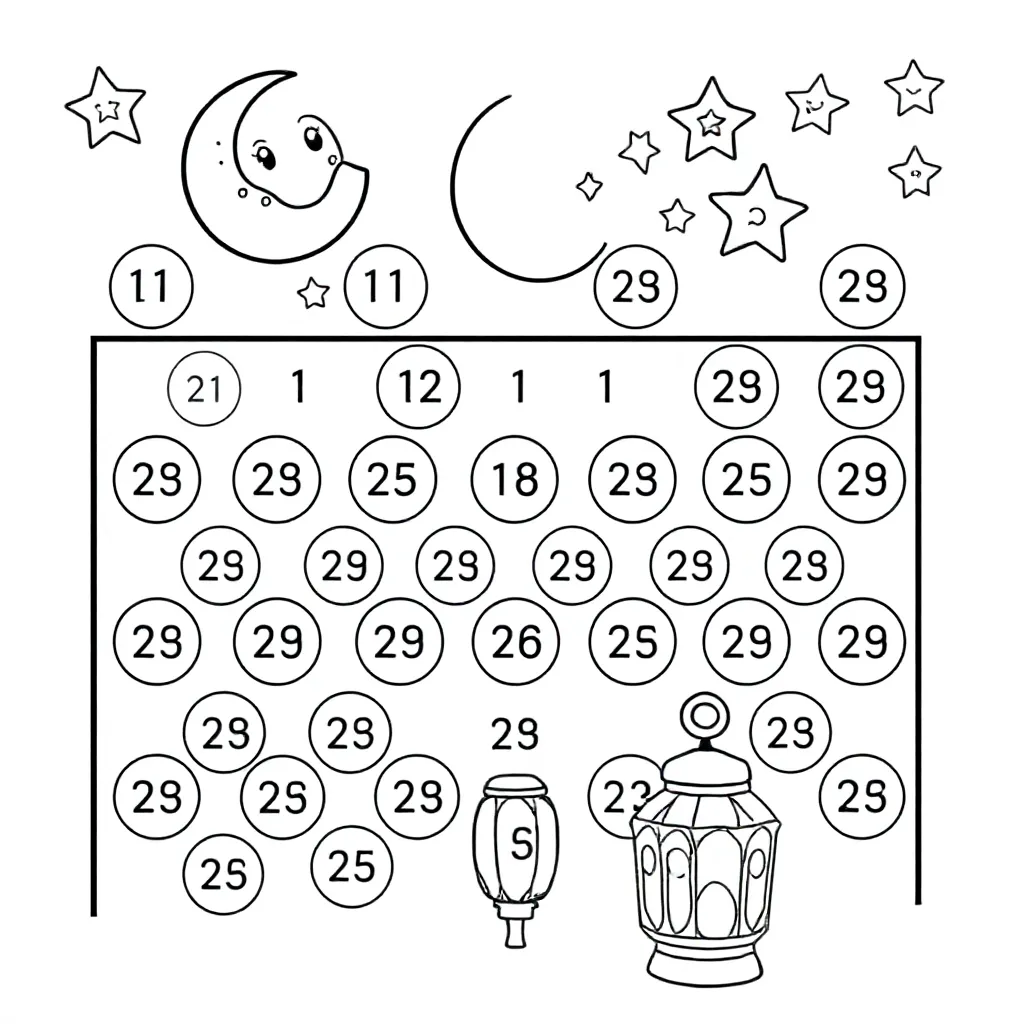
Ramadan Thema
Kleur en print samen tijdens Ramadan
Newest Coloring Pages
Discover our newest collection of carefully designed coloring books.
Pickup Truck Filled With Easter Eggs
Chick With Speech Bubble Happy Easter
Cat And Cake
Great Uncle Without Beard With 1 Girl And 1 Baby
Great-Uncle With 2 Girls And Cake
Disney
Fish Stall With Dolphins
Rabbit
Giraffe
Shark With A Dog On Its Back Wearing Sunglasses
Easter Celebration
Easter
Floating Turtle Library With Owls As Librarians And Books Full Of Stardust
Woman With Basket Of Strawberries, Without Glasses, With Balloons, Black And White
Teacher Without Glasses With Basket Of Strawberries And Balloons And Party Decorations Black White
Teacher Without Glasses With Basket With Strawberries And Party Decorations Black And White
Teacher With Basket Of Strawberries And Party Decorations
Teacher With Strawberries
Boat
Stippen
Strawberry Elephant
Strawberry Elephant
Sleeping Sea Turtle Carries Dream City On Back, Surrounded By Glowing Jellyfish.
Easter
Flying Teapot Submarine Discovers Mermaid Library In Coral City
Mickey Mouse
Capibara
Strawberry Strawberry Pancake
Strawberry Banana Pizza
Strawberry Rabbit
Popular Coloring Books
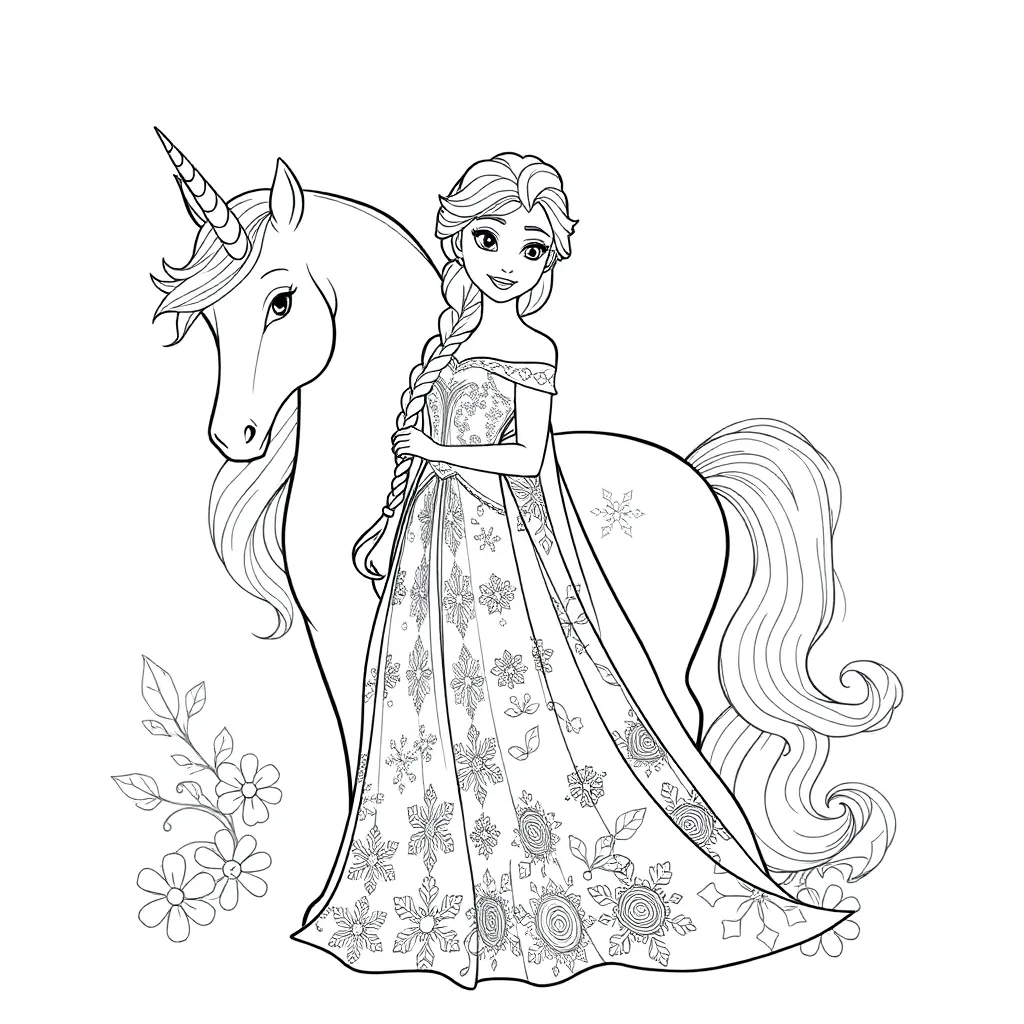
Elsa Met Unicorn
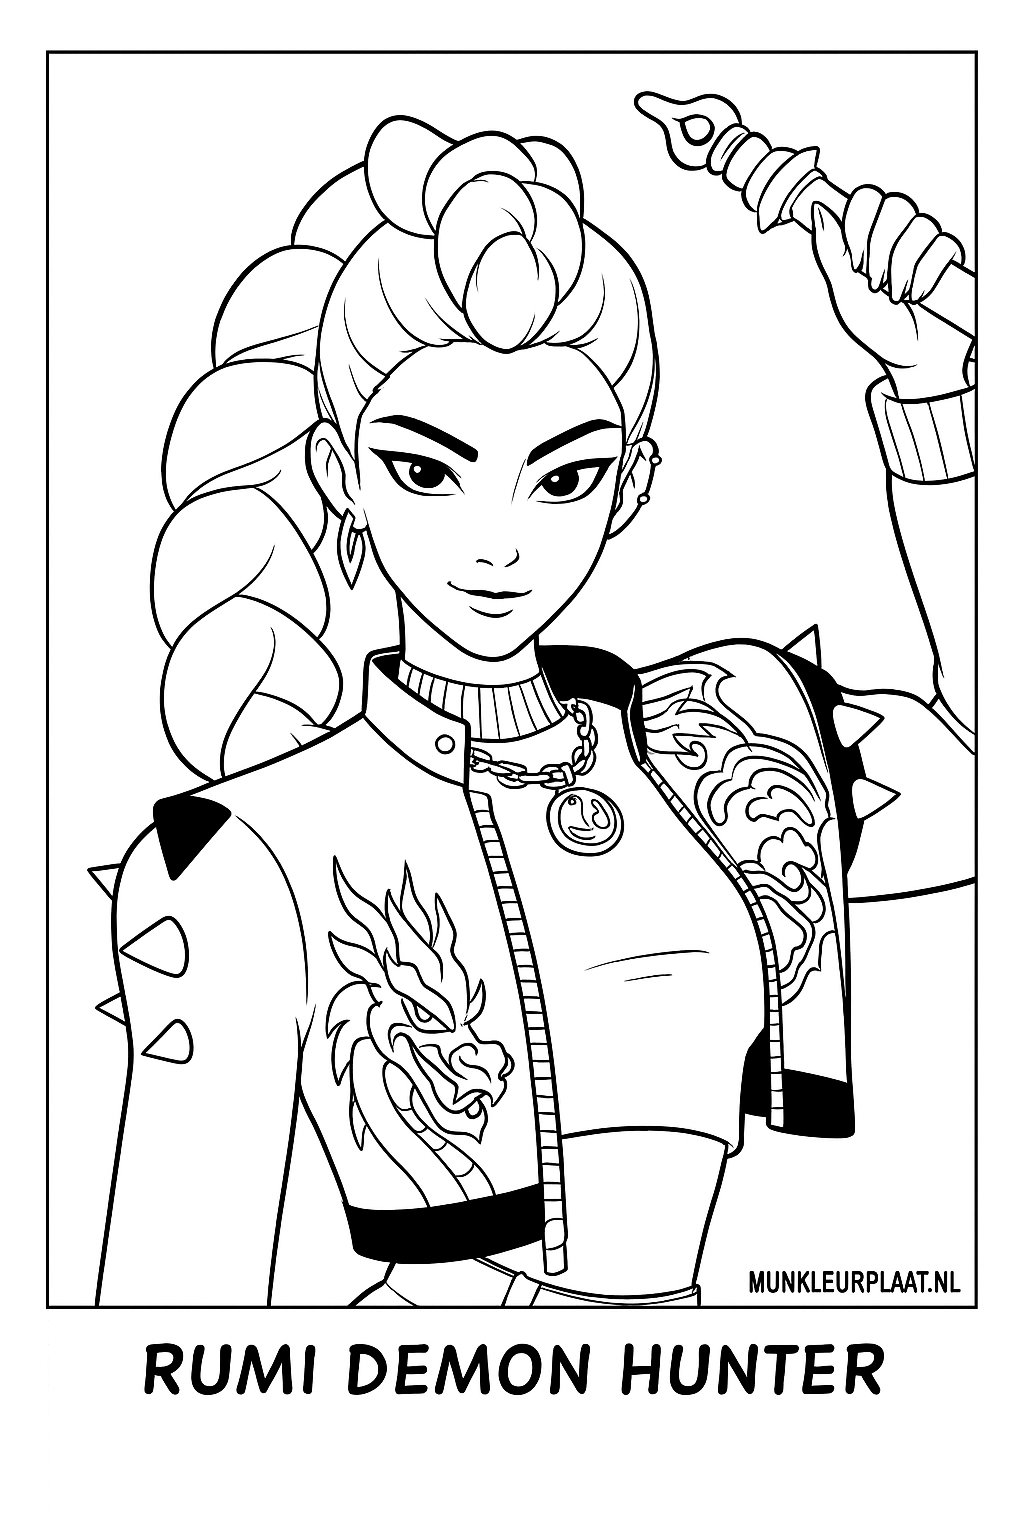
Rumi Demon Hunters Variant 4
Stitch
Rumi Demon Hunters Variant 2
Saja Boys Demon Hunters Variant 4
Rumi Demon Hunters Variant 3
Brainrot Variant 2
Saja Boys Demon Hunters Variant 1
Brainrot Variant 4
Lamine Yamal Variant 1
Golden Demon Hunters Variant 4
Rumi Demon Hunters Variant 3
Sasja Boys Demon Hunters Variant 3
Rumi Demon Hunters Variant 1
Capybara Variant 1
Brainrot Variant 1
Cazadores De Demonios Variantes 3
Saja Boys Demon Hunters Variant 3
Brainrot Variant 3
Cinnamoroll
Make free AI videos with UlazAI
Turn your text into professional videos. Perfect for TikTok, Instagram and more!
Try UlazAI FreeColoring pages with text
Make your coloring pages extra personal with your own text! Perfect for birthdays, parties, and special occasions.
Recent Creations
hartjes en bloemen
hartjes en bloemen
hartjes en bloemen
hartjes en bloemen
hartjes en bloemen
hartjes en bloemen
Discover our Themes
Discover our most popular themes with thousands of coloring pages.
Worksheet Generator
Create simple educational worksheets for various levels and subjects. Perfect for teachers and parents!
Different Levels
From grade 3 through grade 8
Various Categories
Adding, subtracting, multiplying, and more
Print right away
Optimally formatted for A4 paper.

Why Choose MijnKleurplaat.nl?
Free and unlimited creativity
Free users can create 5 coloring pages per day, while registered users can generate and save an unlimited number of coloring pages.
Color online, share your art
Color your creations and display them on our homepage. Let others vote on your masterpieces!
Always at hand
Download and print your coloring pages or save them safely in your account.
Compare the Options
| Function | Basis Free | Premium Logged in |
|---|---|---|
| Generate coloring pages | Up to 5 per day | Unlimited |
| Coloring pages online to color | ||
| Save creations | ||
| Voting and sharing |
How do I generate a coloring page?
Klik op "Genereer Kleurplaat"
Choose a Difficulty
Like simple, average, or difficult
Personalize your coloring book
Add details or adjust
Save or start with colors
Directly online or after downloading
Share your creation
Let others vote on your work.
Advantages of MijnKleurplaat.nl
Easy to use
Our user-friendly interface makes creating coloring pages fun and easy, even for children!
Free access
Enjoy the basic features for free. Perfect for discovering if MijnKleurplaat.nl is right for you!
Unlimited possibilities
As a registered user, you get access to unlimited coloring pages and can save your creations.
Sharing and voting
Display your artwork on the homepage and let others vote on your masterpieces.
Access from any device
Work from your computer, tablet, or smartphone without problems.
Start Today!
Discover the magic of coloring with MijnKleurplaat.nl. Create your own unique coloring pages and share them with the world!
Why is Color so Fun and Important?
Hello young artists! 👋 Did you know that colours are not only super fun, but also very good for you? Let's discover together why color is so special and how MijnKleurplaat.nl can help you become a true artist!
Color makes your brain stronger!
When you colour, you train your brain in a fun way. It's like exercising, but for your brain! You learn to make your hands and eyes work well together, which is super important for writing and drawing. And the best part? You don't even notice it, because you're having such a good time colouring!
Discover the magic of colors!
On MijnKleurplaat.nl you can choose from over 5000 different coloring pages! From cute animals to tough dinosaurs, from beautiful princesses to cool vehicles. And if you want something special, you can even create your own coloring page! Just by telling us what you want to draw, and our magic computer will create it for you.
Color makes you creative!
When you colour, you use your imagination. You decide which colours to use and how your colouring page should look. This helps you think creatively and come up with new ideas. And that's not only fun, but also very useful later!
Colors make you happy!
Did you know that colours give you a pleasant feeling? It's like a mini-vacation for your brain. When you colour, you forget all your worries and can fully immerse yourself in your creation. And when you're finished, you can be proud of what you've made!
Share your art with the world!
On MijnKleurplaat.nl, you can share your coloring pages with other children. They can then vote on your artwork and tell you how much they like it! This is a super fun way to make new friends who also love to color.
Color online or print!
Choose your method: colour online on your computer or tablet, or print the colouring page to colour comfortably on the sofa. Either way is possible! And if you create an account, you can save all your beautiful colouring pages to view later.
🎯 Choose your own level!
We have coloring pages for everyone! Are you just starting to color? Then there are simple coloring pages with large sections. Are you already a true artist? Then there are also difficult coloring pages with small details. This way you can get better and better at coloring!
🎁 Free and always available!
The best part is: you can create 5 free coloring pages every day! And if you create an account, you can even create and save unlimited coloring pages. This way, you always have something fun to do, whether it's raining or sunny!
💡 Tips for creating a beautiful coloring page:
- Choose the colors you want first.
- Start with the large boxes and then work to the small details.
- Use different colors for more impact.
- Take your time and enjoy it!
- If you make a mistake, don't worry - everyone makes mistakes sometimes!
So, what are you waiting for? Start creating your own artwork today at MijnKleurplaat.nl! Don't forget: everyone can learn to color, and the most important thing is that you enjoy it. Let your imagination run wild and create the most beautiful coloring pages!
Free Coloring Pages for Children - MijnKleurplaat.nl
Looking for the best coloring page for your child? At MijnKleurplaat.nl you will find more than 20,000 free coloring pages for children of all ages. Whether you are looking for a unicorn coloring page, dino coloring page, princess coloring page or car coloring page - we have them all!
Why Choose MijnKleurplaat.nl?
- No coloring pages yet
- 100% free - print directly
- Online Coloring
- No coloring pages yet
- All categories: animals, vehicles, princesses and more
Start Today!
Choose from 20,000+ coloring pages and let your creativity run free!
View all coloring pages